

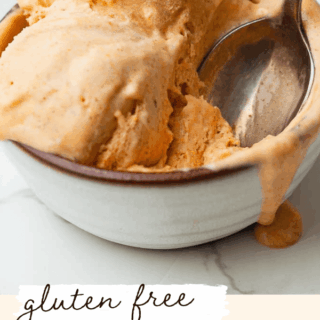
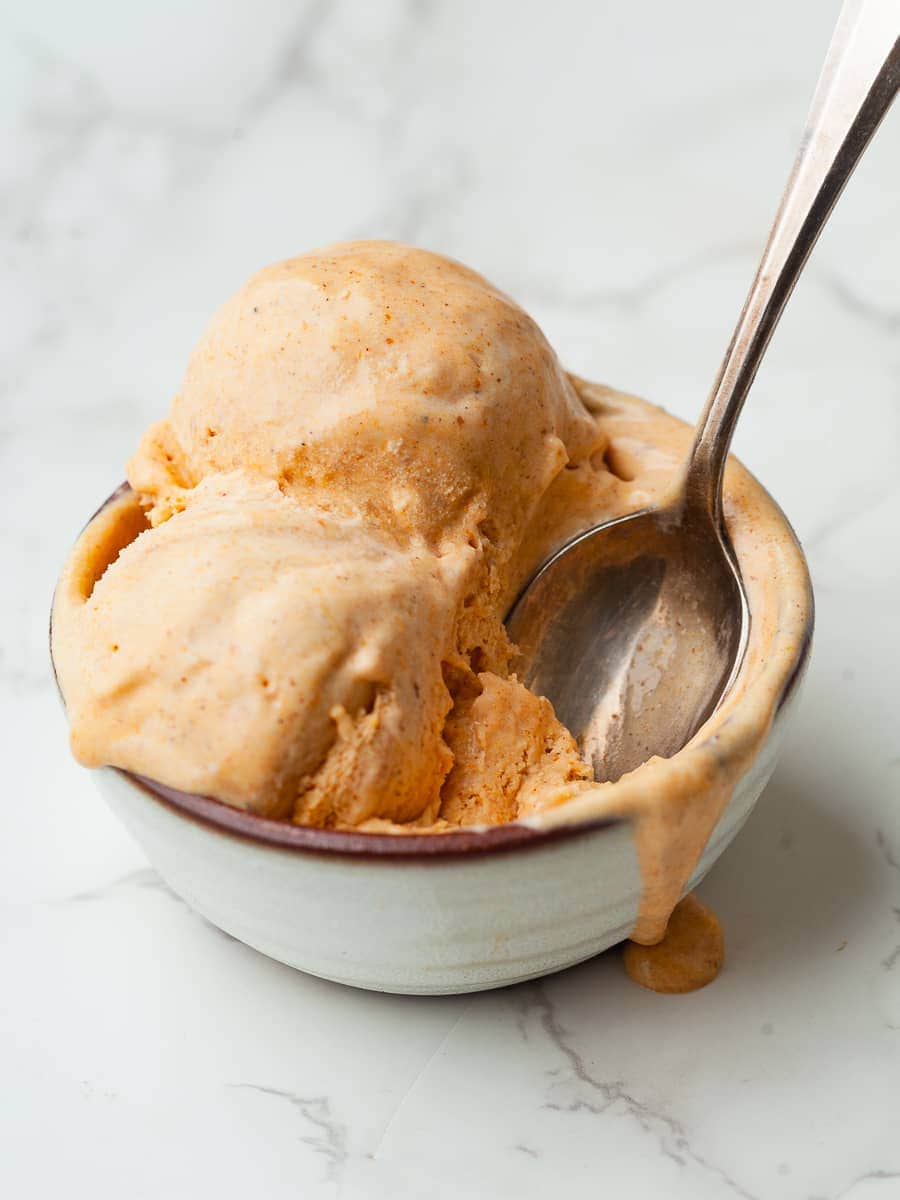
This Gluten Free No Churn Pumpkin Ice Cream recipe is rich, creamy, and packed with real pumpkin flavor. If you've been looking for an easy homemade pumpkin ice cream recipe that doesn't require an ice cream maker, this simple fall dessert is guaranteed to become a favorite.
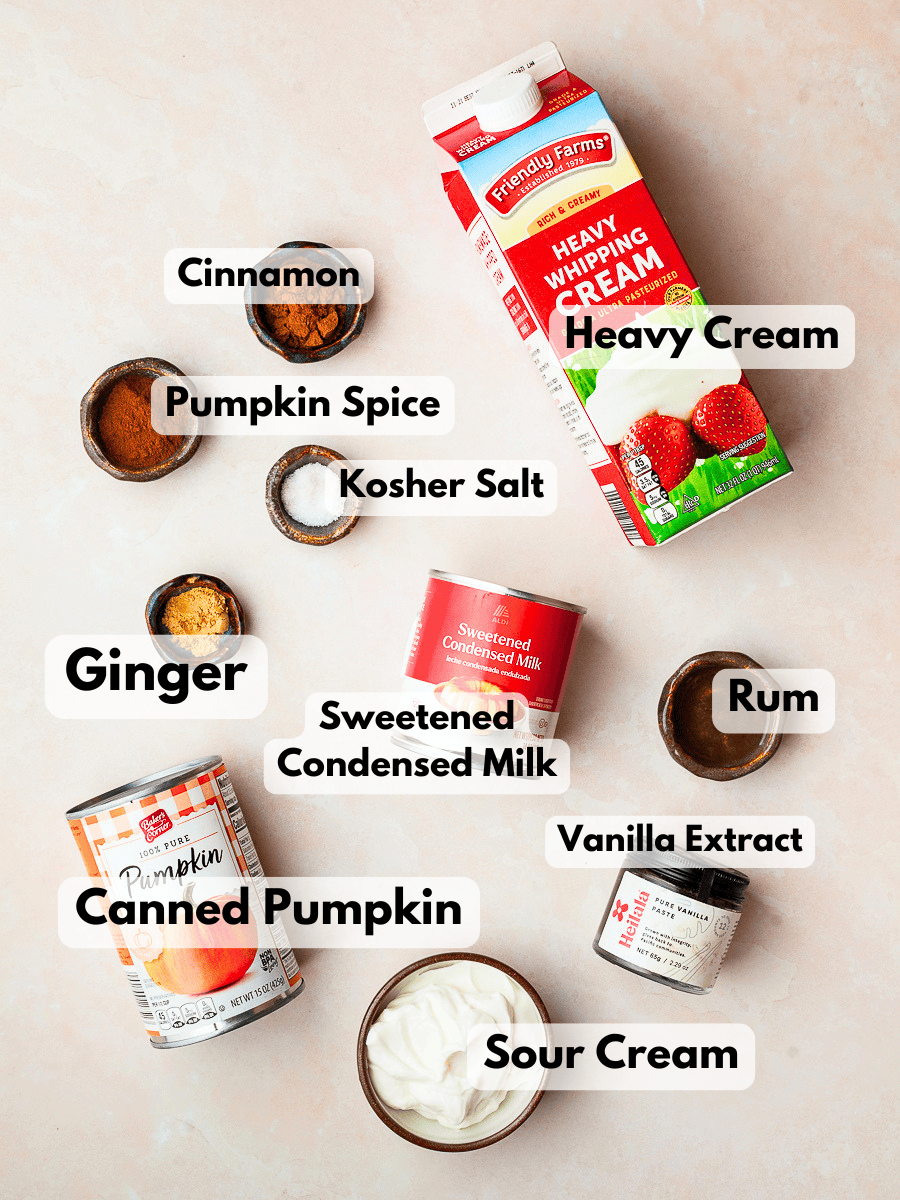
Recipe Ingredient Notes
Heavy Cream: Whipped heavy cream is the secret to this Gluten Free Pumpkin No Churn Ice Cream. Folding the whipped cream into the ice cream base adds tiny air bubbles that create a light, creamy texture without an ice cream maker. It also helps keep the ice cream smooth and scoopable instead of dense or icy.
Sweetened Condensed Milk: Sweetened condensed milk is cow’s milk with most of the water removed, creating a thick, rich, and sweet base (not the same as evaporated milk). It’s the key to no-churn ice cream, keeping the mixture smooth and scoopable while stabilizing the whipped cream. It also adds a subtle caramelized sweetness that gives the finished ice cream extra depth and flavor.
Canned Pumpkin: Make sure to use 100% canned pumpkin and not pumpkin pie filling when preparing this recipe. I prefer using canned pumpkin seems to be more consistent, but if you have homemade pumpkin puree on hand, you can use that as well.
Sour Cream: I like adding a little sour cream to my No Churn Pumpkin Ice Cream because it balances the sweetness with a subtle tang.
Rum or Bourbon: This is an optional ingredient! Alcohol lowers the freezing point, which helps keep the no churn ice cream softer and easier to scoop instead of freezing rock hard. It also adds a subtle depth of flavor. I use Captain Morgan Spiced Rum. Like most major rum brands, it’s naturally gluten free since it’s made from sugar cane, yeast, water, and spices.
Spices: I use a combination of pumpkin pie spice, ground cinnamon, and ground ginger.
Homemade Pumpkin Pie Spice
Instead of buying a jar at the store, I like to mix up my own—it’s fresher, more fragrant, and I can tweak it exactly the way I like. Once you’ve made a batch, you’ll want to sprinkle it into everything: pumpkin muffins, lattes, cookies, even oatmeal.
- 3 tablespoons ground cinnamon
- 2 teaspoons ground ginger
- 1 ½ teaspoons ground nutmeg
- 1 teaspoon ground allspice
- 1 teaspoon ground cloves
Mix everything and store in a small jar or airtight container. It’ll keep for months, but honestly, mine never lasts that long.
Equipment Recommendation
The beauty of no-churn ice cream is that you don’t need an ice cream maker to make it. Just a few basic kitchen tools that you most likely already have on hand are all it takes.
- Hand mixer or stand mixer: for whipping the heavy cream to stiff peaks. I use my stand mixer and the whisk attachment.
- Mixing bowl: for the base of the no-churn ice cream.
- Whisk and rubber spatula: for gently folding everything together without deflating the whipped cream
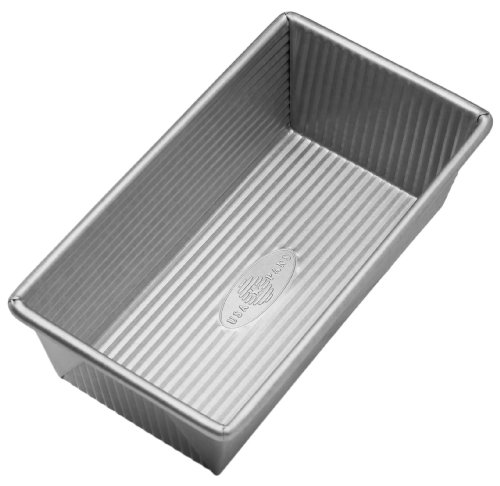
- Loaf pan or freezer-safe container: I use a standard loaf pan for freezing the ice cream but an 8x8 pan works as well (if you have room in the freezer, plus the ice cream will freeze faster). You can also use fancy ice cream storage containers but I have not tested them so I can't provide any feedback about them.
- Plastic wrap or lid: to cover it while freezing and prevent ice crystals.
- Digital Kitchen Scale: Just like all my recipes, you will need a digital kitchen scale to make this recipe.
Why and how to blot pumpkin puree
Pumpkin purée contains a lot of water, which can make no-churn ice cream icy. Blotting away some of the excess moisture creates a creamier texture, minimizes ice crystals, and concentrates the pumpkin flavor for an even richer-tasting ice cream.
You don't want the pumpkin to become dry - just remove the excess moisture. The finished purée should have the consistency of thick Greek yogurt.
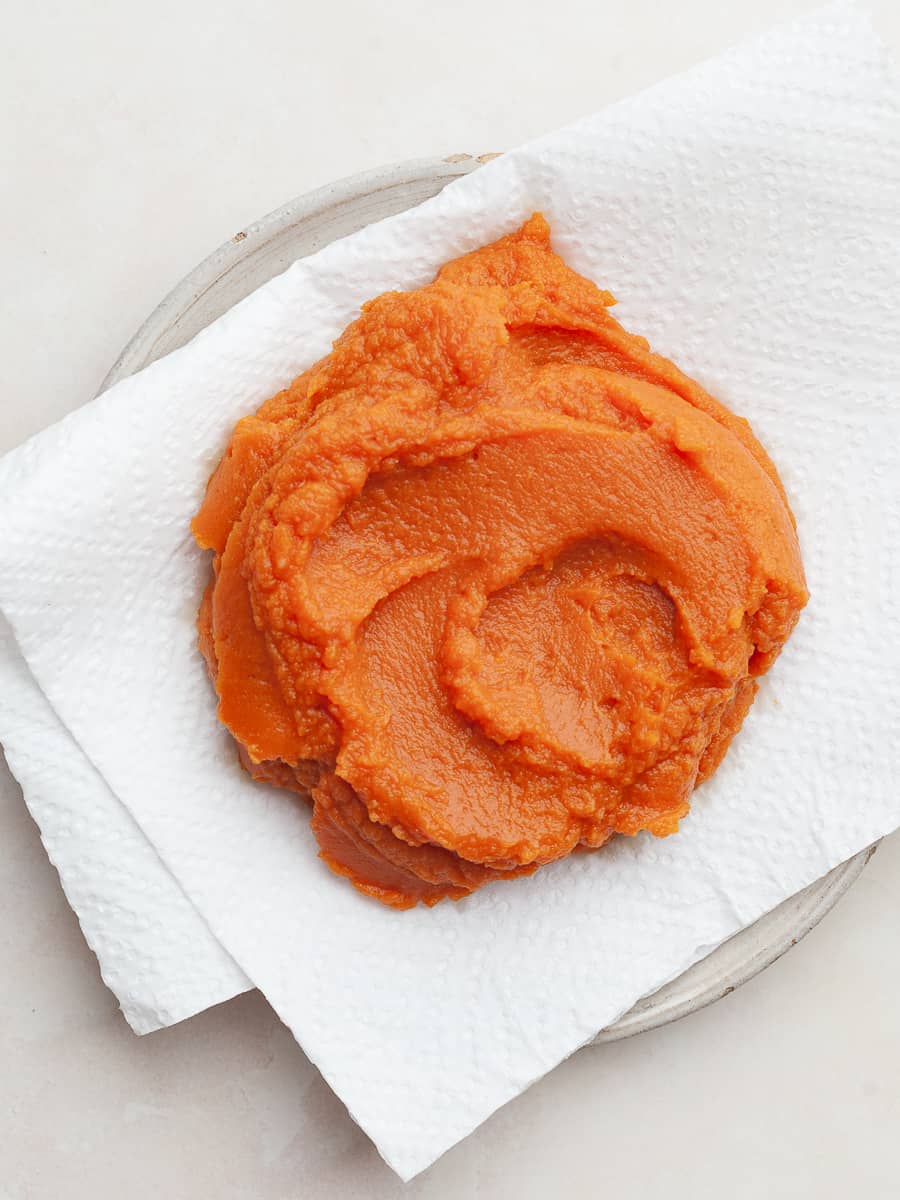
- Step 1: Line a plate with several layers of paper towels.
- Step 2: Spread the pumpkin purée onto a plate in an even layer.
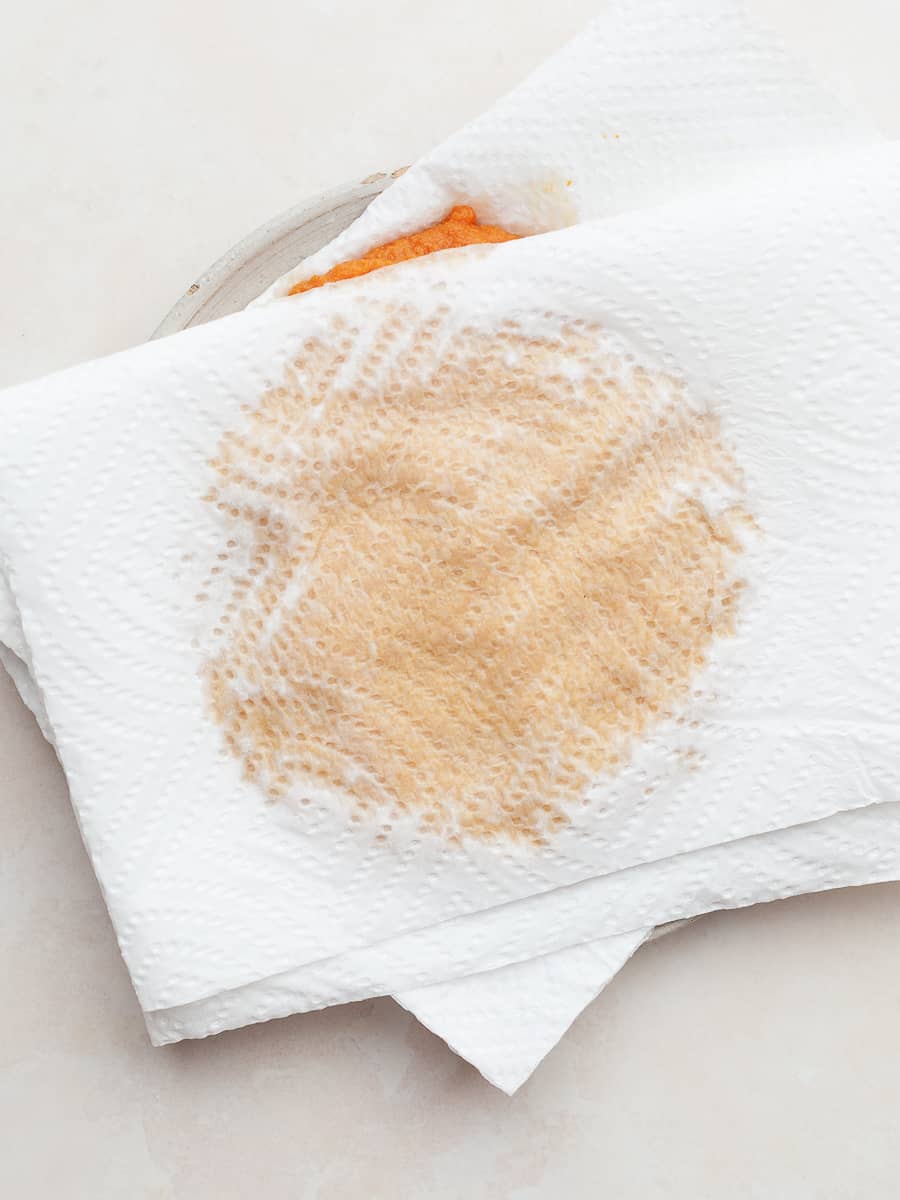
- Step 3: Place more paper towels on top and gently press to absorb excess moisture.
- Step 4: Repeat with fresh paper towels if needed until the pumpkin is noticeably thicker but still smooth and spreadable.
How to make Gluten Free No Churn Pumpkin Ice Cream
Making no churn pumpkin cream is pretty uncomplicated. Make sure to blot the pumpkin ahead of time to remove excess water from the puree. It should have the consistency of thick Greek Yogurt.
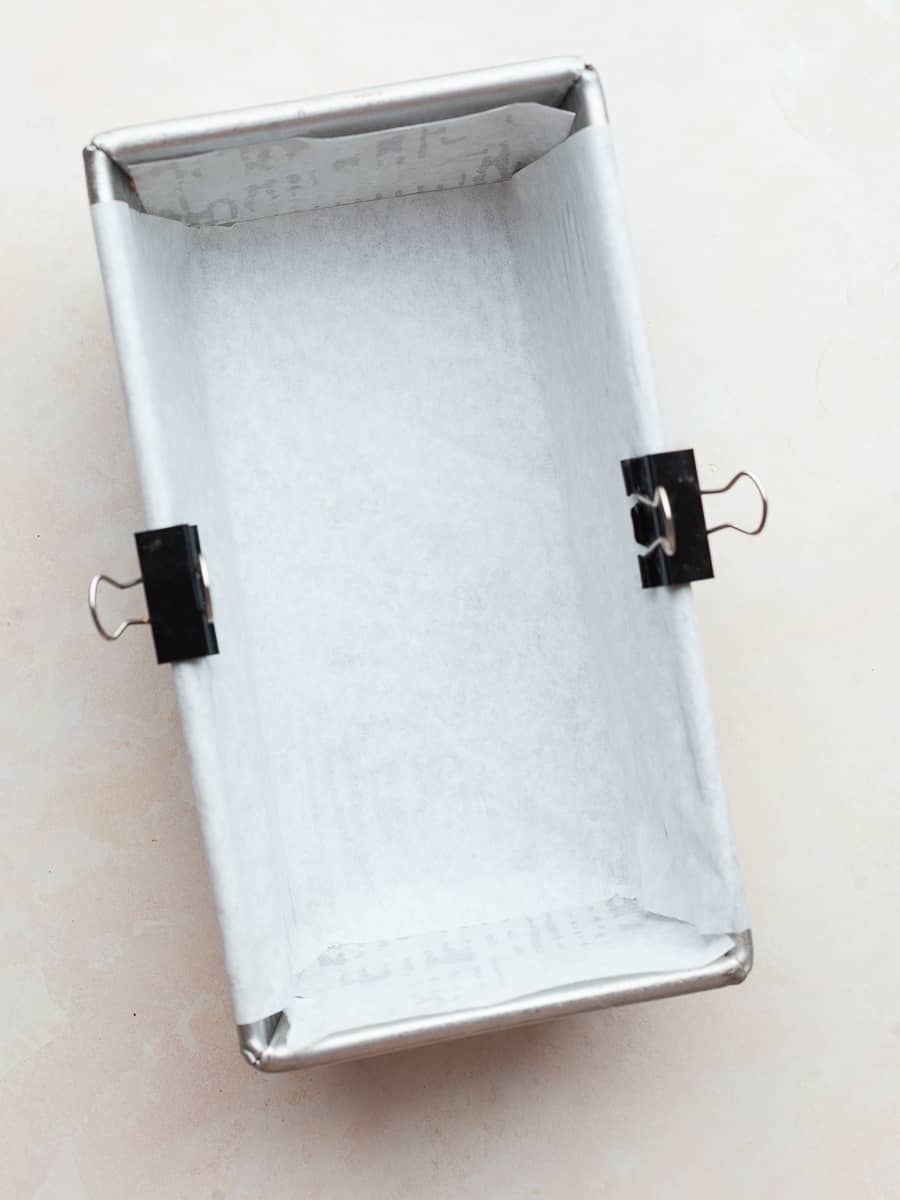
- Step 1: Start out by lining a standard loaf pan with parchment paper and place it in the freezer. I like to lightly spray the pan with nonstick cooking spray to make sure the paper sticks to the pan.
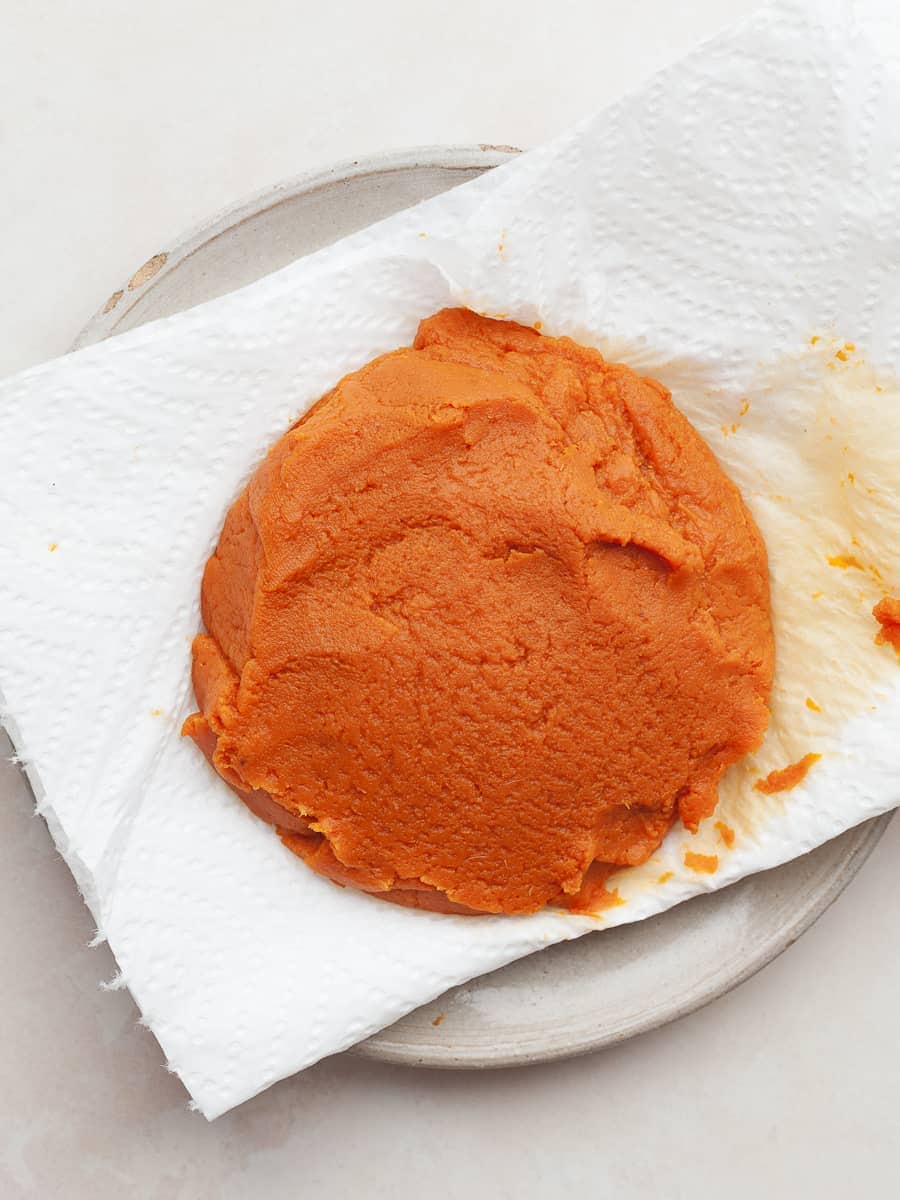
- Step 2: Make sure to blot your pumpkin to remove any excess water. It should look like thick Greek Yogurt.
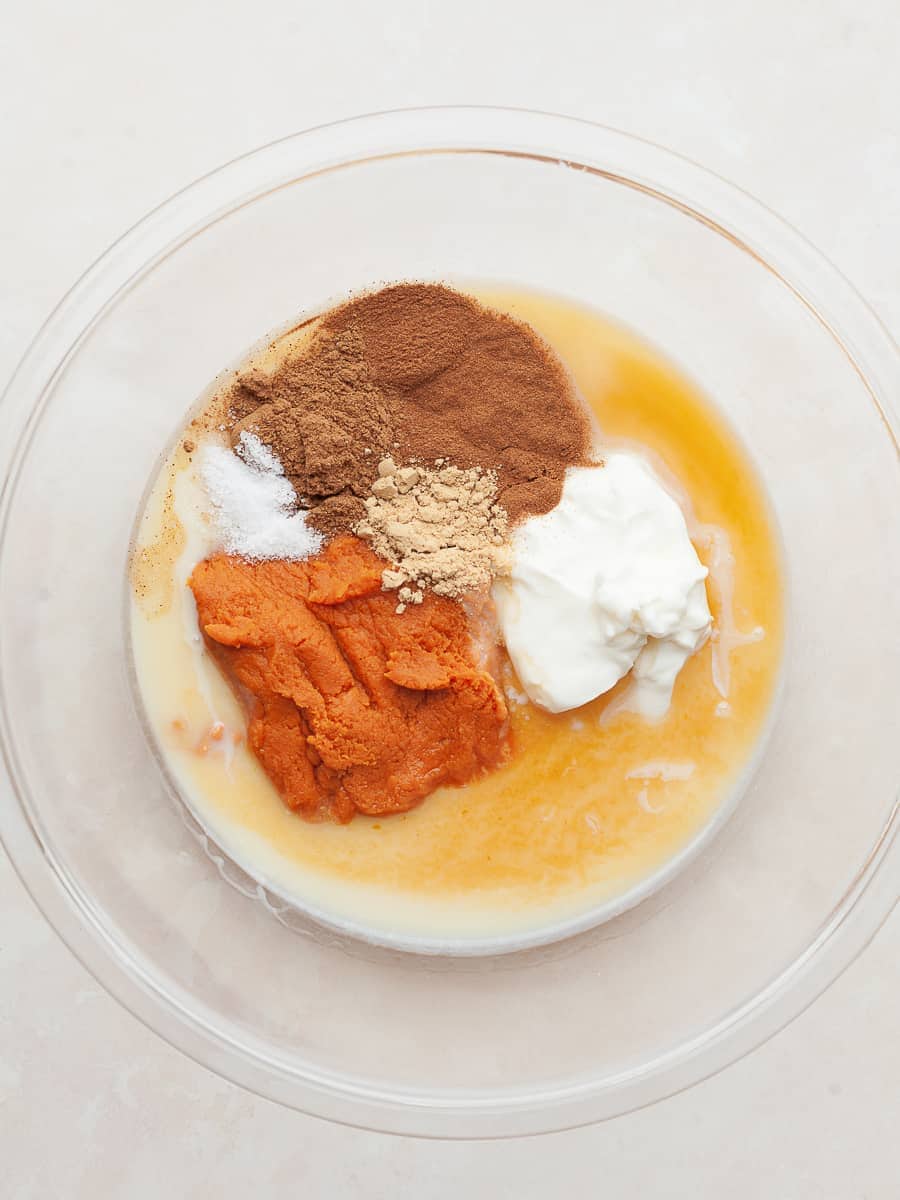
- Step 3: In a mixing bowl, combine the sweetened condensed milk, sour cream, pumpkin puree, pumpkin pie spice, ground cinnamon, ground ginger, vanilla extract, kosher salt, and rum (if using).
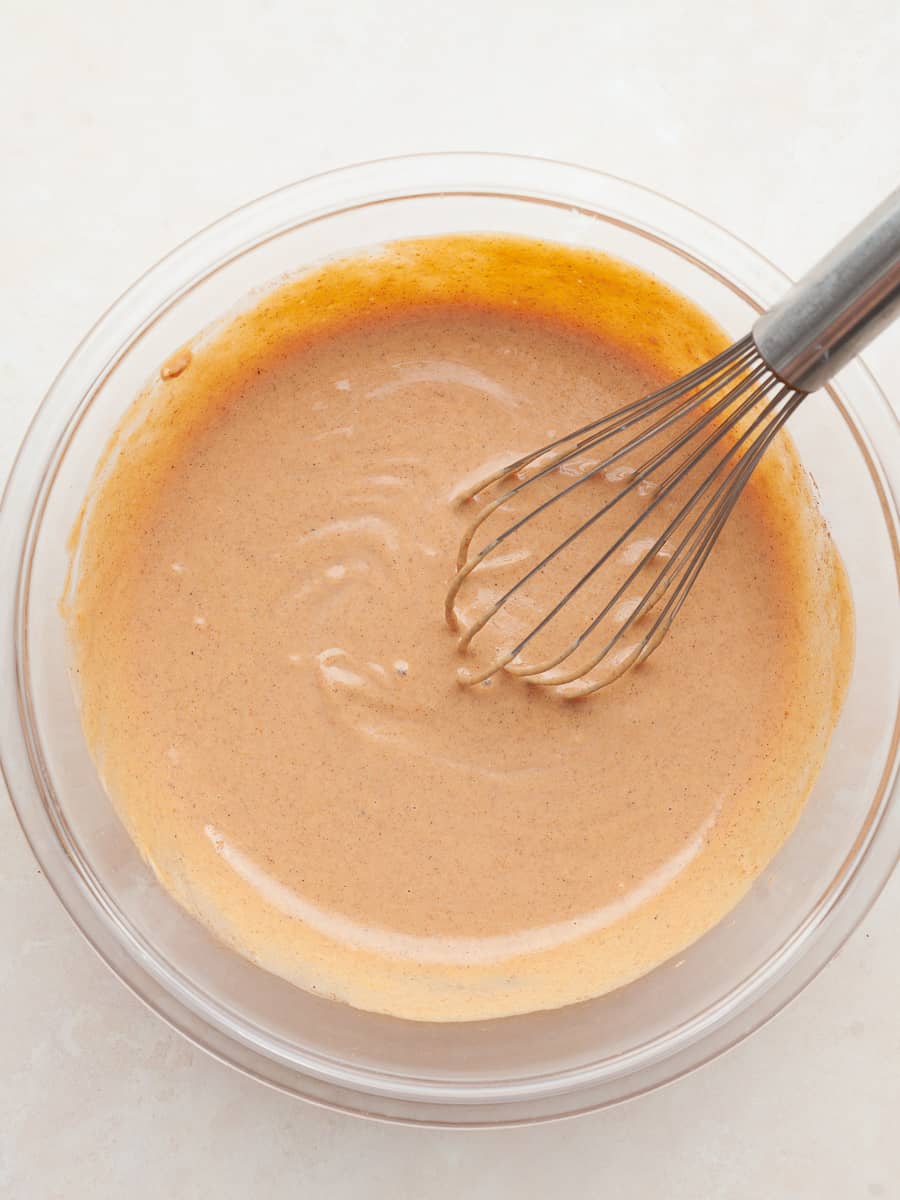
- Step 4: Whisk the ingredients until smooth and no lumps of pumpkin puree and sour cream remain. Place the bowl in the fridge while you whip the heavy cream.
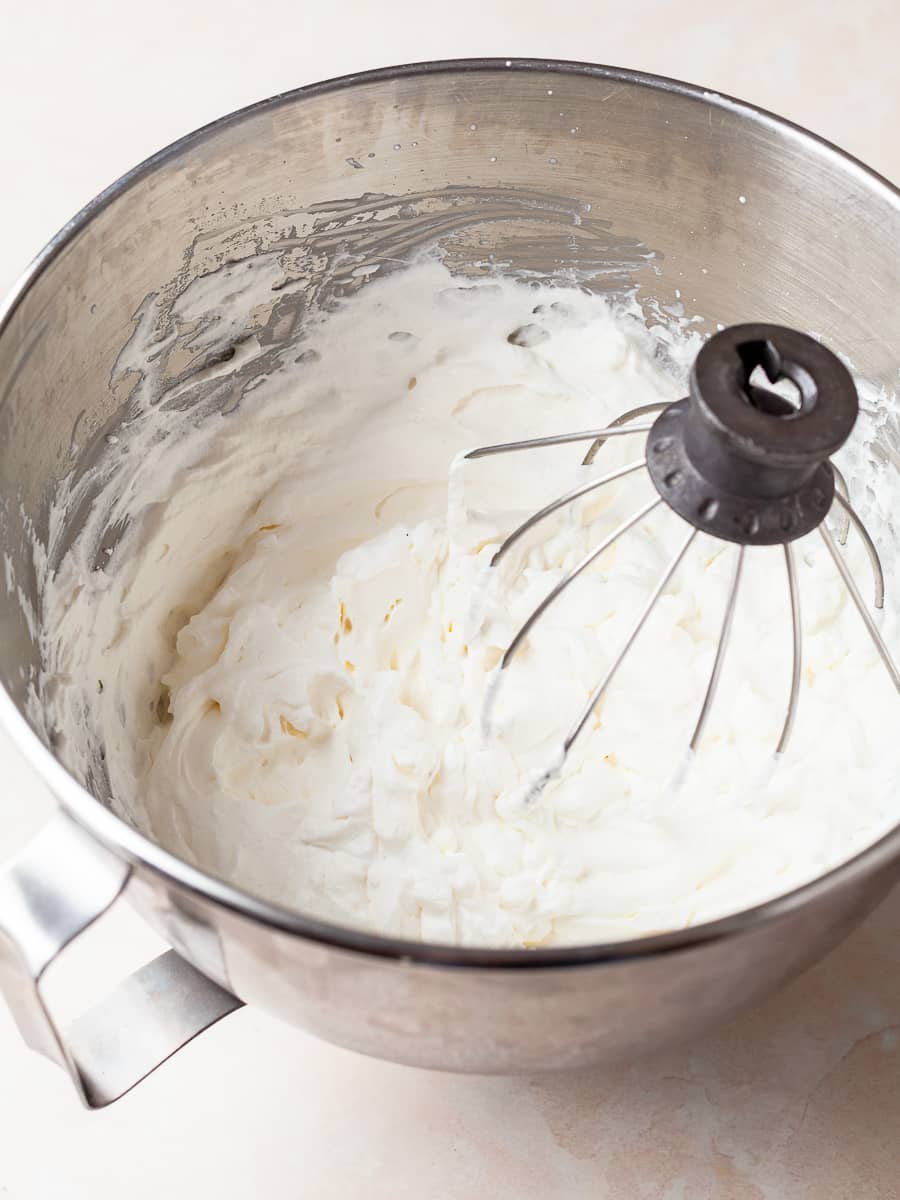
- Step 5: Add the cold heavy cream to the bowl of the stand mixer fitted with the whisk attachment. Whisk at a medium speed until stiff peaks have formed. This takes around 2-3 minutes depending on how powerful your mixer is.
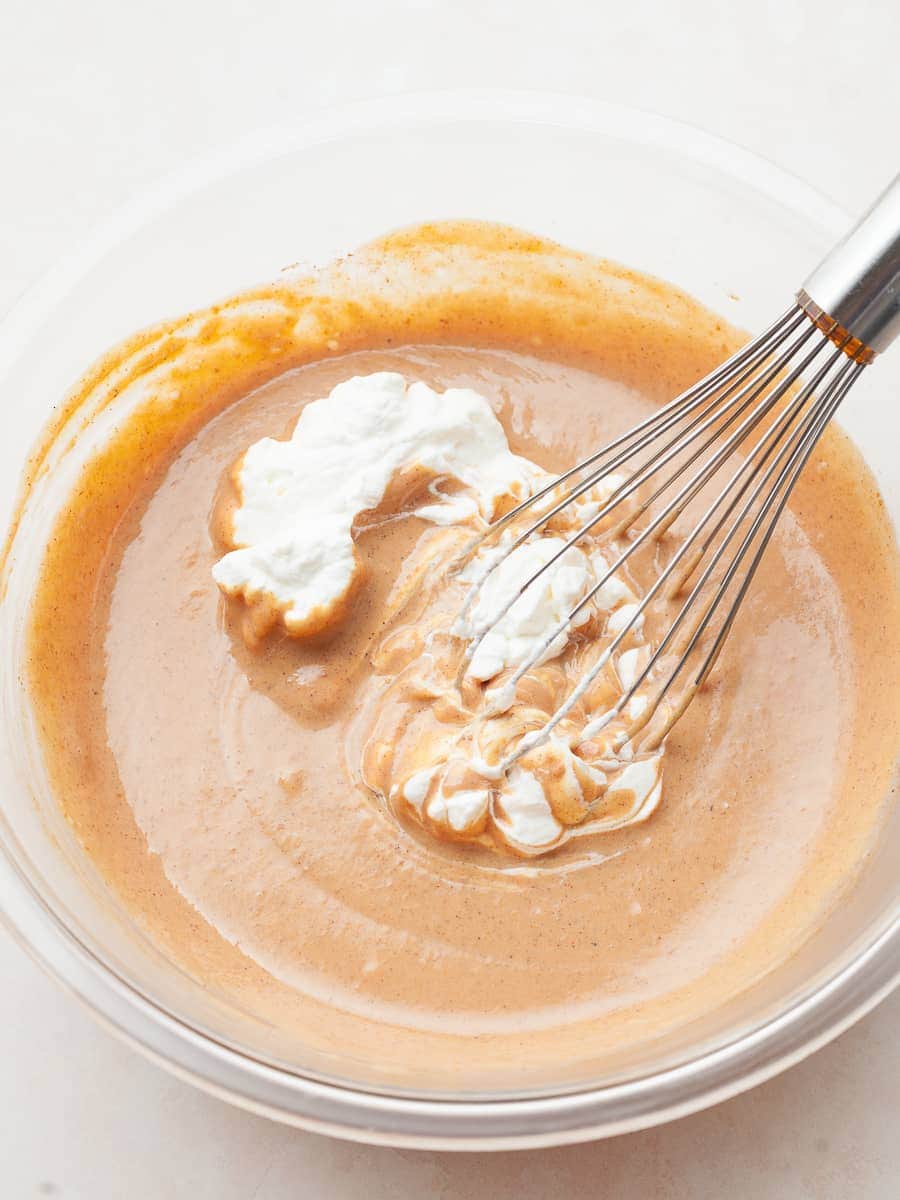
- Step 6: Retrieve the bowl with the condensed milk mixture from the fridge.
- Step 7: Fold in the whipped cream in thirds, starting with one portion to lighten the base, then gently folding in the rest until smooth, airy, and fully combined. A whisk or flexible rubber spatula works best for this.
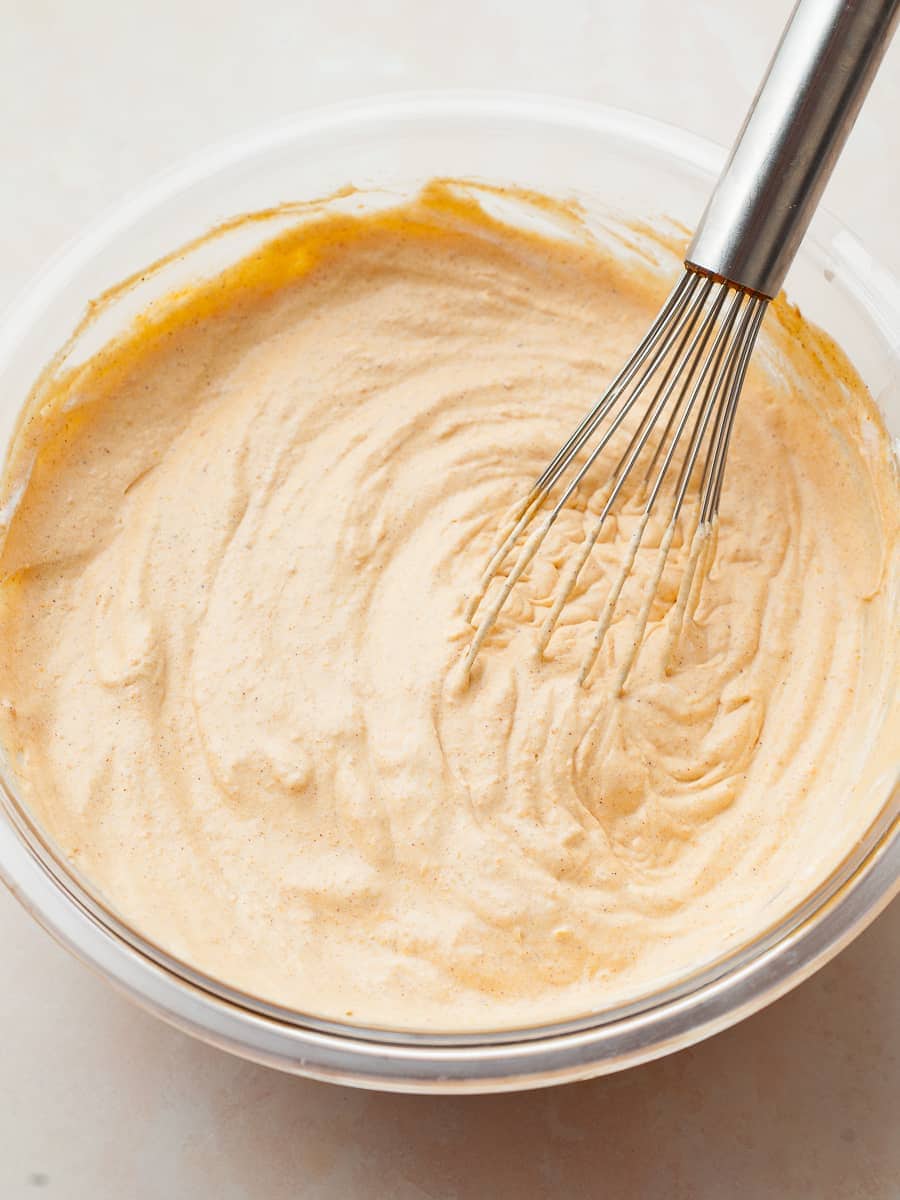
- Step 8: Before freezing, no-churn ice cream should look like a thick mousse. Be careful not to overmix it, or the whipped cream will deflate.
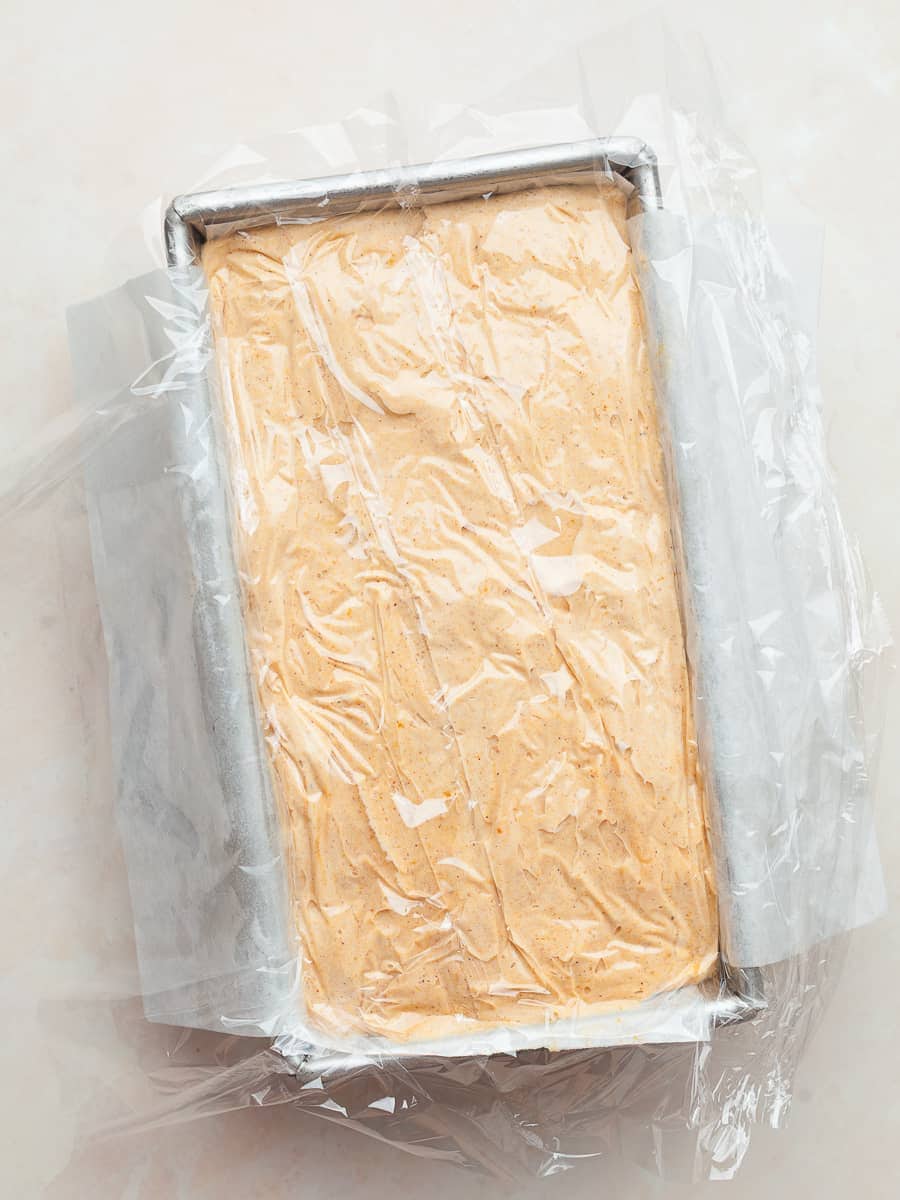
- Step 9: Retrieve the prepared loaf pan from the freezer and transfer the no churn ice cream to it.
- Step 10: Cover the no churn pumpkin ice cream with a piece of plastic wrap or parchment paper and place it in the freezer for at least 6 hours before serving.
How to store No Churn Pumpkin Ice Cream
Gluten free no-churn ice cream can typically be stored in the freezer for about 2 to 3 weeks for the best texture and flavor.
After that, it’s still safe to eat if it’s been kept frozen consistently, but it may start to develop ice crystals, lose some creaminess, and become a bit harder to scoop. For the best results, store it in an airtight container with a piece of parchment or plastic wrap pressed directly on the surface to help prevent freezer burn.
Serving Ideas
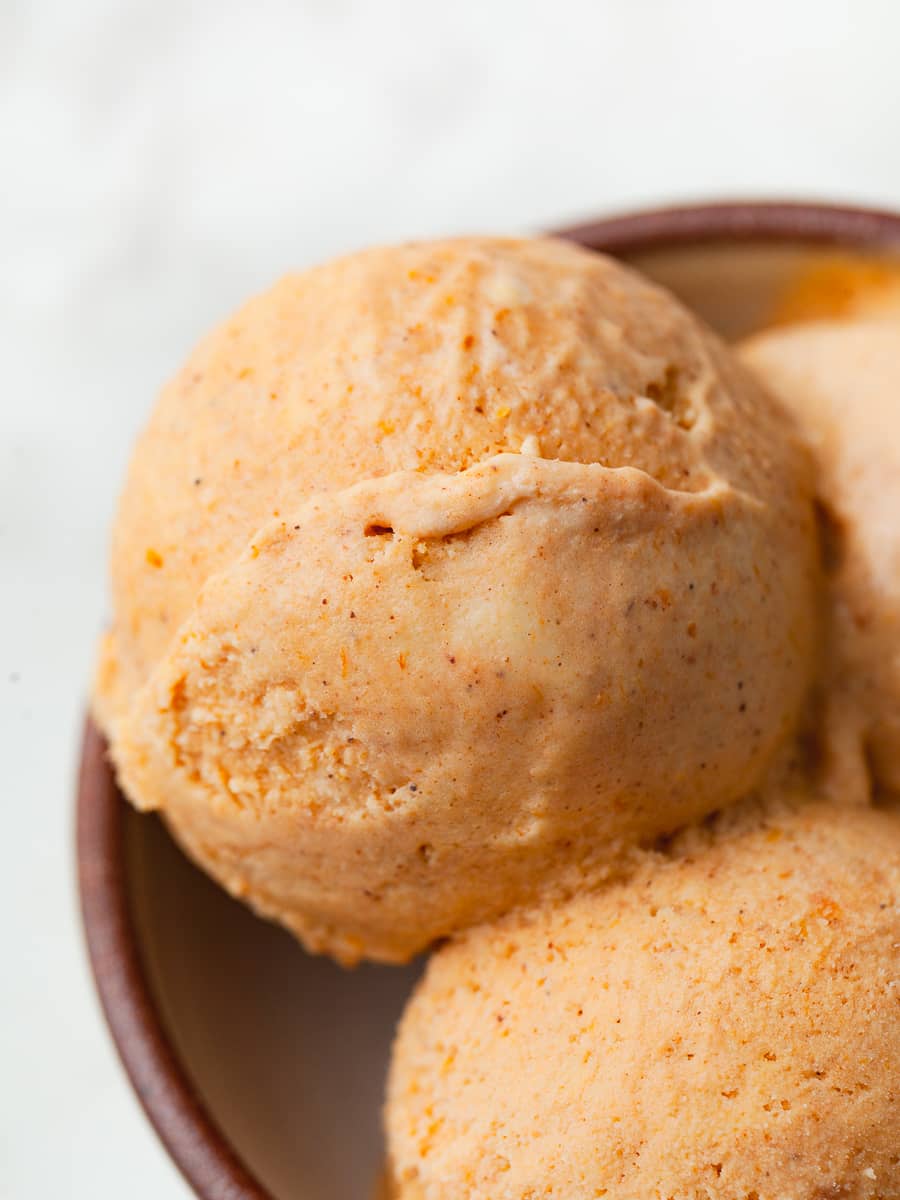
Enjoy this creamy no churn pumpkin ice cream straight from the freezer, or dress it up for an extra-special dessert. Serve scoops in gluten free waffle cones, top with warm salted caramel sauce, toasted pecans, or crushed gluten free gingersnaps or gluten free graham crackers. For a coffeehouse inspired treat, pour a shot of hot espresso over a scoop for a pumpkin affogato. However you serve it, don't forget a dollop of whipped cream and a dusting of cinnamon for the perfect finishing touch.
Note about Salt in my Recipes
I use Diamond Kosher Crystal Salt in all of my recipes unless otherwise stated. If use use a different brand or kind of salt in your kitchen please adjust accordingly since some salts can be saltier. If you use Morton’s Kosher Salt please be aware that their salt granules are smaller in size, denser, and crunchier and twice as salty.
Baking in grams
I share my recipes in grams and by weight since baking by weight is the most accurate way to bake. Digital Scales are very affordable and easy to use. You can purchase them on Amazon for less than a set of measuring cups. For small amounts under 10 grams, I like to use this Precision Pocket Scale. Measuring cups are very inaccurate which can cause significant errors when it comes to gluten-free baking or baking in general. Especially since I bake with gluten-free flours which weigh differently than “regular” flours. I do provide some ingredients like spices and leavening agents in measuring spoons. To learn more about Baking with a digital scale, make sure to check out my post about Baking by weight.
Note about Ovens and Oven Temperatures
All my recipes are tested and developed with a conventional oven. I always bake my baked goods on the rack placed in the MIDDLE of my oven. This way the heat coming from the bottom will not burn my baked goods.
If you are baking with convection (fan-forced), please adjust the recipes accordingly. Convection oven can cause baked goods to dry out quickly and still be raw inside. Since takes at least 15-20 minutes for a standard American Oven to be fully preheated. I highly recommend investing in an Oven Thermometer.
Substitutions and Modifications
Any dietary or ingredient modifications/substitutions to this recipe may alter the end result in appearance and taste. I test my recipes several times as published in this post and The Gluten Free Austrian Blog is not responsible for the outcome of any recipe you find on our website.
More Gluten Free Pumpkin Recipes


📖 Recipe
Gluten Free No Churn Pumpkin Ice Cream
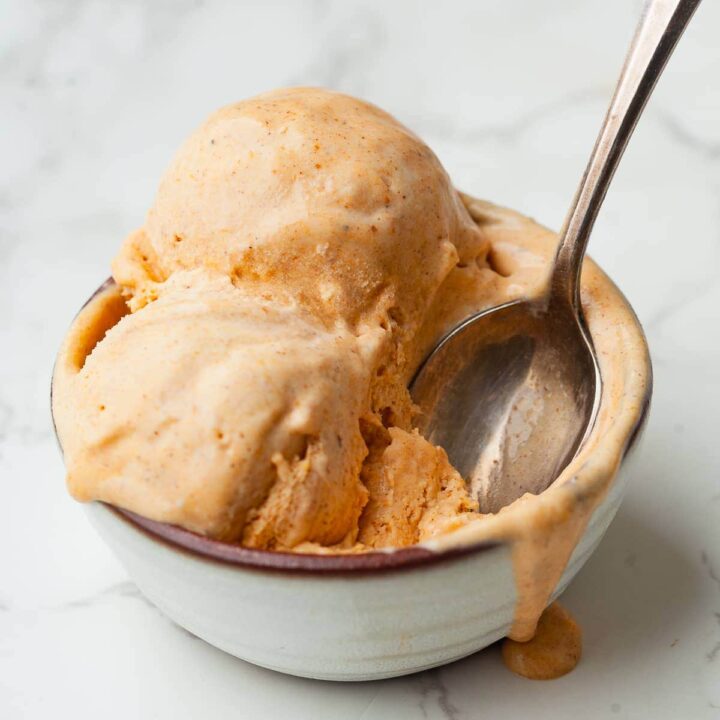
This Gluten Free No Churn Pumpkin Ice Cream is rich, creamy, and packed with real pumpkin and warm fall spices. Made without an ice cream maker, this easy homemade pumpkin ice cream comes together with just a handful of ingredients and freezes into a smooth, scoopable dessert that's perfect for fall.
Ingredients
Gluten Free No Churn Pumpkin Ice Cream
- 250 grams pure pumpkin puree (200 grams after being blotted dry)
- 1 can sweetened condensed milk (14 oz)
- 120 grams full fat sour cream
- 2 teaspoons pumpkin pie spice
- 1 teaspoon ground cinnamon
- ¼ - ½ ground ginger
- 1-2 teaspoons vanilla extract
- ½ teaspoon kosher salt
- 1-2 teaspoons rum (OPTIONAL!)
- 315 grams heavy whipping cream, cold
Instructions
How to blot the pumpkin puree
Pumpkin purée contains a lot of water, which can make no-churn ice cream icy. Blotting away some of the excess moisture creates a creamier texture, minimizes ice crystals, and concentrates the pumpkin flavor for an even richer-tasting ice cream.
- Line a plate with several layers of paper towels.
- Spread the pumpkin purée onto a plate in an even layer.
- Place more paper towels on top and gently press to absorb excess moisture.
- Repeat with fresh paper towels if needed until the pumpkin is noticeably thicker but still smooth and spreadable.
- Make sure to reweigh the pumpkin pureee. You should have around 200 grams.
Gluten Free No Churn Pumpkin Ice Cream
- Start by lining a standard loaf pan with parchment paper and place it in the freezer. I like to lightly spray the pan with nonstick cooking spray so the parchment sticks to the pan.
- Make sure to blot your pumpkin purée to remove any excess moisture. It should have the consistency of thick Greek yogurt.
- In a mixing bowl, combine the sweetened condensed milk, sour cream, pumpkin purée, pumpkin pie spice, ground cinnamon, ground ginger, vanilla extract, kosher salt, and rum (if using).
- Whisk until the mixture is smooth and no lumps of pumpkin purée or sour cream remain. Place the bowl in the refrigerator while you whip the heavy cream.
- Add the cold heavy cream to the bowl of a stand mixer fitted with the whisk attachment. Whisk on medium speed until stiff peaks form, about 2–3 minutes, depending on your mixer.
- Retrieve the pumpkin mixture from the refrigerator. Fold the whipped cream into the pumpkin mixture in three additions, starting with one portion to lighten the base, then gently folding in the remaining whipped cream until smooth, airy, and fully combined. A whisk or flexible rubber spatula works well for this.
- The finished mixture should resemble a thick mousse. Be careful not to overmix, or the whipped cream will deflate.
- Transfer the mixture to the prepared loaf pan. Cover with plastic wrap or a piece of parchment paper and freeze for at least 6 hours before serving.
Notes
Rum or Bourbon: This is an optional ingredient! Alcohol lowers the freezing point, which helps keep the no churn ice cream softer and easier to scoop instead of freezing rock hard. It also adds a subtle depth of flavor. I use Captain Morgan Spiced Rum. Like most major rum brands, it’s naturally gluten free since it’s made from sugar cane, yeast, water, and spices.
Storing: Gluten free no-churn ice cream can typically be stored in the freezer for about 2 to 3 weeks for the best texture and flavor.
Ice Cream too cold to scoop? Allow for it to sit at room temperature for 5 minutes or so and it will soften.
Recommended Products
As an Amazon Associate and member of other affiliate programs, I earn from qualifying purchases.
Nutrition Information:
Yield:
8Serving Size:
1Amount Per Serving: Calories: 197
Calories are a guestimate and randomly generated.

Comments
No Comments