

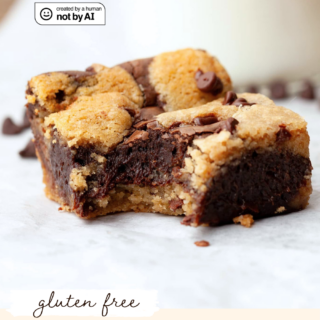
Gluten Free Brookies are the best of both worlds: fudgy, chocolatey brownies and soft, chewy chocolate chip cookies baked together into one irresistible dessert. And because this is a small batch brookie recipe, you get just enough to satisfy your sweet tooth without ending up with a giant pan of leftovers.
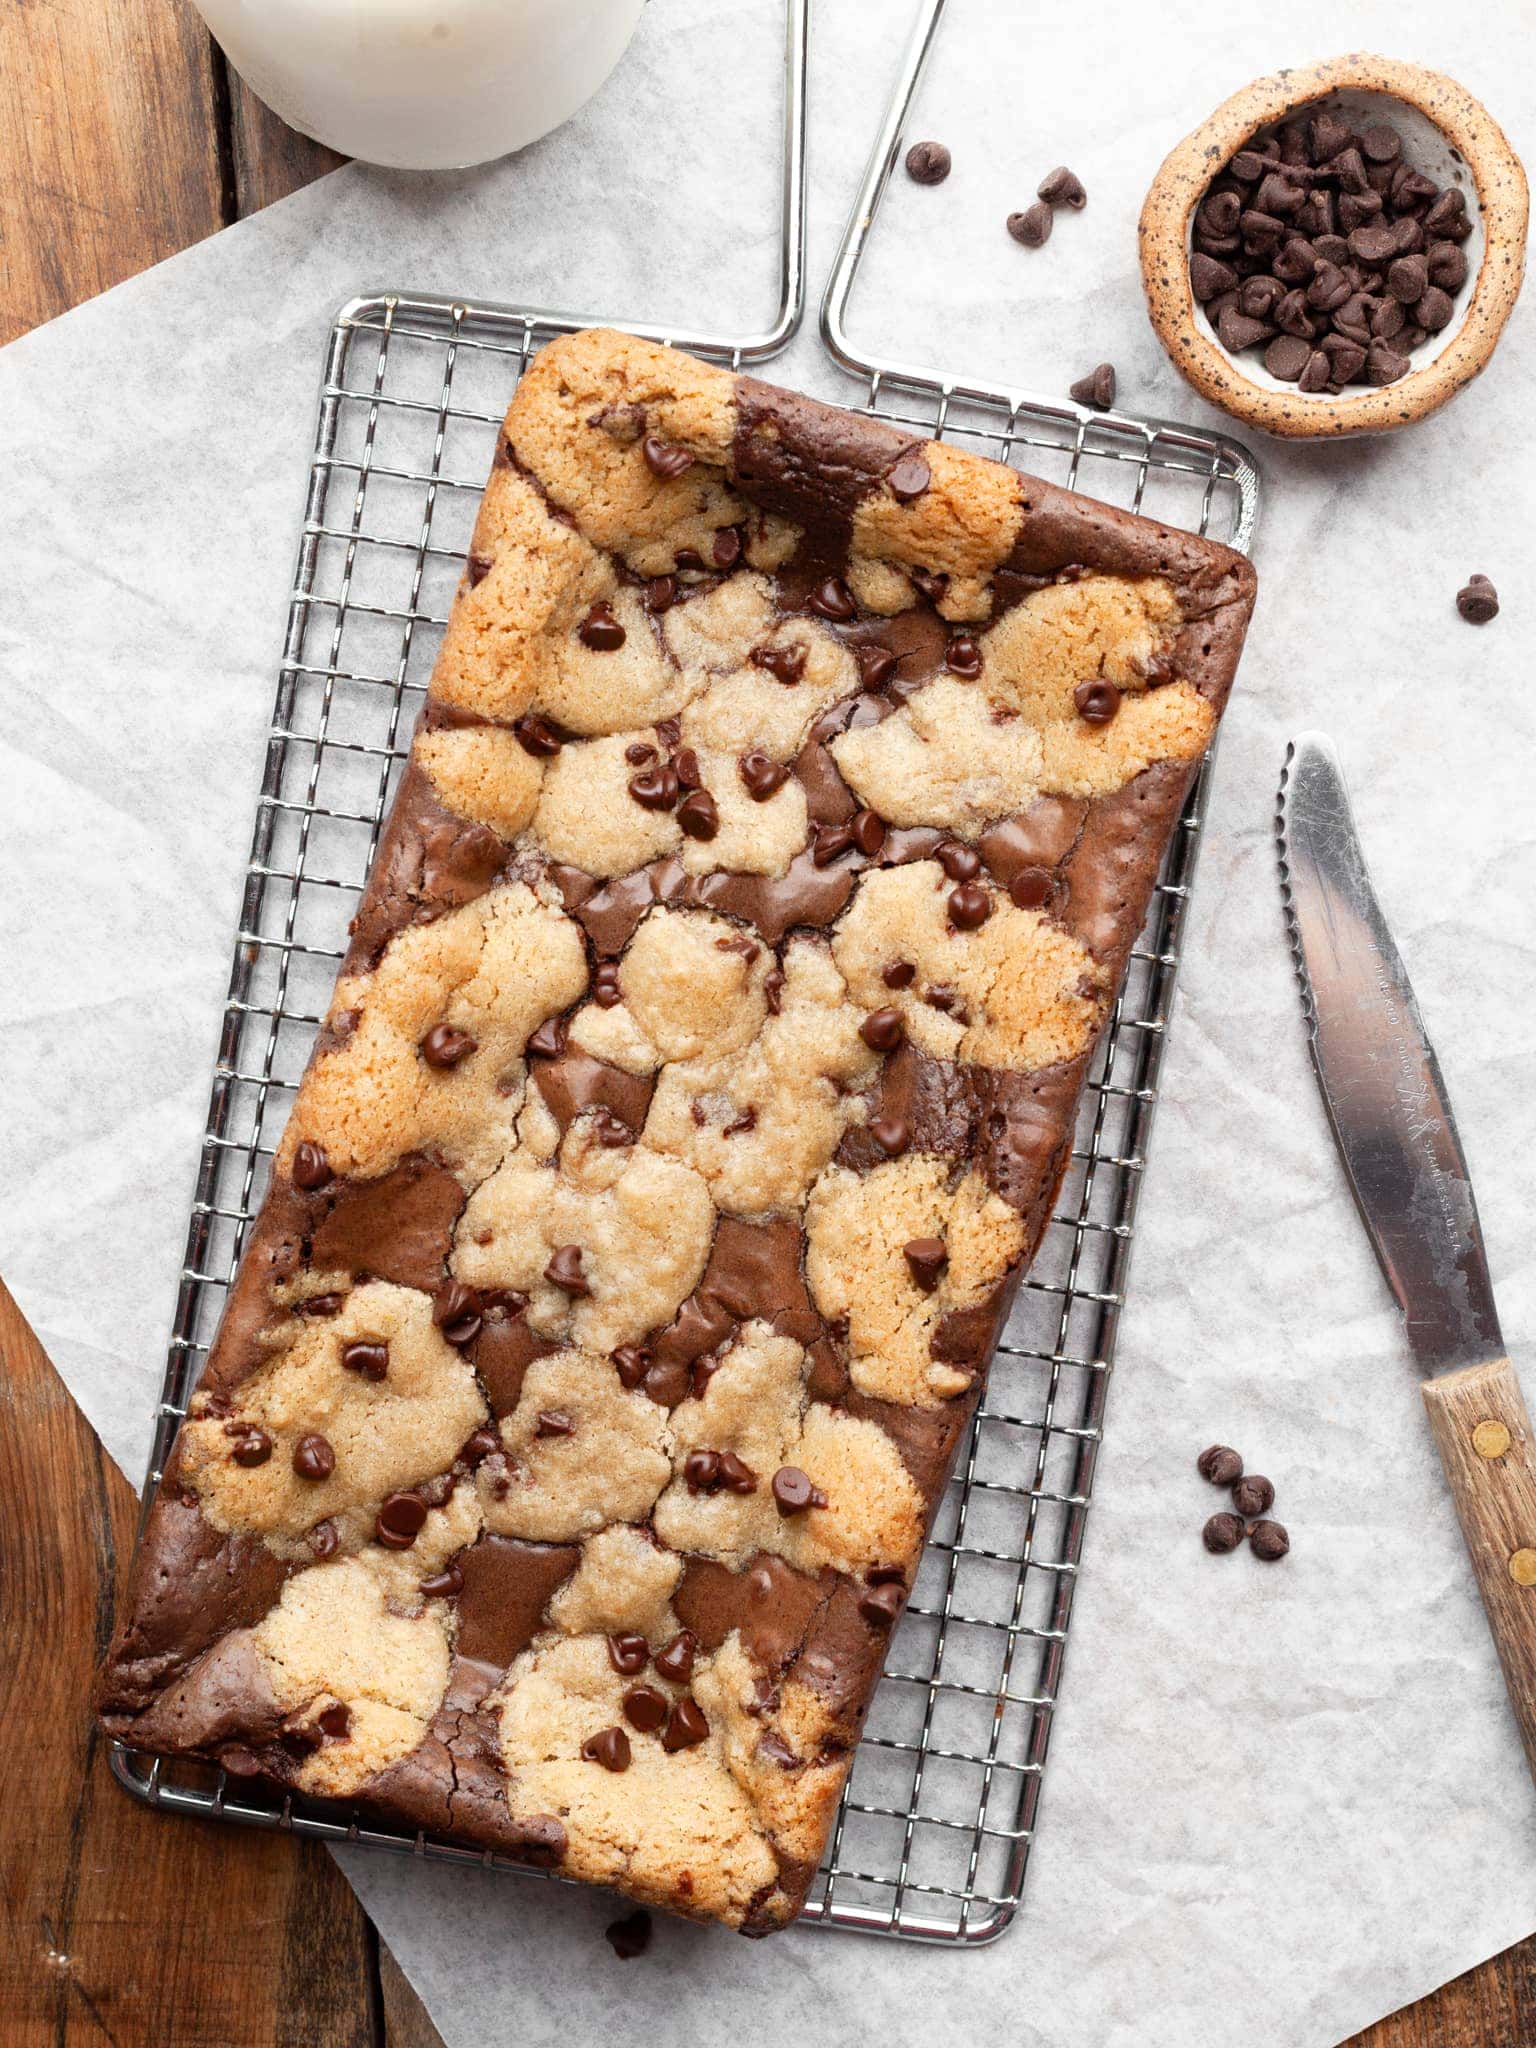
Recipe Ingredient Notes
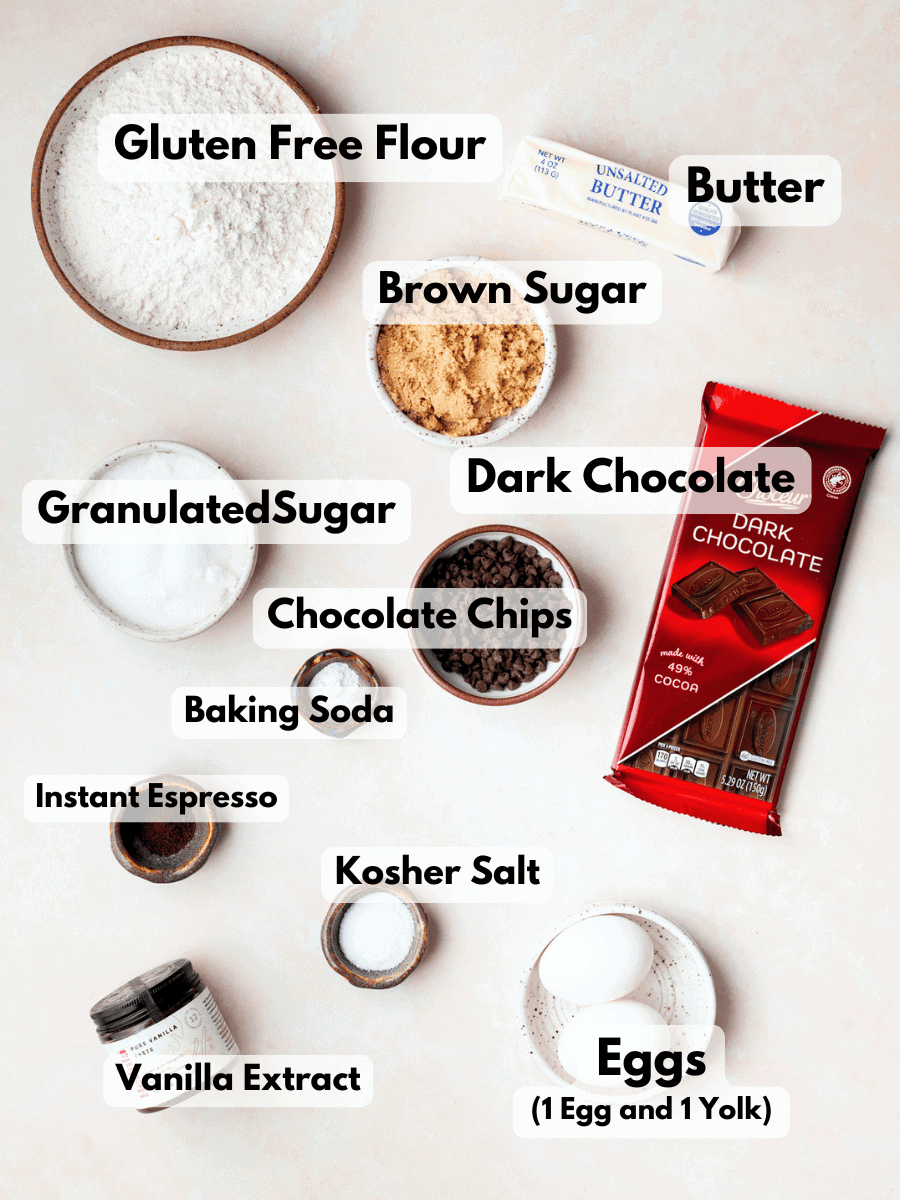
Gluten Free Flour: I tested this recipe for Gluten Free Brookies with Bob's Red Mill 1-1 and King Arthur Measure for Measure. Both gluten free flour blends work great here and I am very certain most other gluten free flour blends containing xanthan gum will work. Personally, I would stay away from my Cup4Cup Copycat Flour Mix and Caputo Fioreglut since both are too heavy in starches.
Dark Chocolate: I use a dark chocolate bar in the brownie layer of this small batch recipe but any high-quality dark chocolate will work. I use a 49% dark chocolate from Aldi USA.
Mini Chocolate Chips: I use mini chocolate chips in the gluten free chocolate chip cookie dough that's part of this recipe. This way, there is a little bit of chocolate in every bite. You can also use regular chocolate chips or a chopped up dark chocolate bar.
Instant Espresso: A small amount of instant espresso deepens the chocolate flavor in the brownies. It’s completely optional, but highly recommended. You’ll usually find it in the coffee aisle at the grocery store, either in single-serve packets or larger jars.
Recipe Notes for Gluten Free Brookies
- This recipe for Gluten Free Brookies has two components: a gluten free chocolate chip cookie dough and a gluten free brownie layer. I prepare the chocolate chip cookie dough first, place half of it in the prepared pan and then prepare the brownie batter.
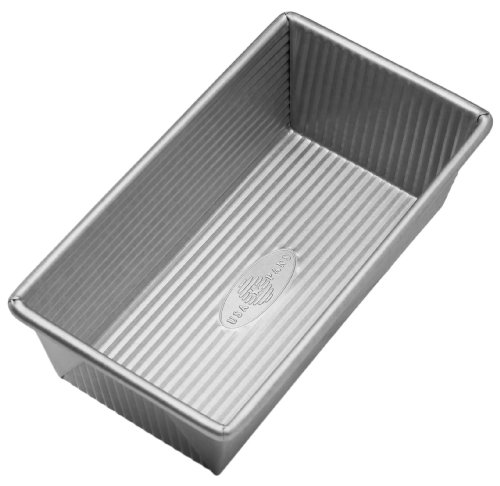
- Use a standard 8x4 loaf pan for the best results. I don't recommend using a bigger pan since the brookies will be very thin.
- I like to preheat my oven once I have the chocolate chip cookie dough prepared. It takes about 15 minutes to fully preheat my oven, so by the time the cookie dough is in the fridge, I have time to prepare the brownie layer. Then assemble the brookies for baking without the oven being on the entire time.
- Don’t let your melted dark chocolate and butter cool completely! Adding it while it’s still hot helps dissolve the sugar and is one of the secrets to getting those gorgeous, shiny, crackly brownie tops.
Gluten Free Chocolate Chip Cookie Layer
I make the gluten free cookie dough by hand. Make sure you allow the melted butter to cool for 10 minutes before proceeding with the recipe. You can also speed this up by placing it in the fridge for a few minutes.
I like to preheat my oven once I have the chocolate chip cookie dough prepared. It takes about 15 minutes to fully preheat my oven so by the time the cookie dough is in the fridge, I have time to prepare the brownie batter, assemble the brookies for baking without the oven being on the entire time.
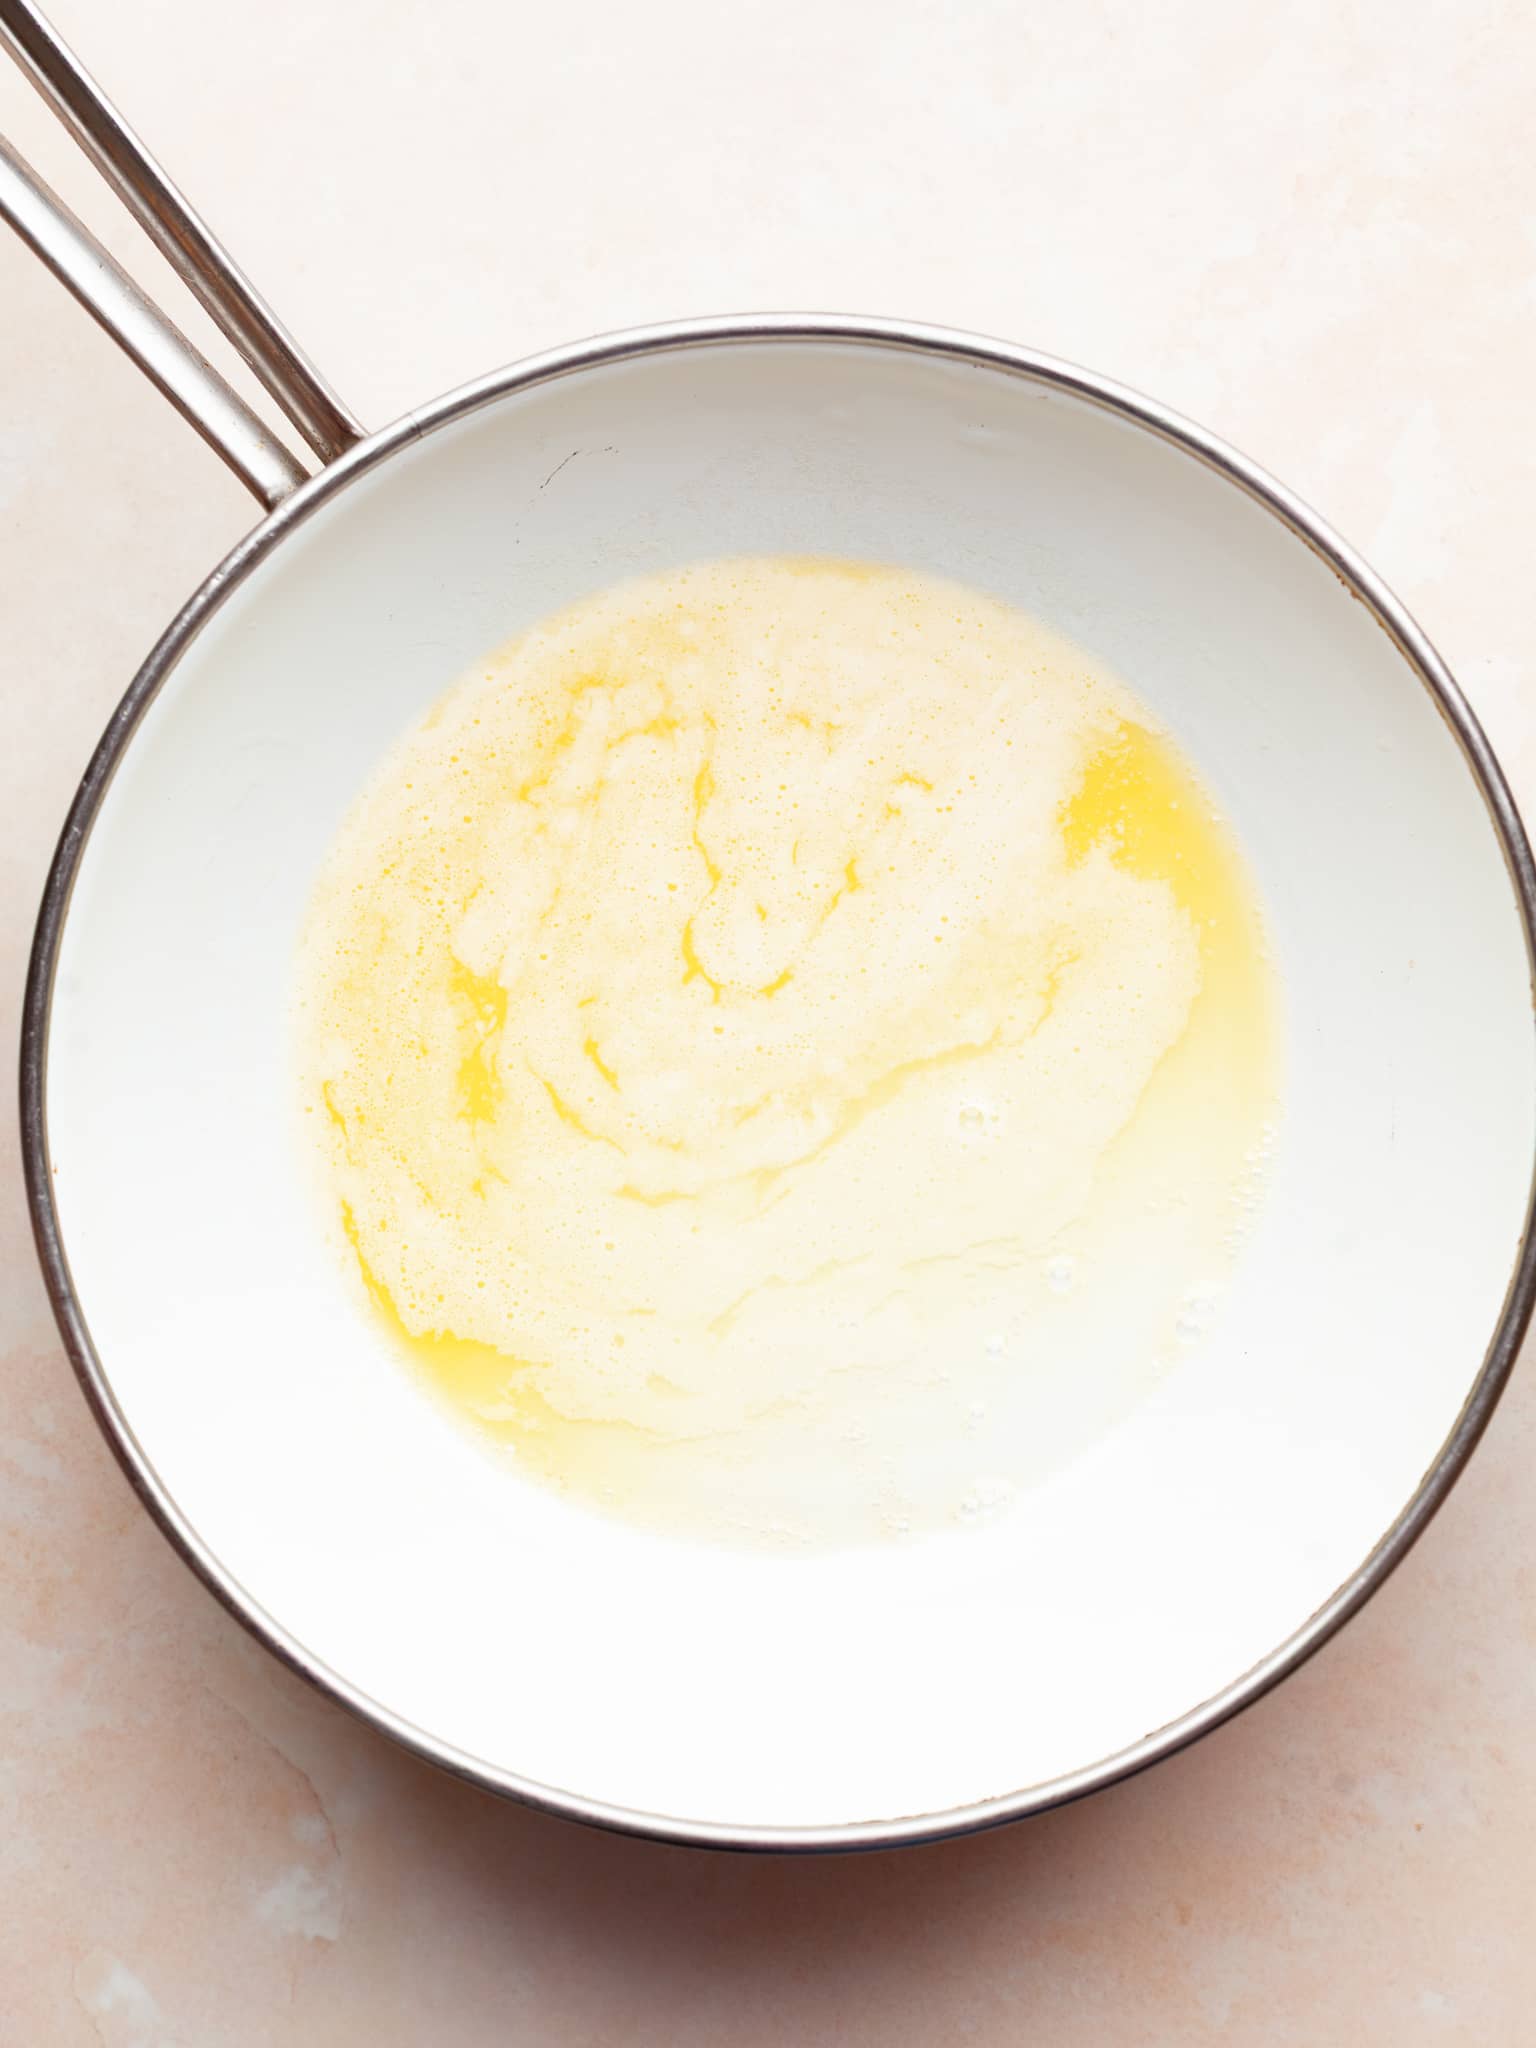
- Step 1: Start by melting the butter in a microwave safe bowl or a small pan on the stove. Allow to cool for about 10 minutes.
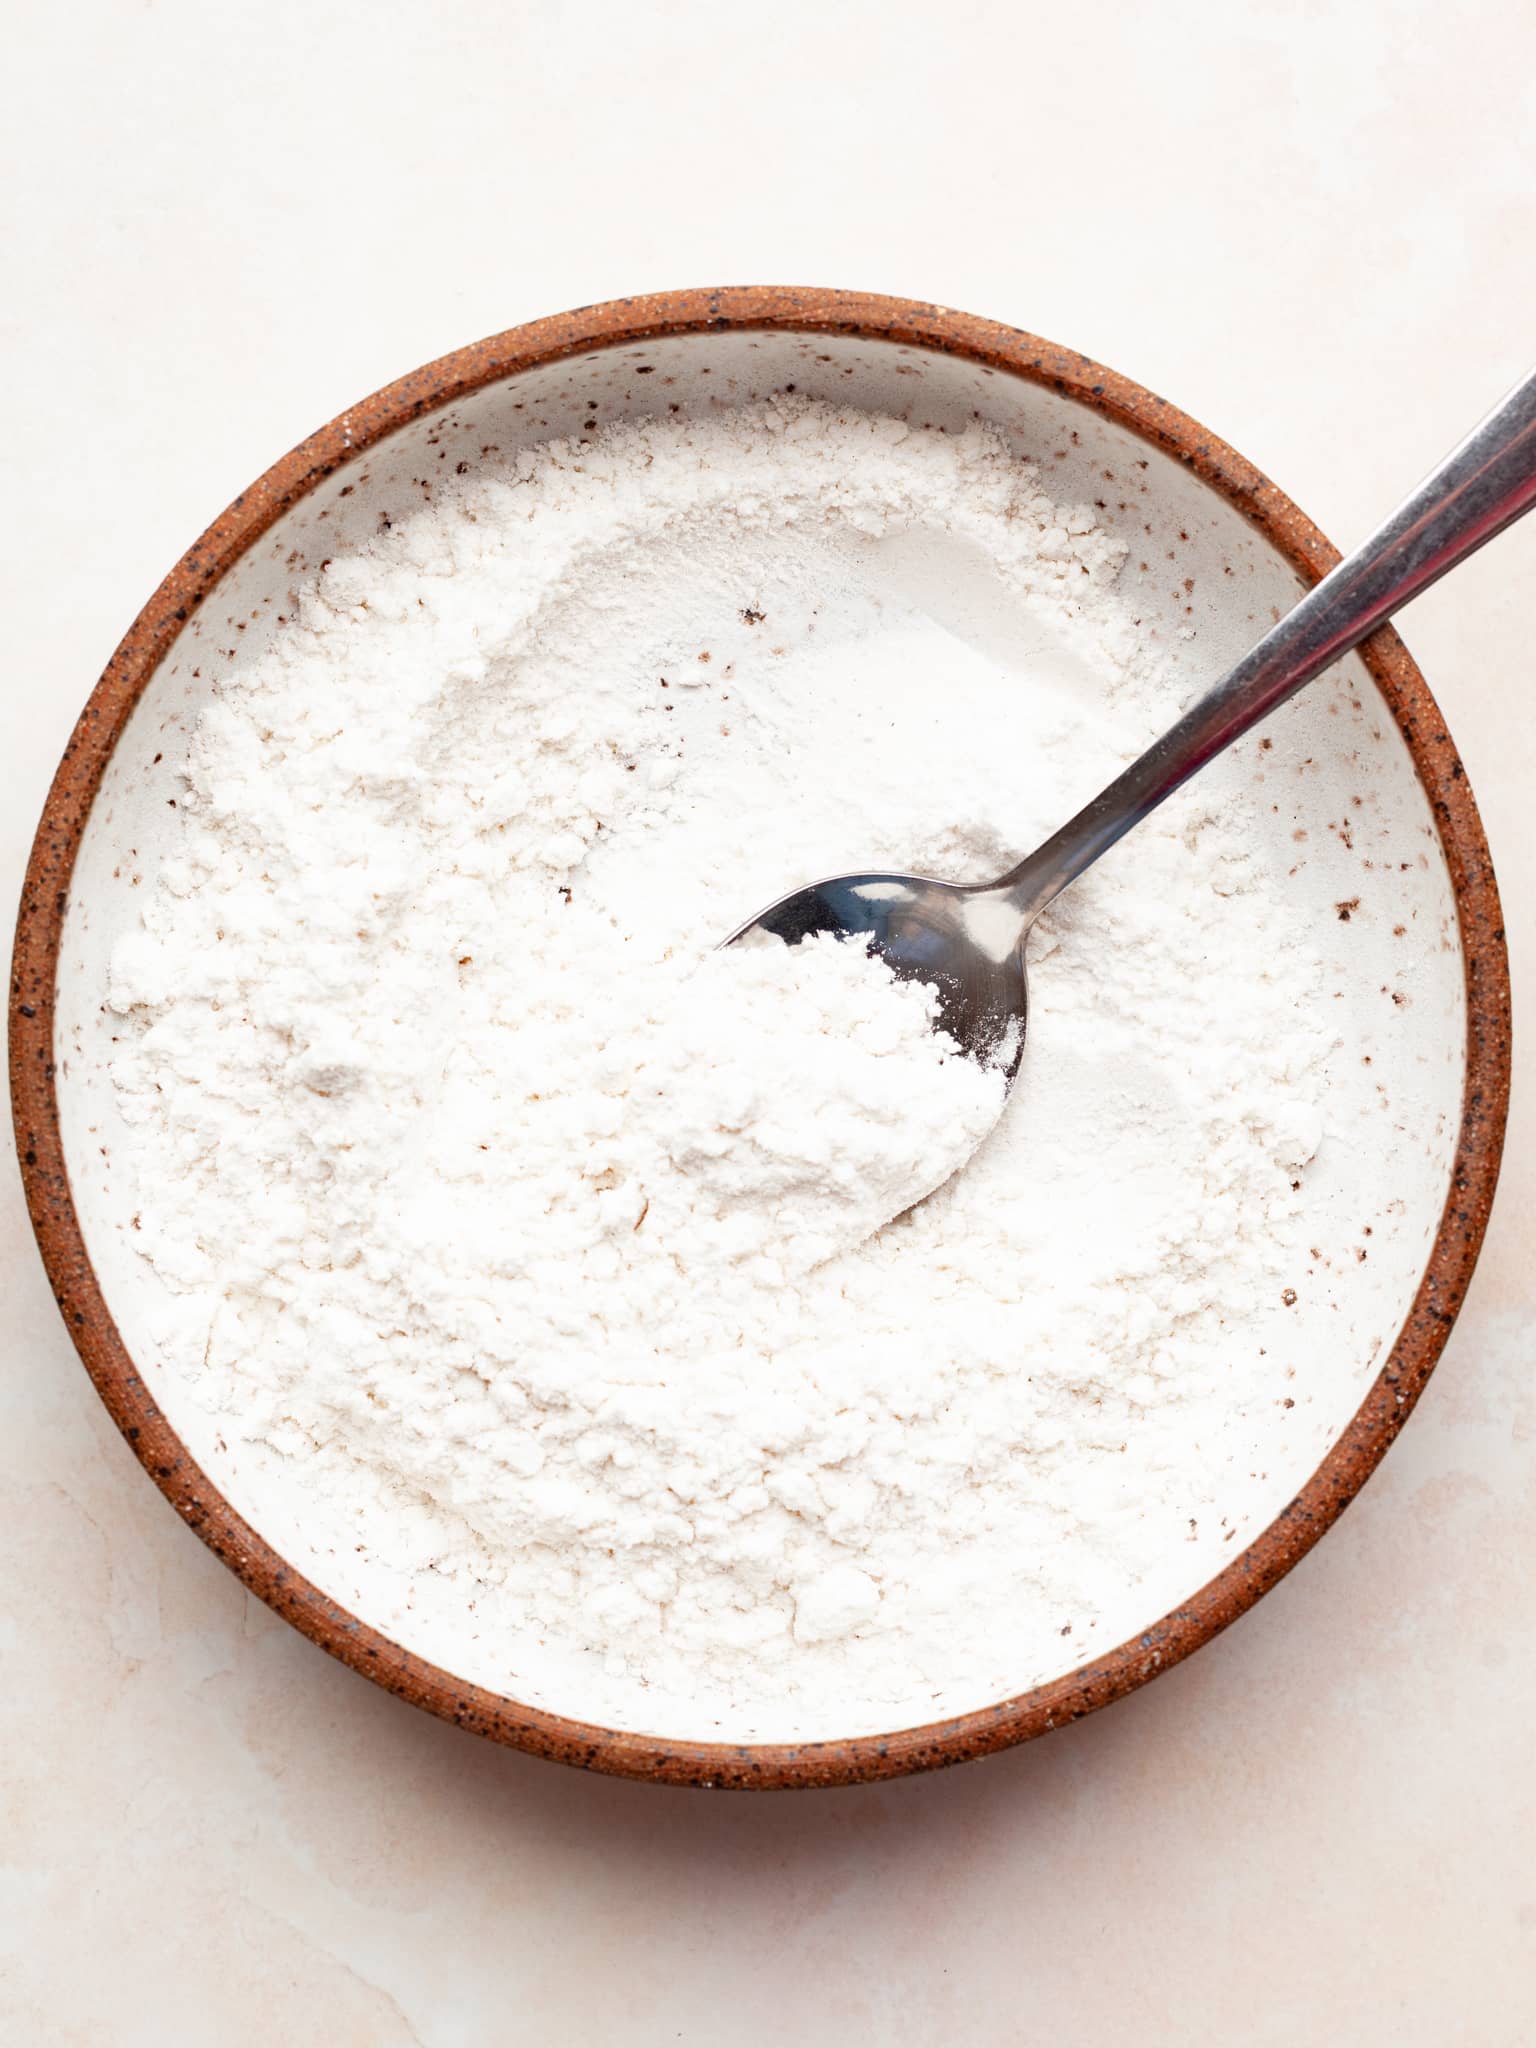
- Step 2: In the meantime, combine the gluten free flour, baking soda and kosher salt. Set aside.
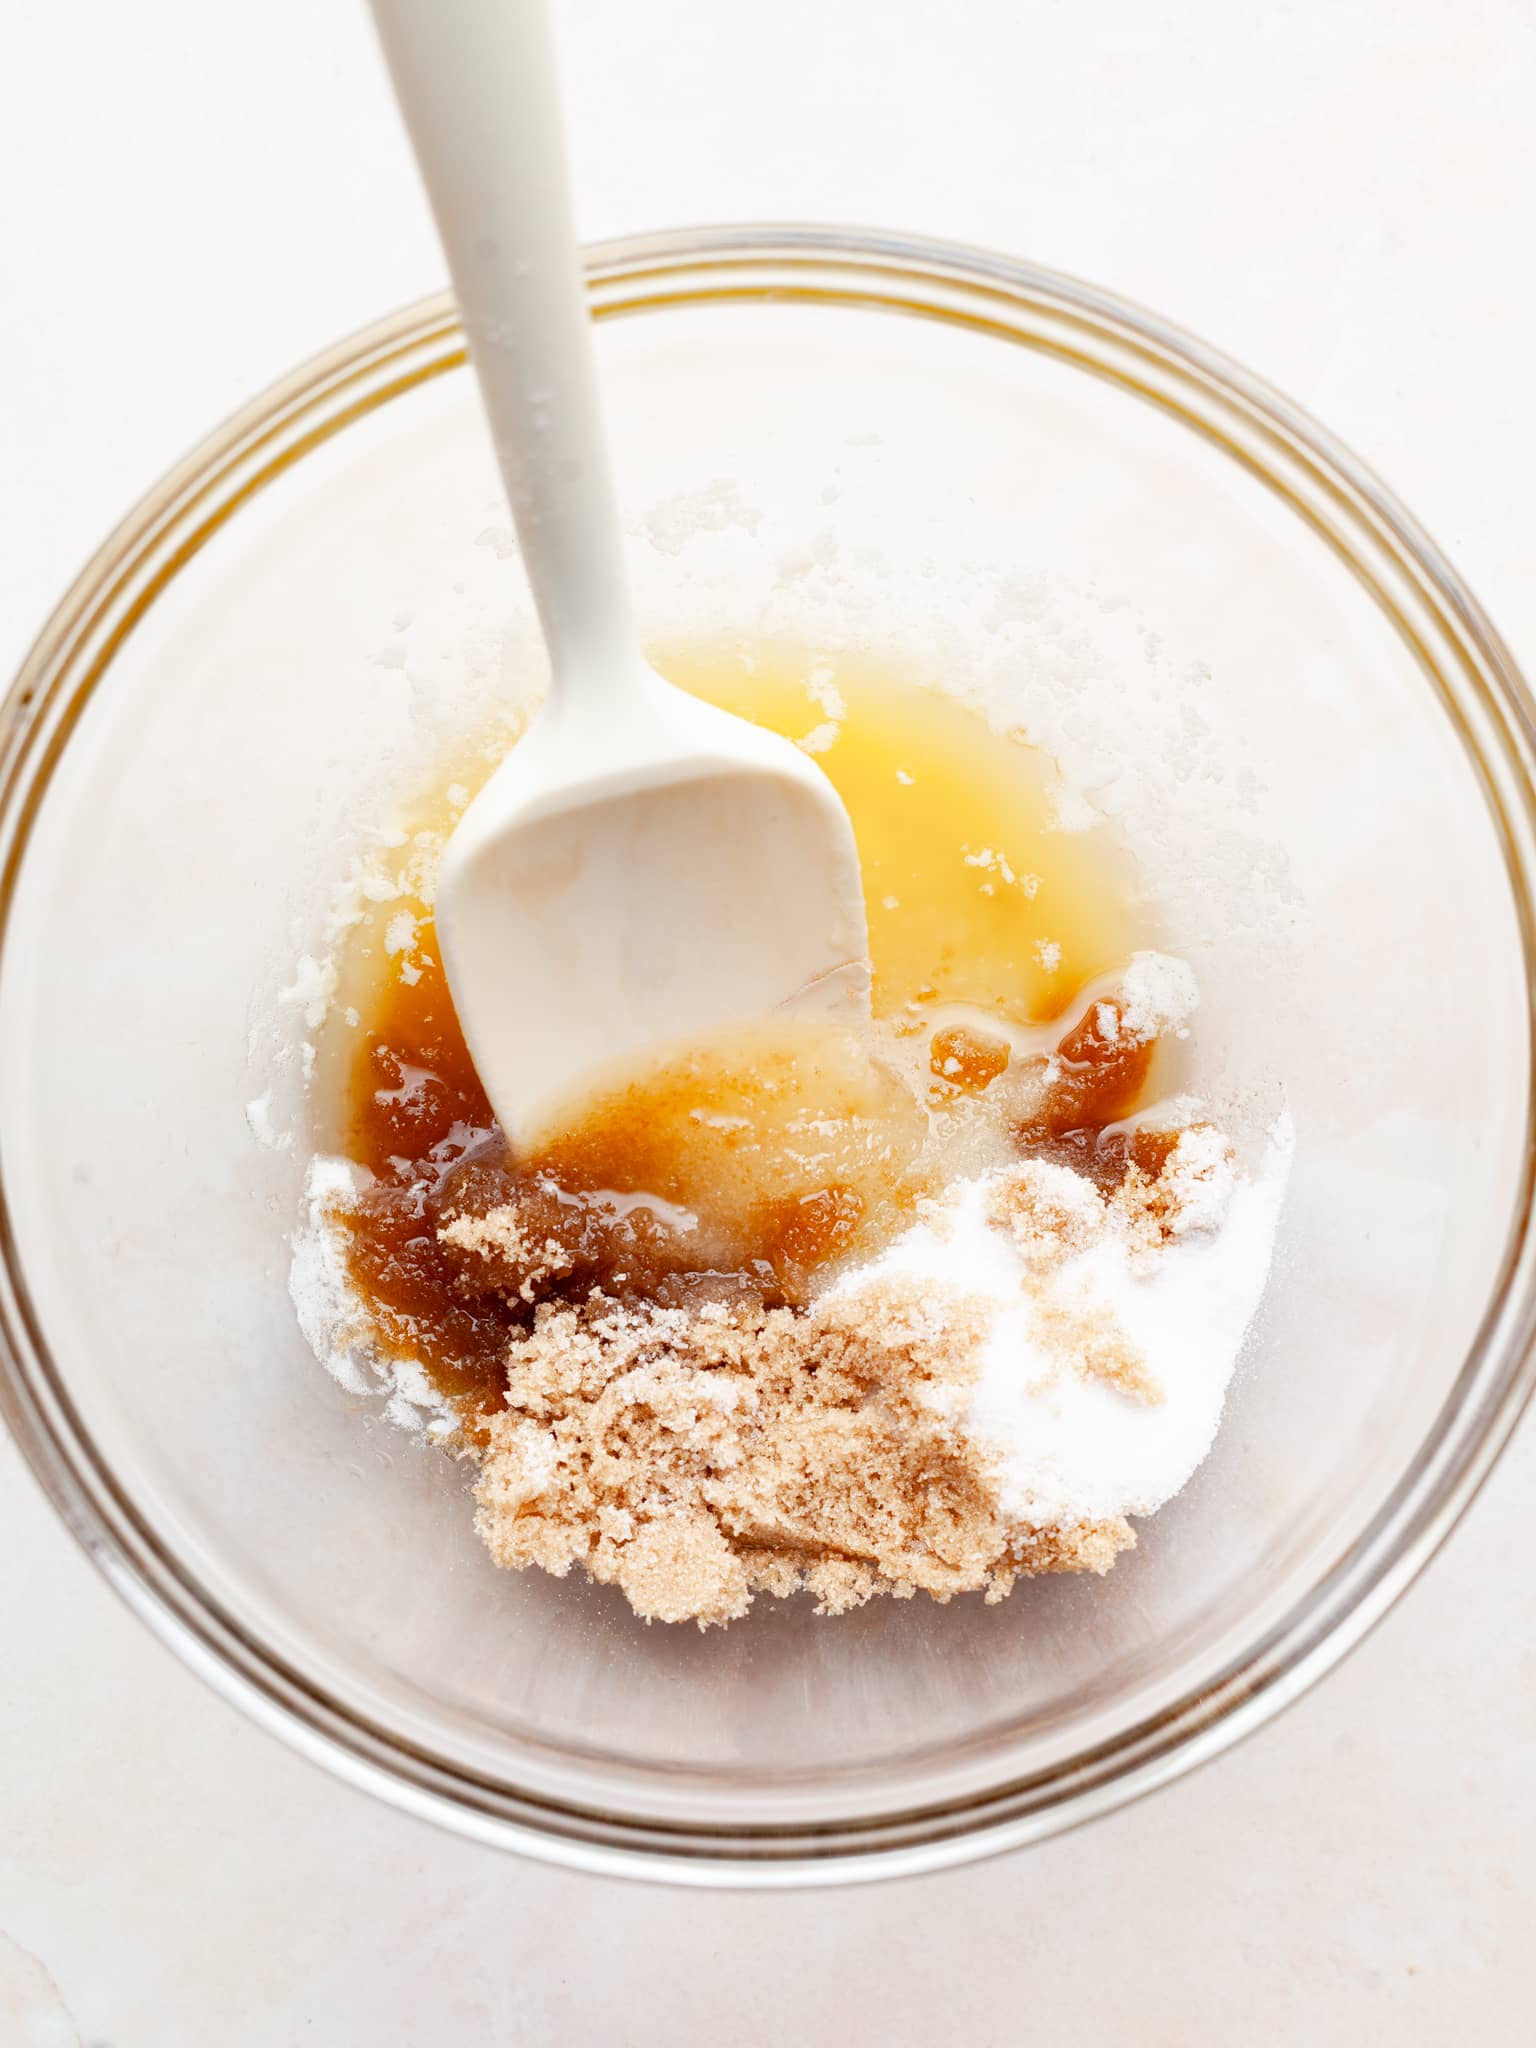
- Step 3: Once the butter has cooled, add the light brown sugar and granulated sugar. Mix until the sugars are fully incorporated.
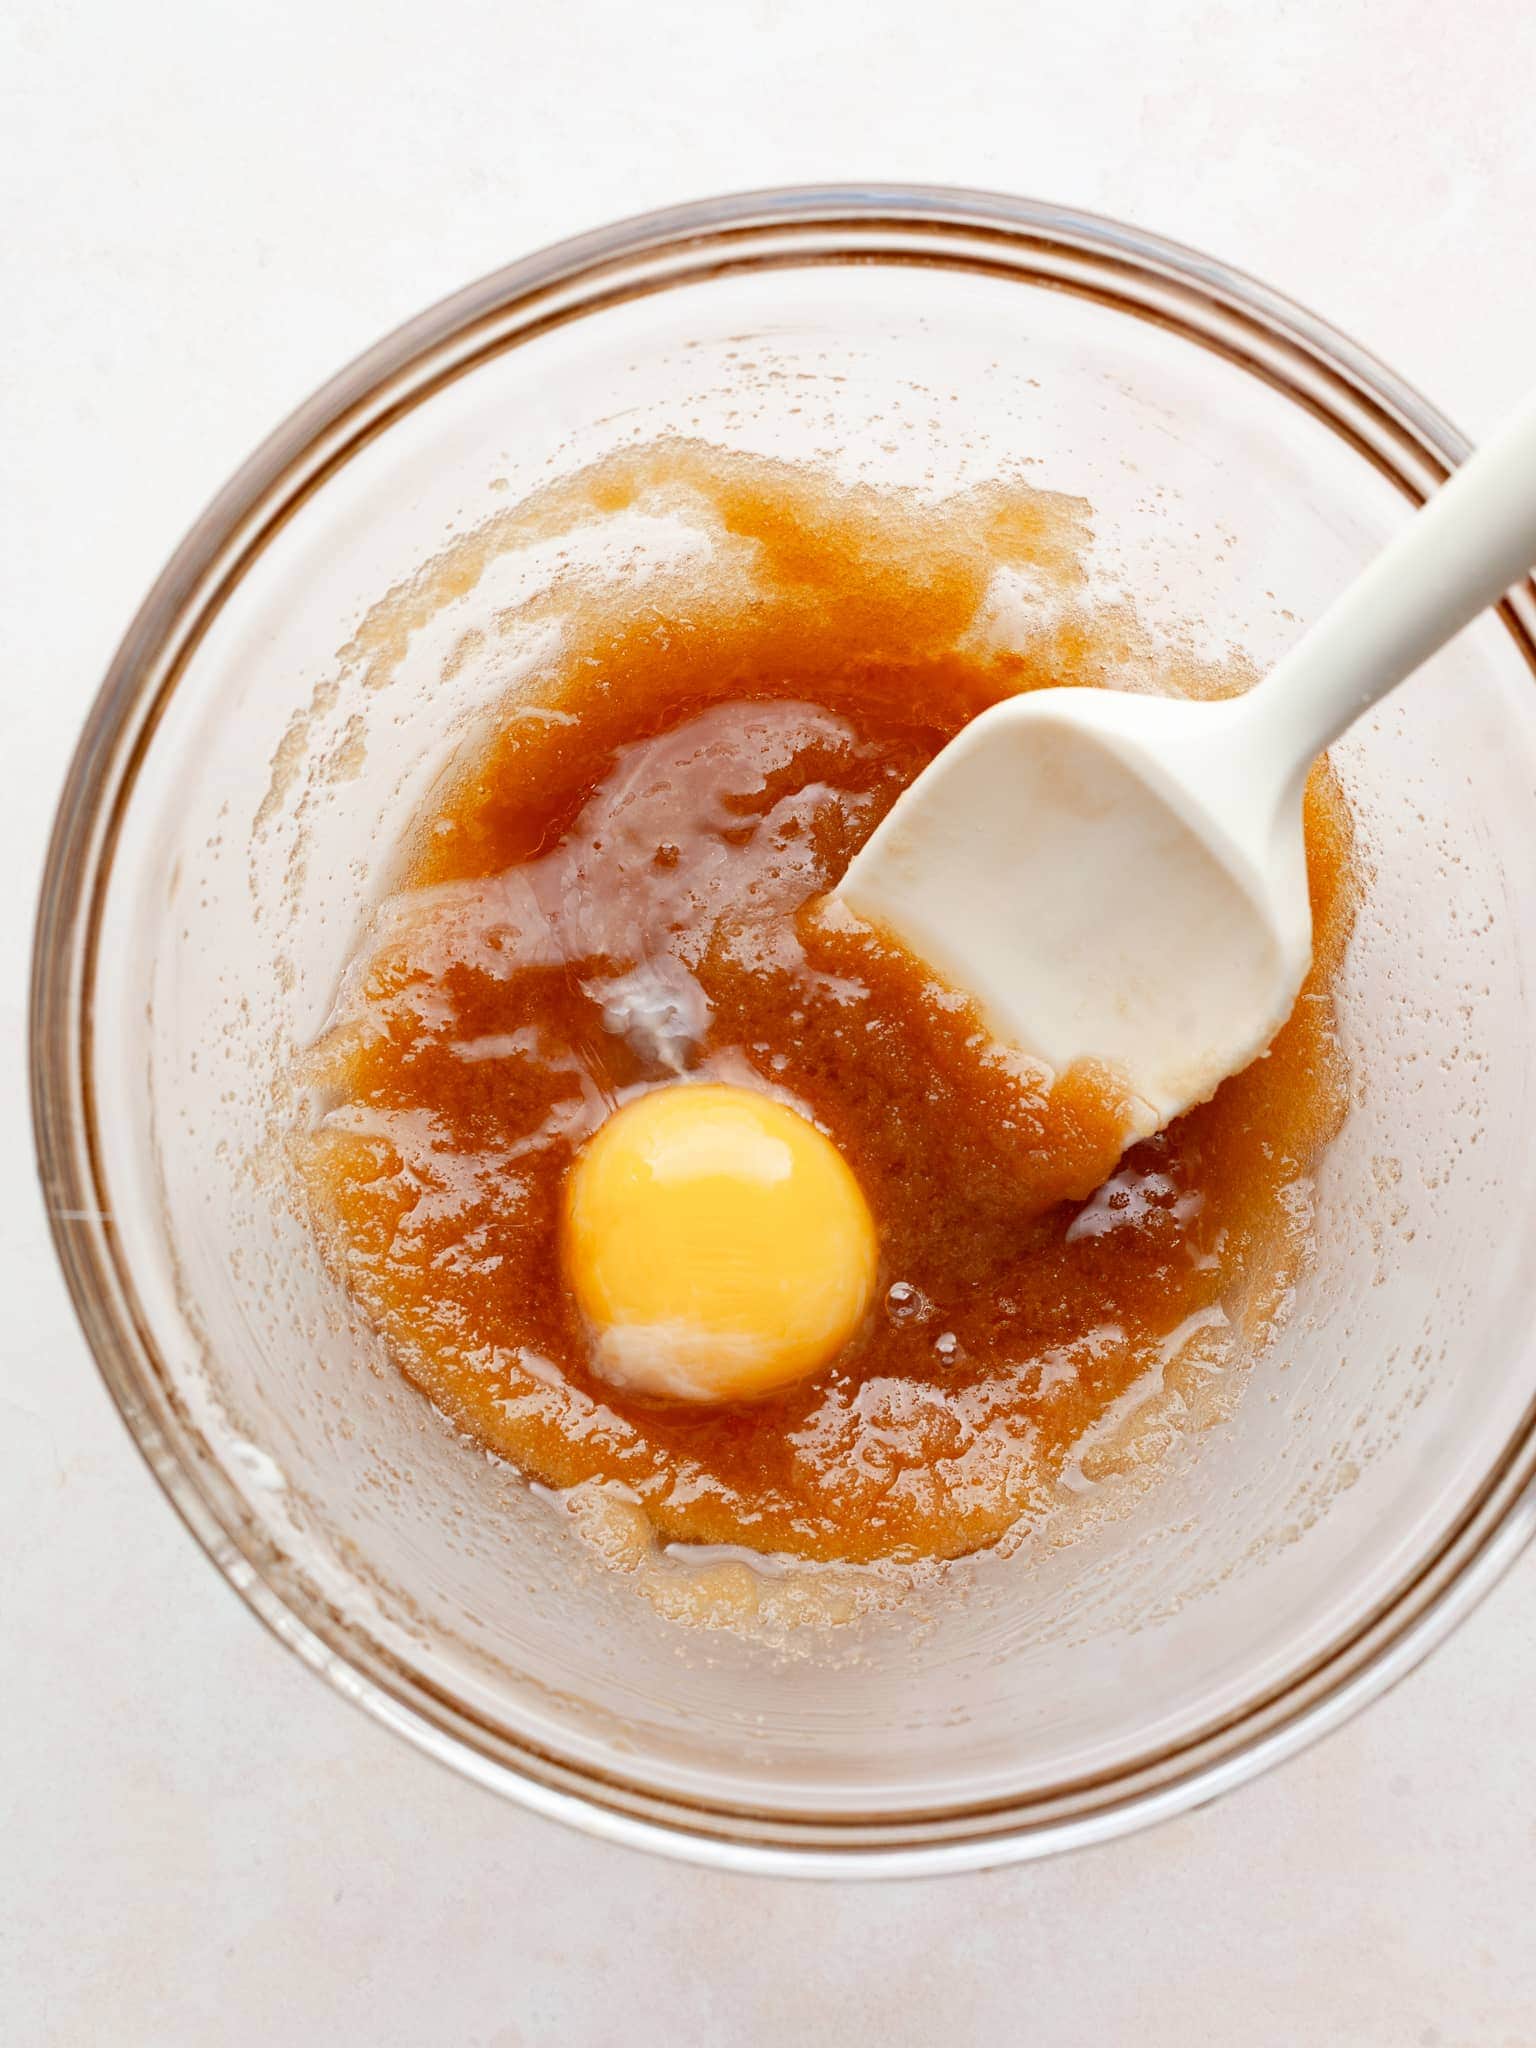
- Step 4: Add the room-temperature egg YOLK and vanilla extract. Stir until everything is smooth and glossy.
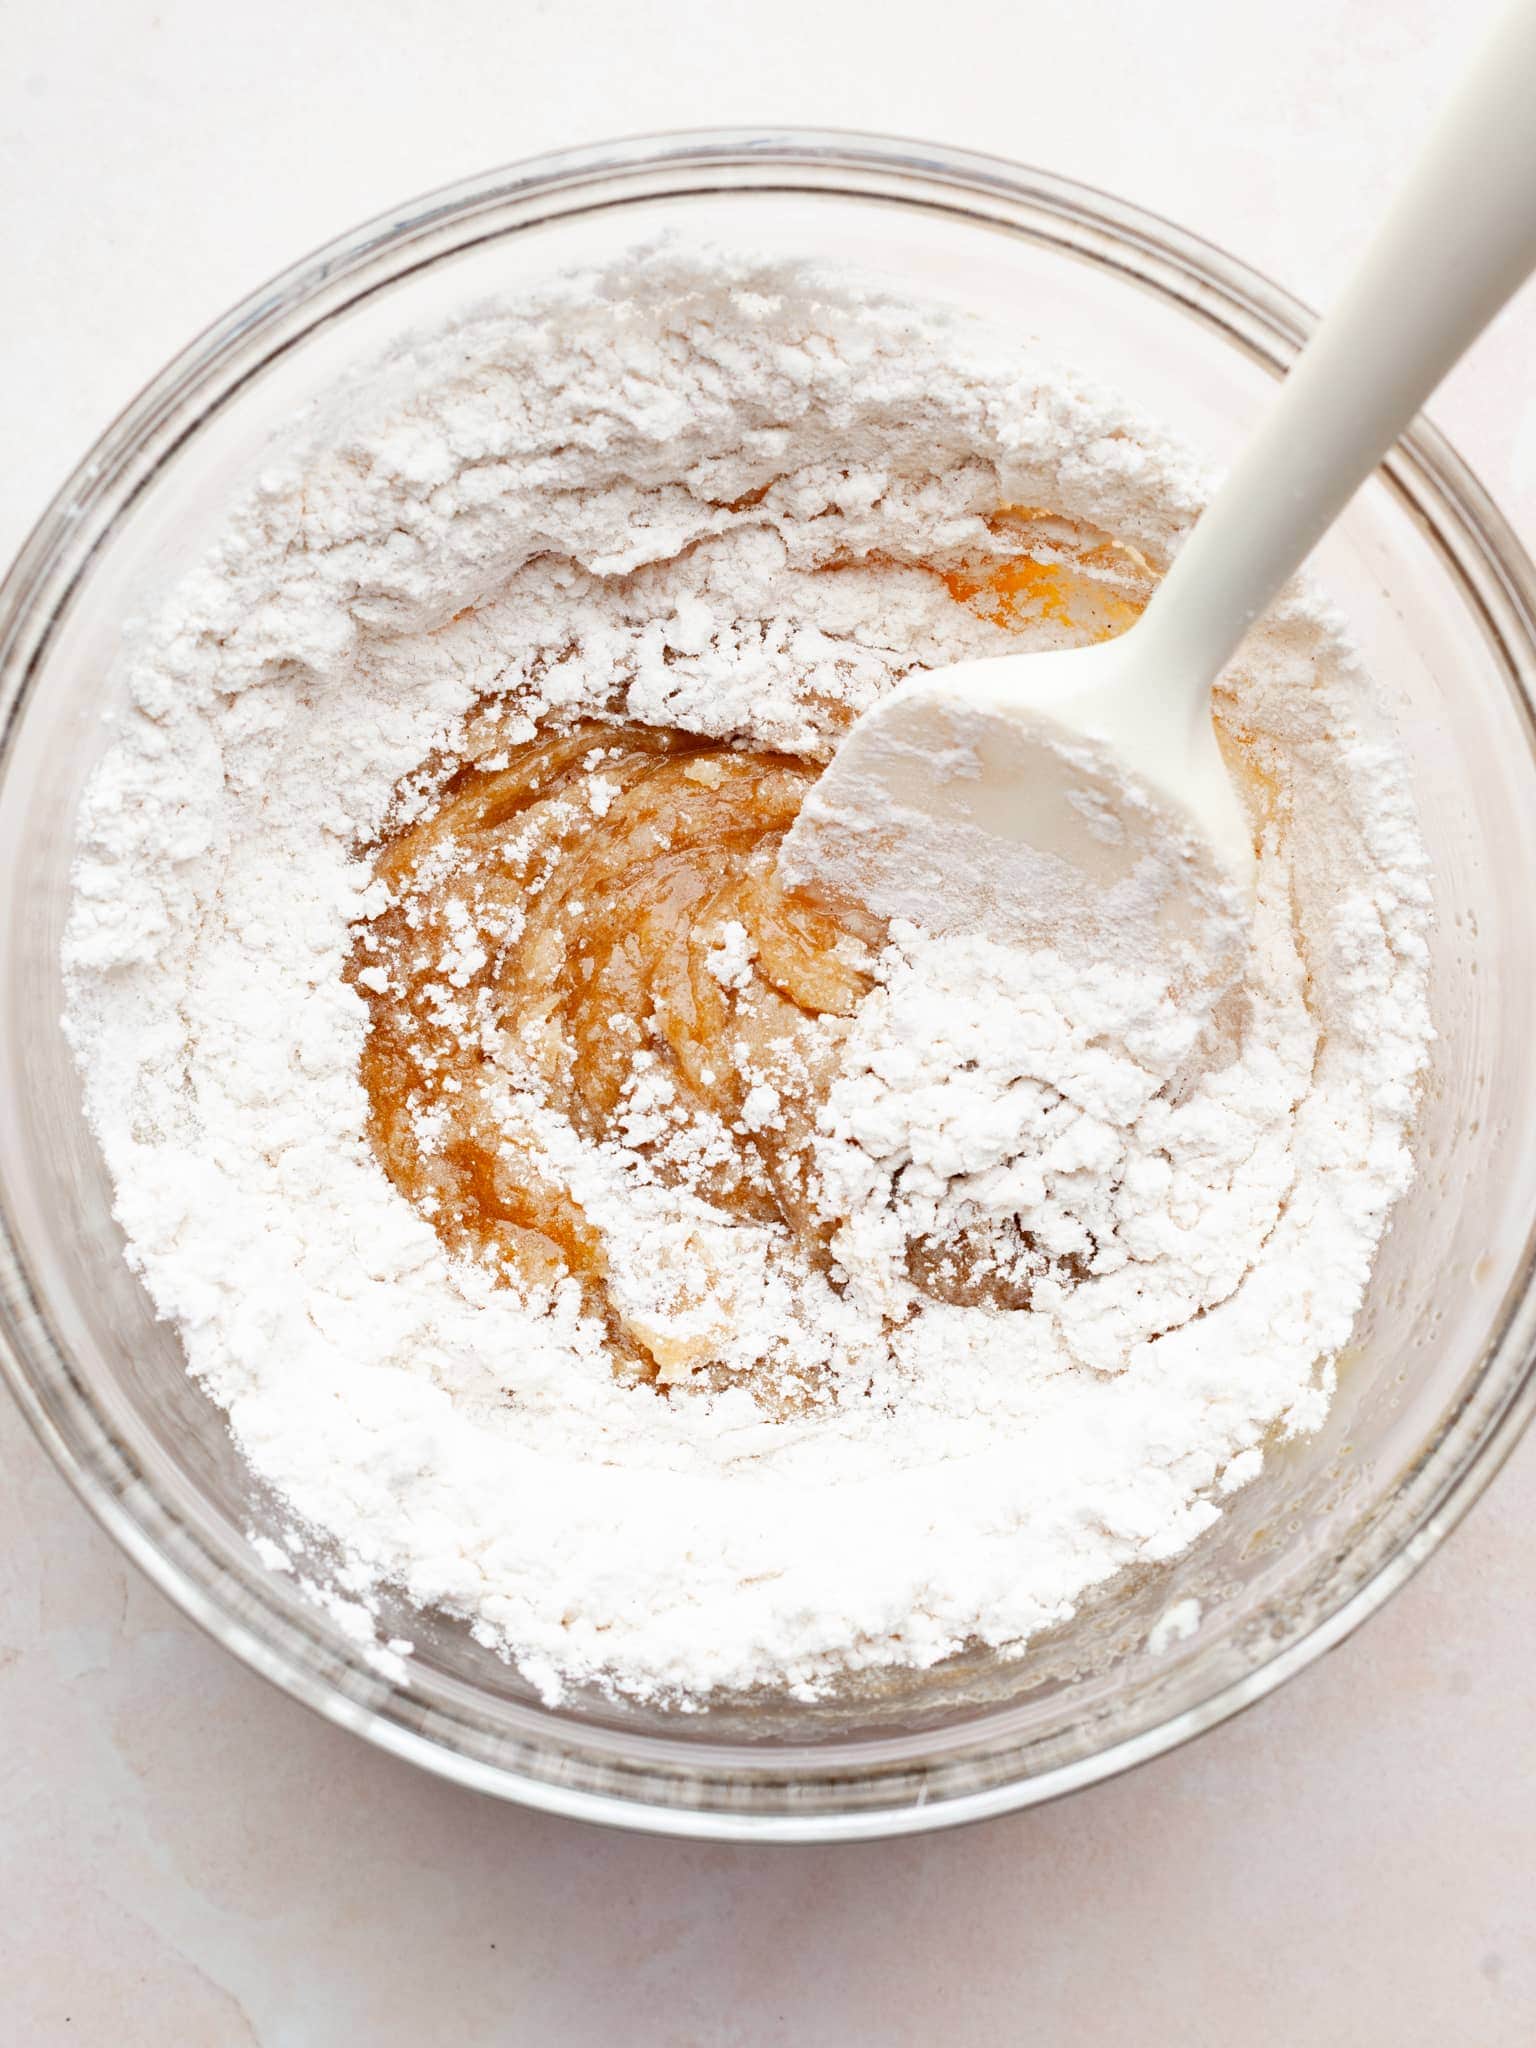
- Step 5: Gently fold the dry ingredients into the wet mixture with a spatula.
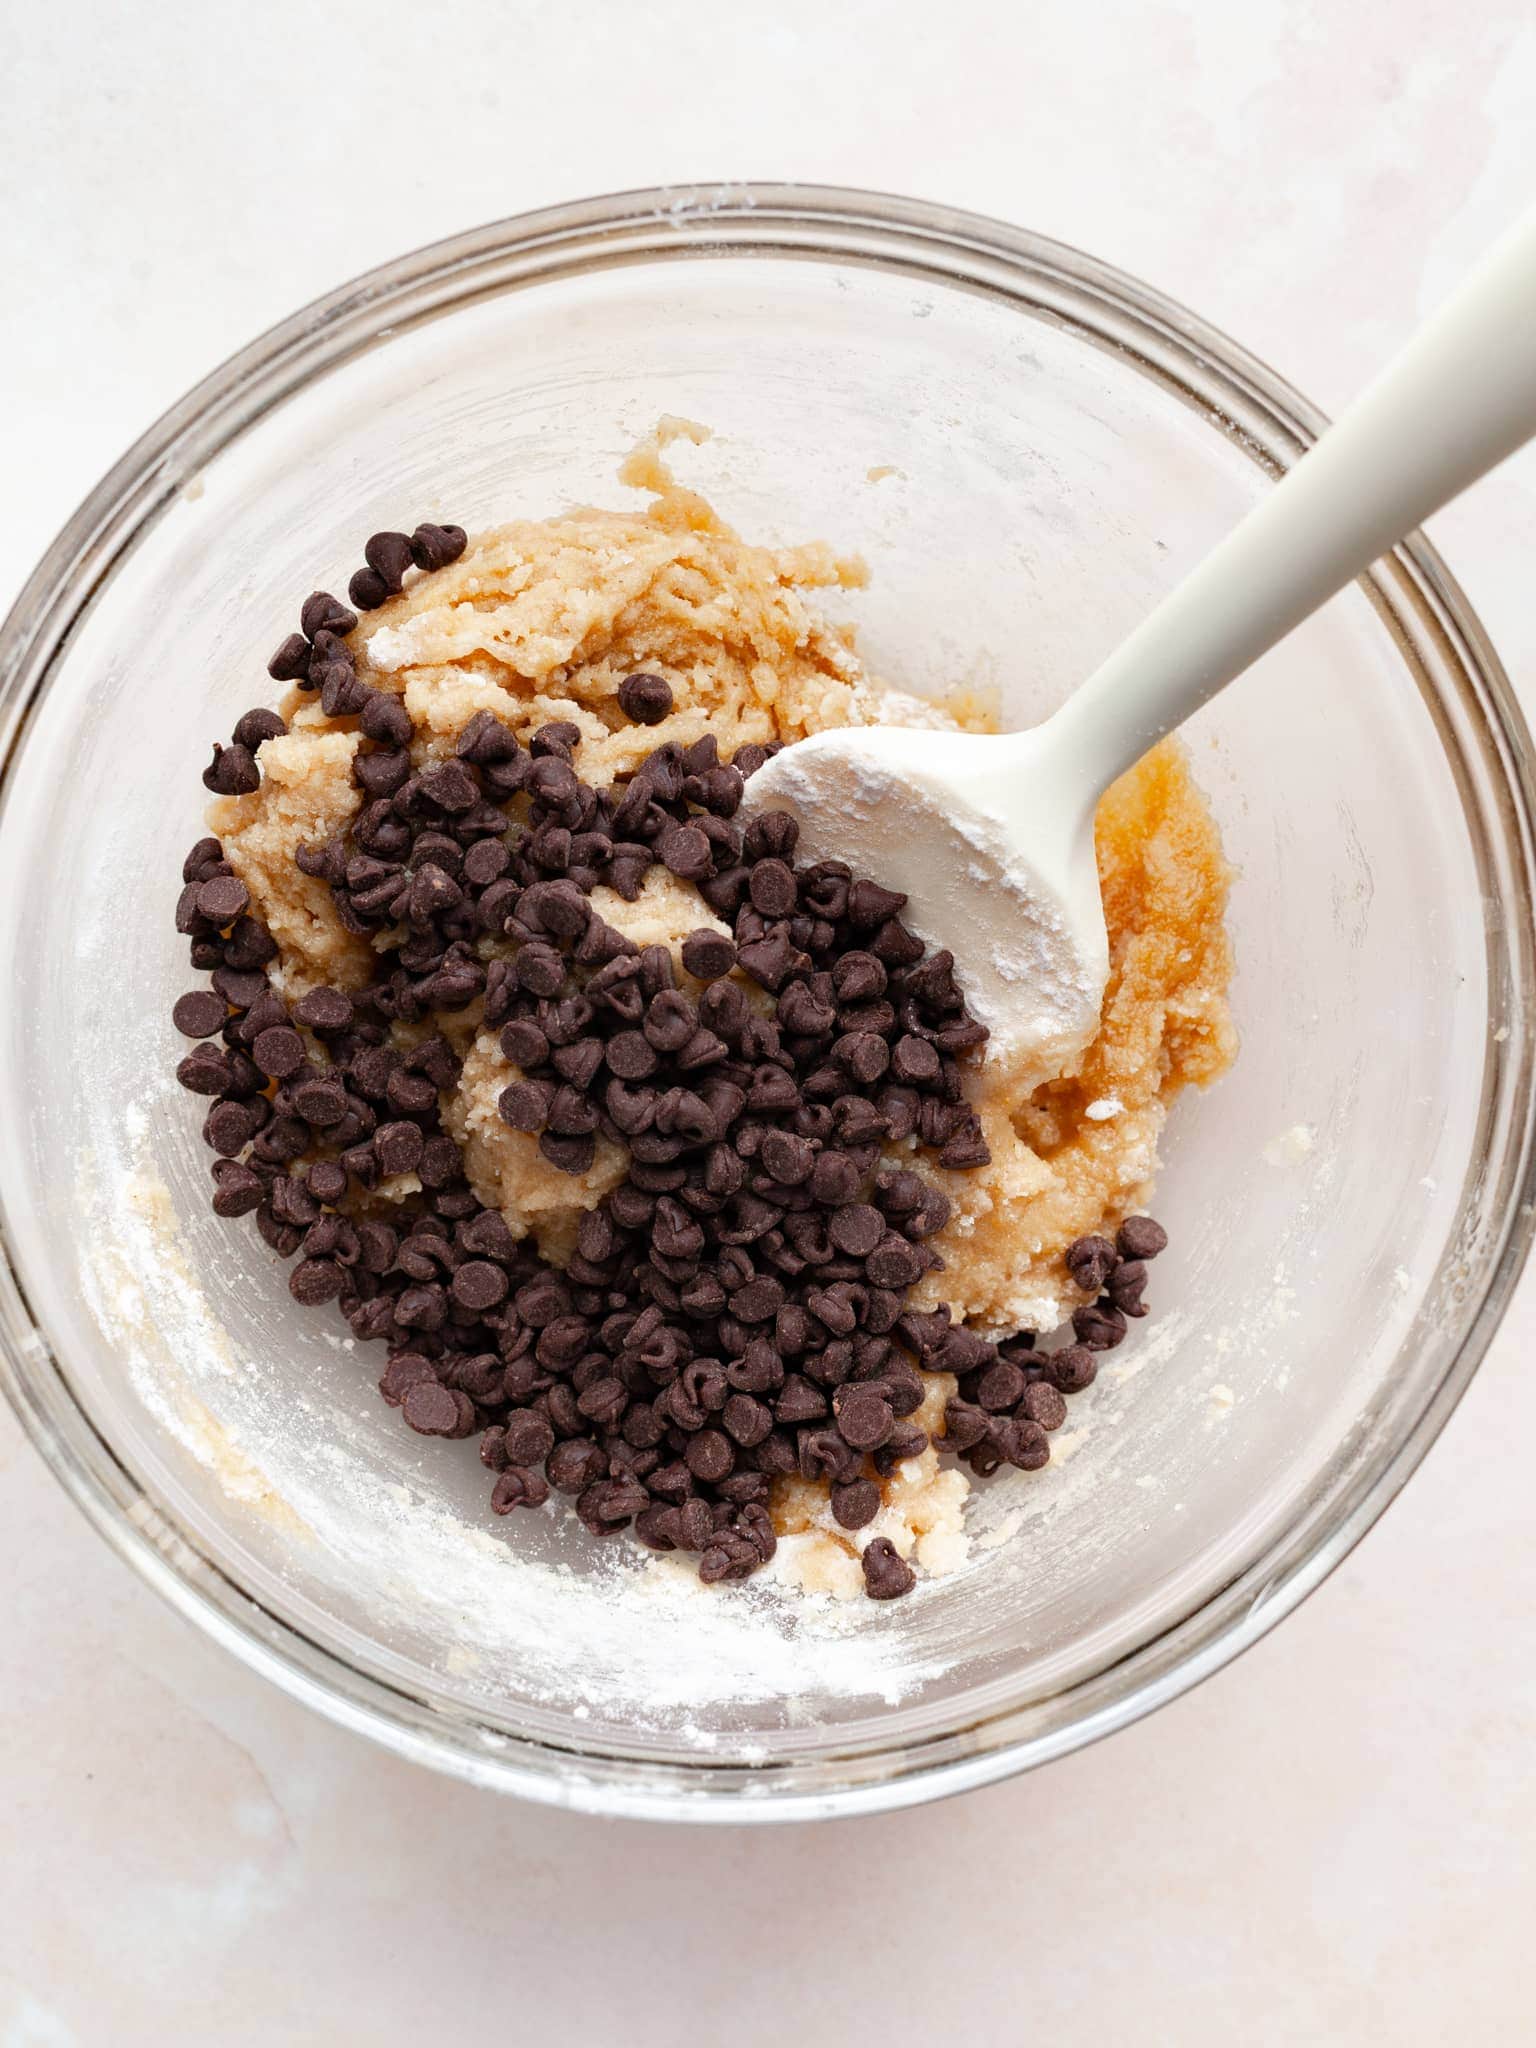
- Step 6: Next add the mini chocolate chips.
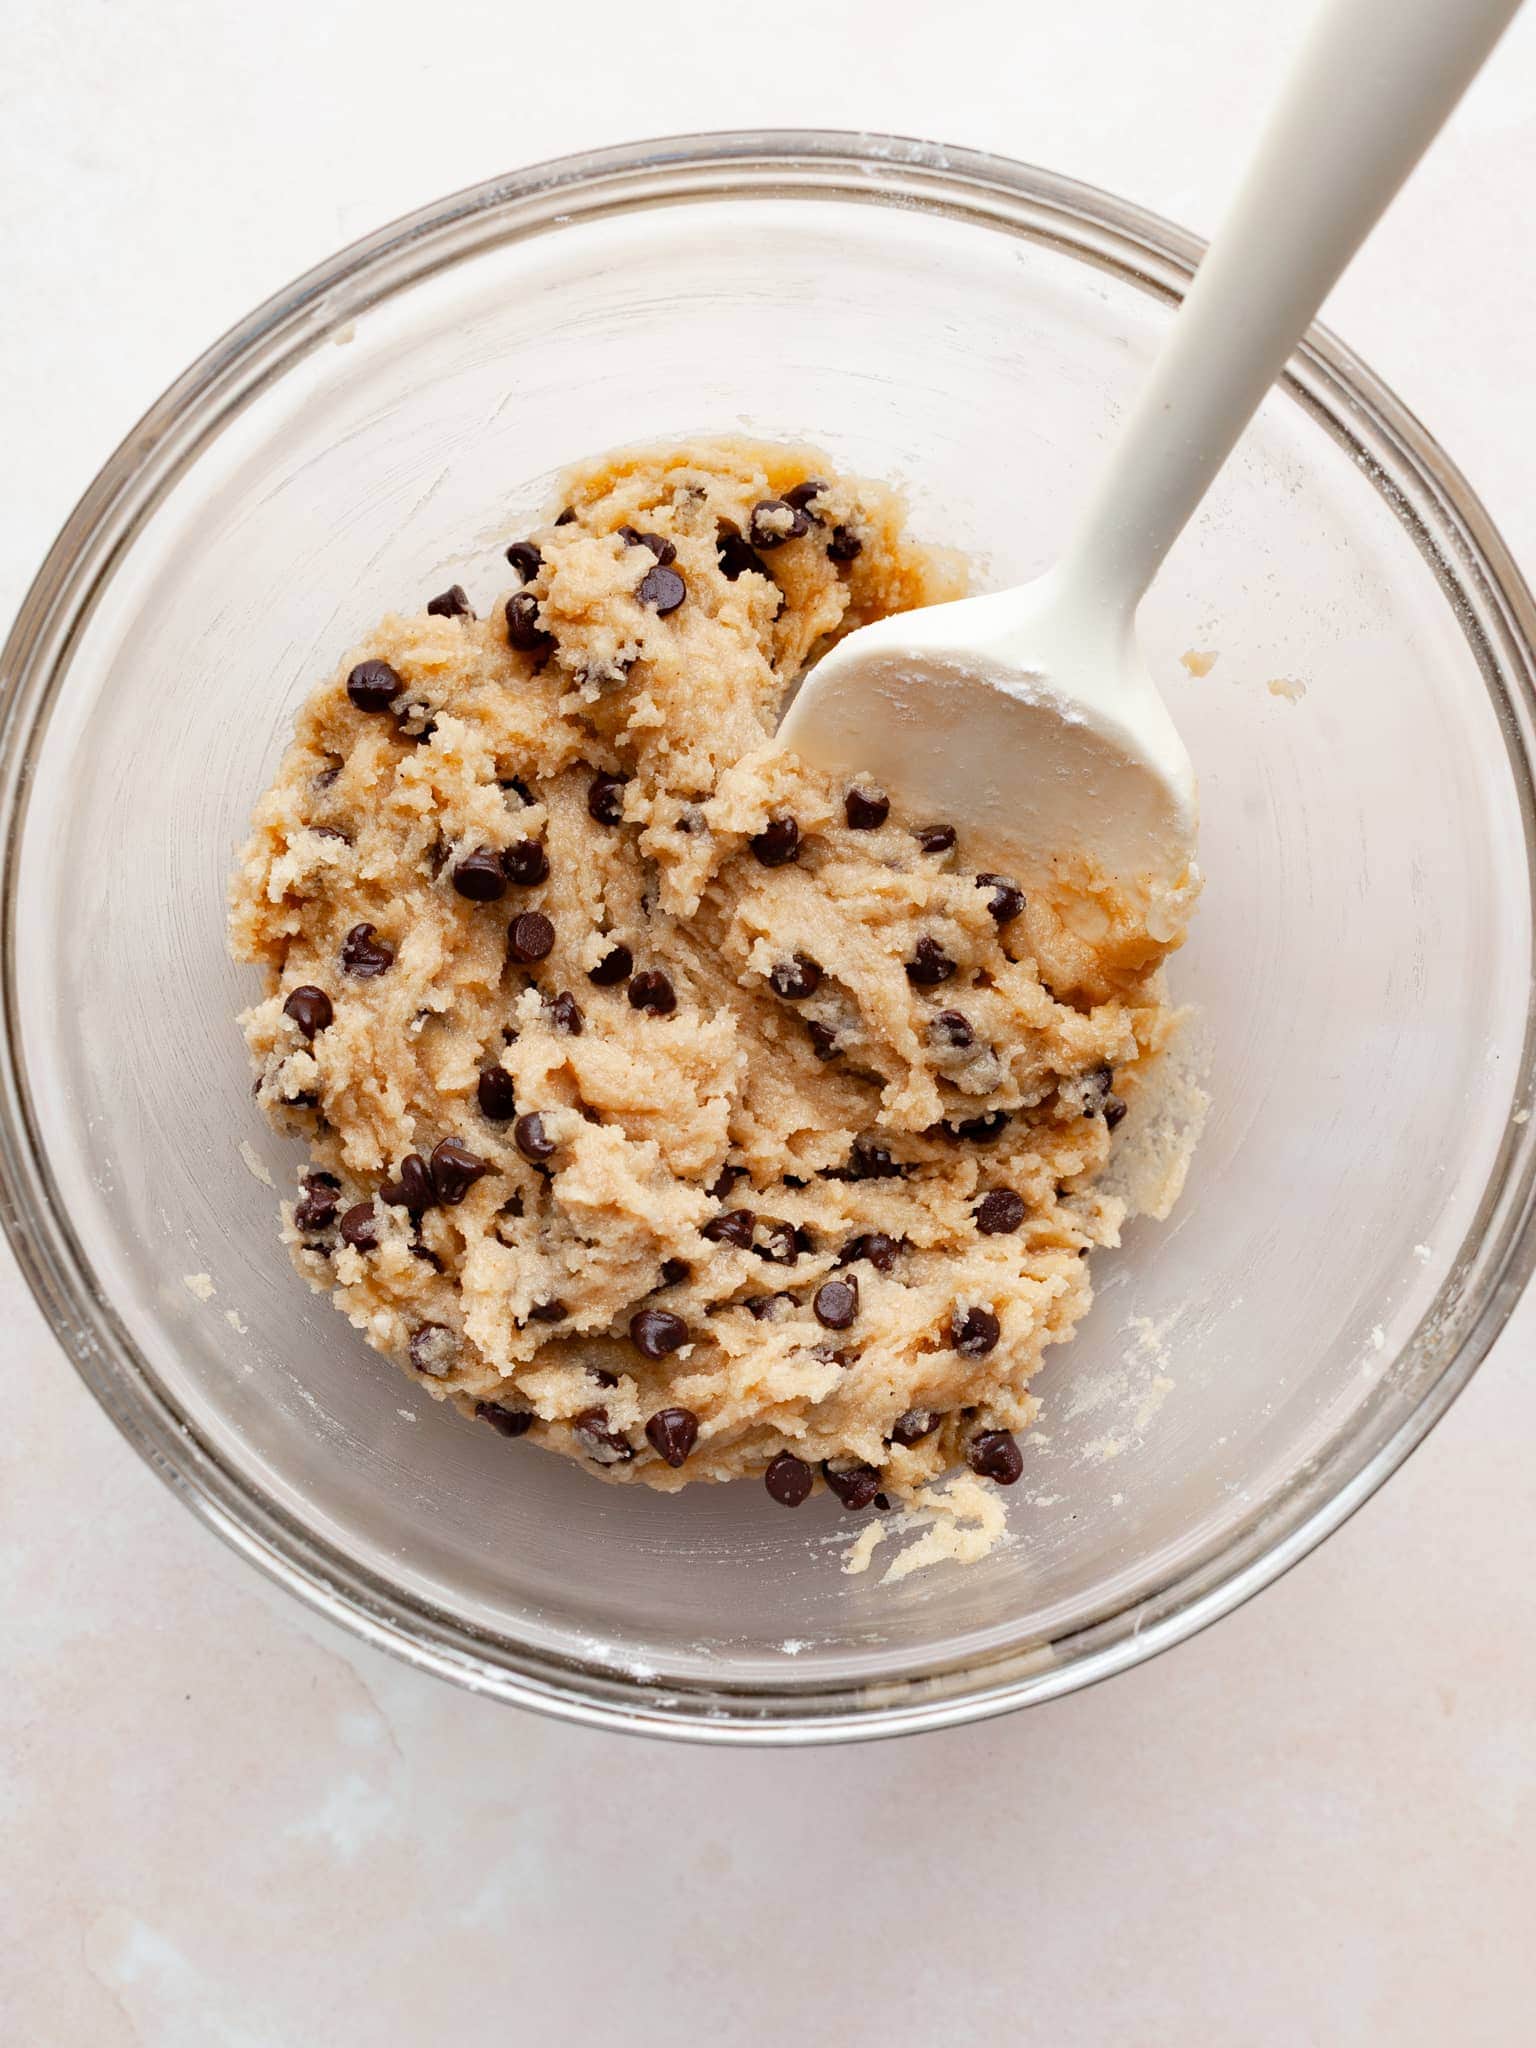
- Step 7: The gluten free chocolate chip cookie dough will look a little wet. This is exactly how it should look. Place it in the fridge while you prepare the baking pan.
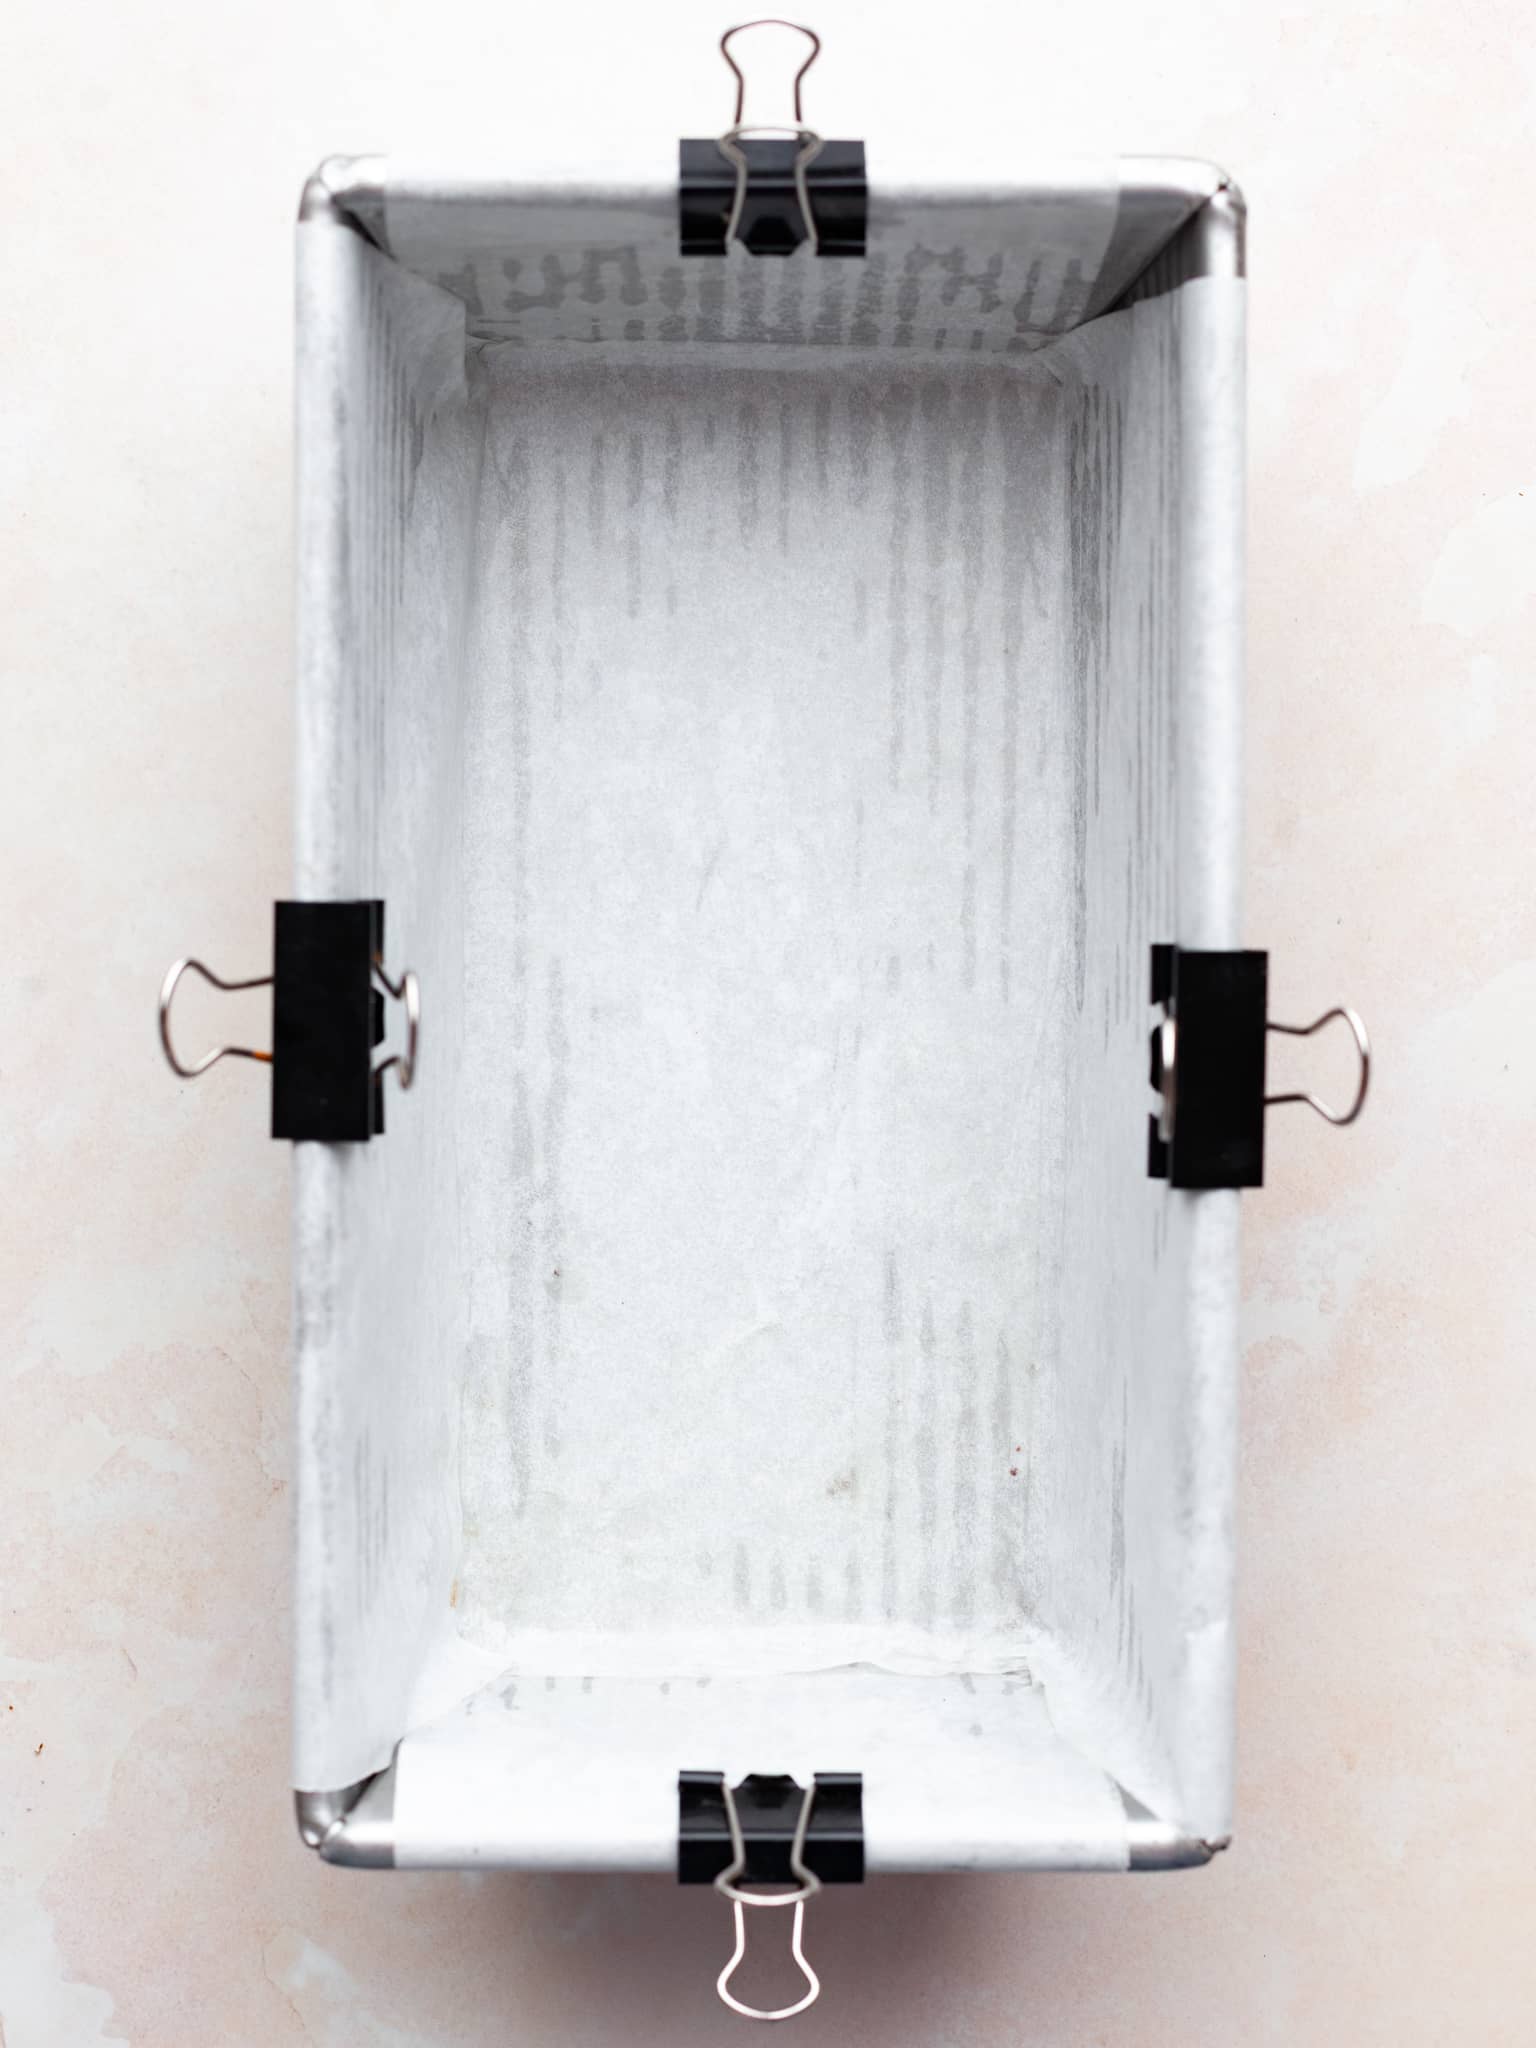
- Step 8: While the cookie dough is chilling, line a 4x8 rectangular baking pan with parchment paper. I like to lightly spray it with a non stick cooking spray before doing so. I also use binder clips to hold the parchment paper in place (I ALWAYS remove them before baking)
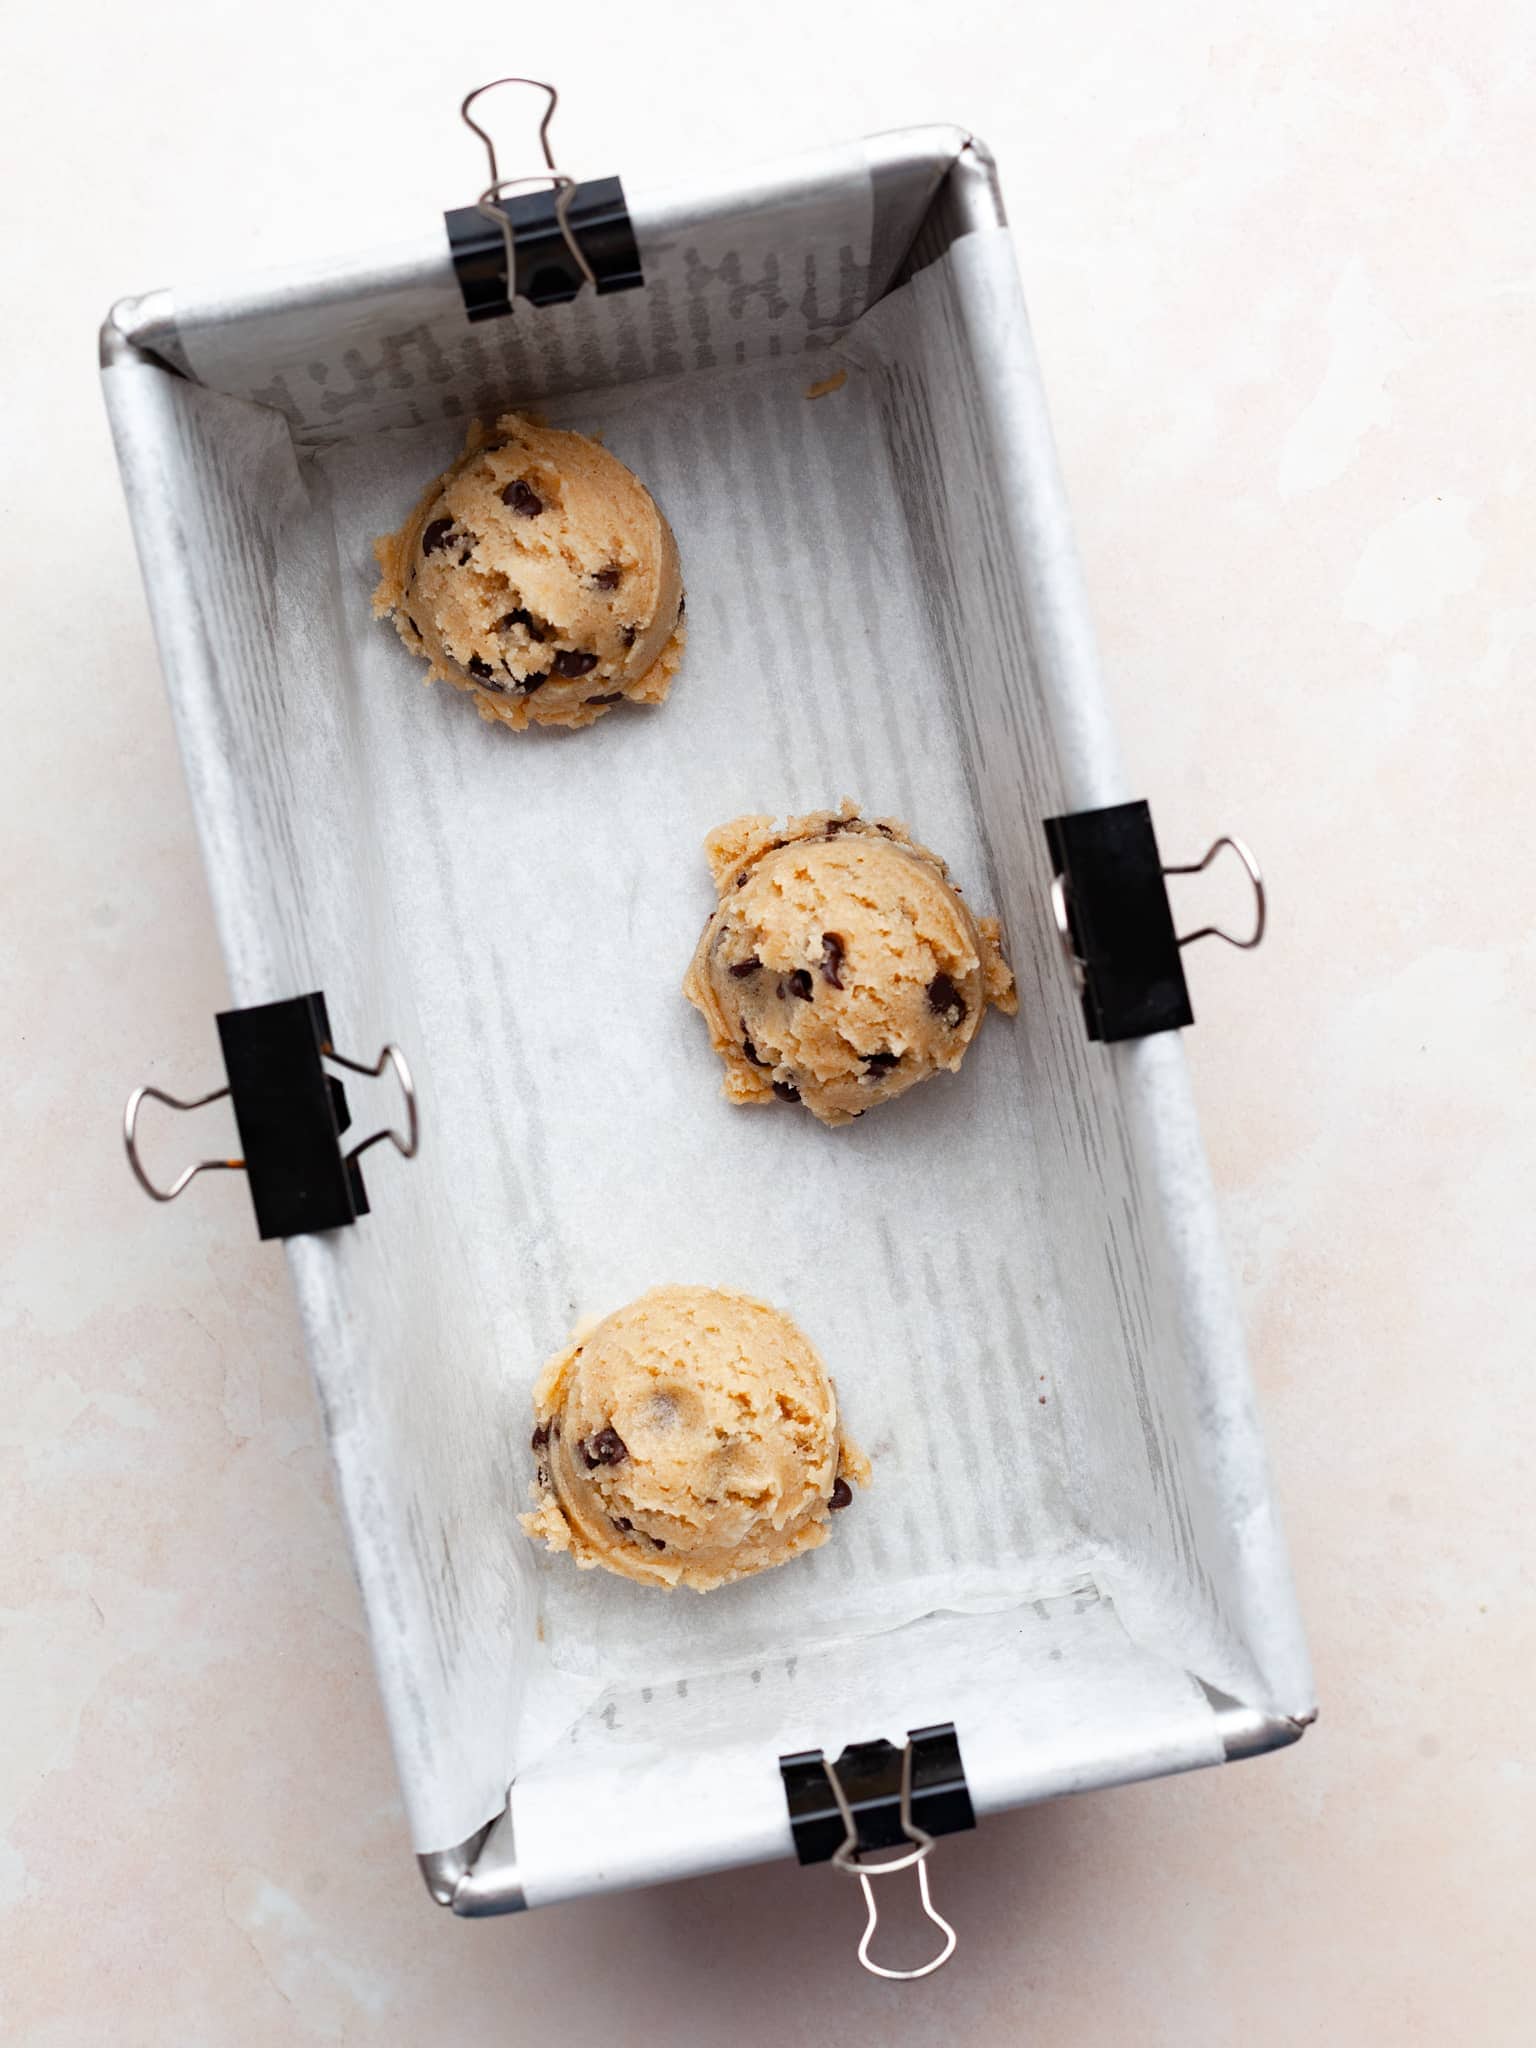
- Step 9: Using a medium sized cookie scoop (around 2 tablespoons) place 3 scoops of cookie scoop in the bottom of the prepared pan. There will be leftover cookie dough which will be used to top the brookies before baking!
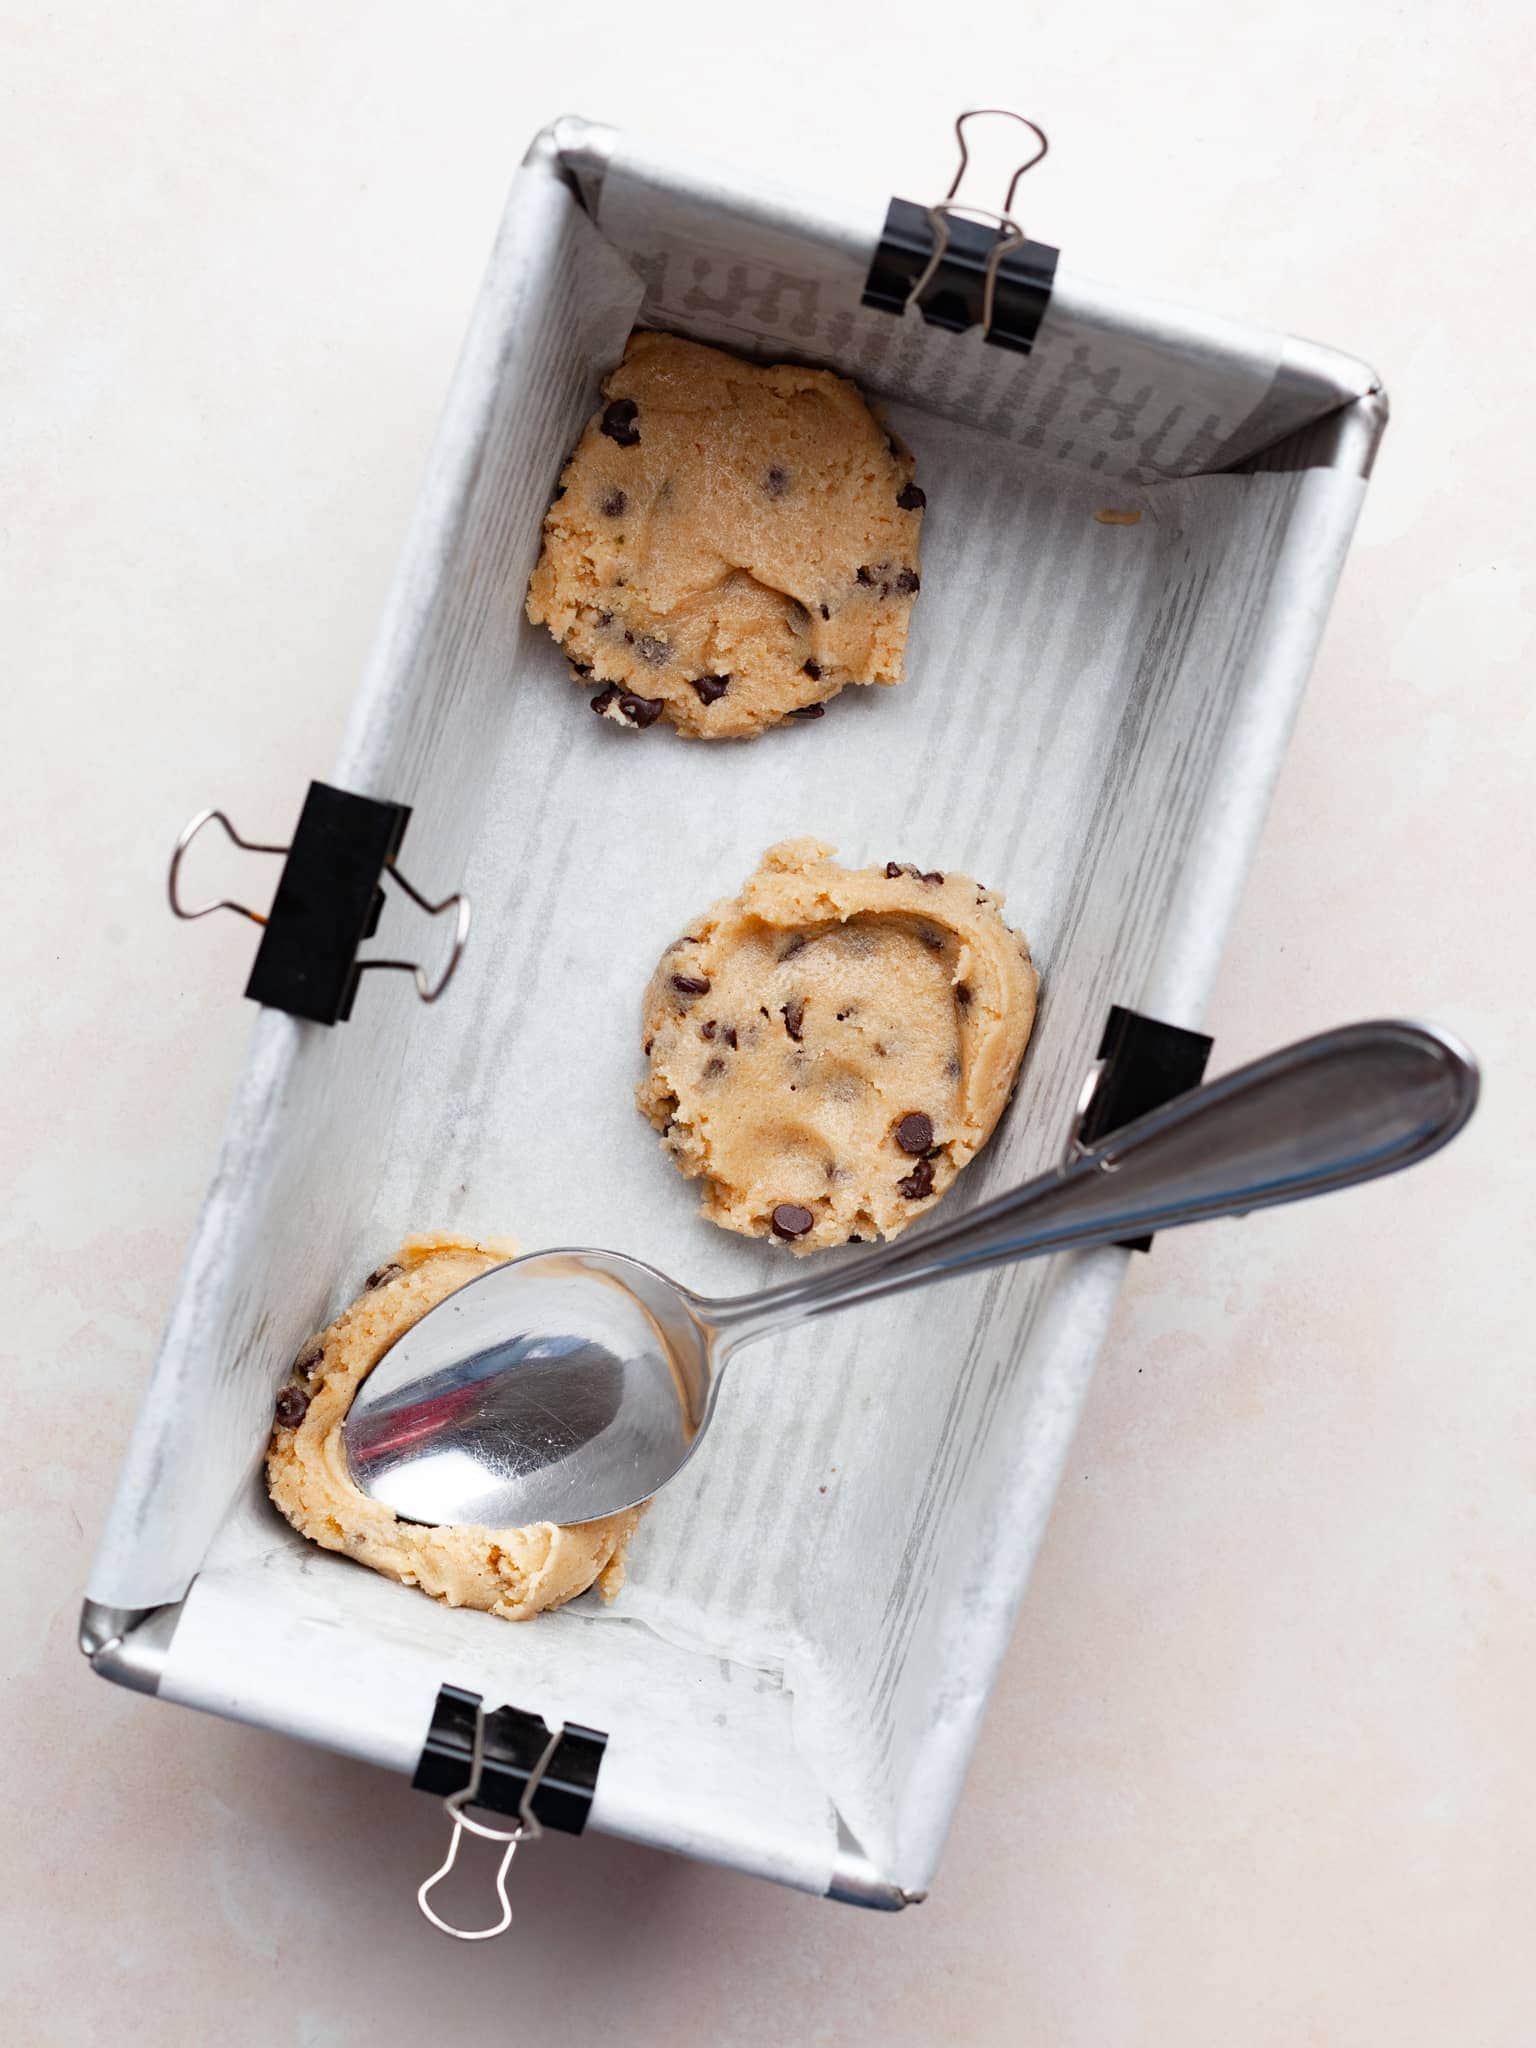
- Step 10: With the back a spoon or clean fingers, press down the cookie dough.
- Step 11: Place the pan with the cookie dough as well as the remaining cookie dough in the fridge while you prepare the gluten free brownie batter.
- Step 12: At this point I like to preheat my oven to 335F.
Gluten Free Brownie Batter for Brookies
To get a shiny, crackly top, whip the eggs and sugar for at least 2 minutes. I use an electric hand mixer to do this. Make sure the melted butter-sugar mixture is HOT when you add it to the whipped eggs - this helps melt the sugar and create the glossy top layer.
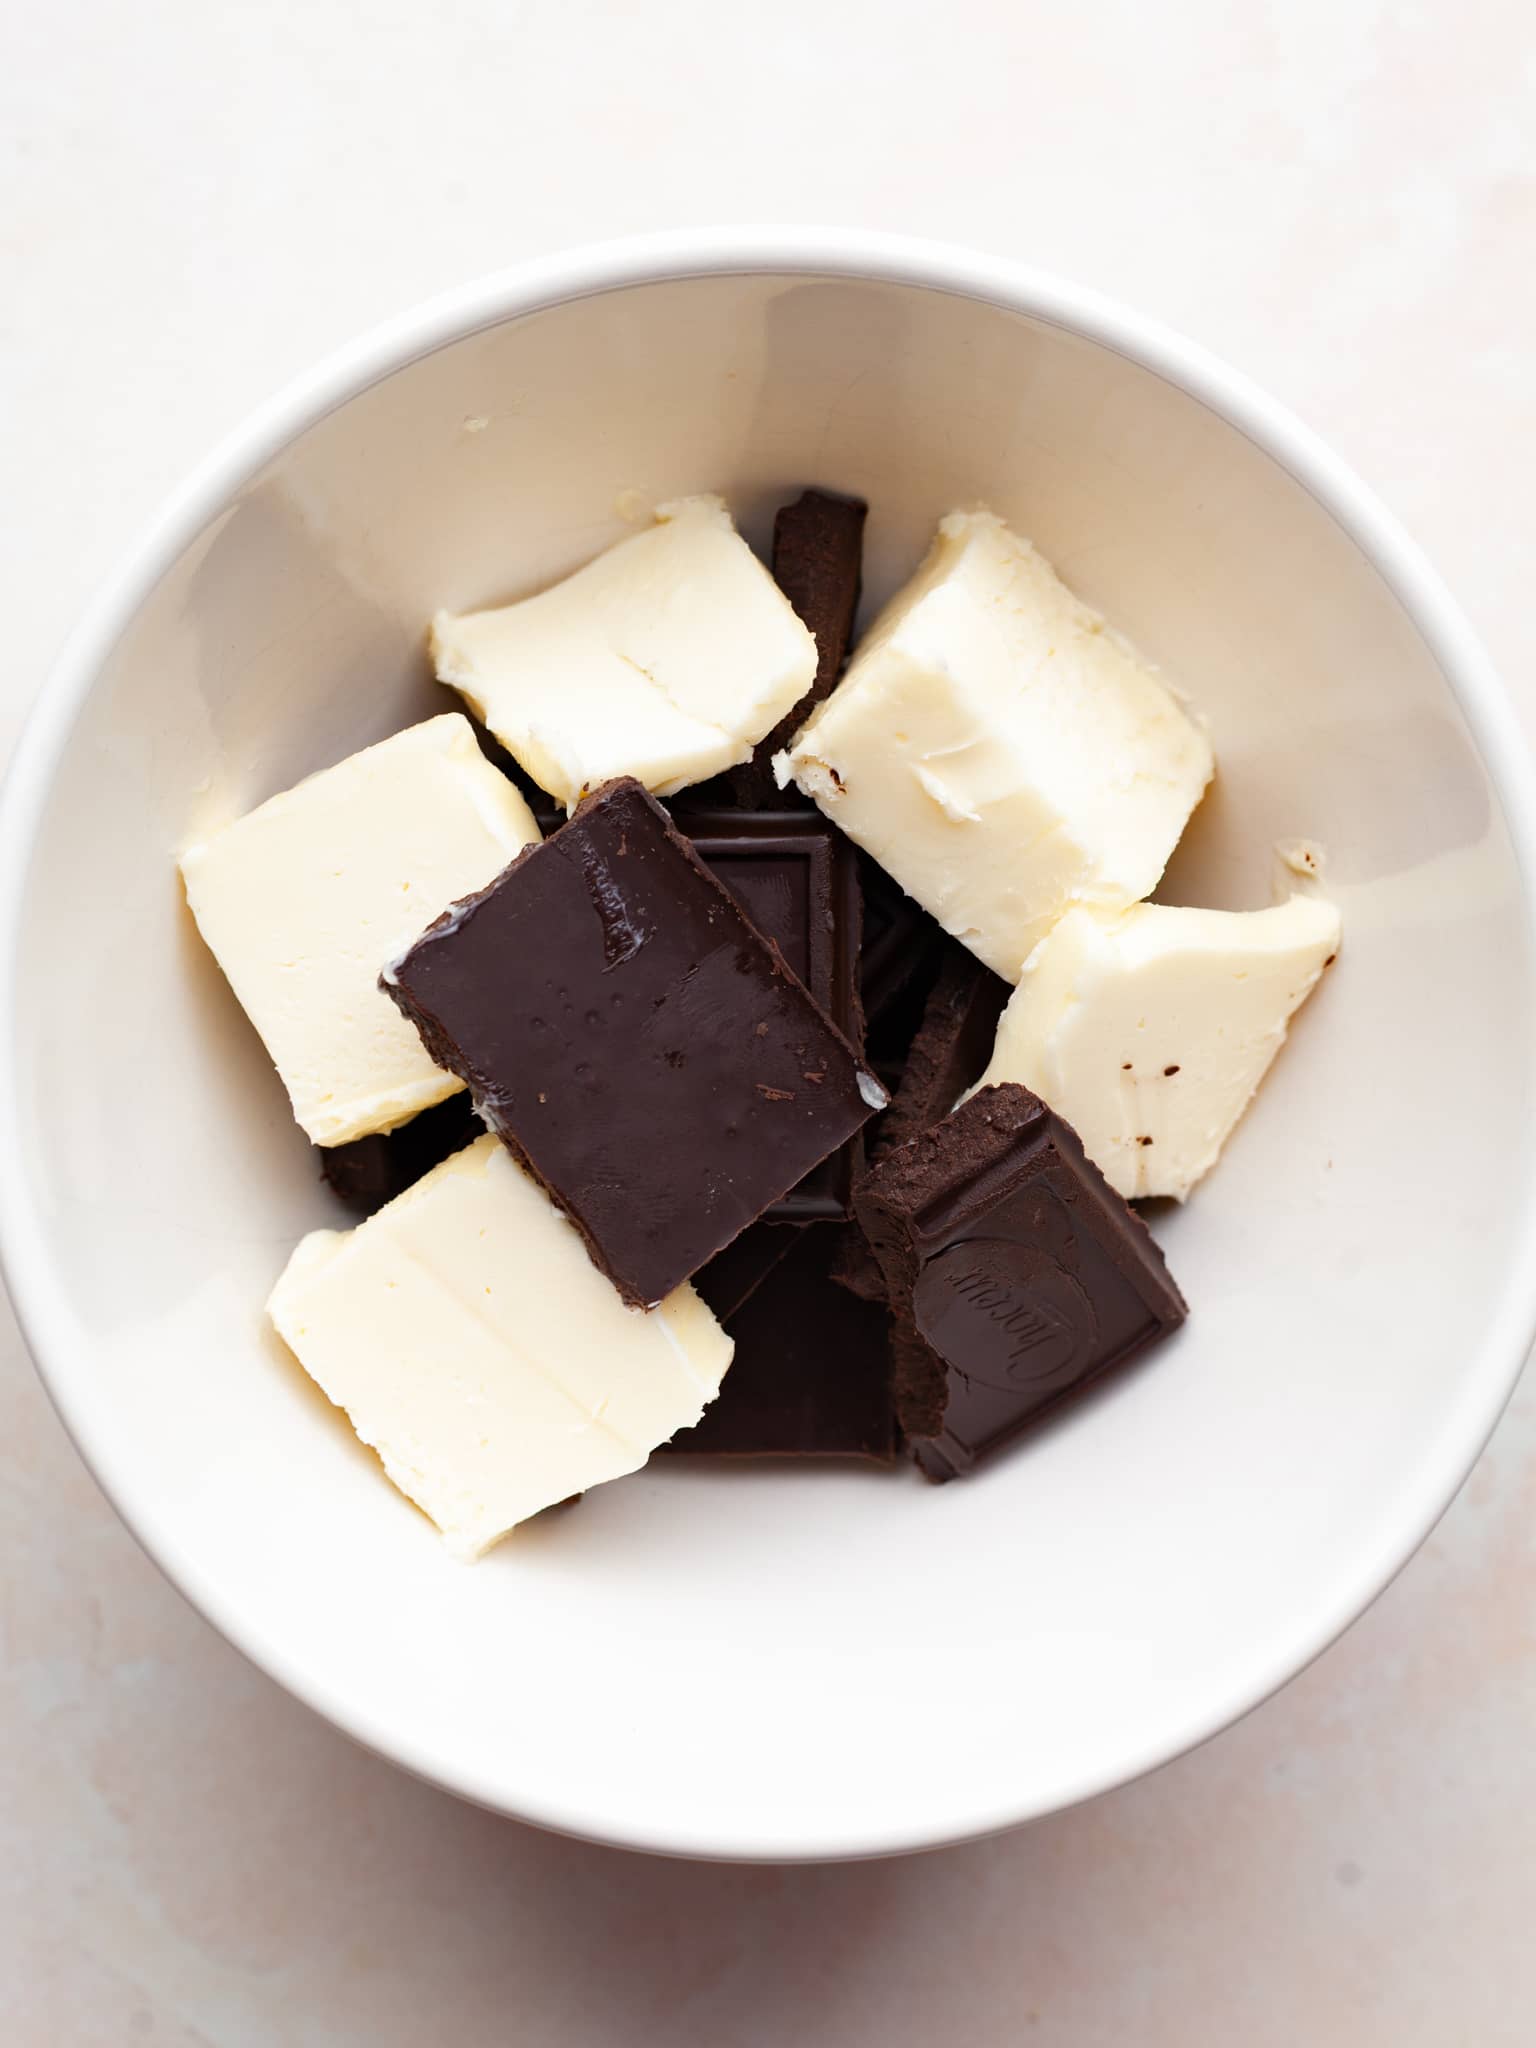
- Step 1: In a heat proof bowl combine the unsalted butter and dark chocolate. If using a chocolate bar, make sure to give it a rough chop.
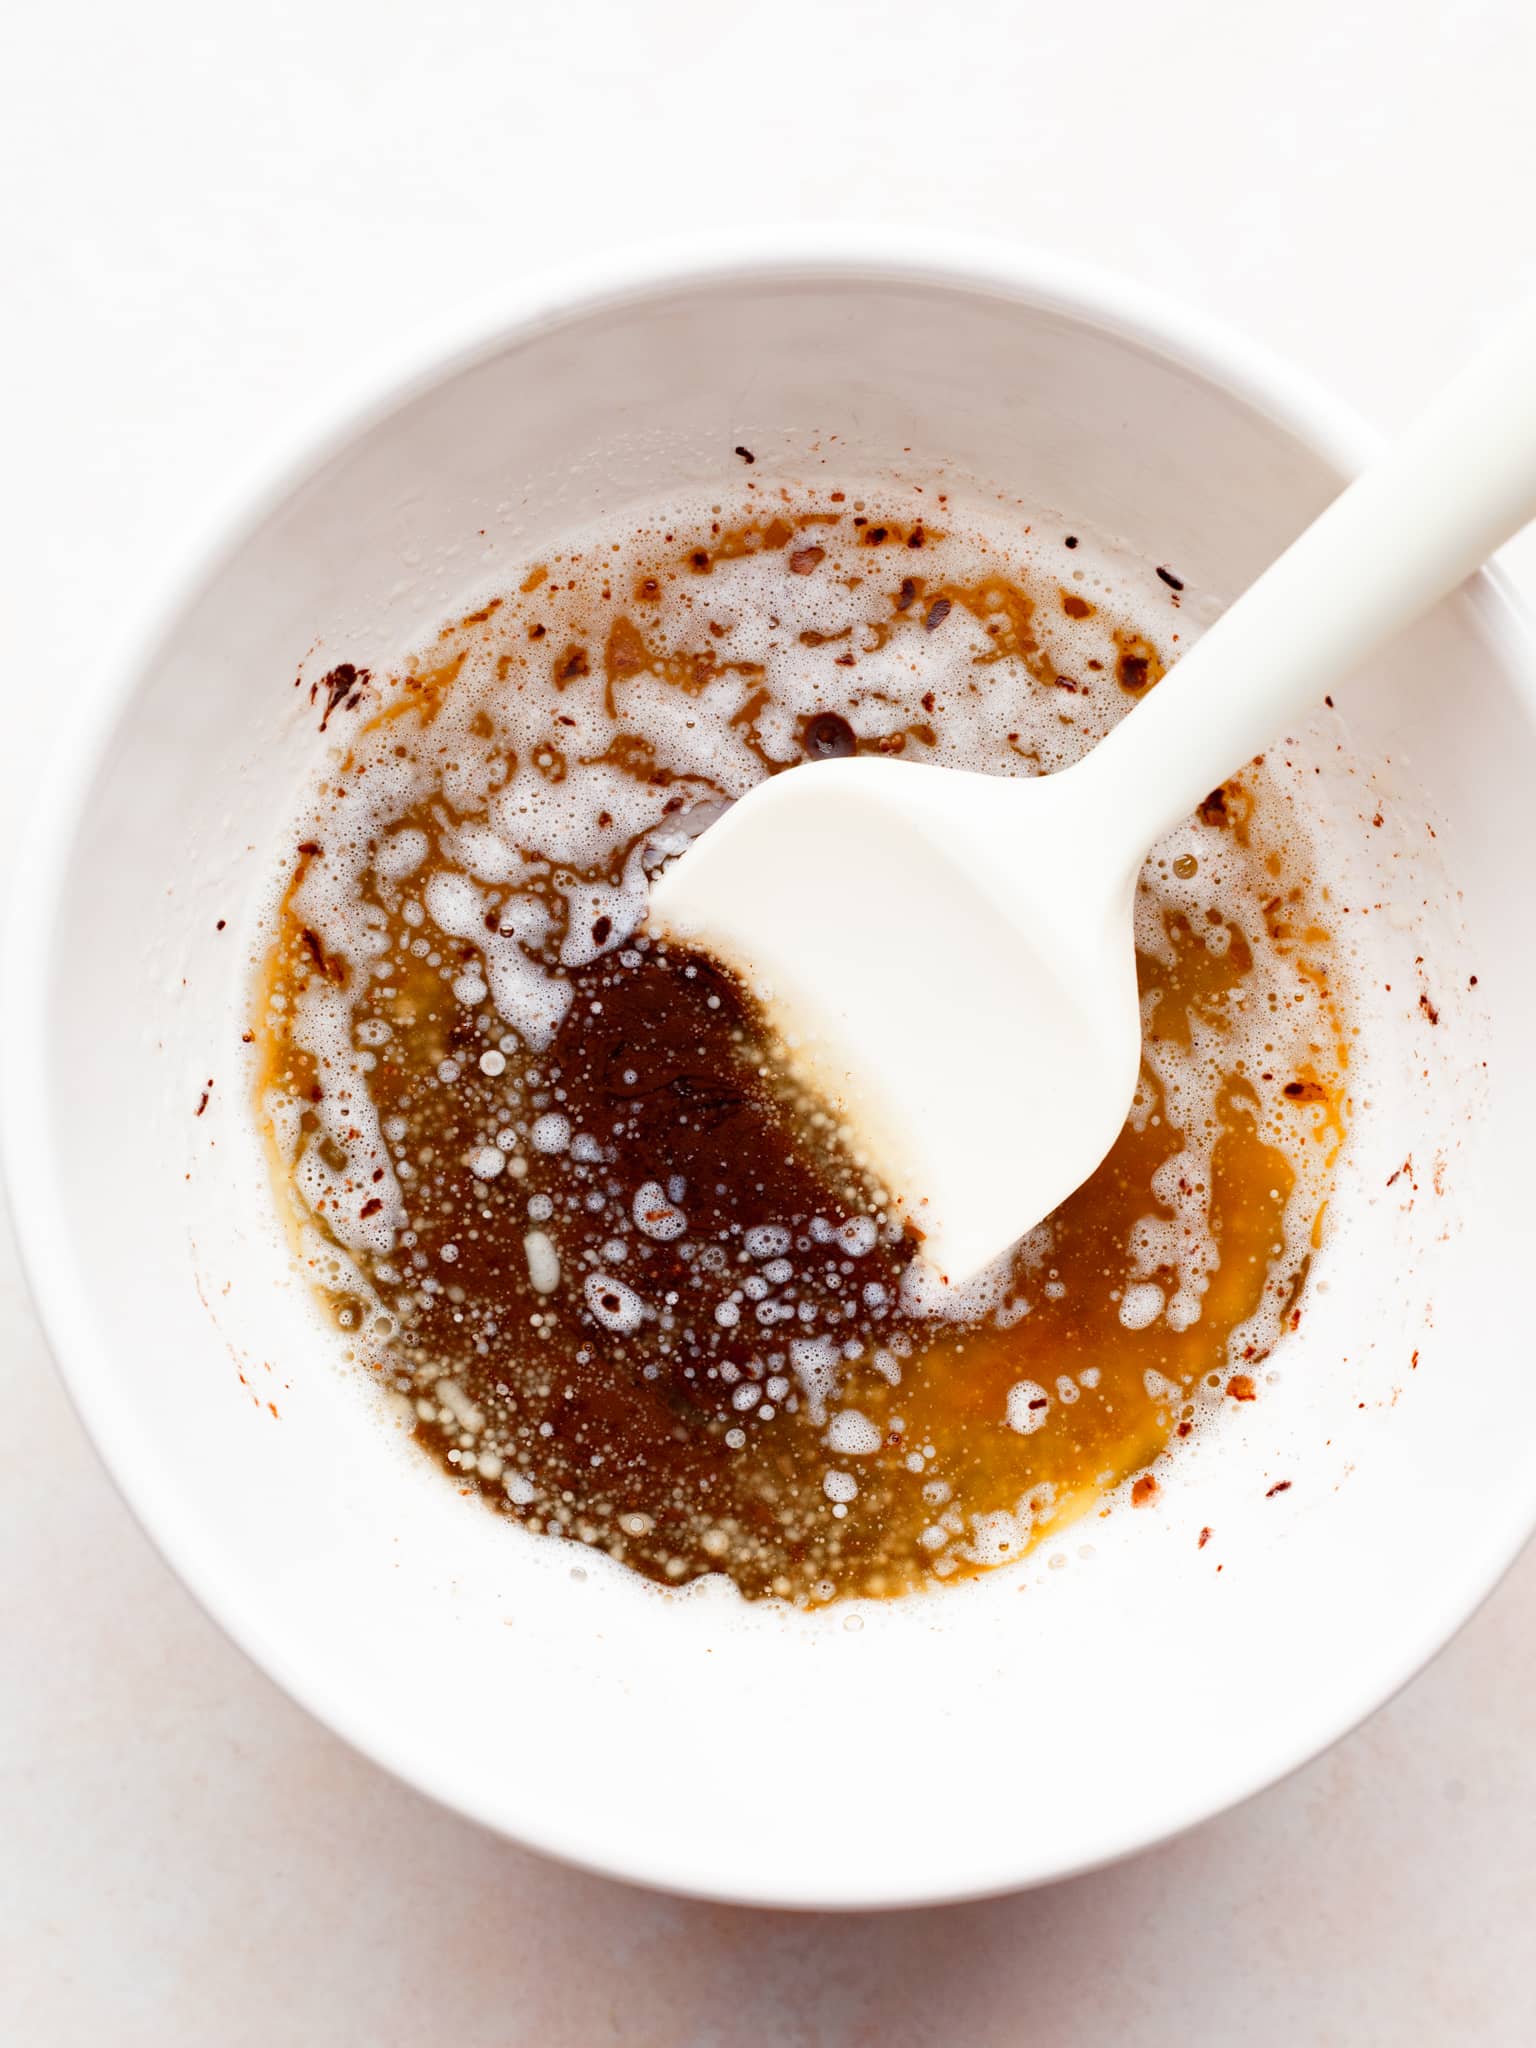
- Step 2: Place the bowl in the microwave and carefully melt the butter. This should take around 60-90 seconds depending on how powerful your microwave is.
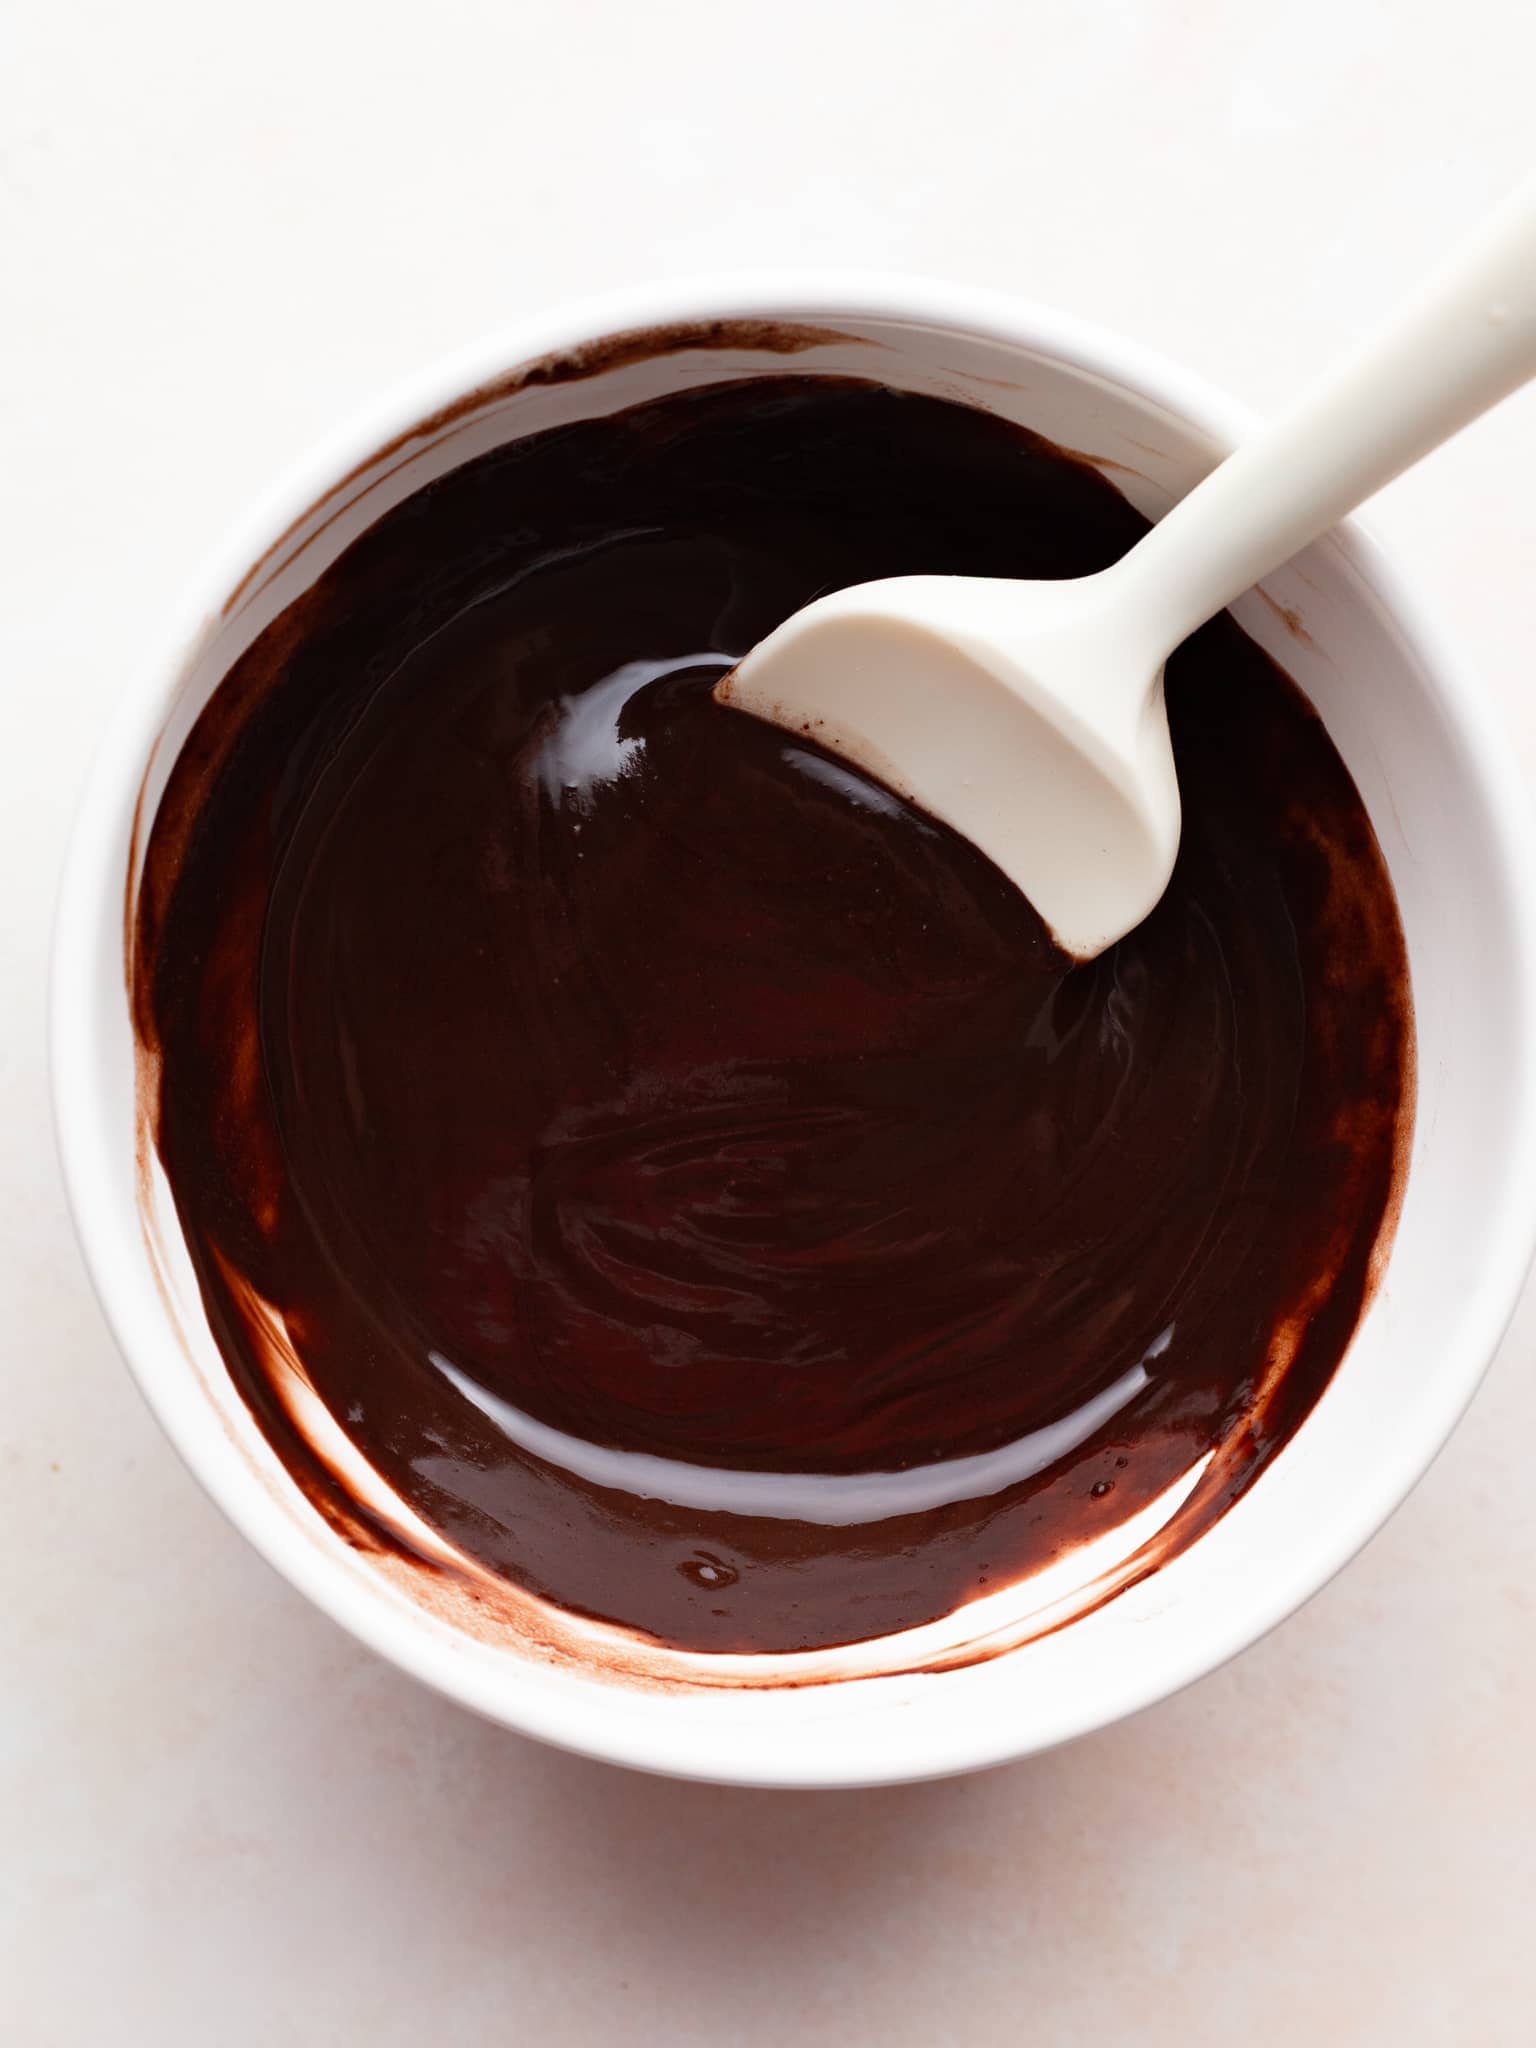
- Step 3: Once the butter is melted, carfully stir the ingredients together. The ingredients should be "emulsified" which means they should have a smooth liquid texture.
- Step 4: Place bowl with the melted chocolate butter back in the microwave since you will have to reheat it before adding it to the whipped eggs.
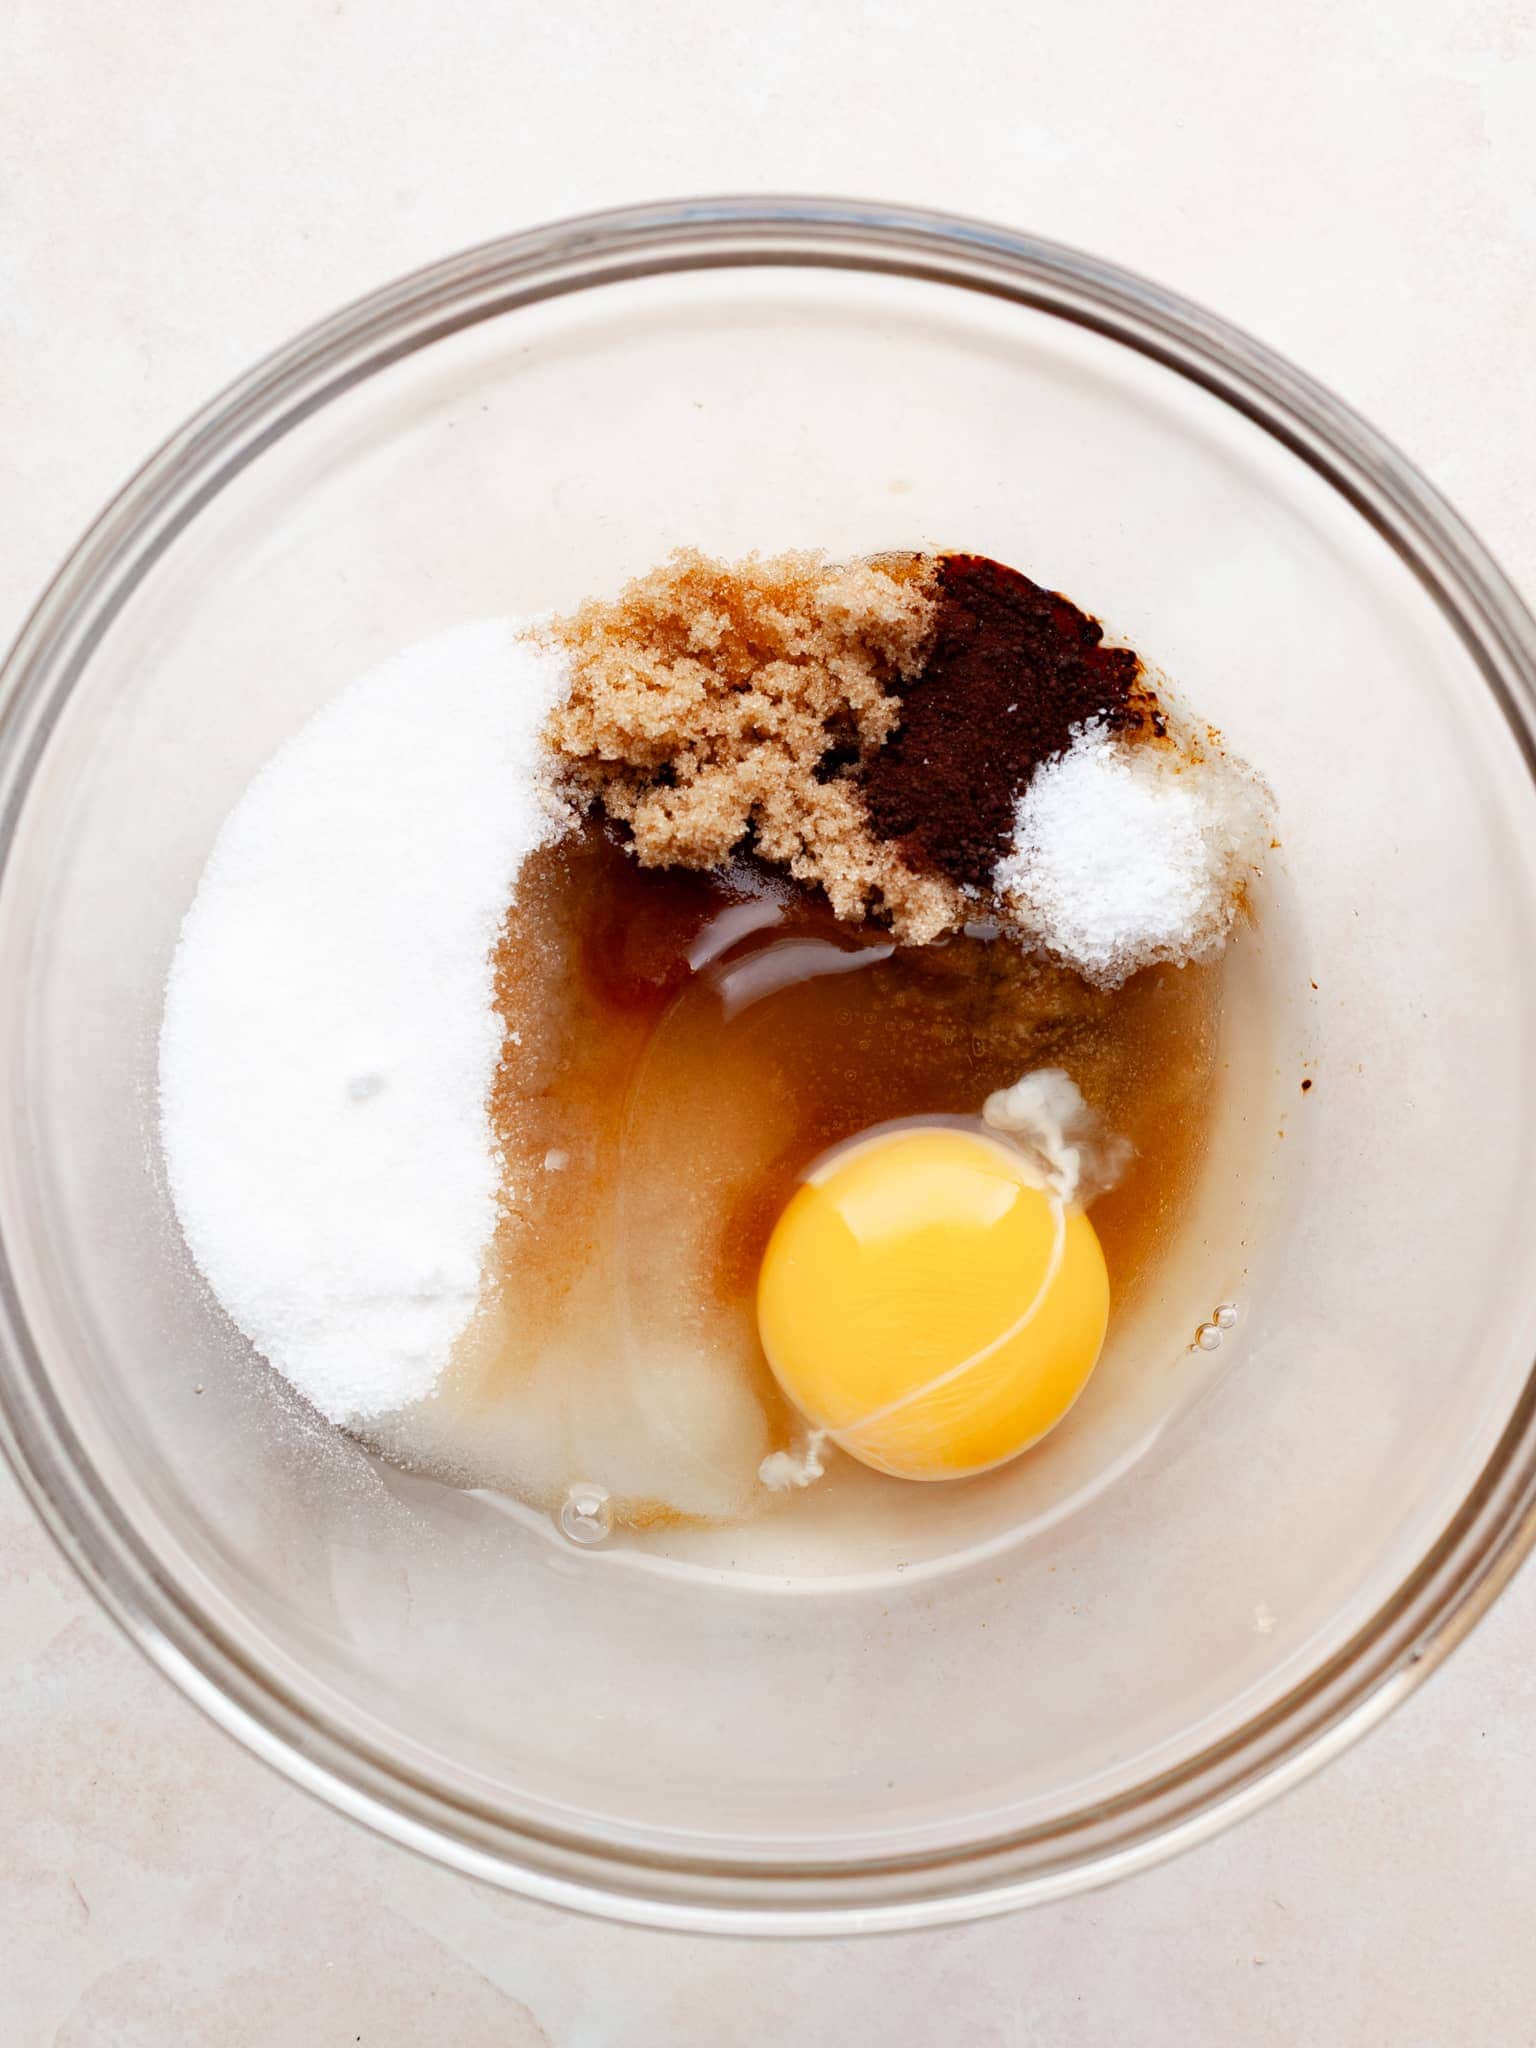
- Step 5: Combine light brown sugar, granulated sugar, large egg, instant espresso (if using), vanilla extract and kosher salt in a mixing bowl.
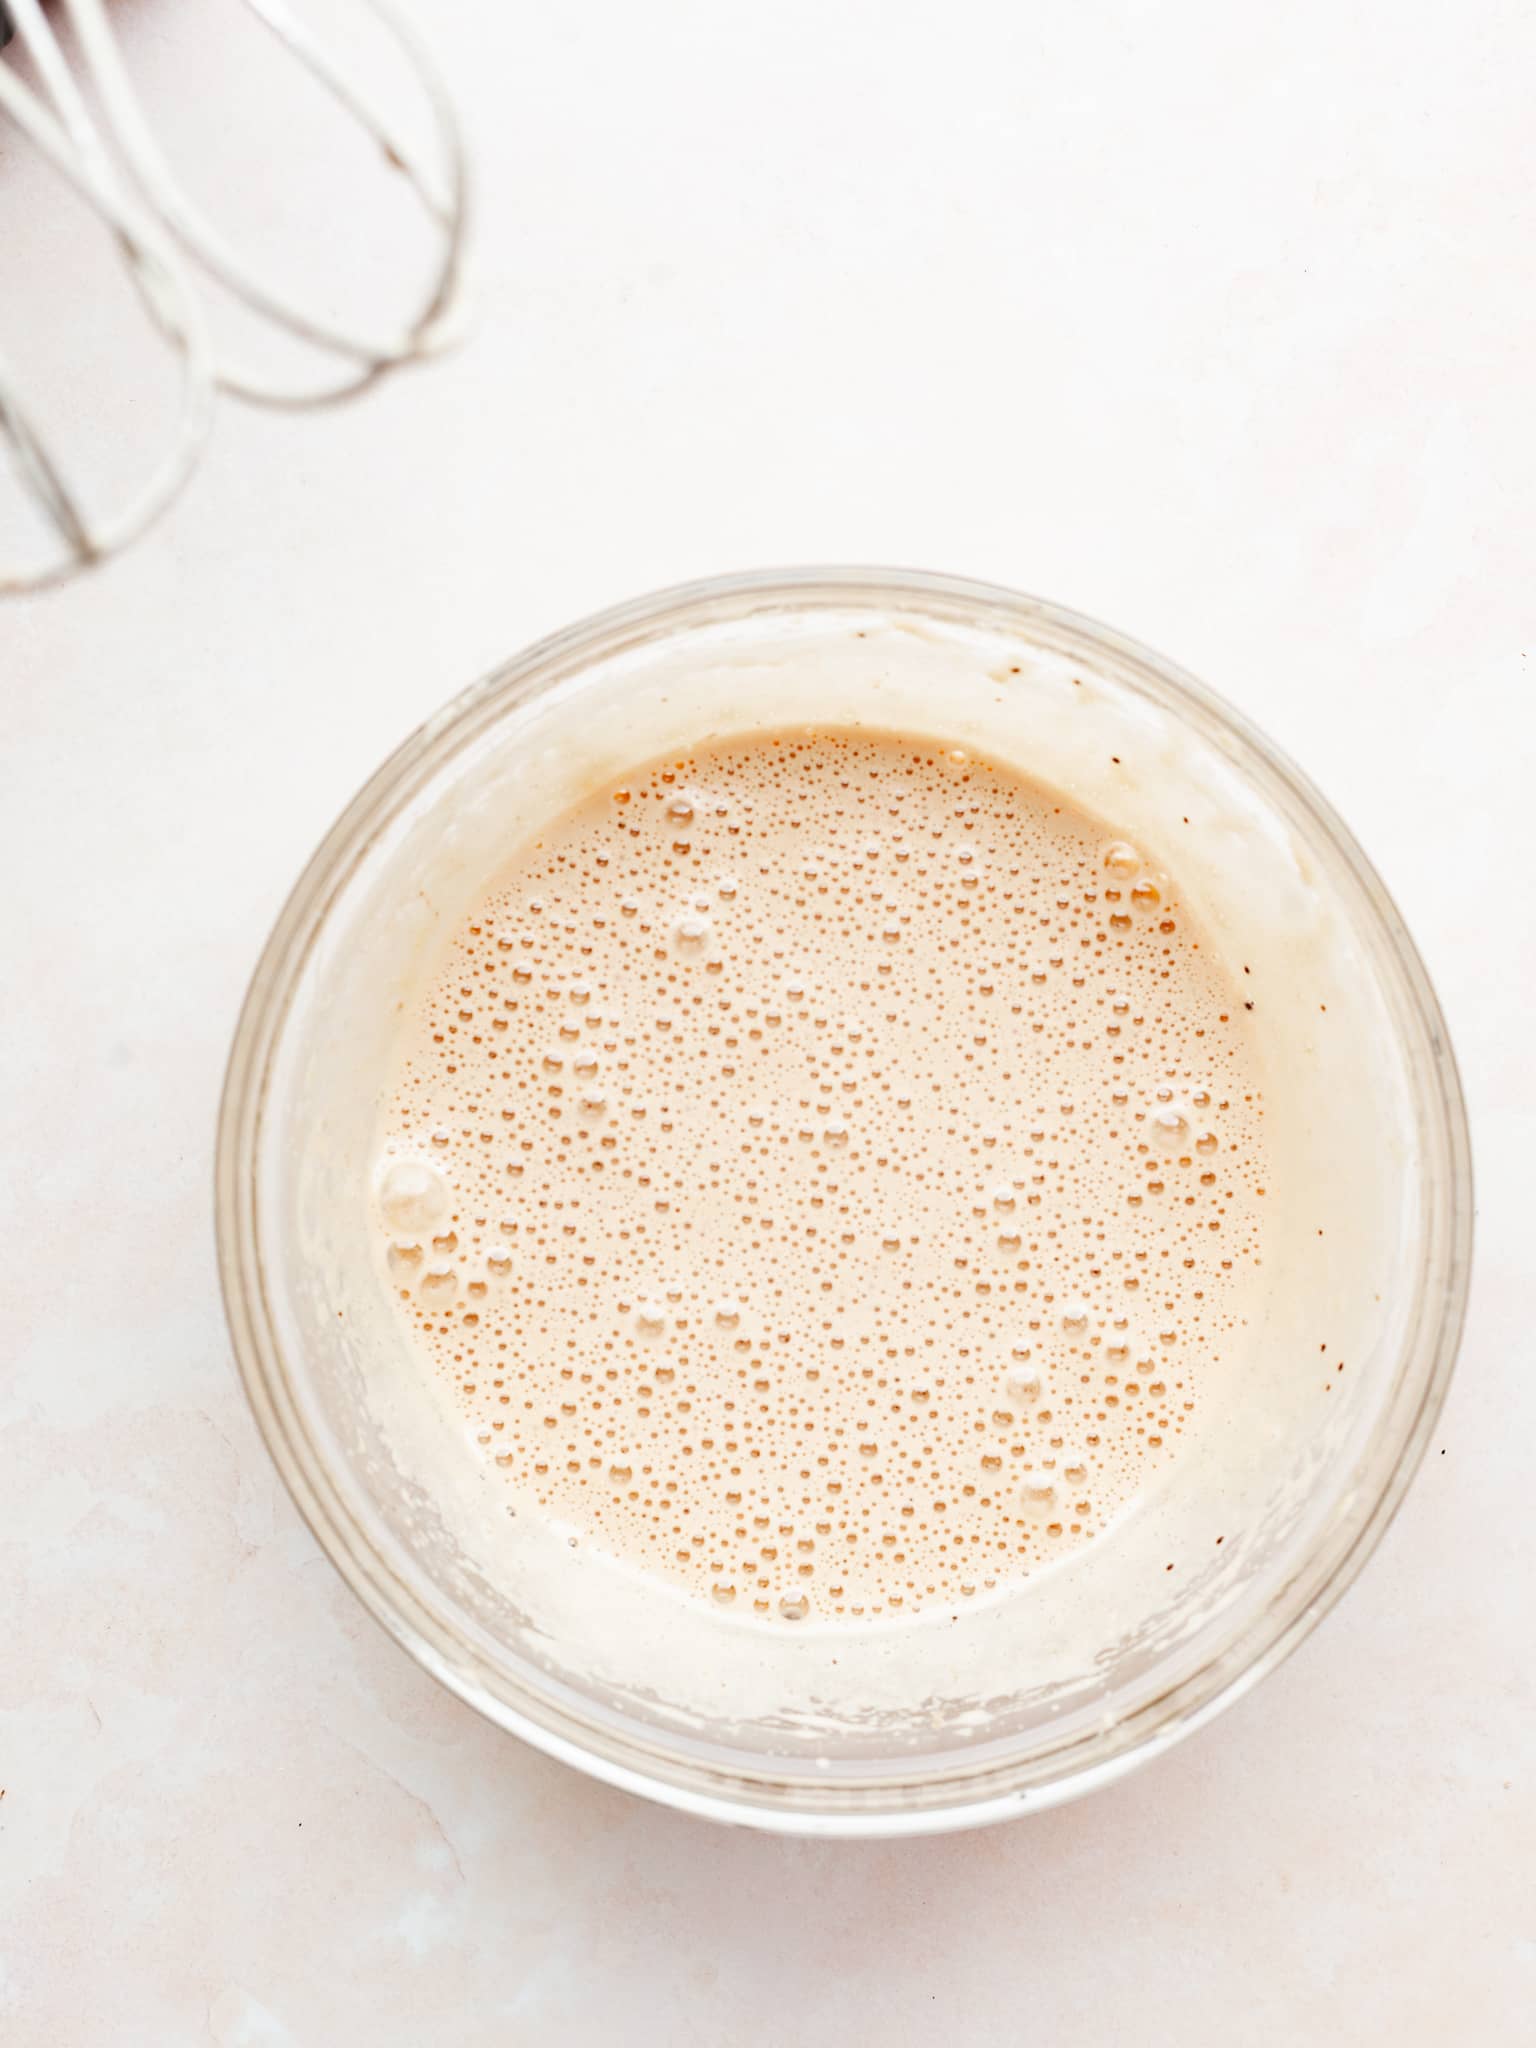
- Step 6: Whip on medium-high until extremely thick and triple the volume, about 2-3 minutes. The mixture should be foamy and thick.
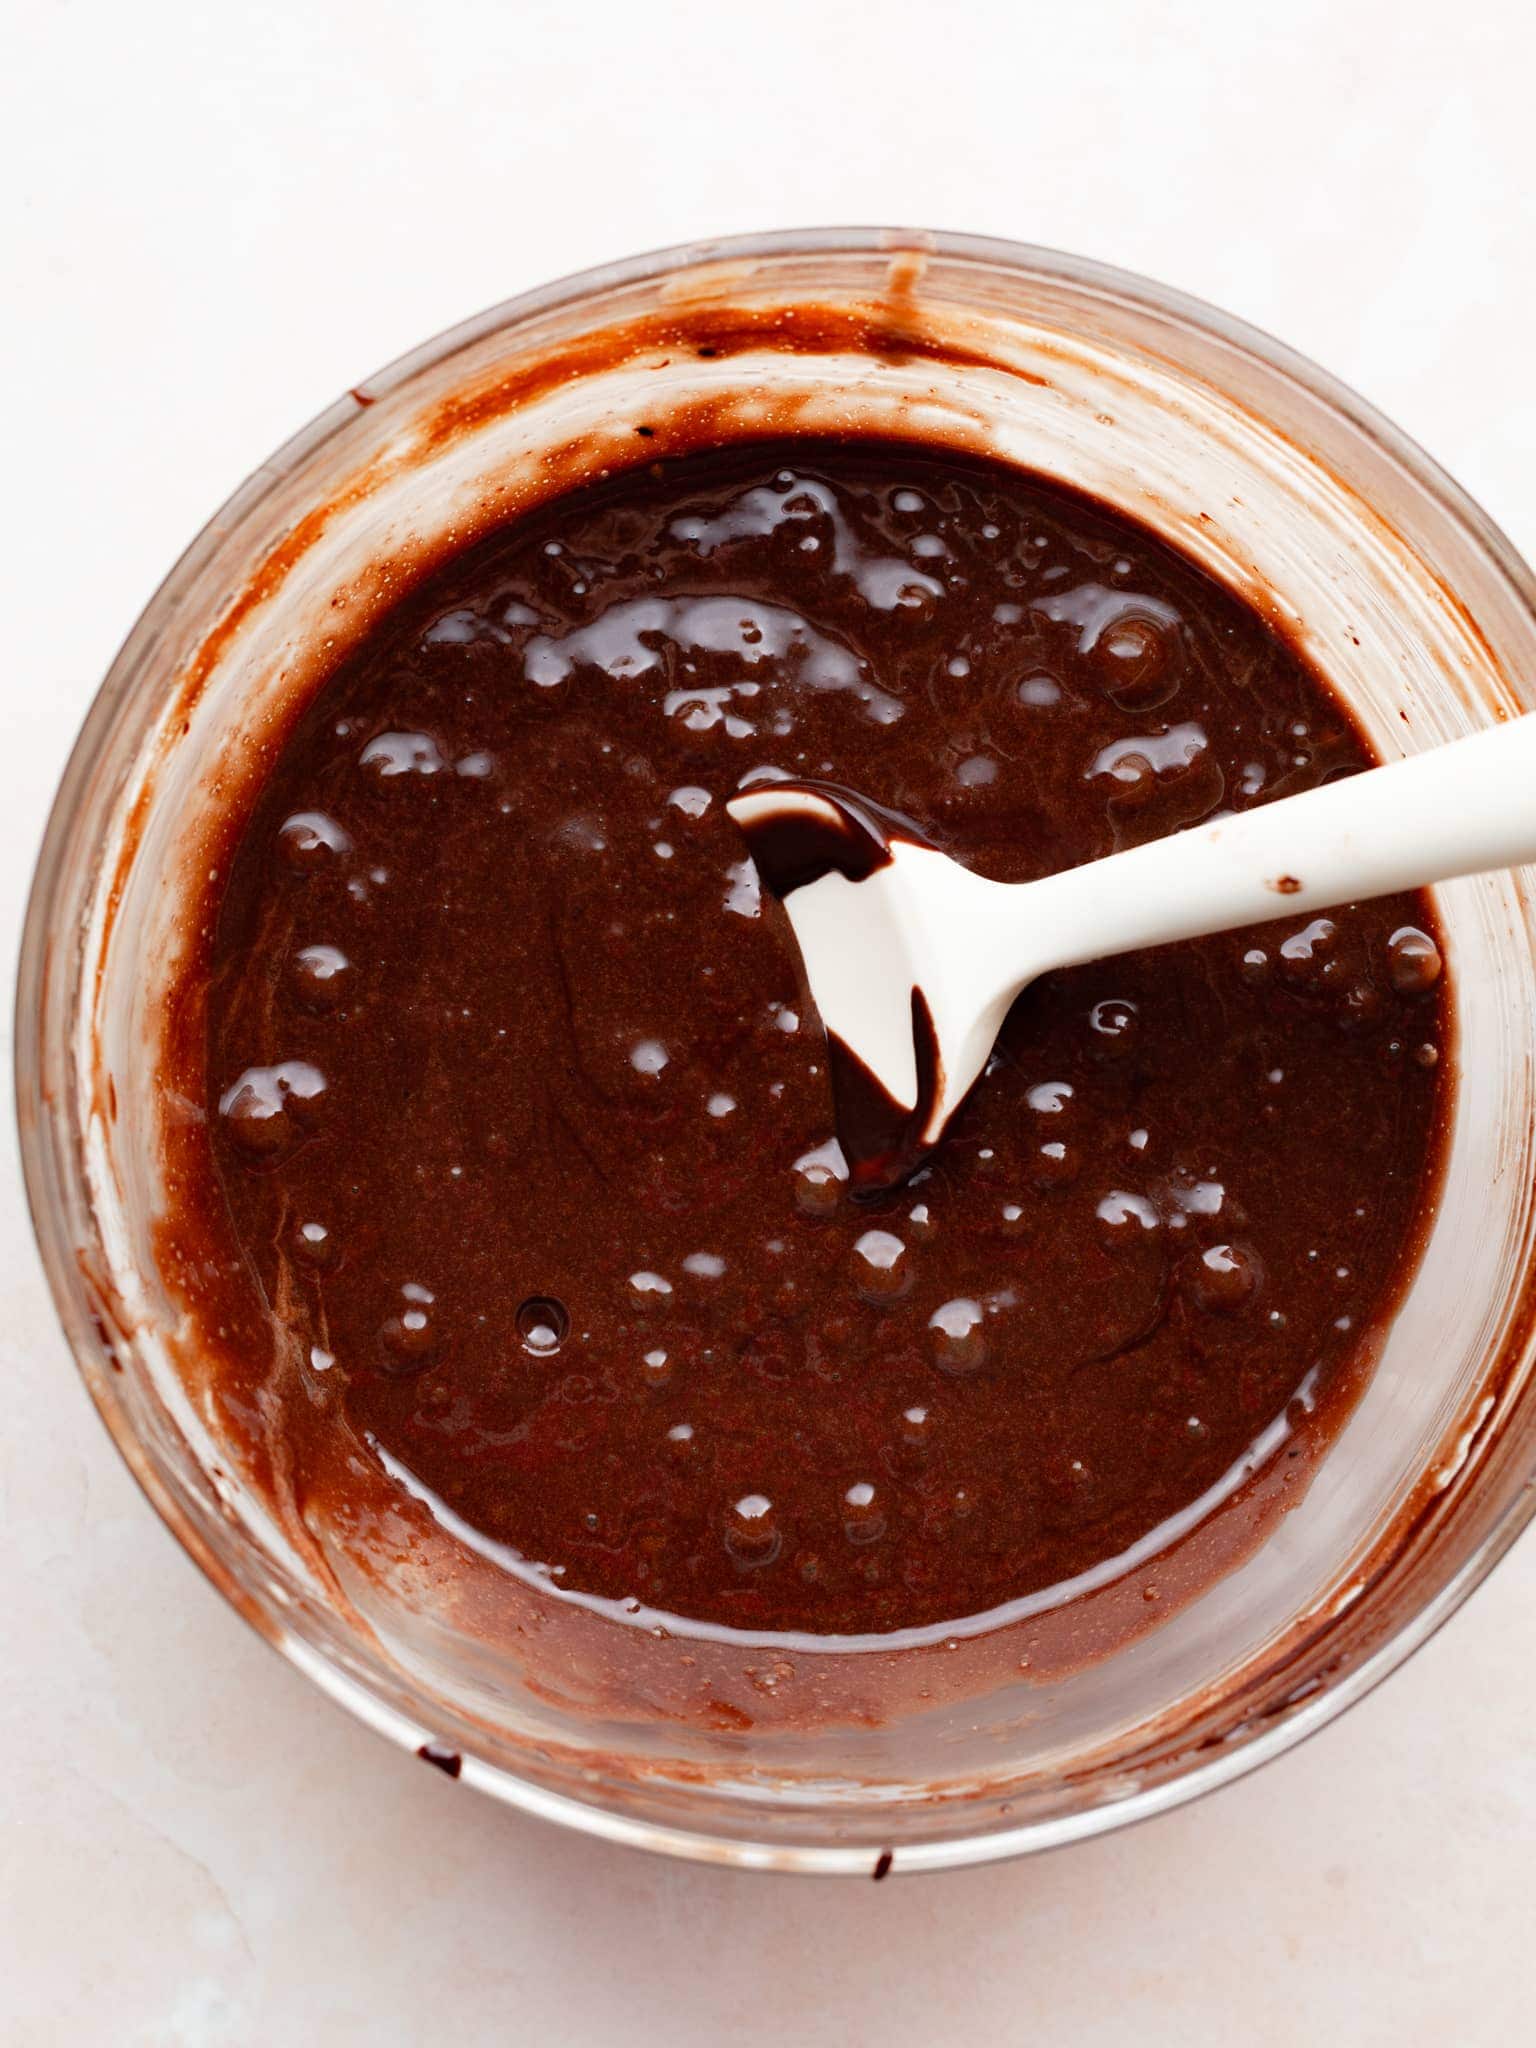
- Step 7: Reheat the chocolate mixture in the microwave for about 20 - 30 seconds, until hot. Give the mixture a good stir and then add the hot mixture to the whipped eggs.
- Step 8: With a whisk, quickly whisk the hot chocolate mixture into the whipped eggs. The warm butter mixture will help to melt the sugar and help create Gluten Free Brookies with a glossy, shiny crinkle top.
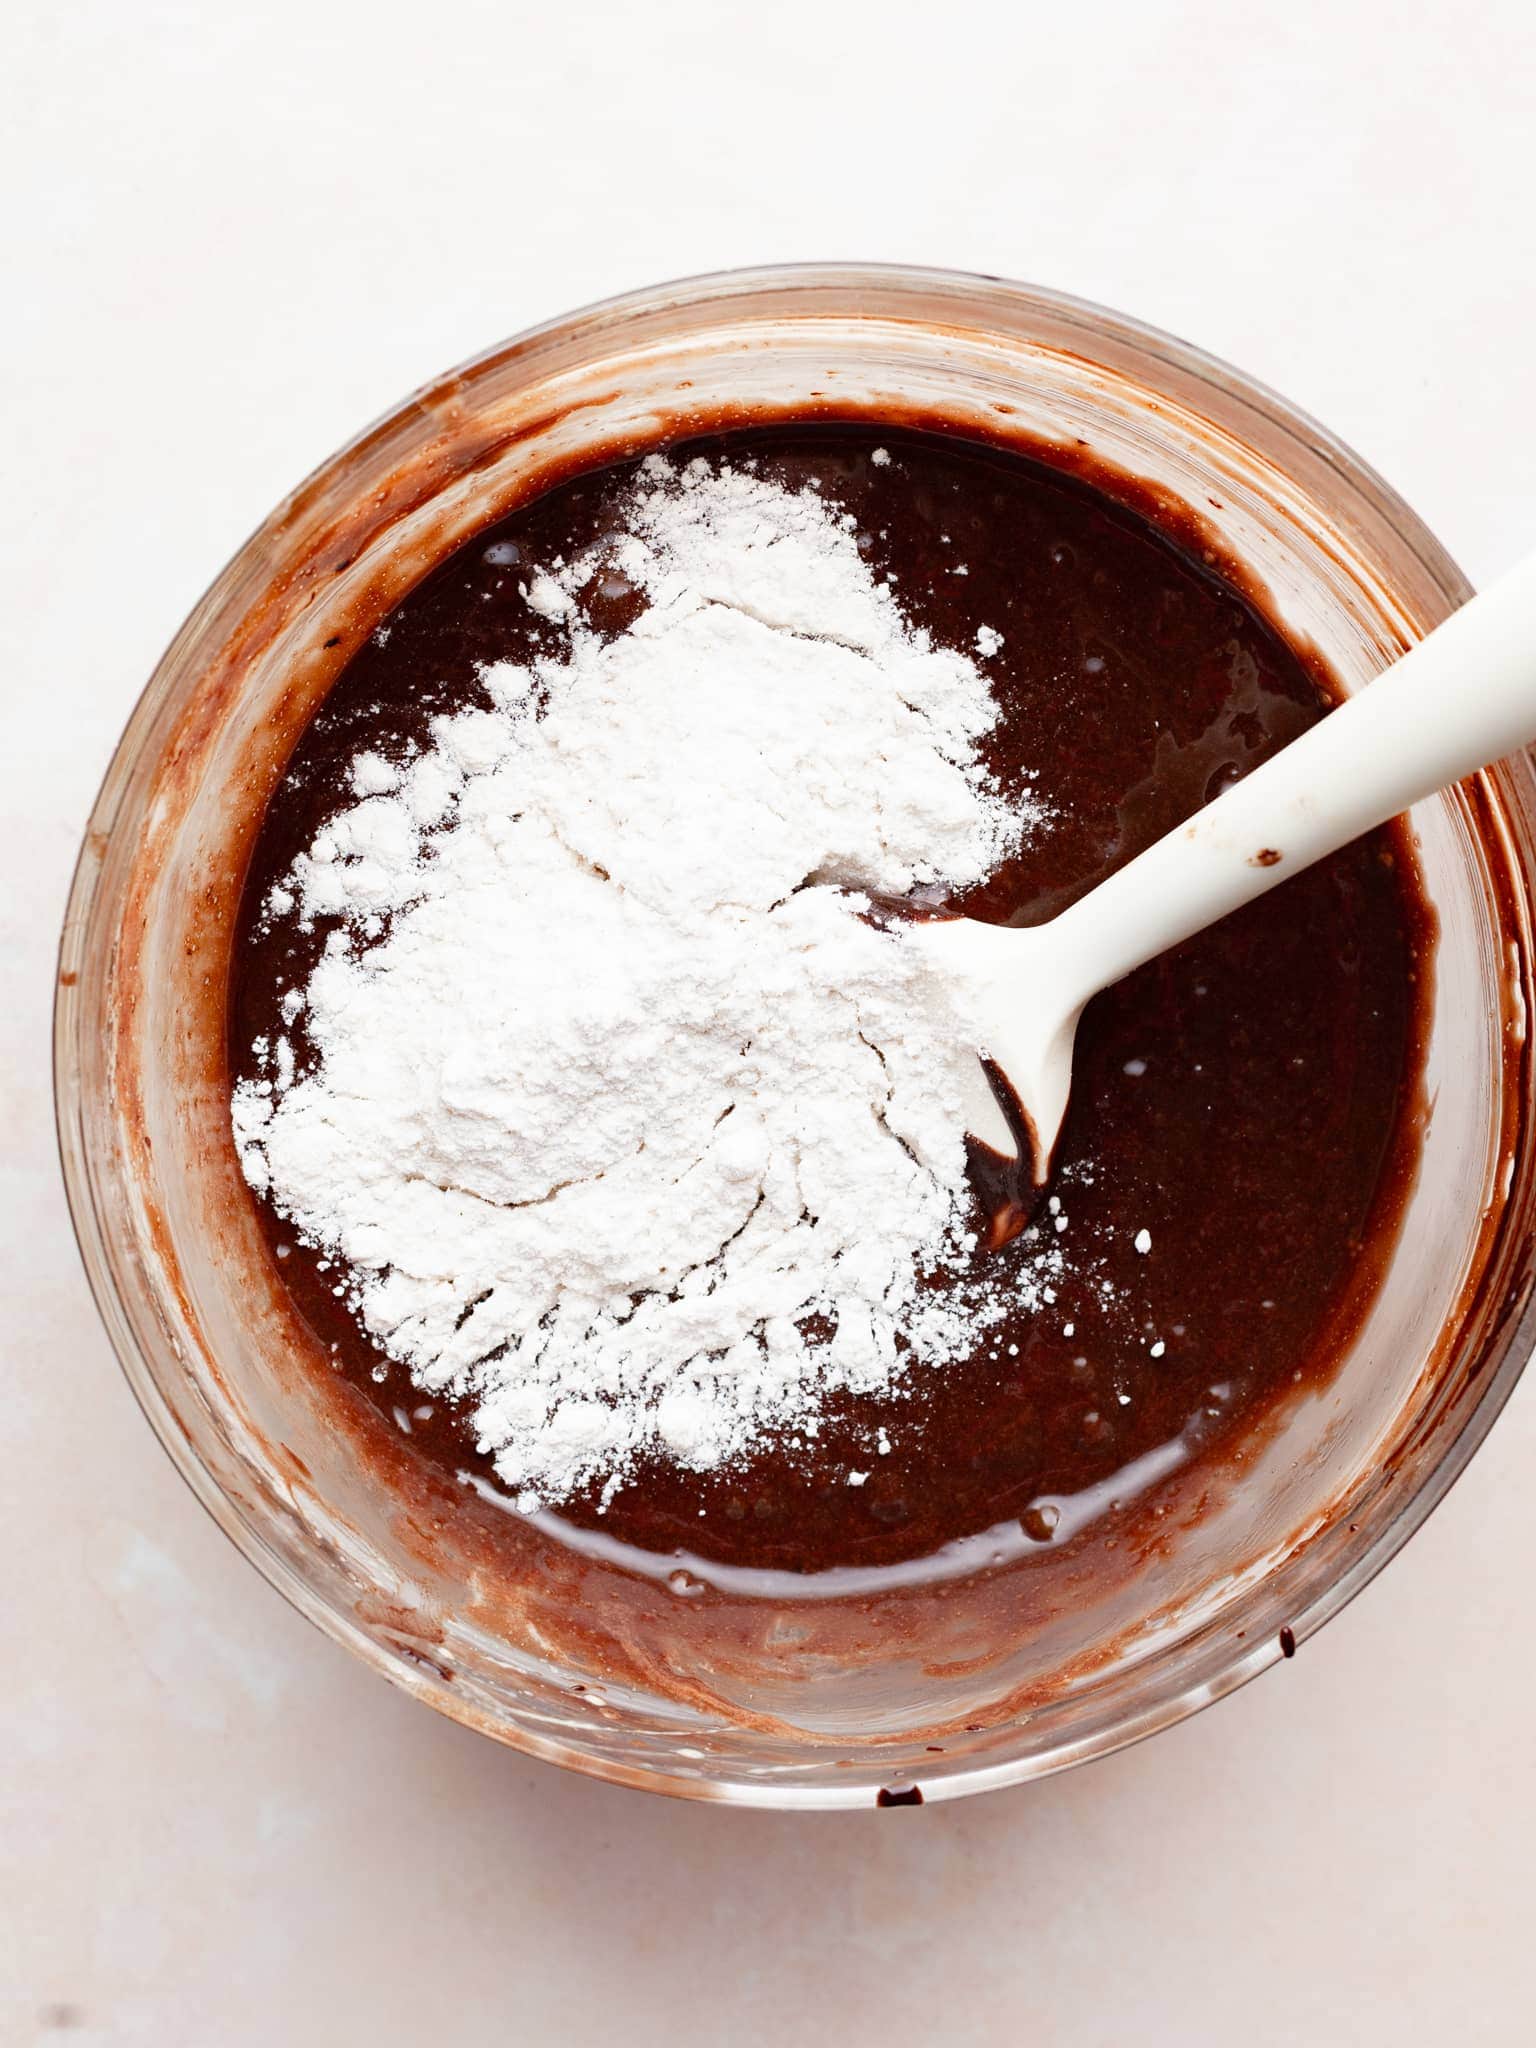
- Step 9: Once the wet ingredients are combined, add the gluten free flour. Use the whisk to gently stir and incorporate it into the wet mixture. Avoid vigorous whisking, as it could result in cakey brookies instead of fudgy, chewy ones.
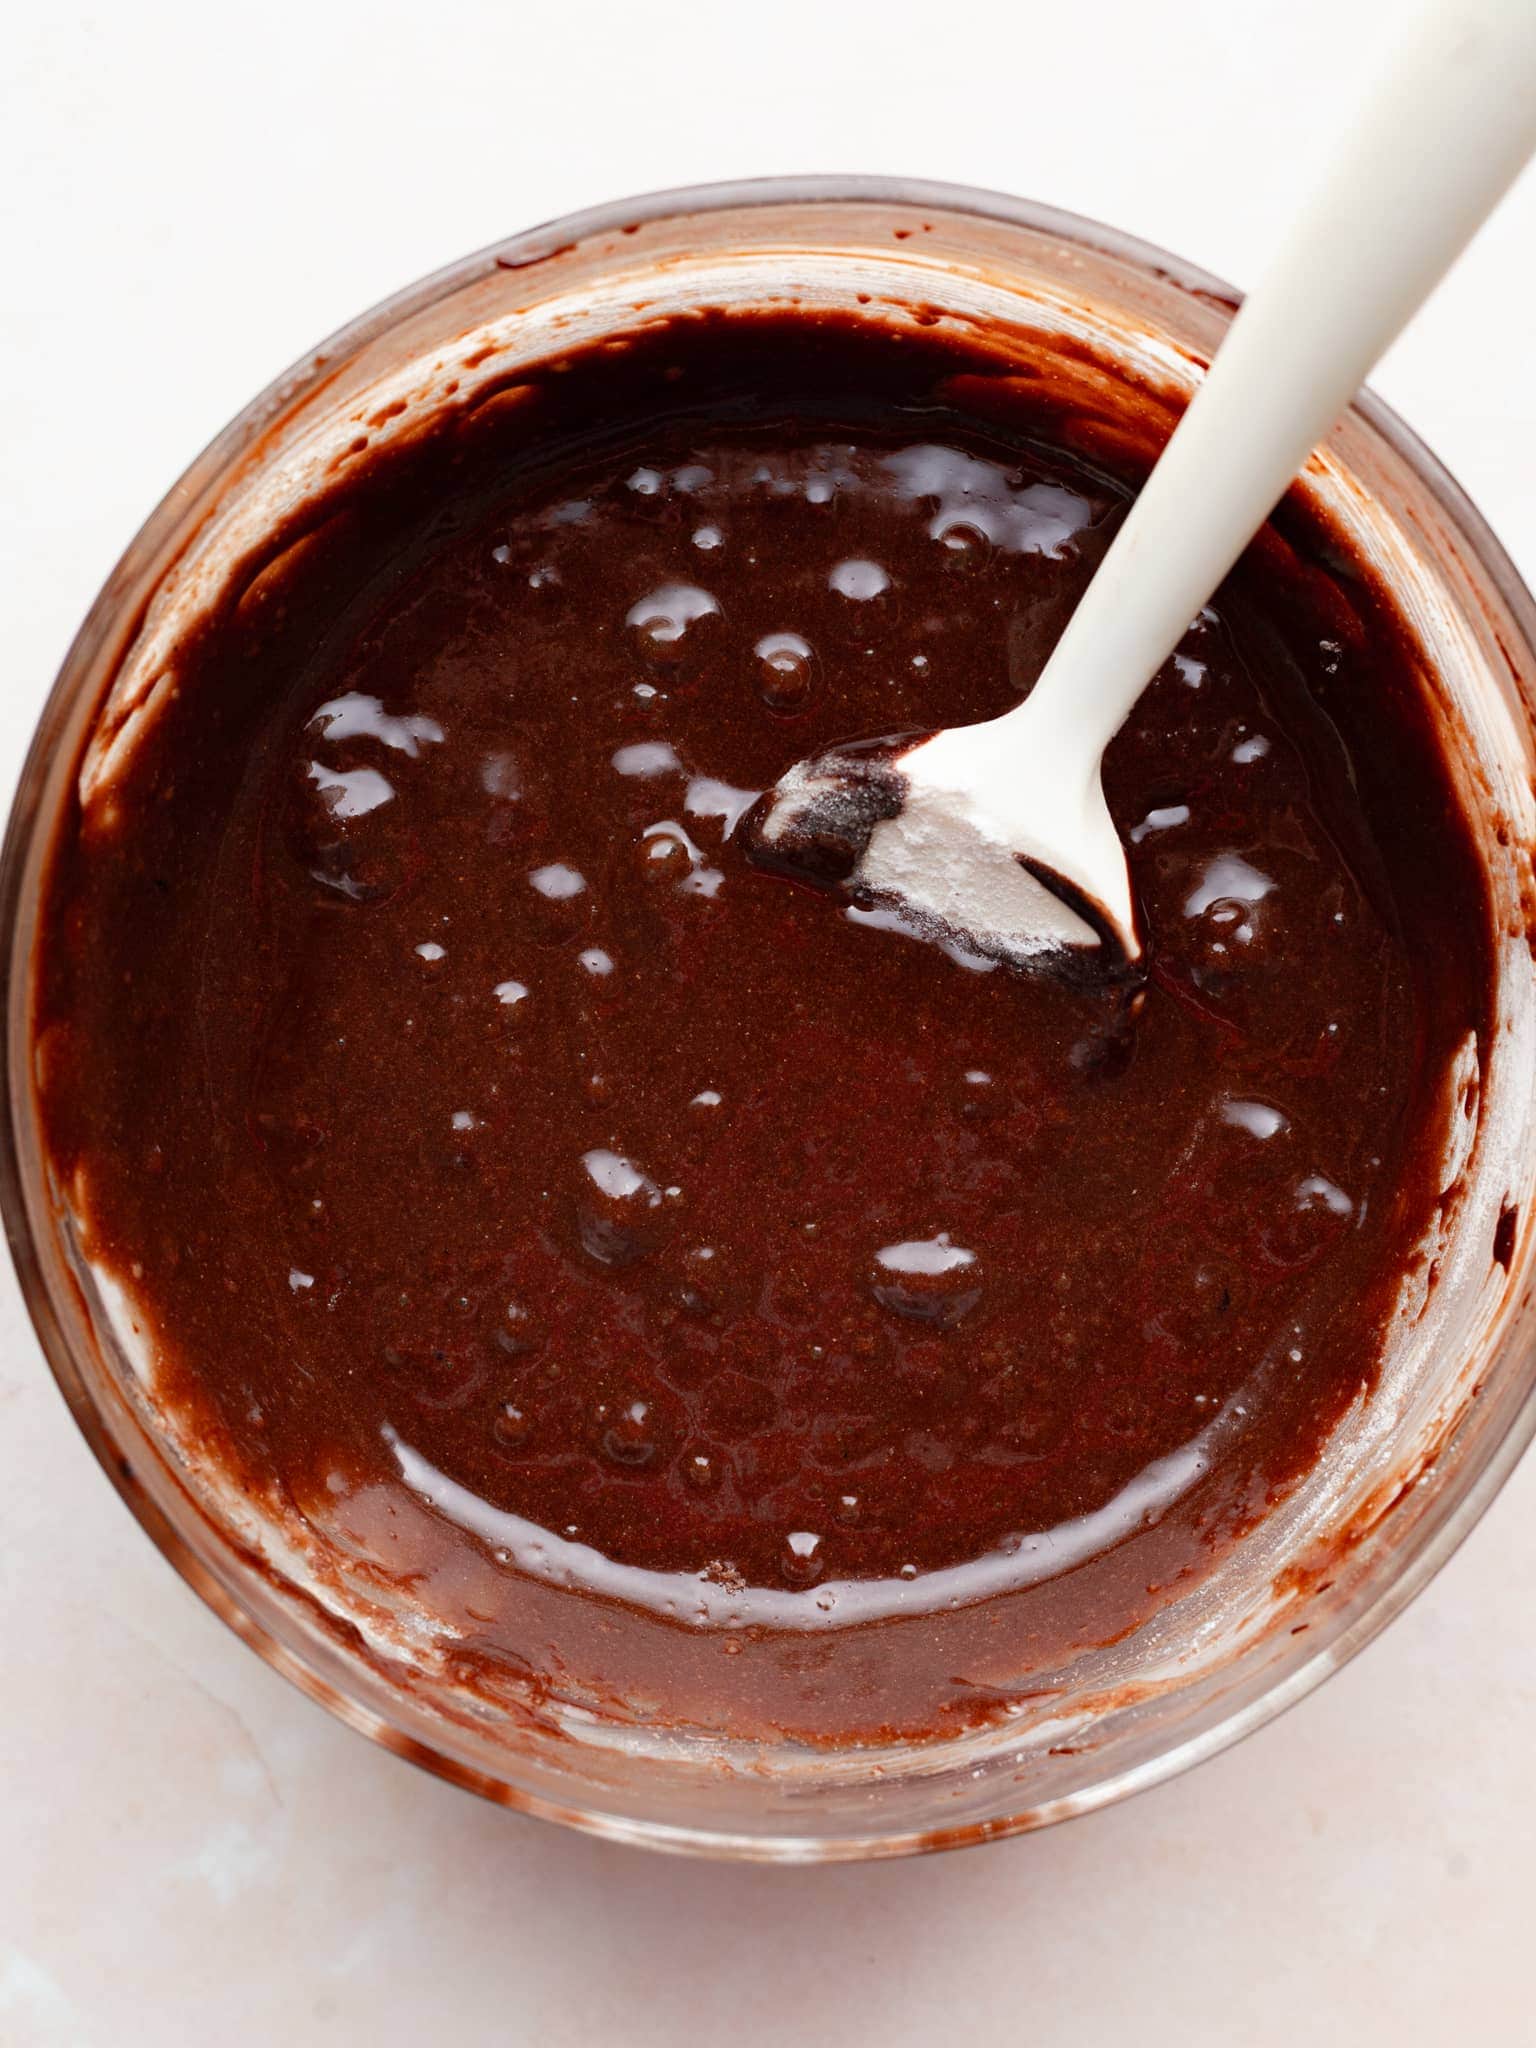
- Step 10: The finished batter is thick, rich, and intensely chocolatey - the perfect start to seriously fudgy gluten free brookies.
Baking Instructions
Make sure your oven is fully preheated to 335°F! Baking time depends on how fudgy you like your brookies. Less time = fudgier brookies!
- Step 1: Retrieve the prepared loaf pan with the cookie dough. Make sure it is pressed down.
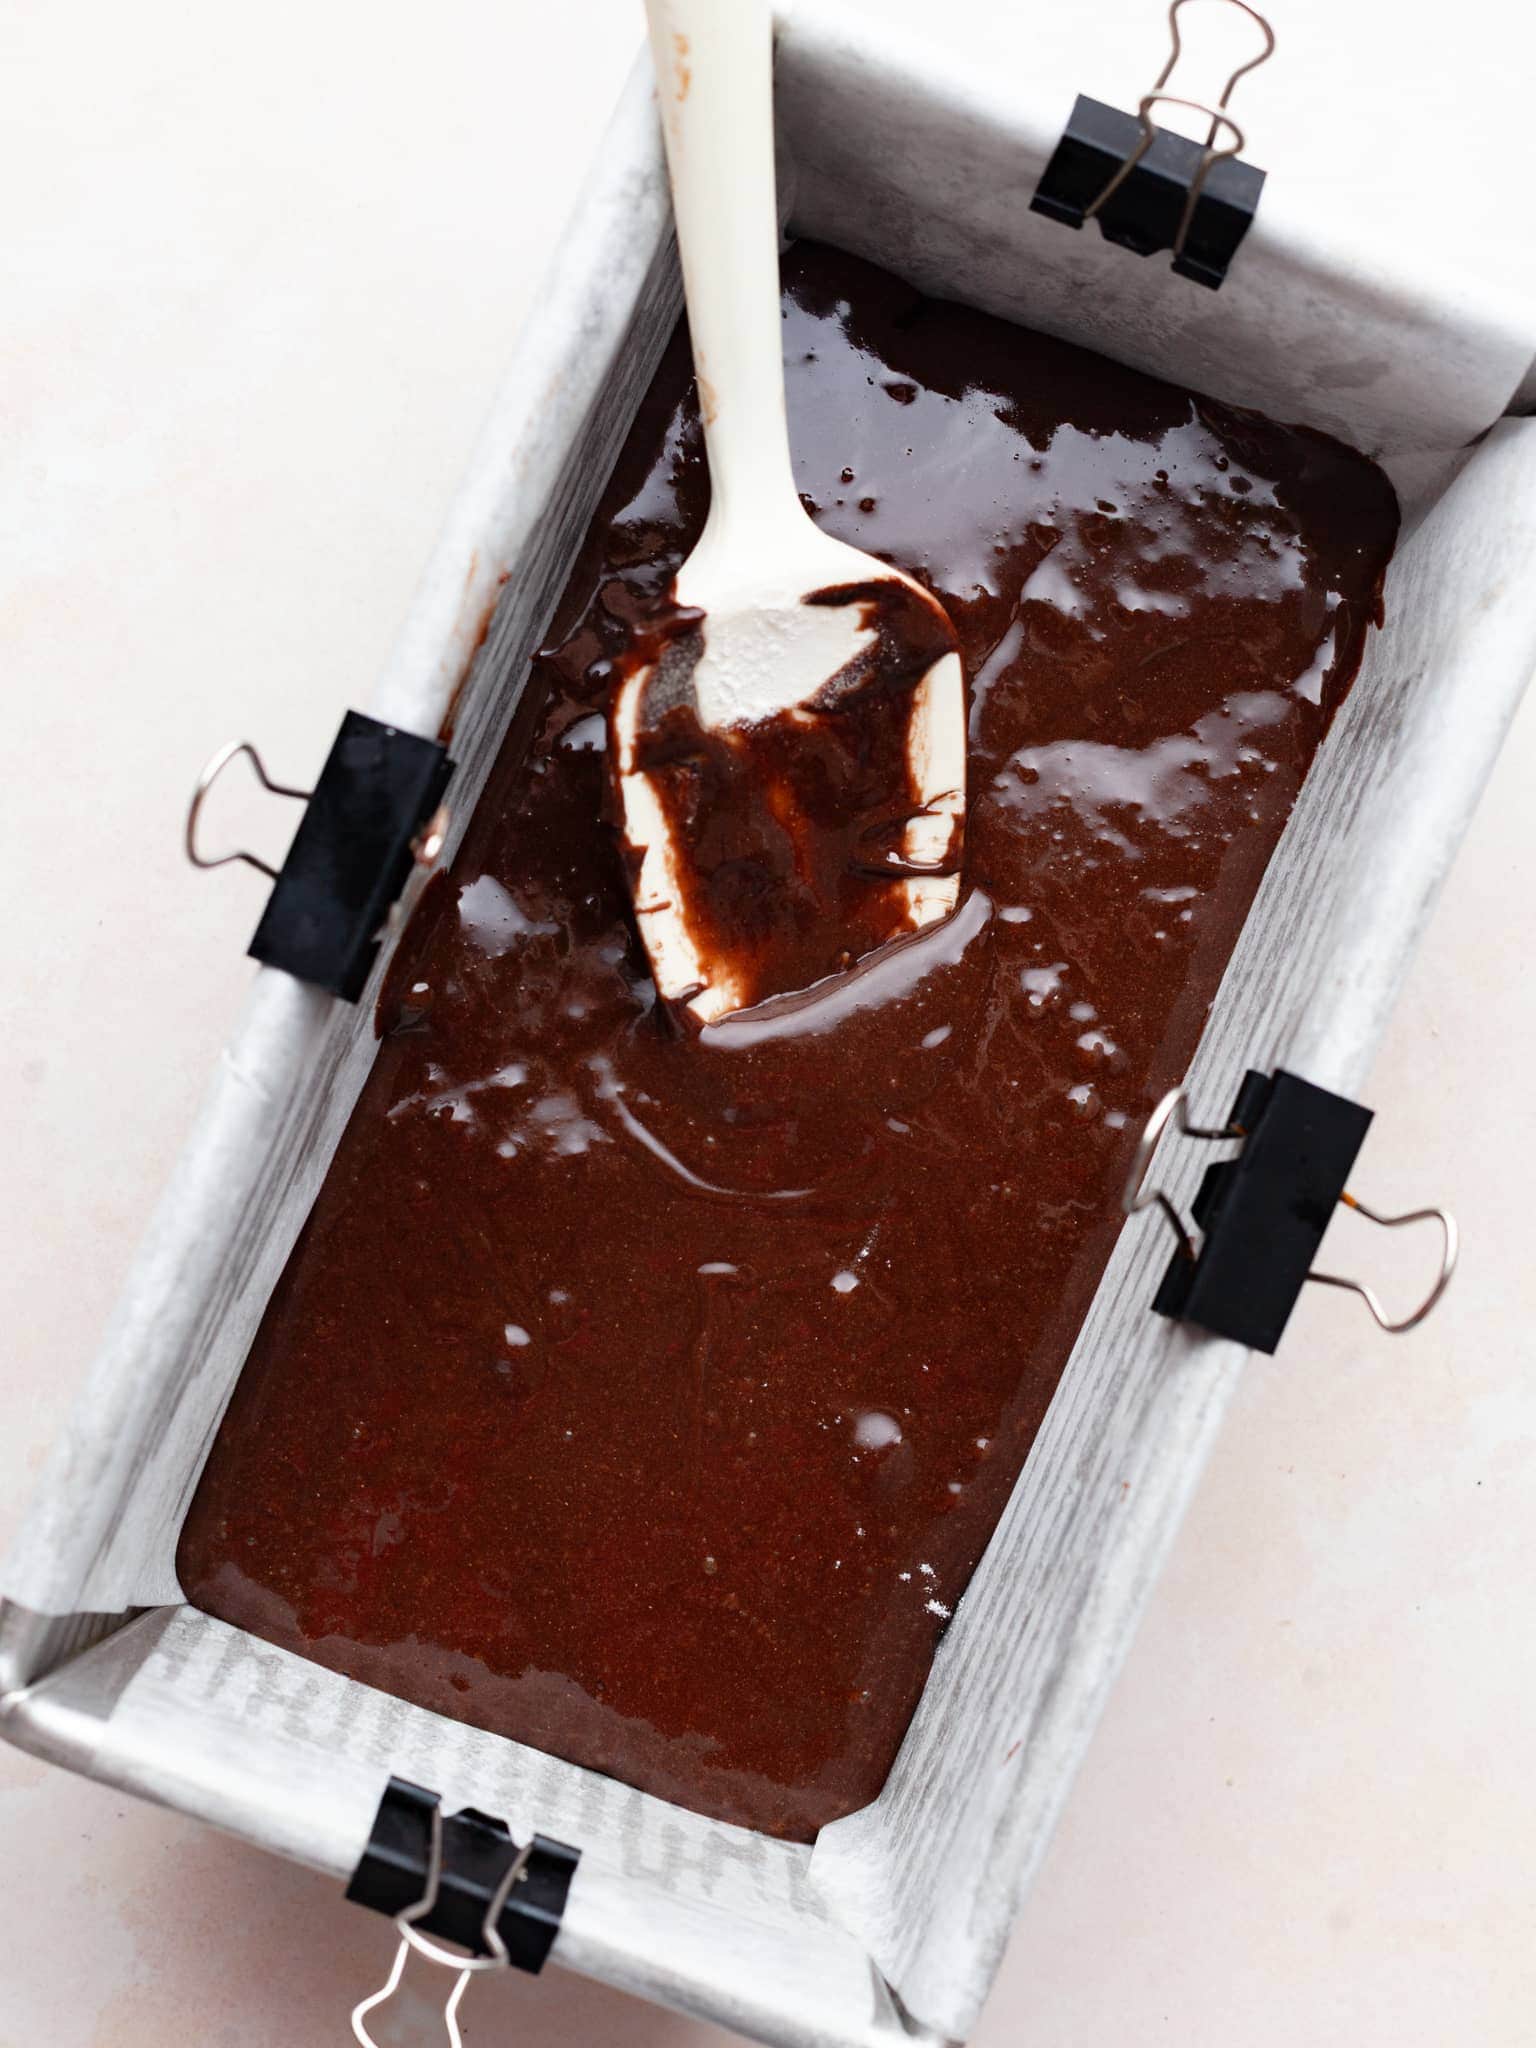
- Step 2: Top the cookie dough with the gluten free brownie batter. Spread out evenly.
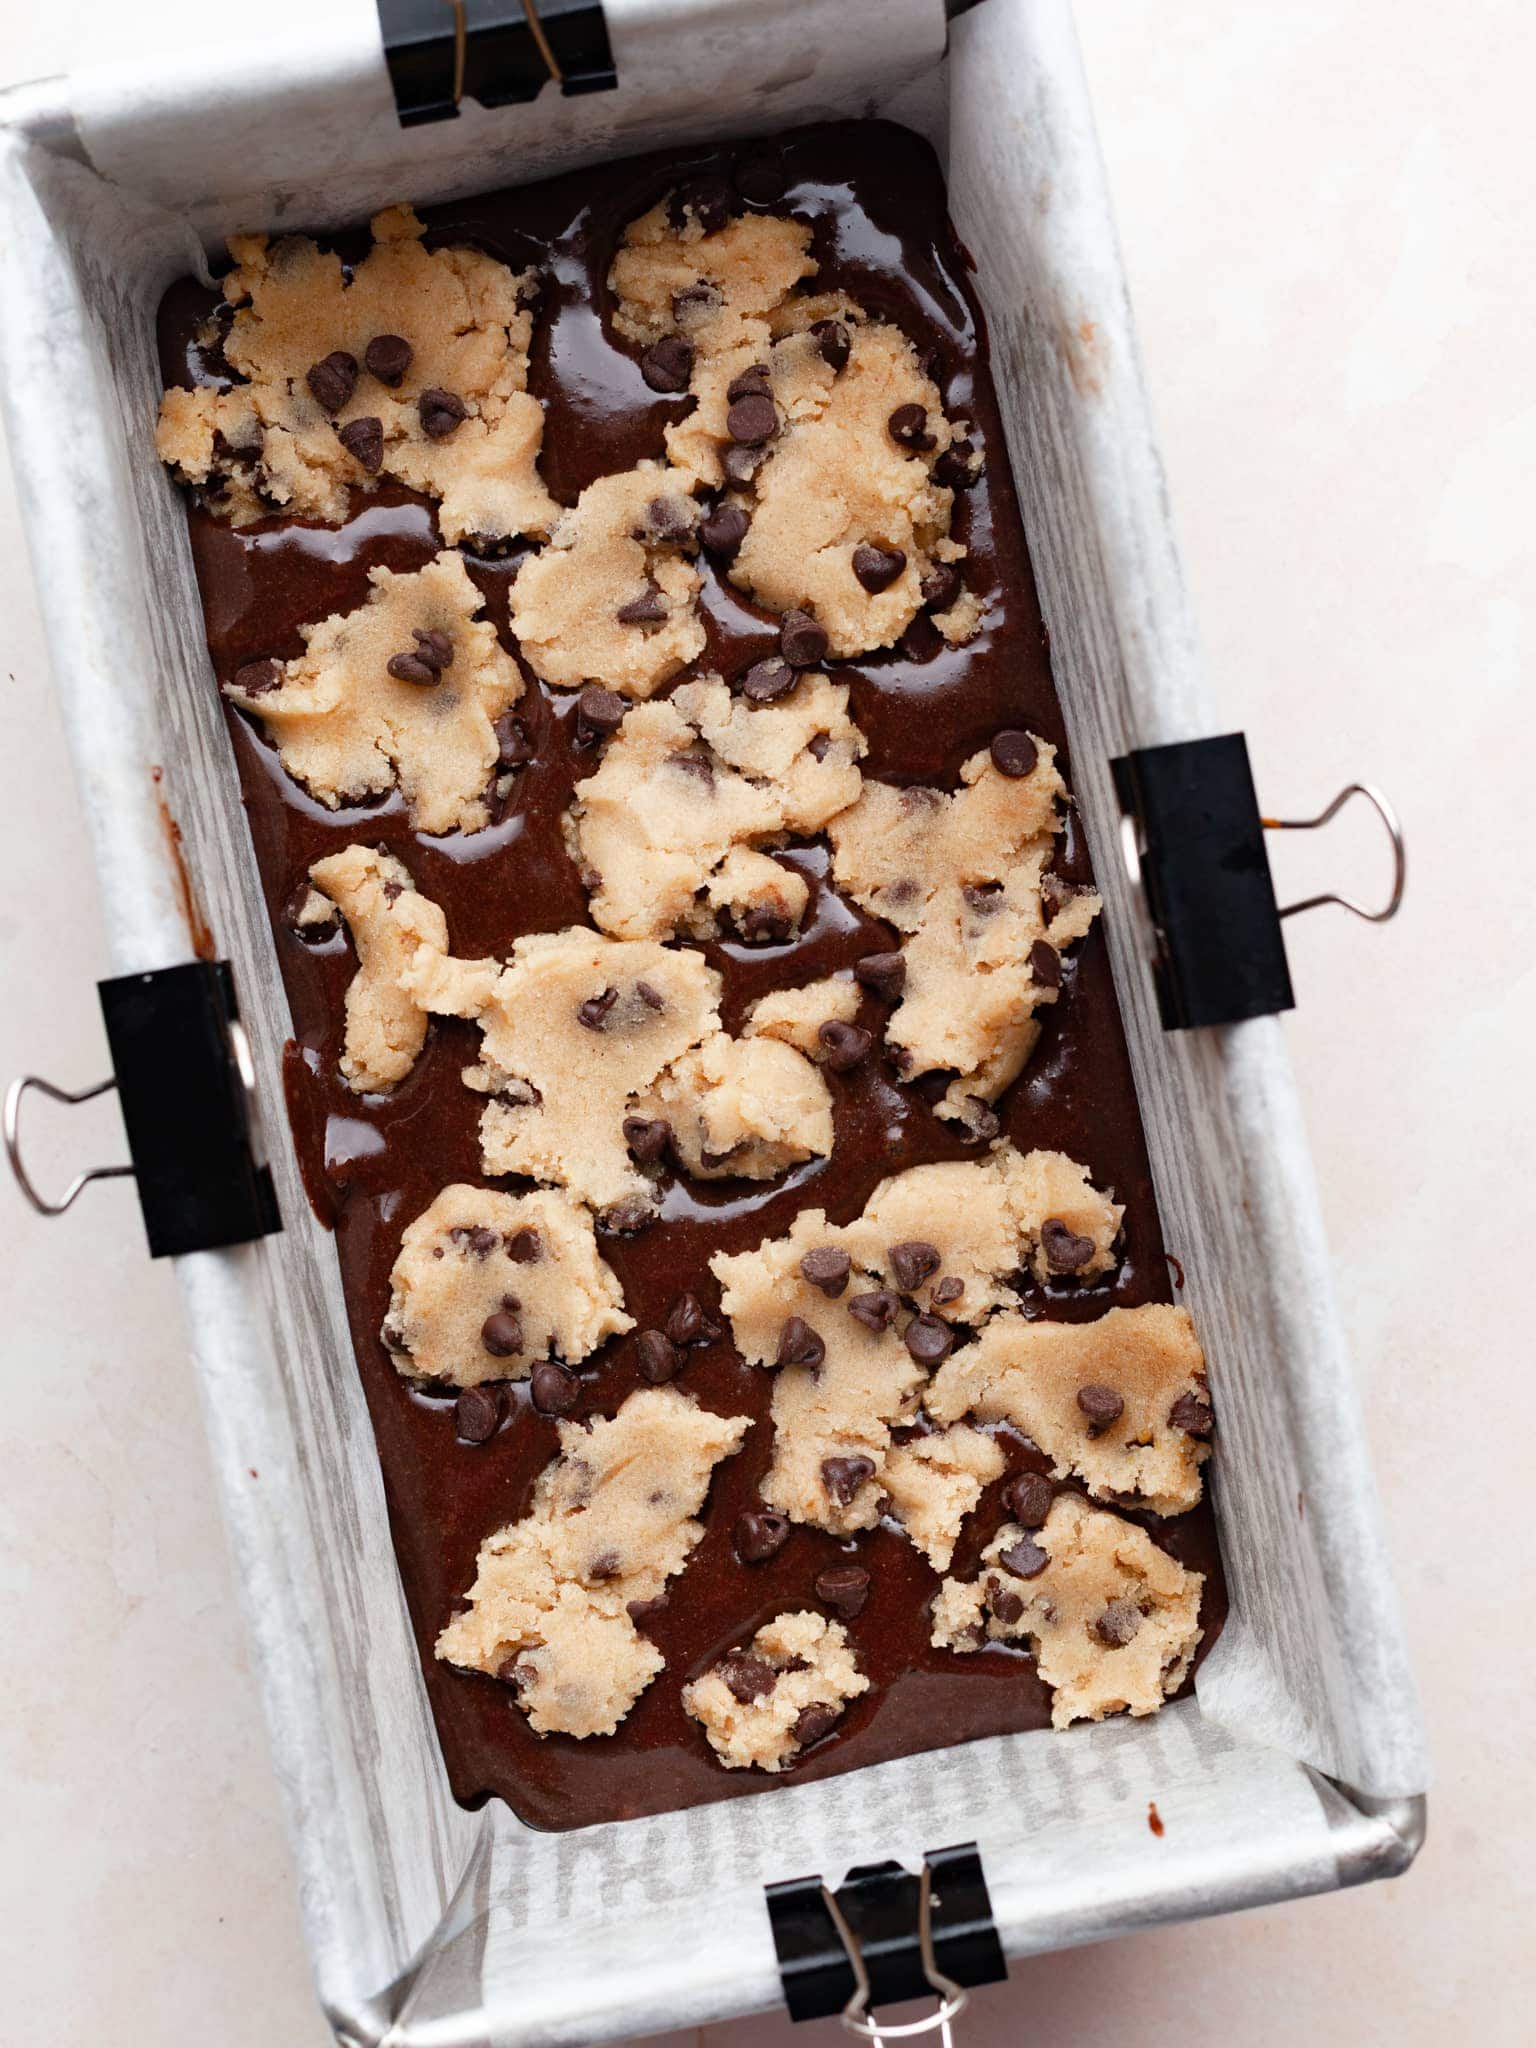
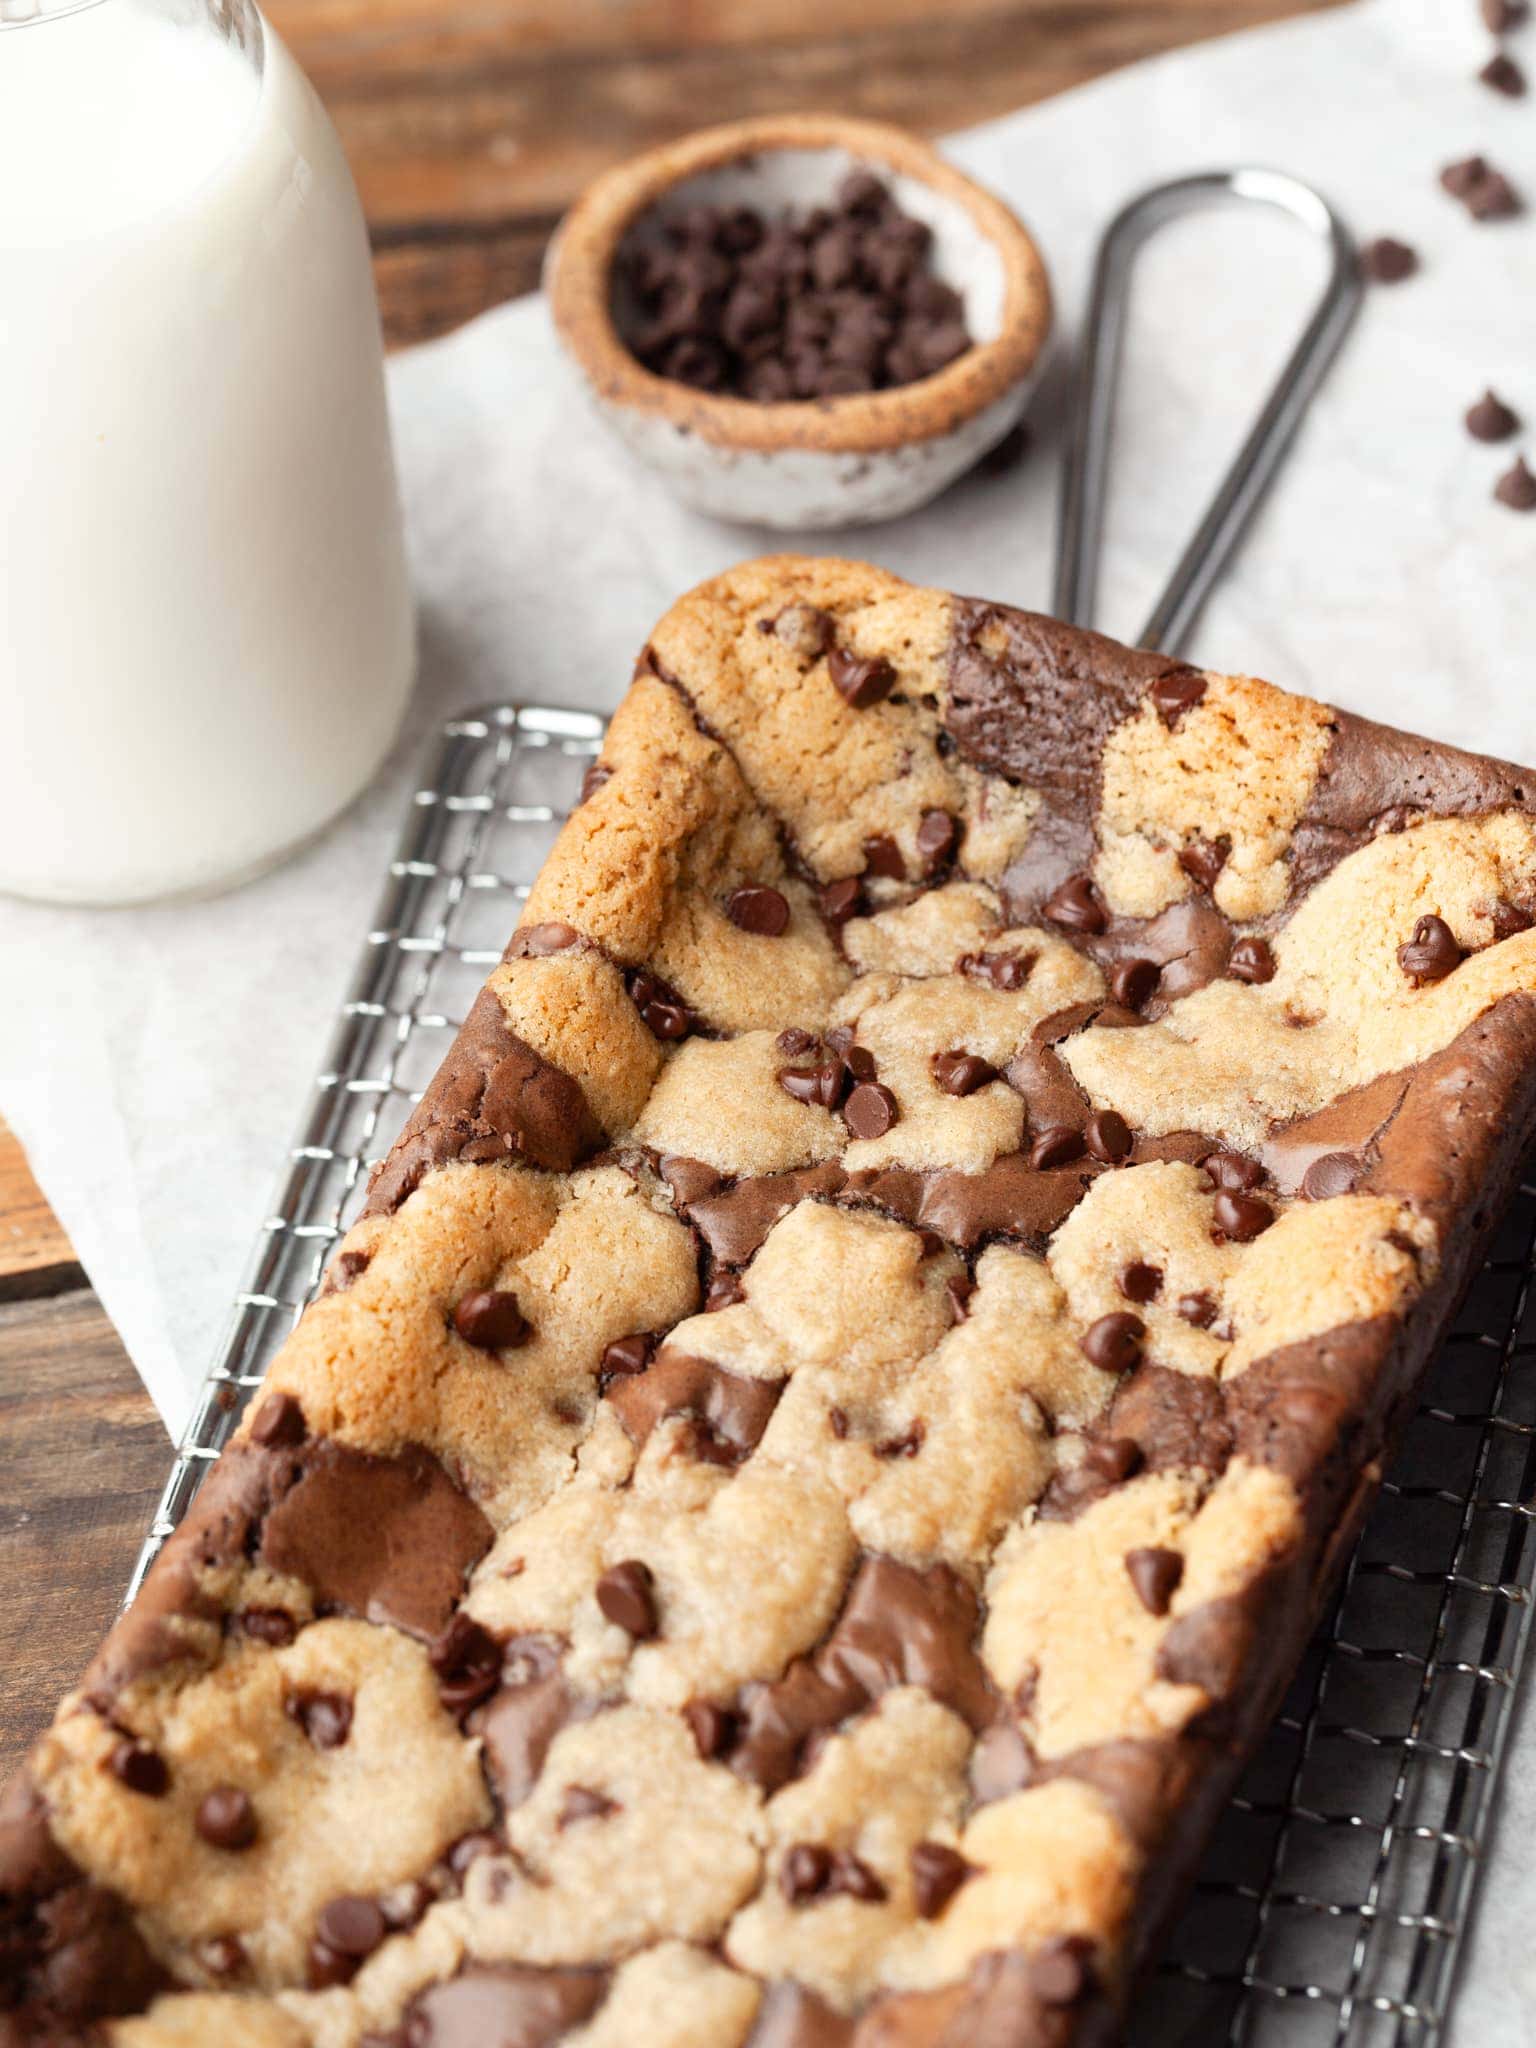
- Step 3: Pinch off small pieces of the remaining of the gluten free chocolate chip cookie dough, flatten them slightly between your fingers, and scatter them evenly on top of the brownie layer. There is no right or wrong way to do this.
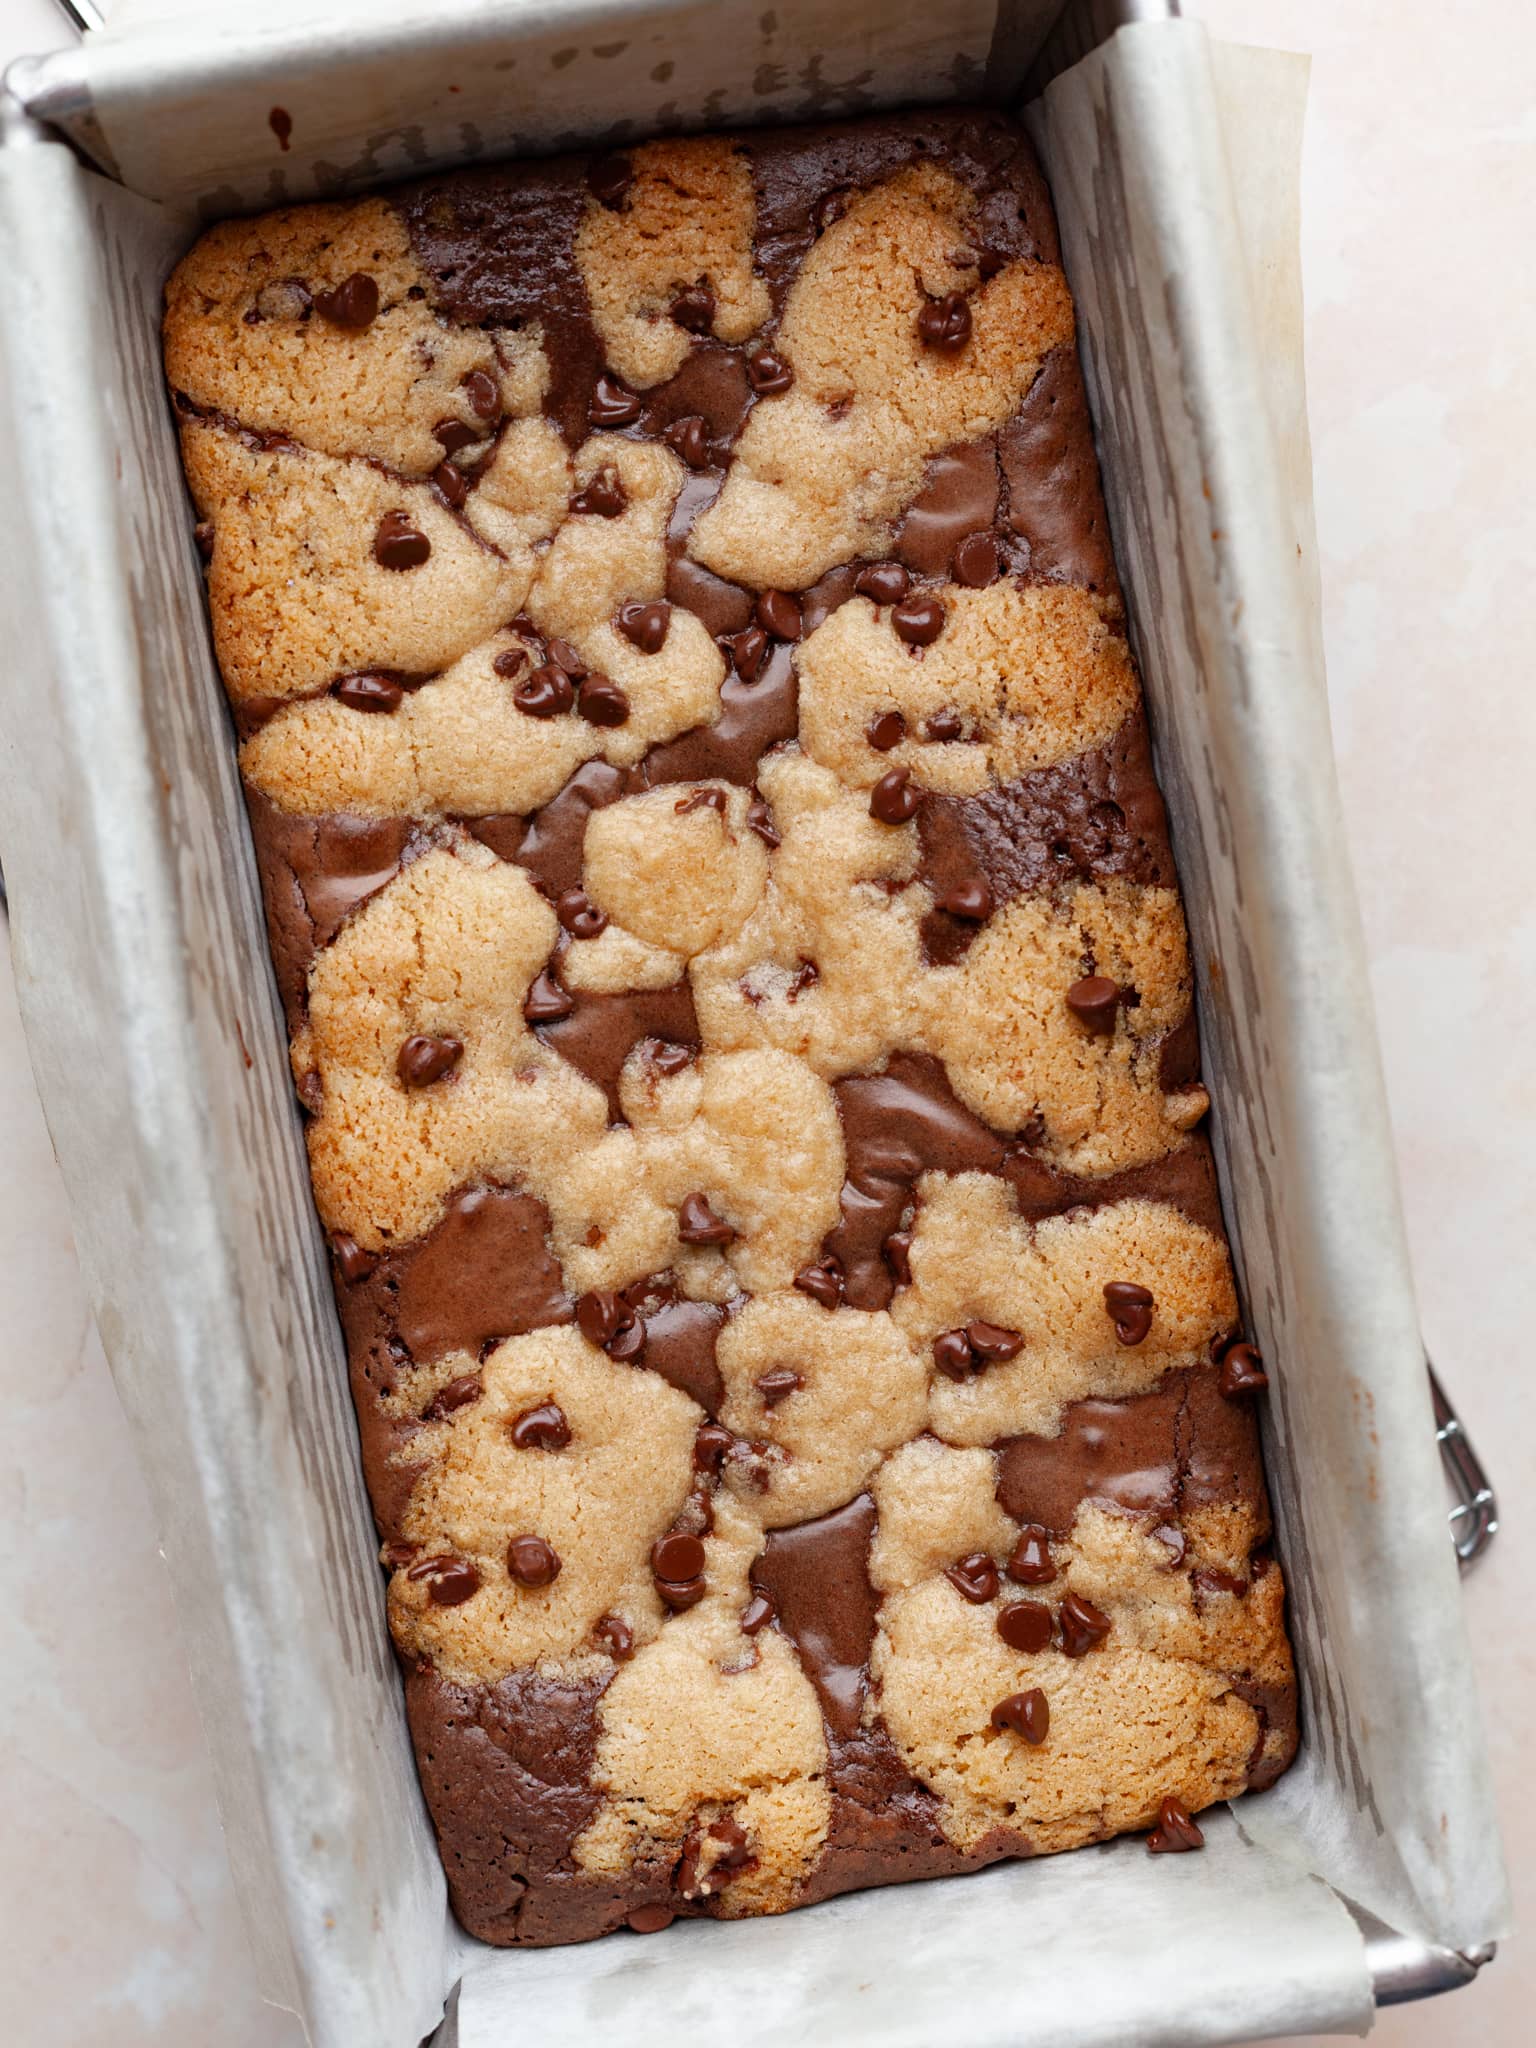
- Step 4: Bake the gluten free brookies at 335°F for 19–22 minutes. The edges should be set and the cookie layer golden. The center should be just set, with a toothpick coming out with a few moist crumbs.
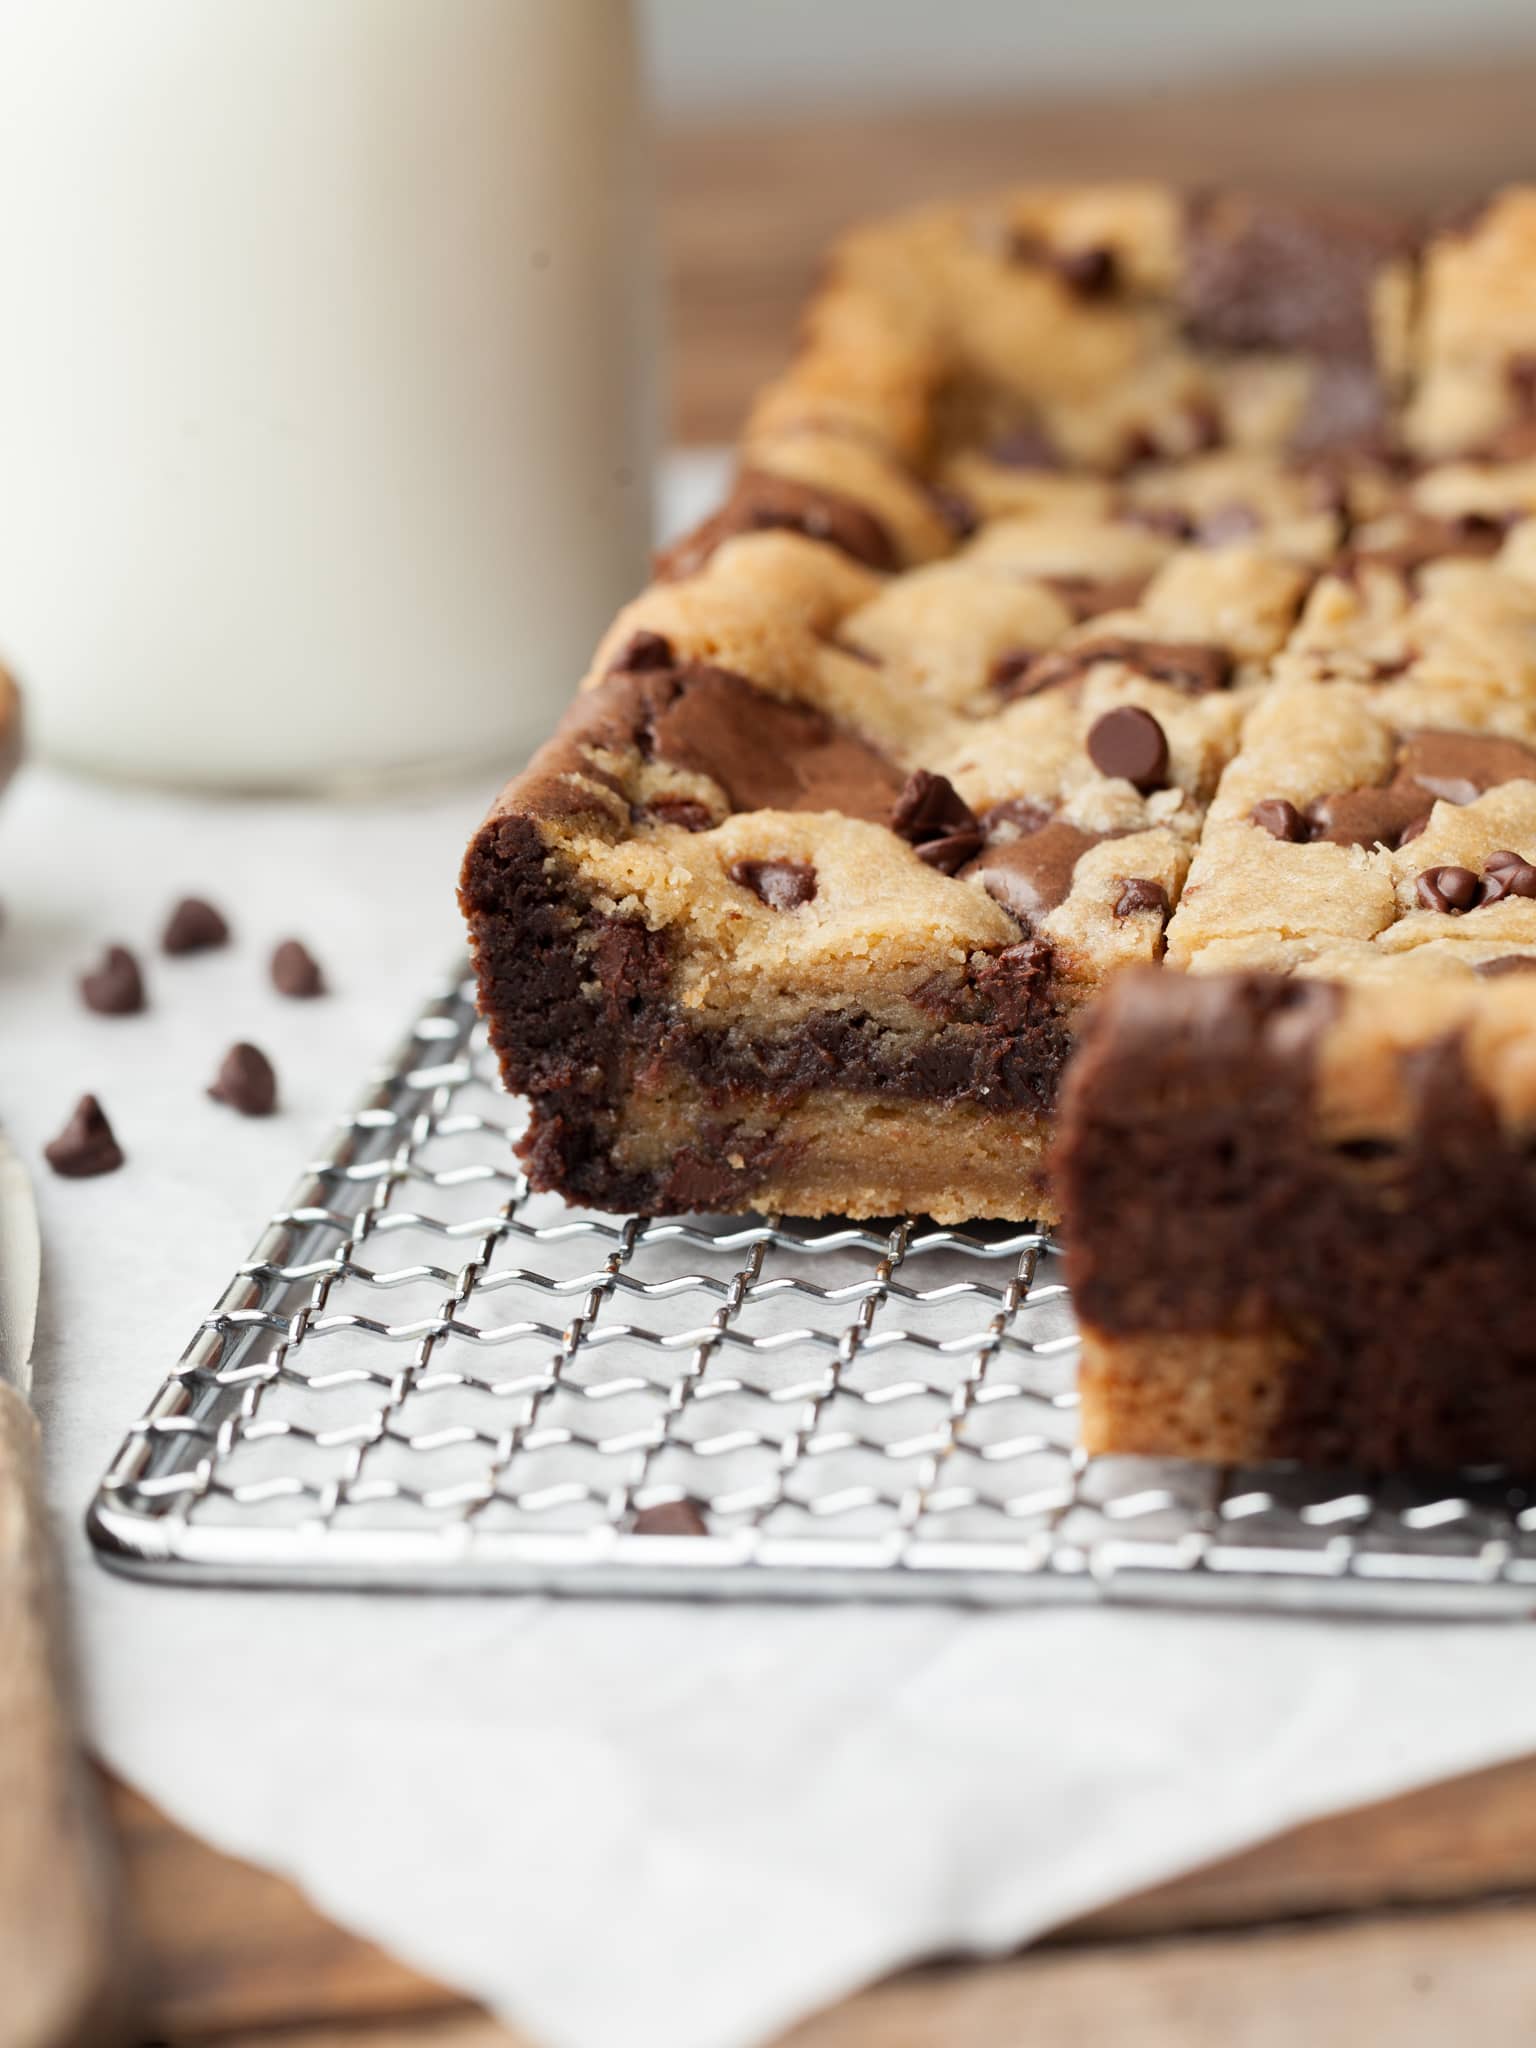
- Step 5: Remove the brookies from the oven and allow it cool to completely before placing it in the fridge for at least 2 hours (Overnight works too!) before cutting.
Tips for Slicing Brookies
Here are a few tips to make slicing of Gluten Free Brookies a bit easier:
- Chill Thoroughly: Ensure the gluten free brookies has been chilled for at least 2 hours, but overnight works too.
- Use a Sharp Knife: A long, sharp knife with a straight edge works best. A chef’s knife or slicing knife is ideal for this task.
- Warm the Knife: Dip the blade of the knife into hot water, then wipe it dry with a clean towel before each cut. The warmth helps the blade glide through the layers.
- Clean Between Slices: After each cut, wipe the blade with a warm, damp towel to remove crumbs. This keeps the slices looking clean and professional.
- Cut Straight Down: Use a straight, downward motion rather than sawing back and forth. This keeps the layers intact and minimizes shifting of the toppings.
Storage & Freezing
Gluten Free brookies keep surprisingly well when stored properly. I prefer them cold, so I store them in an airtight container in the refrigerator for 5–7 days. You can also keep them at room temperature.
Brookies freeze beautifully, too! Freeze them in an airtight container for up to 3 months, either cut into squares or as one whole slab. Thaw at room temperature or enjoy them straight from the freezer! (I prefer freezing them cut. This way they thaw a lot faster)
Note about Salt in my Recipes
I use Diamond Kosher Crystal Salt in all of my recipes unless otherwise stated. If use use a different brand or kind of salt in your kitchen please adjust accordingly since some salts can be saltier. If you use Morton’s Kosher Salt please be aware that their salt granules are smaller in size, denser, and crunchier and twice as salty.
Baking in grams
I share my recipes in grams and by weight since baking by weight is the most accurate way to bake. Digital Scales are very affordable and easy to use. You can purchase them on Amazon for less than a set of measuring cups. For small amounts under 10 grams, I like to use this Precision Pocket Scale. Measuring cups are very inaccurate which can cause significant errors when it comes to gluten-free baking or baking in general. Especially since I bake with gluten-free flours which weigh differently than “regular” flours. I do provide some ingredients like spices and leavening agents in measuring spoons. To learn more about Baking with a digital scale, make sure to check out my post about Baking by weight.
Note about Ovens and Oven Temperatures
All my recipes are tested and developed with a conventional oven. I always bake my baked goods on the rack placed in the MIDDLE of my oven. This way the heat coming from the bottom will not burn my baked goods.
If you are baking with convection (fan-forced), please adjust the recipes accordingly. Convection oven can cause baked goods to dry out quickly and still be raw inside. Since takes at least 15-20 minutes for a standard American Oven to be fully preheated. I highly recommend investing in an Oven Thermometer.
Substitutions and Modifications
Any dietary or ingredient modifications/substitutions to this recipe may alter the end result in appearance and taste. I test my recipes several times as published in this post and The Gluten Free Austrian Blog is not responsible for the outcome of any recipe you find on our website.
More Gluten Free Small Batch Recipes


📖 Recipe
Gluten Free Brookies (Small Batch Recipe)

Gluten Free Brookies are the best of both worlds: fudgy, chocolatey brownies and soft, chewy chocolate chip cookies baked together into one irresistible dessert. And because this is a small batch brookie recipe, you get just enough to satisfy your sweet tooth without ending up with a giant pan of leftovers.
Ingredients
Gluten Free Chocolate Chip Cookie Dough
- 40 grams unsalted butter, melted
- 40 grams light brown sugar
- 20 grams granulated white sugar
- 1 egg yolk, room temp
- ½ teaspoon vanilla extract
- 65 grams gluten free flour (See Note)
- ¼ teaspoon baking soda
- ¼ teaspoon (1 gram) kosher salt
- 50 grams Mini Chocolate Chips
Gluten Free Brownie Batter
- 100 grams high quality dark chocolate
- 45 grams butter, unsalted
- 1 large egg, at room temperature\
- 1 teaspoon vanilla extract
- 40 grams light brown sugar
- 40 grams granulated white sugar
- ½ teaspoon instant espresso powder (OPTIONAL!!!!)
- 40 grams gluten free flour (See Note)
- ½ teaspoon kosher salt
Instructions
Gluten Free Chocolate Chip Cookie Dough
- Melt the butter in a microwave-safe bowl or small saucepan. Let cool for about 10 minutes.
- Meanwhile, whisk together the gluten free flour, baking soda, and kosher salt. Set aside.
- Once the butter has cooled, add the light brown sugar and granulated sugar. Mix until fully combined.
- Add the room-temperature egg yolk and vanilla extract. Stir until smooth and glossy.
- Gently fold the dry ingredients into the wet ingredients with a spatula.
- Fold in the mini chocolate chips. The cookie dough will look slightly wet. This is exactly what you want! Refrigerate while you prepare the standard loaf pan (4x8)
- Lightly spray a 4x8-inch baking pan with nonstick cooking spray and line it with parchment paper. Binder clips can help hold the parchment in place, but remove them before baking.
- Using a medium cookie scoop (about 2 tablespoons), place 3 scoops of cookie dough in the bottom of the prepared pan. You’ll have leftover cookie dough to use on top of the brookies.
- Use the back of a spoon or clean fingers to gently press the cookie dough into an even layer.
- Place the pan and remaining cookie dough in the refrigerator while you prepare the gluten free brownie batter.
- Preheat the oven to 335°F.
Gluten Free Brownie Layer
- In a heatproof bowl, combine the unsalted butter and dark chocolate. If using a chocolate bar, roughly chop it first.
- Microwave for 60–90 seconds, depending on the strength of your microwave.
- Carefully stir until the butter and chocolate are fully melted and smooth. The mixture should look glossy and emulsified.
- Set the chocolate mixture aside. You’ll reheat it before adding it to the whipped egg.
- In a mixing bowl, combine the light brown sugar, granulated sugar, large egg, instant espresso (if using), vanilla extract, and kosher salt.
- Whip on medium-high speed for 2–3 minutes, until the mixture is very thick, foamy, and nearly triple in volume.
- Reheat the chocolate mixture for 20–30 seconds, until hot. Stir well, then immediately add it to the whipped egg mixture.
- Quickly whisk the hot chocolate mixture into the whipped eggs. The warm butter and chocolate help dissolve the sugar, creating that glossy, crinkly brownie top.
- Add the gluten free flour and gently whisk until just combined. Avoid overmixing, which can make the brookies cakey instead of fudgy and chewy.
Assemble & Bake the Gluten Free Brookies
- Remove the prepared pan from the refrigerator and make sure the cookie dough is pressed into an even layer.
- Pour the gluten free brownie batter over the cookie dough and spread it evenly.
- Pinch off small pieces of the remaining cookie dough, flatten them slightly between your fingers, and scatter them over the brownie layer. There’s no right or wrong way to do this!
- Bake the gluten free brookies at 335°F for 19–22 minutes. The edges should be set, the cookie layer golden, and the center just set. A toothpick should come out with a few moist crumbs.
- Remove from the oven and let the brookies cool completely. Refrigerate for at least 2 hours (overnight works, too!) before slicing
Notes
Gluten Free Flour: I tested this recipe for Gluten Free Brookies with Bob's Red Mill 1-1 and King Arthur Measure for Measure. Both gluten free flour blends work great here and I am very certain most other gluten free flour blends containing xanthan gum will work. Personally, I would stay away from my Cup4Cup Copycat Flour Mix and Caputo Fioreglut since both are too heavy in starches.
Recommended Products
As an Amazon Associate and member of other affiliate programs, I earn from qualifying purchases.
Nutrition Information:
Yield:
8Serving Size:
1Amount Per Serving: Calories: 306
Calories are a guestimate and randomly generated.


Holly says
I made these the first time for family who came for dinner. I failed to chill the cookie dough but they still turned out fantastic! The gluten eating gang said I should open a gluten free bakery!! This recipe is SO GOOD!
I have never had a brookie; they were not a "thing" before I went gluten free almost 20 years ago! These are literally the best of both worlds.
Daniela says
so if you open a bakery with my recipes, will I get commission 🤣🤣🤣 So happy to read everyone love them
Brid says
Made these brookies today. They are absolutely delicious. They were demolished in minutes to make a bigger batch do I double or triple the recipe? Thanks 😊
Daniela says
You can double them for an 8x8 pan but I wouldn't tripe them 🙂
Amy says
The brownie portion indicates vanilla extract as one of the things to combine, but the ingredients for the brownie part don't include vanilla extract. How much is supposed to be included? Mine are baking right now - I just put a small amount in and am hoping for the best!
Daniela says
When in doubt, a teaspoon of vanilla extract is always the way to go. I updated the recipe. Thank you for pointing this out 🙂