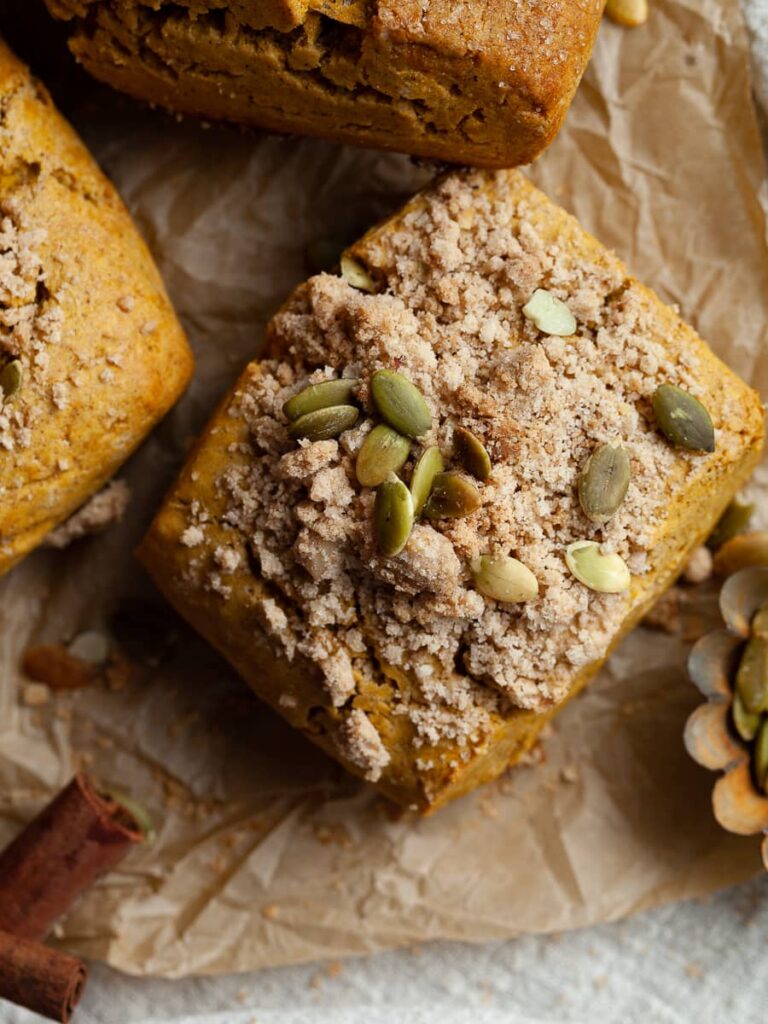
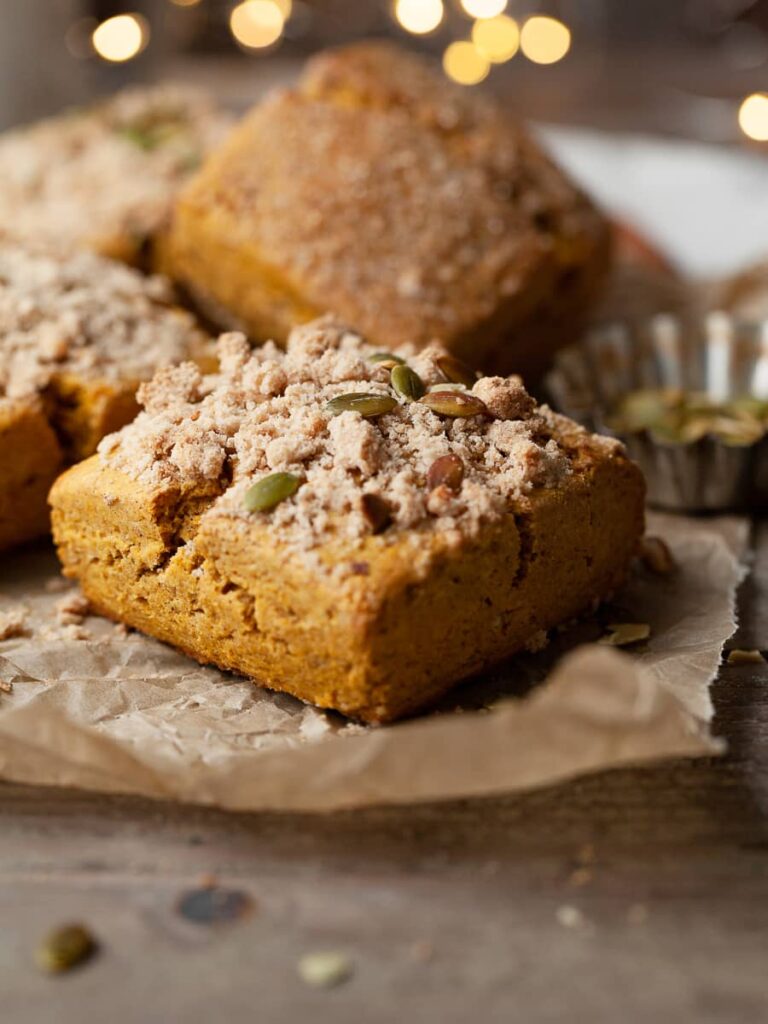
I can't tell you often enough how much I love these Gluten Free Pumpkin Scones. They are tender, with a soft crumb, and spiced to perfection. Top them with some brown sugar streusel or raw sugar before baking for a little something. You can even drizzle them with a delicious Vanilla Glaze once fully cooled. No matter what, this gluten free pumpkin scone recipe is definitely a must-make addition to any autumn or holiday brunch.
Because of the added fresh pumpkin puree, those scones are moist and tender, and according to some of my friends even better than Starbucks Pumpkin Scones.
If you love Scones, please make sure to check out my Gluten Free Chocolate Chunk Scones or my Gluten Free Blueberry Scones. For more pumpkin recipes, take a peek at my Pumpkin Muffins.
Jump to:
- Recipe Ingredient Notes
- How to make Gluten-Free Pumpkin Scones
- Storage & Freezing
- How to make Pumpkin Puree
- Can you freeze pumpkin puree?
- FAQ about Gluten Free Pumpkin Scones
- Note about Salt in my Recipes
- Baking in grams
- Note about Ovens and Oven Temperatures
- Substitutions and Modifications
- 📖 Recipe
- 💬 Comments
Recipe Ingredient Notes
Gluten Free Flour: I have tested this recipe for Gluten Free Pumpkin Scones with my own gluten free multipurpose blend, King Arthur Measure for Measure, or Bob's Red Mill 1-to-1. All three flour blends worked beautifully in this application. If you plan on using a different brand, I highly recommend a blend made up of several different flours as well as a binder like xanthan gum. Coconut Flour will not work in this recipe.
Canned Pumpkin: Make sure to buy pure canned pumpkin and not pumpkin pie filling. They often sit next to each other on shelves at the grocery store and have very similar labels. As much as I love making everything from scratch, canned pumpkin is very convenient. I prefer to buy the organic version if it’s available.
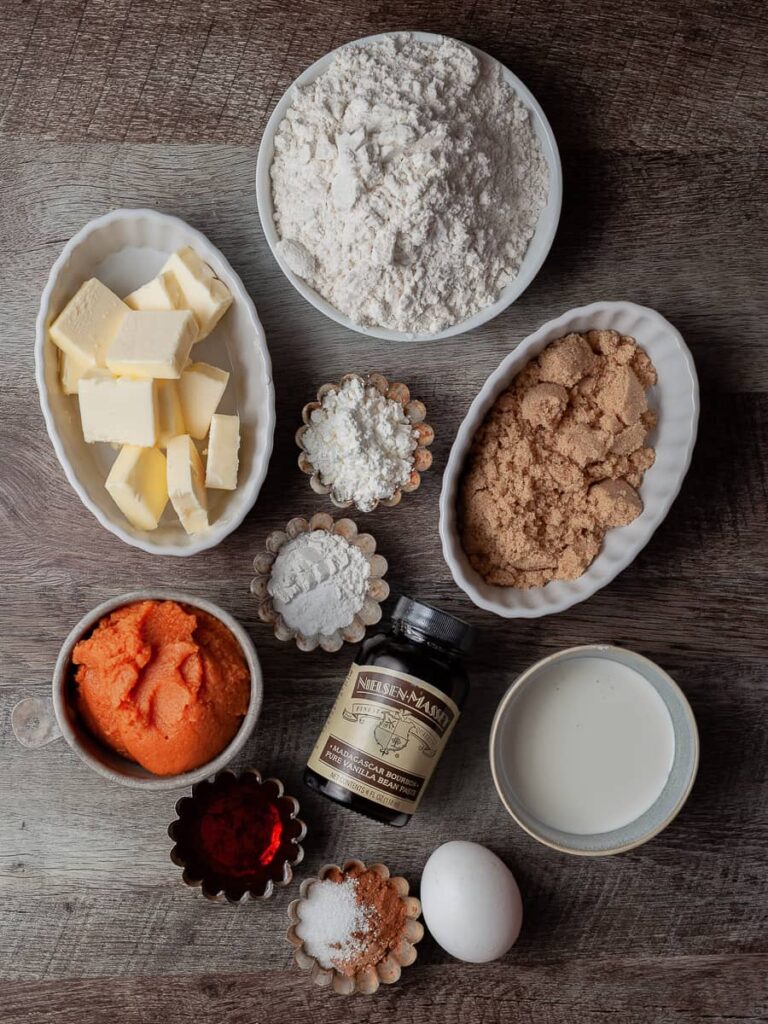
Pumpkin Pie Spice Mix: Pumpkin Pie Spice is a blend of cinnamon, ginger, nutmeg, and cloves. If you do not have it in your pantry you can substitute it with my easy homemade pumpkin pie spice blend: Combine 1 teaspoon ground cinnamon, ¼ teaspoon ground nutmeg, ¼ teaspoon of ground ginger, and a pinch of ground cloves and use in this recipe.
Dairy: I use Half & Half but feel free to substitute it with milk or nondairy milk. I have not tried this recipe with heavy cream.
How to make Gluten-Free Pumpkin Scones
Scones can be made in 30 minutes or less and only need around 25 minutes in the oven. The dough gets a quick chill (20 minutes) while you fully preheat your oven to 400F. Clearly, Scones the best right from the oven but I have to admit, I have had those gluten-free pumpkin scones 3 days after making them and they tasted amazing.
Step 1: Line a sheet tray with parchment paper, sprinkle with some gluten-free flour, and set it aside. The additional flour on the sheet tray will help to prevent the scone dough from sticking to the parchment paper.
Step 2: Combine pumpkin puree, egg, half & half, vanilla extract, and maple syrup in a small bowl and set aside.
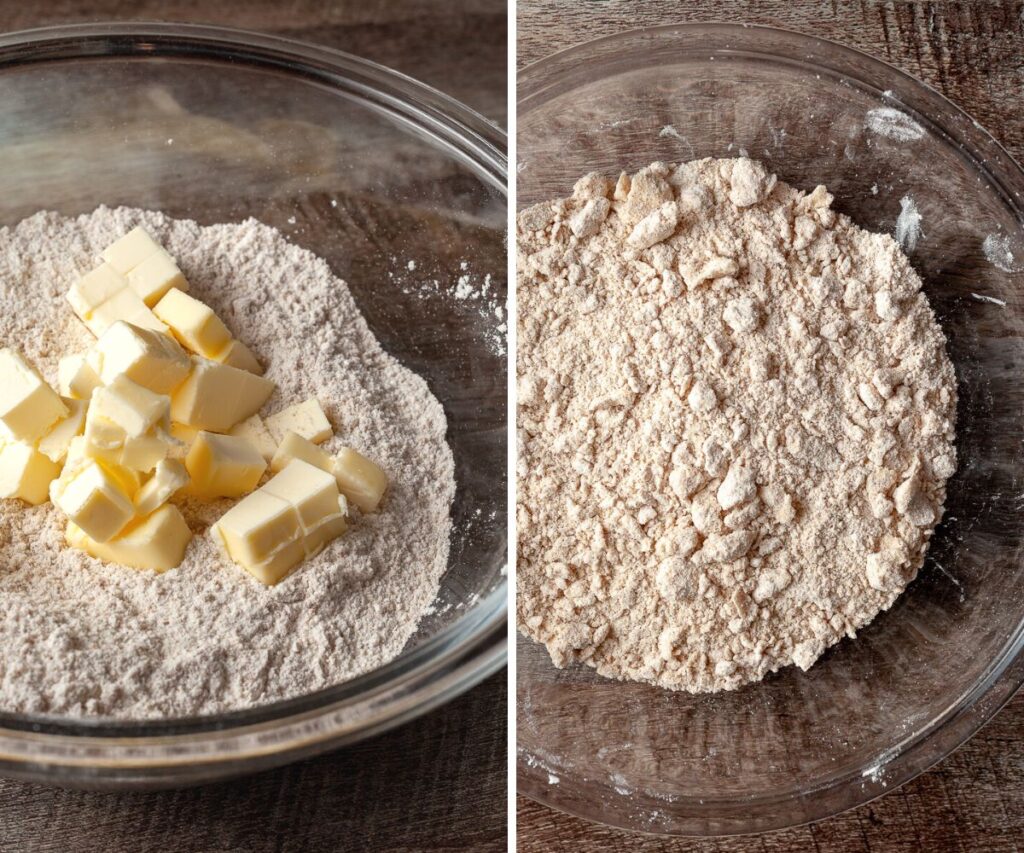
Step 3: In a separate bowl sift together dry ingredients, sugar, and spices. Cut the COLD butter into smaller pieces and add to your dry ingredients. Using a pastry cutter or clean hands, work the butter into the dry mixture. The butter should look very crumbly.
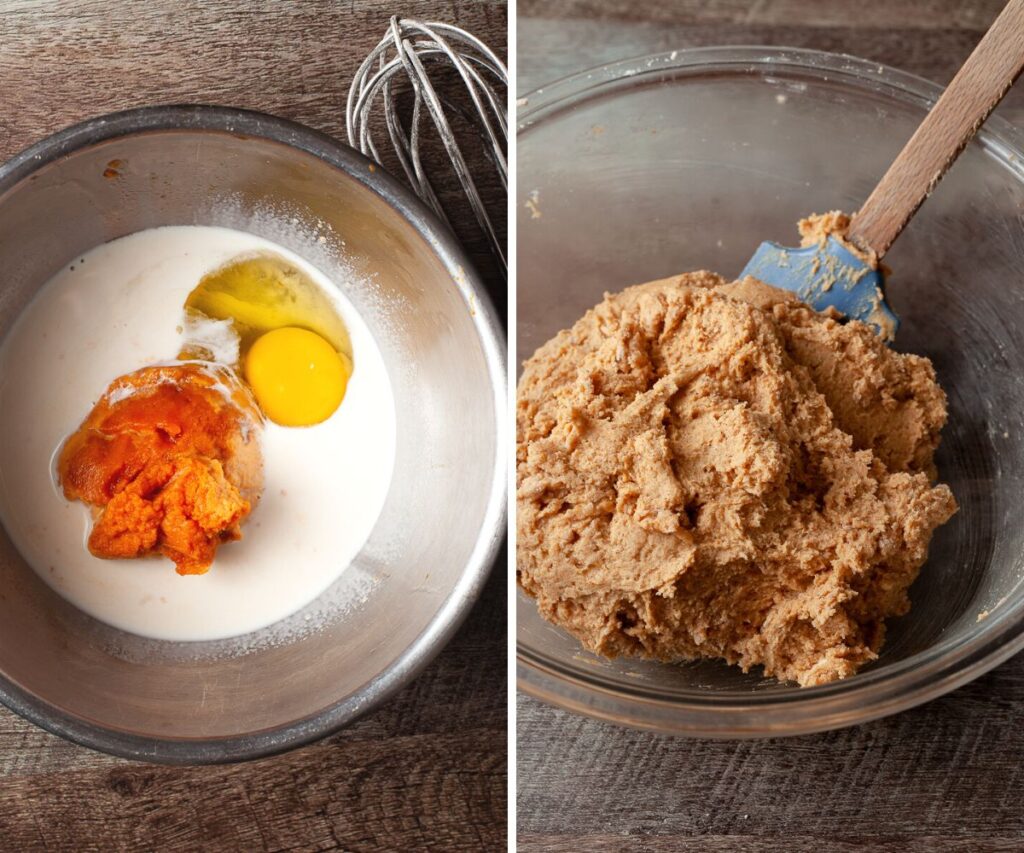
Step 4: Whisk your wet ingredients together with a fork until frothy and add to your flour-butter mix. With a spatula stir everything together. Your dough may be sticky – do NOT add more flour as tempted you may be.
Step 5: Transfer the gluten free pumpkin scone dough to the parchment-lined sheet tray and with your hands shape it into a roughly 7" round disk or a 5" x 7" rectangular. You may lightly dust the dough with some gluten-free flour to make this easier.
Step 6: Place the sheet tray in your fridge to allow the scones to set up while you preheat your oven to 400F. At this point, you can allow them to sit in your fridge for up to 12hrs.
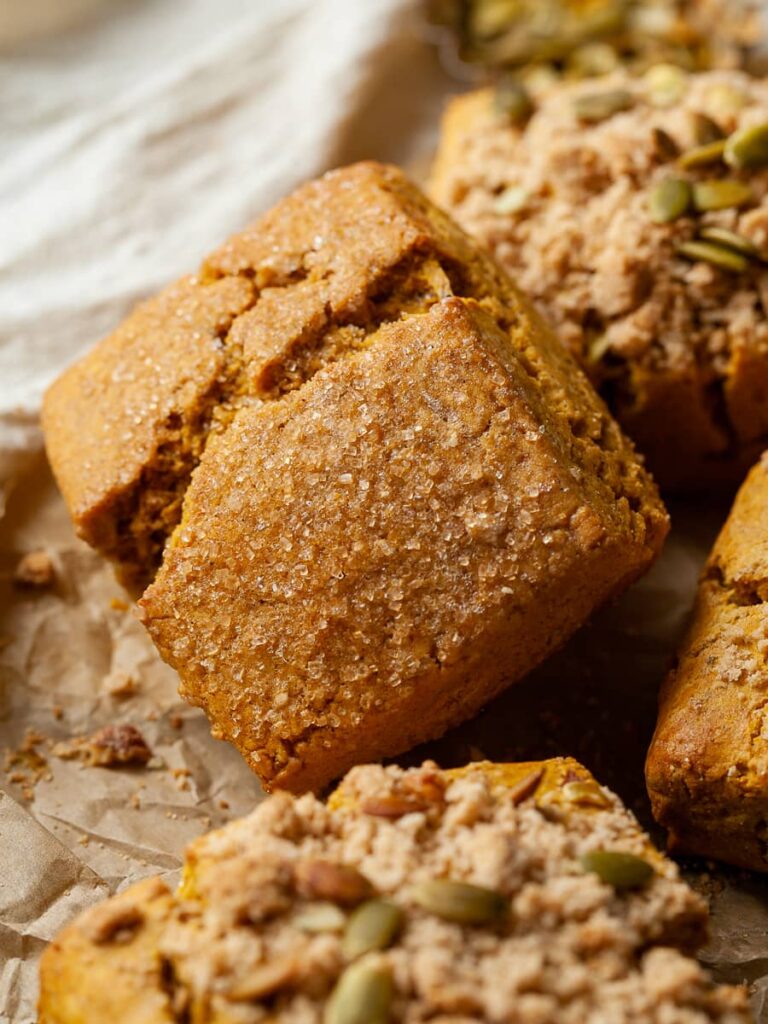
Step 7: Once the oven is fully preheated, remove the scone dough from your fridge and use a sharp knife to cut it into SIX equally sized scones. Arrange the scones on your sheet tray, brush them with some heavy cream/half & half if you like, and sprinkle them with some raw sugar or some brown sugar streusel. Bake them at 400F for 22-24 minutes until golden brown. Be careful not to overbake them which will dry them out. The internal temperature of scones should be 200F or higher.
Please be aware if you cut the scones smaller the baking time does decrease.
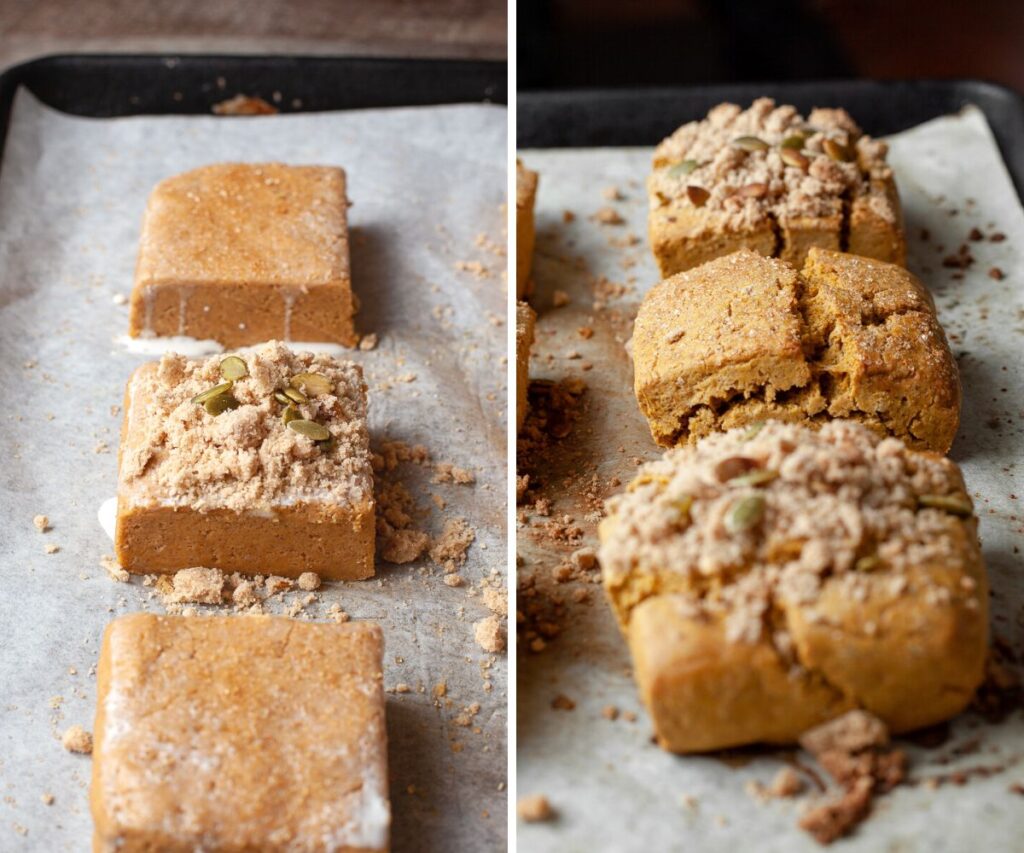
Step 8: Remove the gluten-free pumpkin scones from the oven and allow them to cool for a few minutes on the sheet tray before transferring them to a cooling rack.
Step 9 (Optional): While the scones are cooling, prepare the simple vanilla glaze by combining the ingredients in a small bowl. If your glaze is too thick, add an additional 1-2 teaspoons of milk. Please be aware a little goes a long way. Once the scones are cool, use a spoon and drizzle them with the vanilla glaze. Discard any leftover glaze you may have and allow the gluten-free scones to sit for about 15 minutes before enjoying them so the glaze can set up.
Storage & Freezing
Scones in general (not just gluten-free ones) taste the best the day they have been baked. If you happen to have any leftovers, store them in an airtight container at room temperature for up to 3 days. I like to nuke them at 50% for 30-45 seconds to warm them up before serving.
To freeze baked scones, place them in a freezer bag or airtight container and freeze up to 3 months. Allow thawing at room temperature.
I actually recommend freezing them before baking. Cut your scone dough, place it on a sheet tray, and freeze until solid. Transfer to a ziplock bag and freeze for up to 3 months. When ready to bake, bake them straight from frozen but please be aware they will need additional 4-6 minutes to bake (depending on your oven)
How to make Pumpkin Puree
Canned pumpkins can be difficult to find outside of the US. BUT, butternut squash should be available in most countries. Which is the perfect substitute for pumpkin. You will just need a medium-sized butternut squash (around 24oz/700 grams), a sheet tray, an oven, and a food processor or blender.
Preheat to 400F/200°C. Split the butternut squash lengthways, remove seeds, and place cut-side down on a foil-lined aluminum baking sheet. Roast it until fork-tender which can take about 45 minutes depending on the size of the squash and your oven. Remove it from the oven and allow for it to cool until you can handle it.
Remove the “flesh” from the squash and puree it with a food processor or blender. Please be aware, that sometimes homemade squash puree is “wetter” than canned pumpkin. You may need to plot it with some paper towels or drain it in a colander lined with some cheesecloth to remove some of the moisture.
Can you freeze pumpkin puree?
Fresh and canned pumpkin purée will only last for up to one week stored in the fridge. But when frozen it will last for months. To freeze any unused pumpkin puree transfer it to a ziplock bag and lay it out flat. This way it freezes quickly, won’t take up much space in the freeze and will thaw at room temperature in no time.
FAQ about Gluten Free Pumpkin Scones
Yes, dark chocolate chips, nuts such as pecans, or dried fruit like candied ginger or cranberries would make a lovely addition to this recipe. I recommend not adding more than 100 grams of add-ins total.
No, Starbucks does not offer gluten free pumpkin scones (or any gluten-free baked goods). But this recipe is easy to make and tastes better than Starbucks. It is also more affordable.
While I have tried this recipe with non-dairy milk and vegan butter, I have not tried it with a vegan egg substitution. If you do, please share your experience in the comments.
Yes. Please be aware that cutting the scones smaller will decrease the baking time. So please plan accordingly
Note about Salt in my Recipes
I use Diamond Kosher Crystal Salt in all of my recipes unless otherwise stated. If use use a different brand or kind of salt in your kitchen please adjust accordingly since some salts can be saltier. If you use Morton’s Kosher Salt please be aware that their salt granules are smaller in size, denser, and crunchier and twice as salty.
Baking in grams
I share my recipes in grams and by weight since baking by weight is the most accurate way to bake. Digital Scales are very affordable and easy to use. You can purchase them on Amazon for less than a set of measuring cups. For small amounts under 10 grams, I like to use this Precision Pocket Scale. Measuring cups are very inaccurate which can cause significant errors when it comes to gluten-free baking or baking in general. Especially since I bake with gluten-free flours which weigh differently than “regular” flours. I do provide some ingredients like spices and leavening agents in measuring spoons. To learn more about Baking with a digital scale, make sure to check out my post about Baking by weight.
Note about Ovens and Oven Temperatures
All my recipes are tested and developed with a conventional oven. I always bake my baked goods on the rack placed in the MIDDLE of my oven. This way the heat coming from the bottom will not burn my baked goods.
If you are baking with convection (fan-forced), please adjust the recipes accordingly. Be also prepared that the convection oven can cause your baked goods to dry out quickly and still be raw inside. Be aware that it takes at least 15-20 minutes for a standard American Oven to be fully preheated. I highly recommend investing in an Oven Thermometer.
Substitutions and Modifications
Any dietary or ingredient modifications/substitutions to this recipe may alter the end result in appearance and taste. I test my recipes several times as published in this post and The Gluten Free Austrian Blog is not responsible for the outcome of any recipe you find on our website.
📖 Recipe
Gluten Free Pumpkin Scones
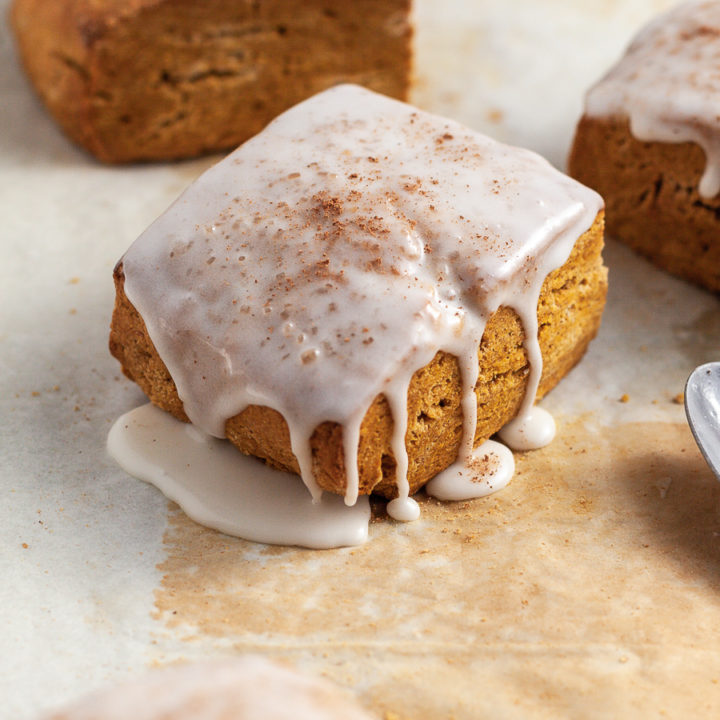
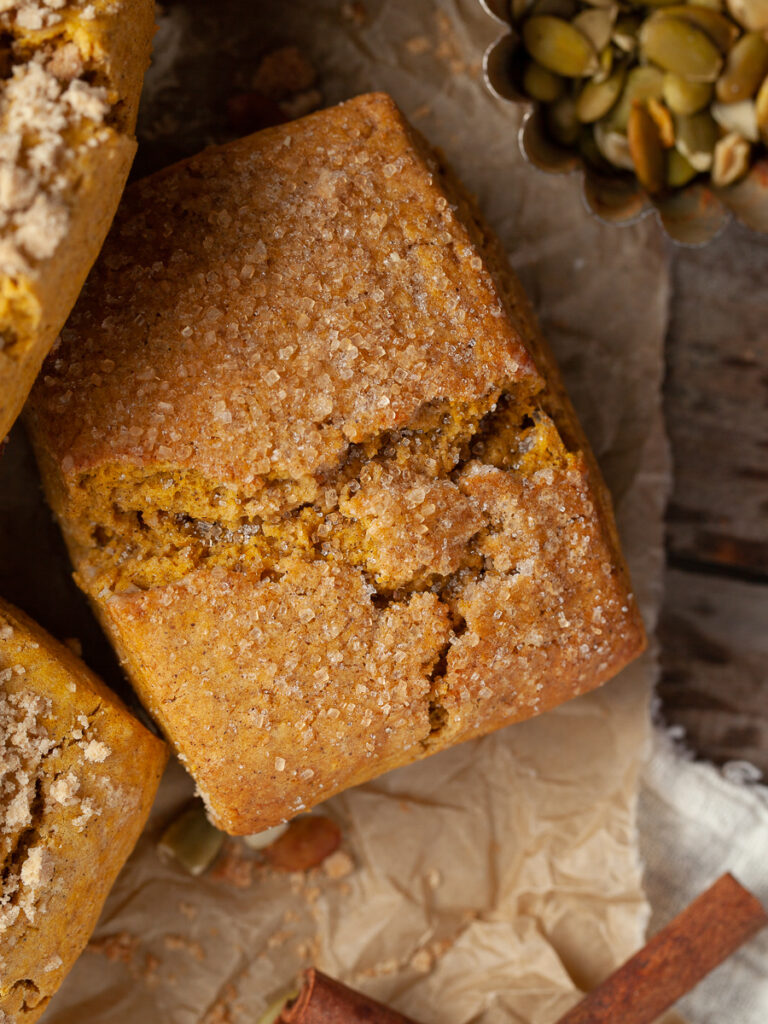
Gluten Free Pumpkin Scones – tender, with a soft crumb and spiced to perfection. Made with brown sugar, pumpkin, and drizzled with a simple vanilla glaze. A must-have addition to any autumn or holiday brunch.
Ingredients
Gluten Free Pumpkin Scones
- 113 grams unsalted butter, COLD
- 350 grams Gluten Free Flour Blend
- 75 grams light brown sugar
- 15 grams Cornstarch
- 2 teaspoons baking powder
- ½ teaspoon baking soda
- ¾ teaspoon kosher salt
- 2 teaspoons pumpkin spice
- 1 ½ teaspoons ground cinnamon
- 130 grams canned pumpkin
- 1 large egg, at room temperature
- 80 grams half & half (or your choice of dairy)
- 30 grams Maple Syrup
- 1 teaspoon Vanilla Extract
- raw sugar as needed
Vanilla Glaze (Optional)
- 50 grams powdered sugar
- 1-2 tablespoons half & half (or your choice of dairy)
- 1 teaspoon vanilla extract
- pinch of salt
Brown Sugar Streusel (optional)
- 50 grams gluten free multipurpose flour
- 25 grams light brown sugar
- 20 grams butter, cold, cut in smaller pieces
- ½ teaspoon cinnamon
- ½ teaspoon kosher salt
Instructions
How to make Gluten Free Pumpkin Scones
- Line a sheet tray with parchment paper, sprinkle with some gluten-free flour and set it aside.
- Combine pumpkin puree, egg, half & half, vanilla extract, and maple syrup in a small bowl and set aside.
- In a separate large bowl sift together dry ingredients, sugar, and spices.
- Cut the COLD butter into smaller pieces and add to your dry ingredients. Using a fork or hands, work the butter into the dry mixture. It should look crumbly,
- Whisk your wet ingredients together with a fork until frothy and add to your flour-butter mix. With a spatula stir everything together. Your dough may be sticky – do NOT add more flour as tempted you may be.
- Transfer the gluten-free pumpkin scone dough to the parchment-lined sheet tray and with your hands shape it into a roughly 7″ round disk or a 5″ x 7″ rectangular. You may lightly dust the dough with some gluten-free flour to make this easier.
- Place the sheet tray in your fridge to allow the scones to set up while you preheat your oven to 400F. At this point, you can allow them to sit covered in your fridge for up to 12hrs.
- When your oven reaches 400F, remove the scone dough from your fridge and use a sharp knife to cut it into six equally sized scones.
- Arrange the scones on your sheet tray, sprinkle them with some raw sugar or brown sugar streusel and bake in your 400F oven for 22-24 minutes until golden brown. Remove them from the oven and allow them to cool completely before glazing.
Brown Sugar Streusel
- Combine dry ingredients in a small bowl, add the cold, small cut butter, and with a fork or your hands crumble together until it resembles a streusel topping
- Store in the fridge until ready to use
Vanilla Glaze
- Prepare the vanilla glaze by combining the ingredients in a small bowl. If your glaze is too thick, add some additional milk. Please be aware a little goes a long way.
- When the scones are cool, use a spoon and drizzle them with the glaze.
- Discard any leftover glaze you may have and allow the gluten free scones to sit for about 15 minutes before enjoying, so the glaze can harden just slightly.
Notes
Storage: Scones in general (not just gluten-free ones) taste the best the day they have been baked. If you happen to have any leftovers, store them in an airtight container at room temperature for up to 3 days.
Nutrition Information:
Yield:
6Serving Size:
1Amount Per Serving: Calories: 400
Calories are a guestimate and randomly generated.

Martin
Thoughts on a full on icing instead of the drizzled glaze?
Daniela Weiner
Sounds good to me!
Freya
These were so delicious and moist and flaky! The perfect scone!
Lucy
This is the perfect snack for the autumn months. I love pumpkin but have never had pumpkin scones before. Absolutely delicious and love that they're gluten free!
Choclette
Those pumpkin scones look so delicious. Love the colour too. It's been a while since I made scones and now you've really got me in the mood.
Tavo
Gluten-free scones! I haven't been eating gluten for some time and scones were out of my league. I tried these, and truly loved them! thank you so much for the recipe!
Anaiah
I loved these gluten free pumpkin scones! It was the perfect combination of flavors. I will be making this delicious recipe for my family all of fall.
Joshua
These pumpkin scones looks great! Your instructions are very clear and thorough so I hope I get it right. Looking forward to trying your recipe.
Natalie
Now I can't wait for pumpkin season. This looks wonderful. Yum! Such a delicious treat perfect for Fall. I'm saving this to give it a try.
Stef
these look absolutely amazing!
Kristin
I loved these scones! I used almond milk because that is all I had on hand as my "dairy" of choice. I did have to add more powdered sugar to the glaze than the recipe called for because the almond milk made it a little too runny. But, they were still great! Highly recommend this recipe!
Maggie Raptis
I hate saying goodbye to summer, but yesterday I bought a new sweater and some pumpkin spice scented soap, so I might as well make these this weekend. Maybe if I do we'll get a heat wave for just a few more swimming days.
Maggie Raptis
Do you mix your own pumpkin spice or have a go to brand?
Daniela Weiner
Hi, I actually make my own because I already have so many spices here: 1 teaspoon ground cinnamon, ¼ teaspoon ground nutmeg, ¼ teaspoon of ground ginger, and a pinch of ground cloves. I am not a huge fan of cloves so I only add a tiny bit
Jen
This was my first time attempting scones. They came out great! So good with great pumpkin flavor!
Daniela Weiner
hooray! I love hearing this. Thank you so much for sharing
Fiona
Really great recipe. I made them vegan with equal masses of coconut milk for heavy cream, coconut oil for butter, and 50 g hazelnut butter for the egg.
It was awesome! Thank you!
Daniela Weiner
Thank you SO much for sharing this. This will be super helpful for future recipes I am working on. I love the idea of hazelnut butter for the egg. Sounds divine!
elizabeth a fraccaro
I sorry to say I have never eaten a scone, but will definitely try your new recipe. Everyone who has tried them seems to love them, and your recipes are always delicious. Thanks for the challenge.
Daniela Weiner
There is a first thing for everything. Scones are not very sweet and I love them when they are still slightly warm (you should try one of the pumpkin ones without the glaze when it's still warm!). I am curious to hear what you think of it
Stu
These scones are the first recipe I’ve ever made that turned out exactly as expected. And they were absolutely delicious. These are officially on our favorites list now!
Daniela
I love hearing this! Thank you Stu
Lauren
These are SO delicious! Some of the best scones I’ve ever had!
Jen
These scones are absolutely delicious! Thanks for the great recipe!
Daniela
Thank you so much, Jen
Jules
Im looking so forward to trying this later today! Thank you for such a great page! One inquiry - I have a lactose-free scone lover on hand and can only find salted lactose-free butter. Would you recommending omitting or reducing the kosher salt since the butter will be salted? I`ll certainly let you know how they come out!
Daniela
Julia, I would just reduce the salt to 1/4 teaspoon (or a bit less) if you can only find salted lactose free butter. That should be no issue at all
Jules
Thank you! I’m getting my ingredients together now! Yay!
Jules
These are absolutely amazing. So easy and pure - and a HUGE hit with my GF scone lover. Love that I can freeze and bake on demand - especially during cool fall mornings. The house smelled amazing! Off to try more yummy recipes! Thank you!
Stephanie
I made these pumpkin scones and few weeks ago and they turned out great! I didn't do the streusel, and I did the glaze on the side, so each person could eat the amount they wanted. I think streusel is for when I'm feeling fancy and have more time 😉
If anyone is looking for a variation, yesterday, I made this recipe again, but used apple butter instead of pumpkin (same weights) and apple pie spice for the pumpkin spice and cinnamon. It still turned out wonderful!
Daniela
oh this sounds amazing with the apple butter 🥹 Thank you for sharing!
Nancy
Daniela, these are delicious! I used Bob's Red Mill, and just the sugar on top was all they needed, to me! Thank you for another great recipe! They are crunchy on the outside, tender on the inside, and do not taste gluten free, nobody would ever know.
Daniela
Thank you Nancy for the kind words. I am so glad you enjoyed these gluten free pumpkin scones