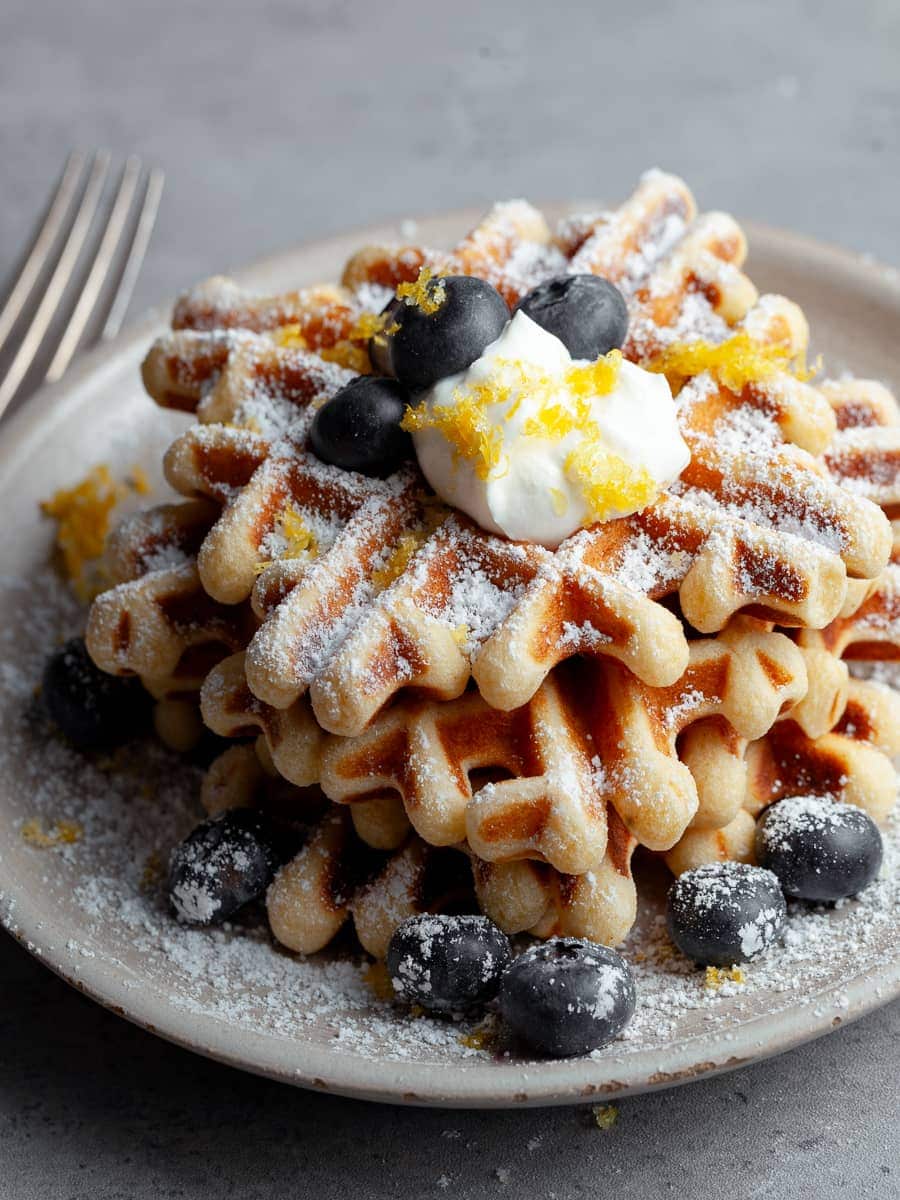
Gluten Free Waffles hold a special place in the world of breakfast and beyond. My waffles are simple to make with ingredients you most likely already have in your fridge and pantry. The secret ingredient is sour cream, resulting in waffles that are both fluffy and flavorful. Whether enjoyed for breakfast, brunch, or even dessert, sour cream waffles are a must-make recipe that everyone will love.
Jump to:
- Recipe Ingredient Notes
- Kitchen Tools needed to make Gluten Free Waffles
- How to make Gluten Free Waffles
- How to keep waffles warm
- Serving Ideas
- Storage & Freezing
- FAQ - Gluten Free Waffles
- Join my Gluten Free Community!
- Note about Salt in my Recipes
- Baking in grams
- Note about Ovens and Oven Temperatures
- Substitutions and Modifications
- More Gluten Free Breakfast Recipes to try
- 📖 Recipe
- 💬 Comments
Recipe Ingredient Notes
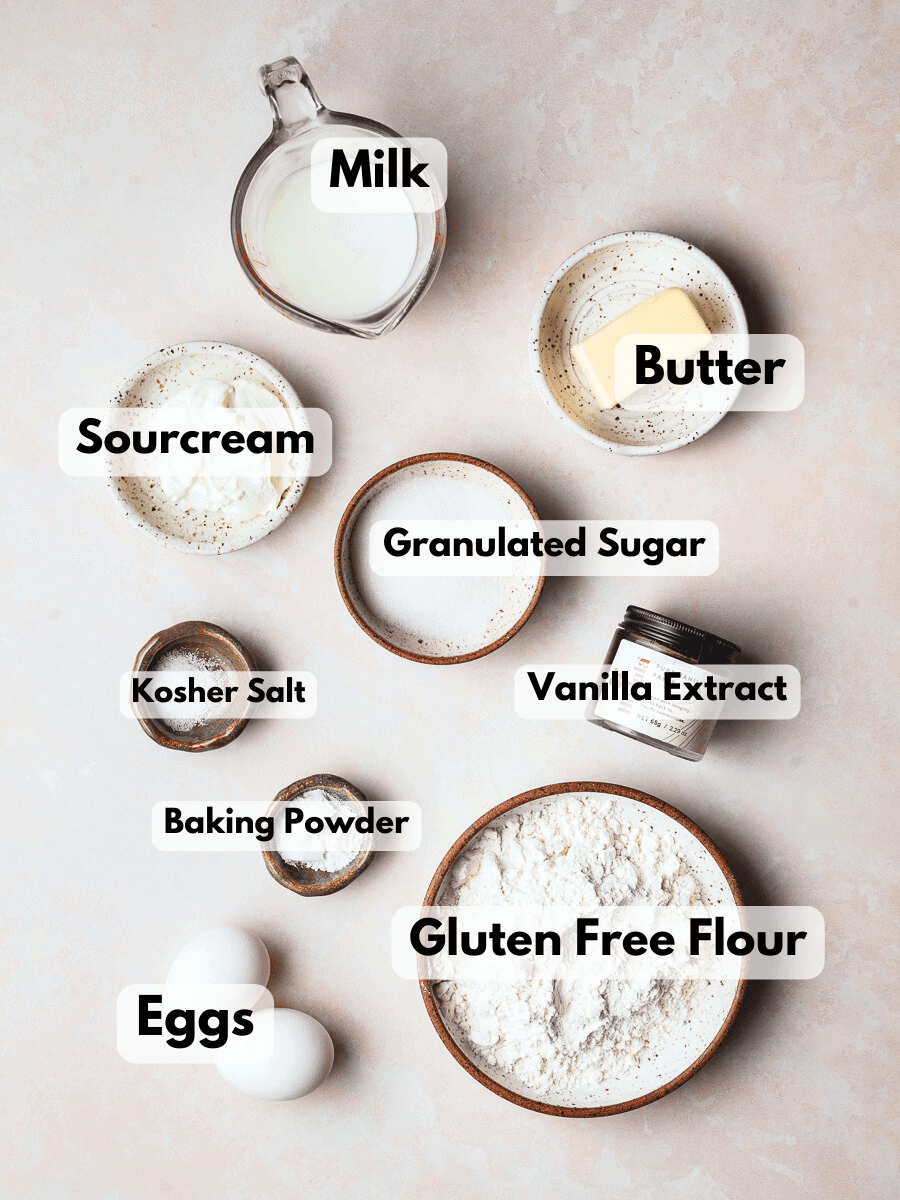
Gluten Free Flour: I've experimented with various gluten-free flour blends, including King Arthur Measure for Measure, Cup4Cup, Bob's Red Mill, and my blend, to test this Gluten Free Waffle Recipe. While my blend, Bob's and King Arthurs's gluten-free flour works wonderfully here, I do not recommend Cup4Cup. It produces a very gummy-looking batter with a starchy aftertaste. This is because of its high content of starches.
Milk: Any percentage of milk or dairy-free milk (like almond milk or oat milk) can be used to make this waffle recipe. I like to use low-fat milk since the waffles get their richness from sour cream anyway.
Sourcream: Sour Cream might be one of my favorite ingredients. It's easily accessible and a product I always have on hand, unlike buttermilk. The acidity in sour cream can react with baking soda found in the baking powder to create carbon dioxide, which helps leaven the waffles and make them lighter and fluffier. Plus it gives the waffles a slight tangy flavor. The sour cream can be substituted with full-fat greek yogurt.
Butter: Butter adds a rich flavor to waffles, enhancing their overall taste. I have also tested this gluten-free waffle recipe with vegetable oil and it works wonderfully. So in a pinch feel free to substitute the butter with oil (or use half butter and half oil).
Kitchen Tools needed to make Gluten Free Waffles
You will need a waffle iron to make waffles. There are hundreds of models on the market these days ranging from very affordable to hundreds of dollars. I own this very basic Cuisinart Classic Waffle Maker and it works very well. Keep in mind, that the result of waffles can vary from waffle maker to waffle maker.
Kitchen tools needed include an electric hand mixer (or stand mixer), two mixing bowls and a bowl for the dry ingredients, a whisk, a medium-sized cookie scooper (to portion out waffle batter, alternatively you can use a measuring cup), a fork (to remove the waffles from the waffle maker), and a cooling rack.
How to make Gluten Free Waffles
The batter for my gluten-free waffles comes together in no time. Make sure the ingredients are at room temperature. To bring eggs quickly to room temperature, I like to place them in a bowl with warm water and allow them to sit for at least 10 minutes. As for the milk, I like to warm it in the microwave for just 30 seconds.
Step 1: In a microwave-safe bowl, melt the unsalted butter. This should take around 30-45 seconds. Allow the butter to cool while you prepare the rest of the waffle batter.
Step 2: In a separate bowl whisk together the gluten-free flour, kosher salt, and baking powder. If you like, add a pinch of cinnamon to the dry ingredients. Set aside.
Step 3: Separate the eggs and place the 2 egg whites in the bowl of your stand mixer or large mixing bowl. Set aside. Add the egg yolks to a separate mixing bowl.
Step 4: Add the room-temperature milk, granulated sugar, sour cream, and vanilla extract to the bowl with the egg yolks. Whisk until combined.
Step 5: Retrieve the melted and cooled butter and add to the egg mixture. Make sure the butter is cool or it will seize up and cause little lumps in the batter.
Step 6: Add the dry ingredients to the ingredients and whisk until they are well blended.
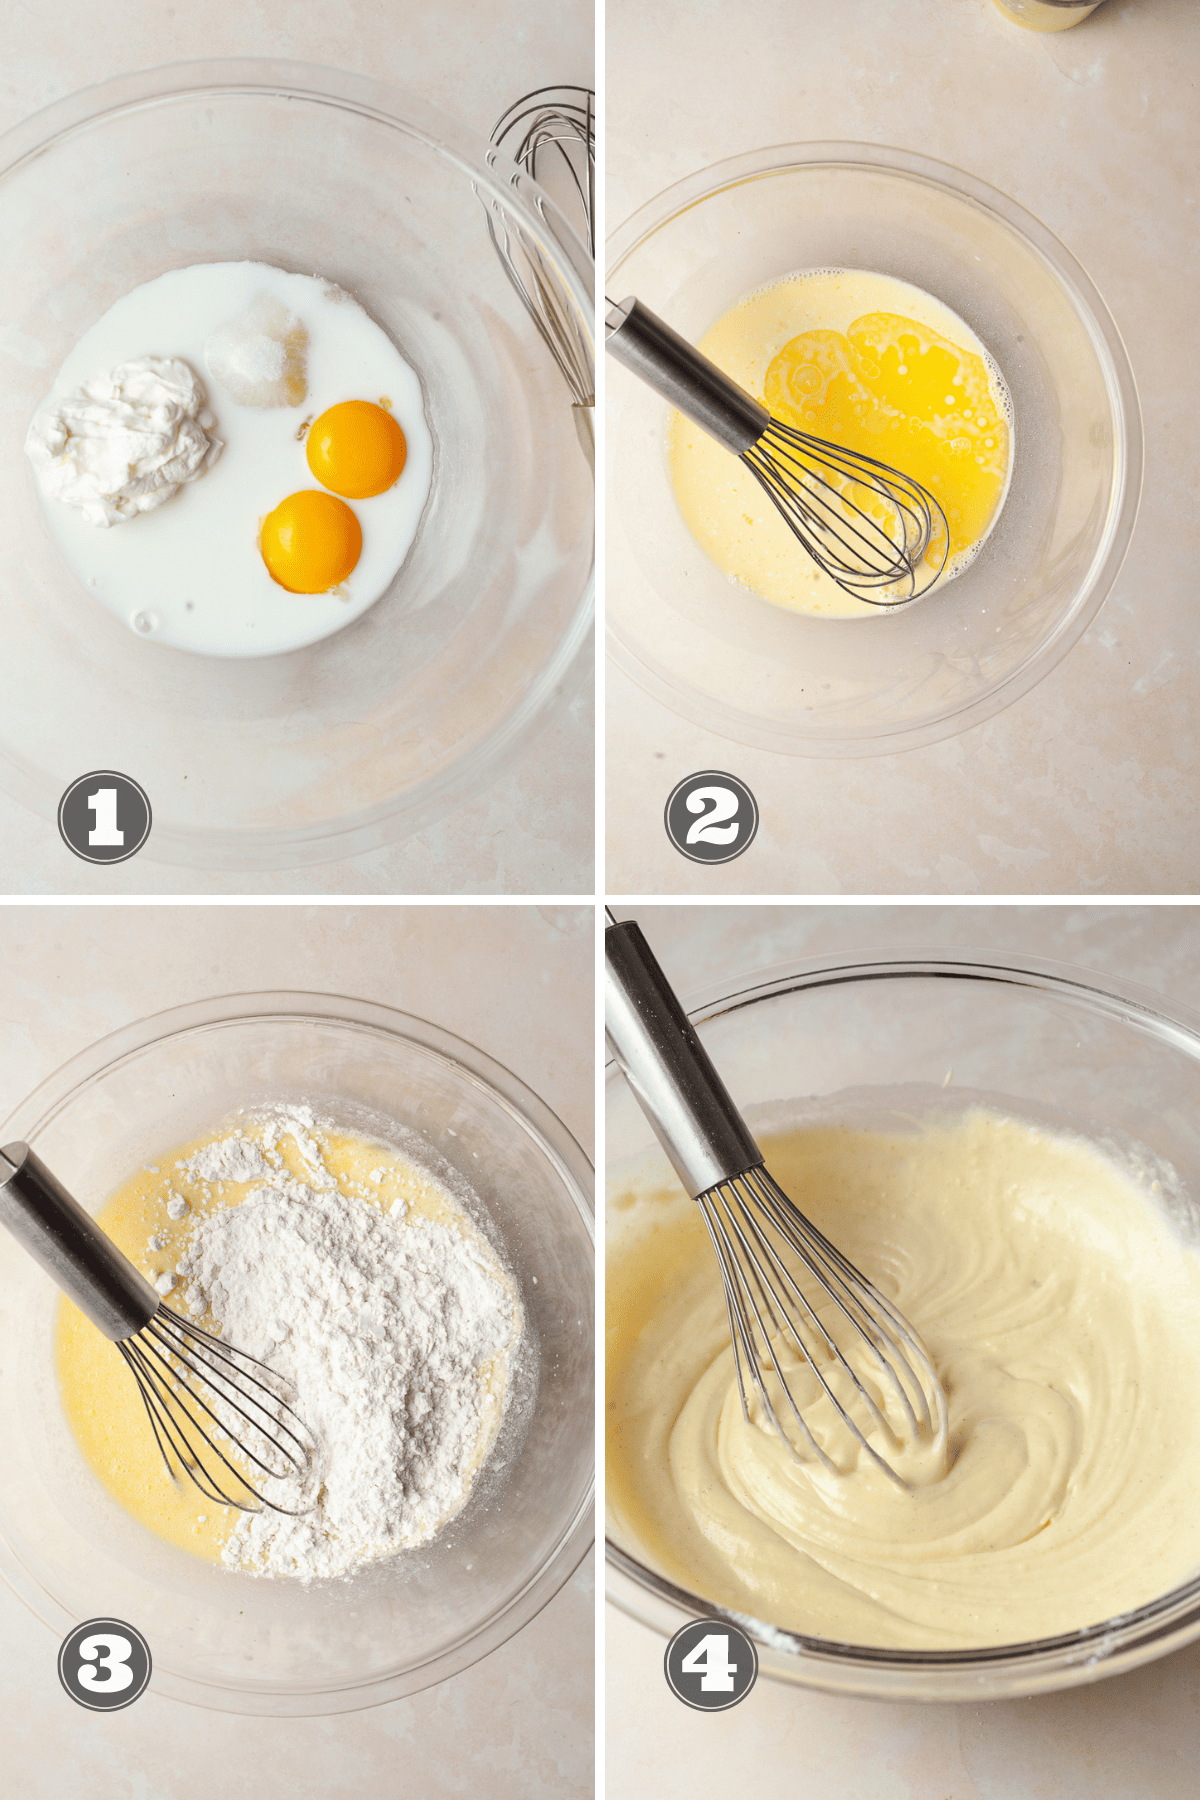
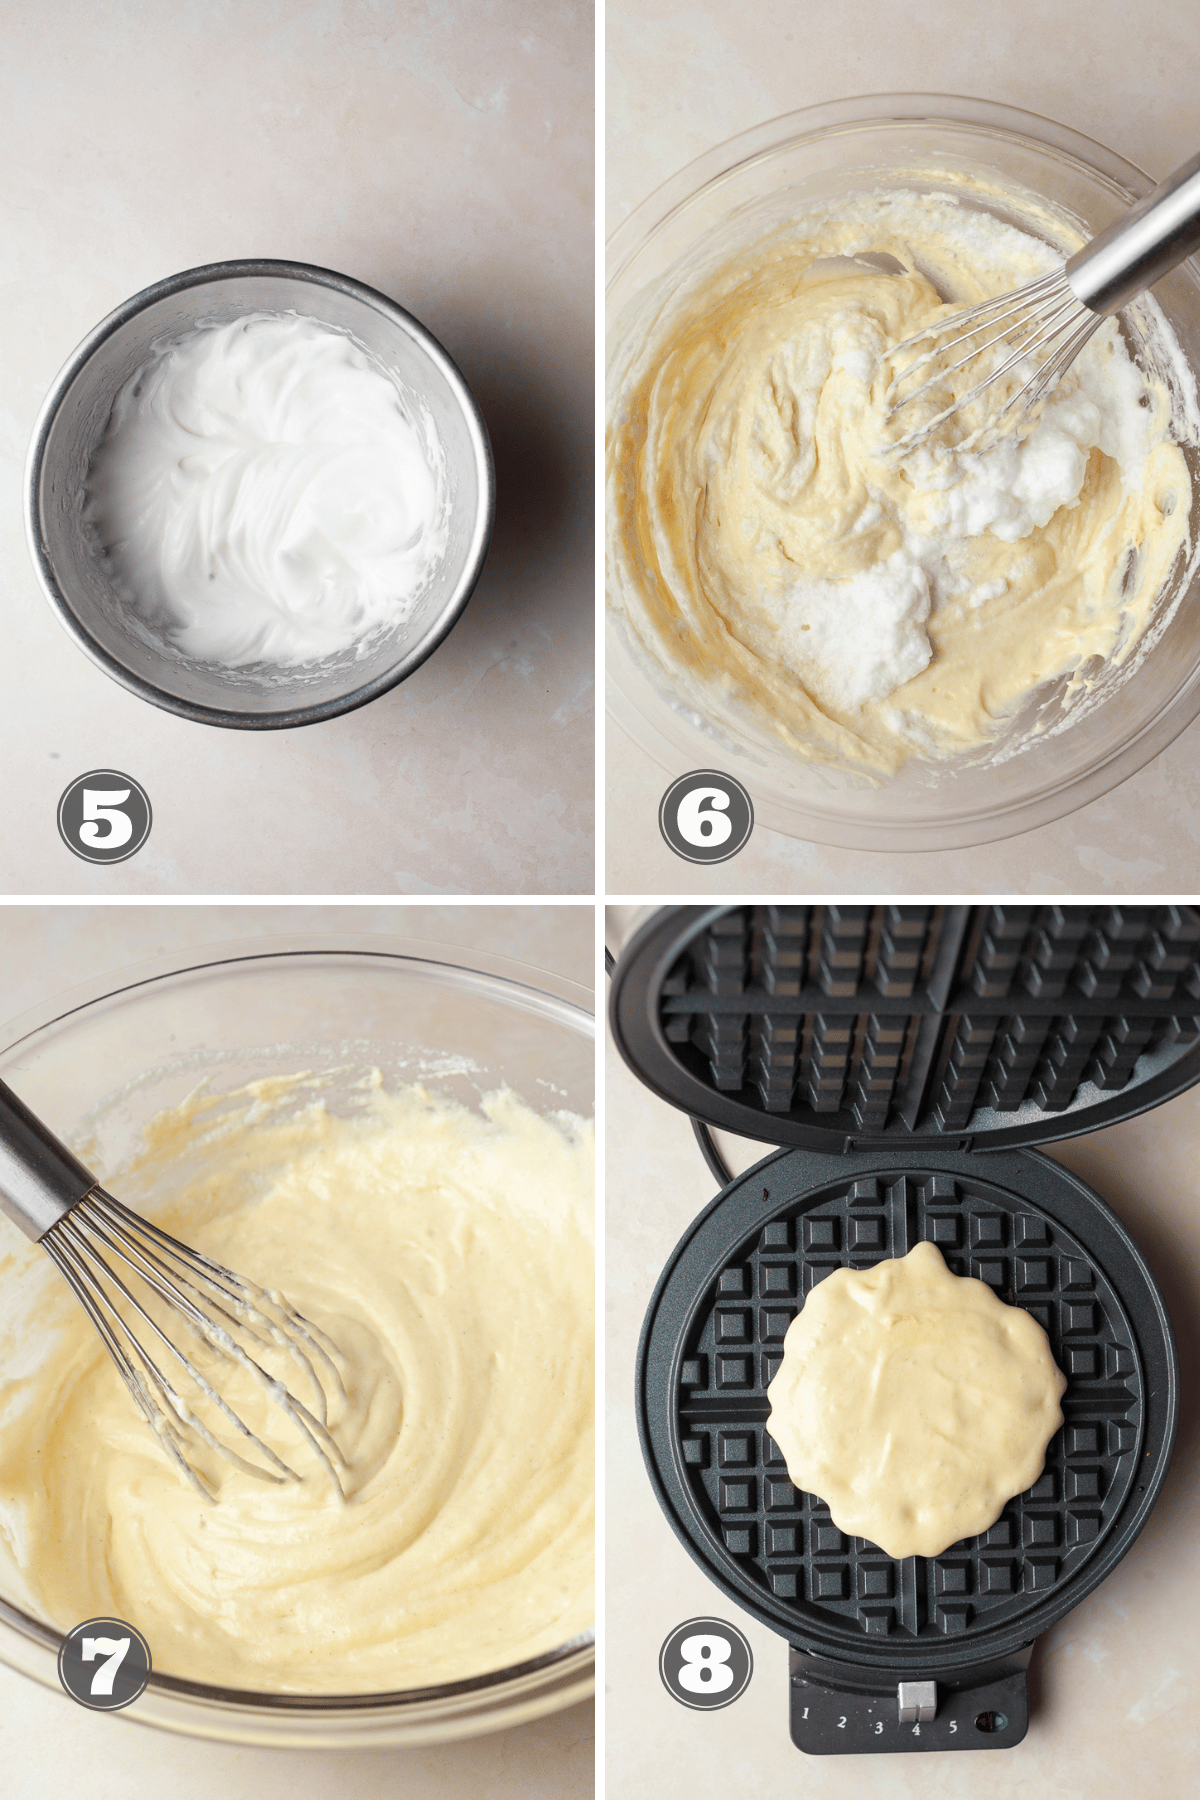
Step 7: Whisk the egg whites together with a pinch of kosher salt for a couple of minutes until they form medium-stiff peaks. Medium-stiff peaks are firm enough to hold their shape when the beaters are lifted, but the tips of the peaks droop slightly. They will be glossy, almost creamy. Overmixed egg whites appear dull and dry, so be careful not to overdo it.
Step 8: Retrieve the bowl with the egg yolks - flour mixture. The batter may have thickened up so if needed give it a few quick whisks. Add about ⅓ of the whipped egg whites and gently fold them in. This will help to loosen up the waffle batter. Then, add the remaining egg whites and fold them in carefully until the batter becomes light and airy. Make sure to be gentle and not overmix the batter.
Step 9: Once the gluten free waffle batter is prepared, it's time to cook up some fluffy and delicious waffles. Preheat your waffle maker according to the manual. If needed have some nonstick cooking spray handy. My waffle maker is non-stick so I don't grease my waffle iron.
Step 10: With a cookie scoop, place your desired amount of waffle batter onto the center of the preheated waffle iron. I use a small cookie scoop to make mini waffles and a medium-sized cookie scoop for medium-sized waffles.
Step 11: Close the waffle iron and cook according to the manufacturer's instructions. Cooking times may vary, but it typically takes about 1-3 minutes, or until the waffles are golden brown and crisp.
Step 12: Carefully remove the waffles from the iron and place them on the cooling rack. Cooling them on a wire rack keeps them from getting soggy. Clearly if you plan on eating them right away, place the waffle on a plate, top with your favorite toppings, and enjoy. Repeat the process with the remaining batter.
How to keep waffles warm
It's a good idea to serve the waffles relatively soon after cooking to enjoy them at their best. The waffle batter can sit at room temperature for 15-20 minutes.
To keep the waffles warm, preheat your oven to a low temperature (around 200°F). As you make each batch of waffles, place them on a cooling rack placed on a baking sheet in the preheated oven. The low temperature will keep the waffles warm without drying them out.
Serving Ideas
Waffles are incredibly versatile and can be served with a variety of toppings, both sweet and savory. Here are some ideas to inspire your waffle creations.
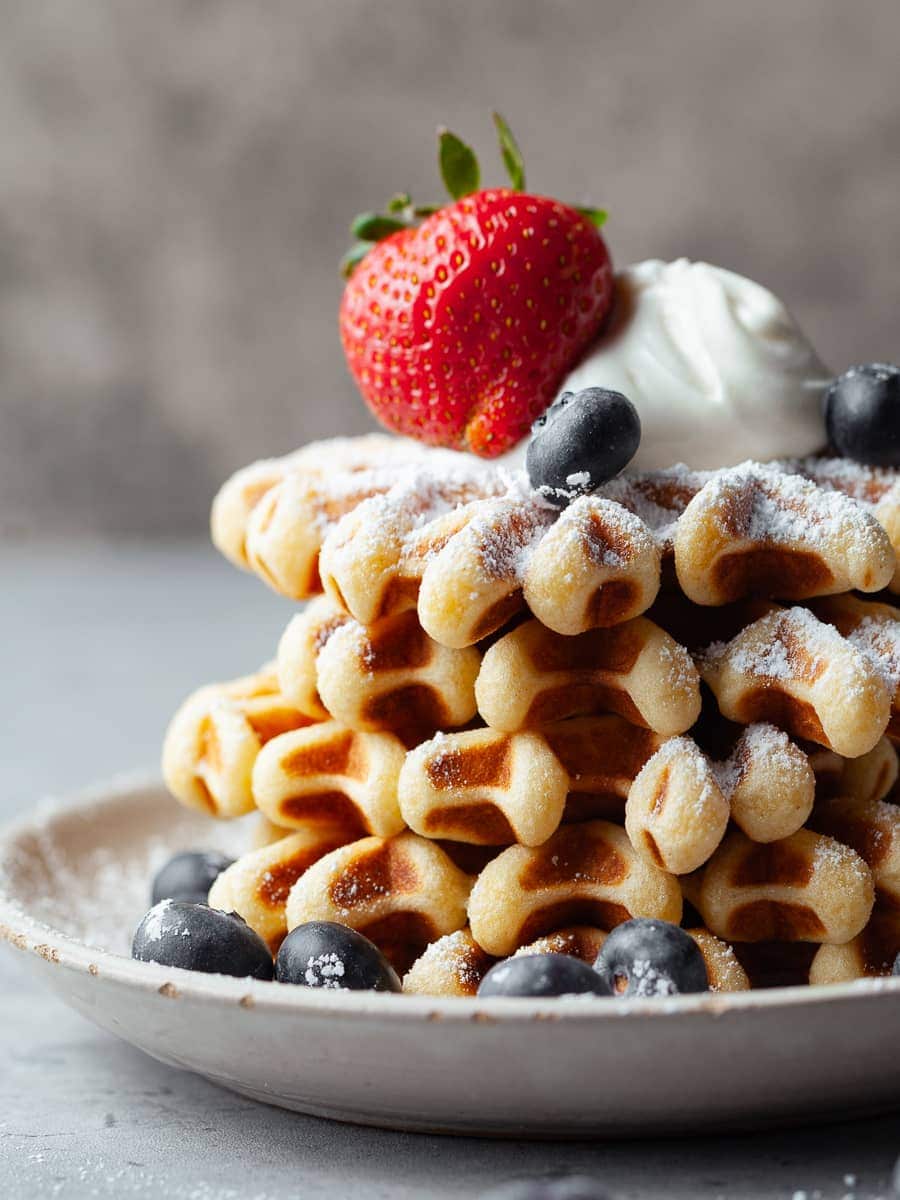
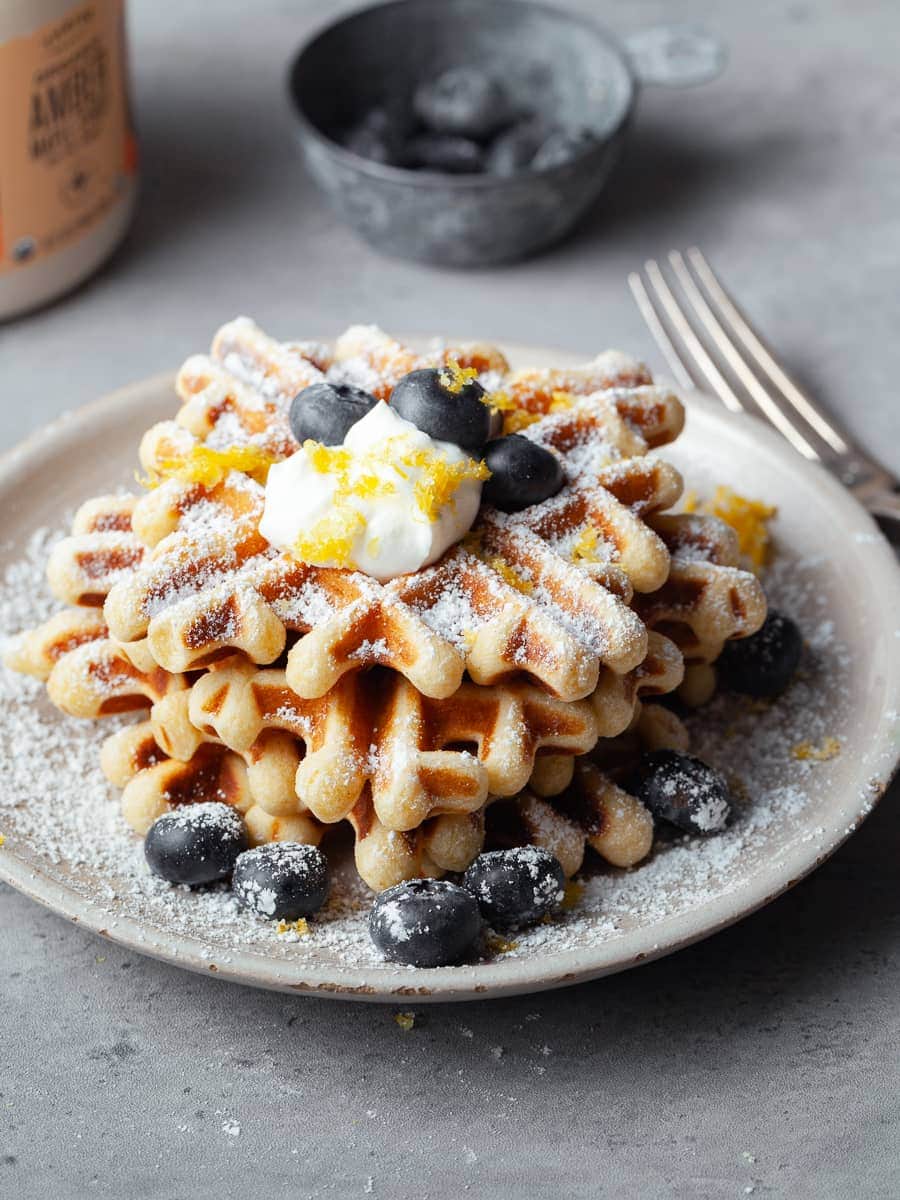
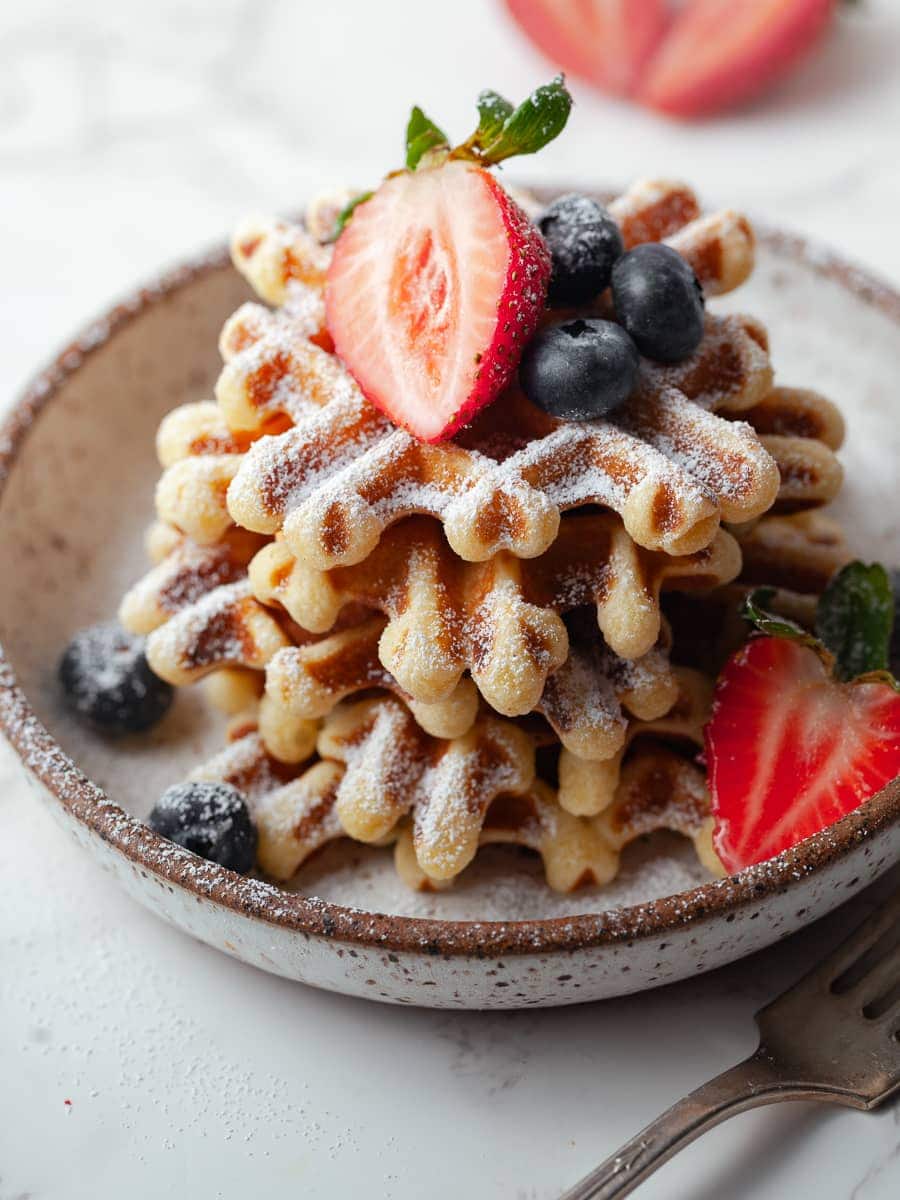
Powdered Sugar: A dusting of powdered sugar gives waffles a simple yet elegant finish. This is probably my favorite way to enjoy warm waffles (and this is how I remember eating them growing up at the Christkindl Markets in Austria).
Maple Syrup: Serve warm waffles with a pat of butter and a drizzle of maple syrup for a timeless, classic breakfast.
Fresh Berries: Top your waffles with a generous amount of fresh strawberries, blueberries, sliced bananas, or other seasonal fruits. Add a dollop of whipped cream for extra indulgence.
Savory Brunch Idea: Serve gluten-free waffles with savory toppings such as smoked salmon, cream cheese, and capers for a sophisticated brunch dish.
Waffle Sundae: Serve warm sour cream waffles with a scoop of vanilla ice cream drizzle of homemade hot fudge sauce for a delightful dessert. Sprinkle some crushed nuts (like almonds or walnuts) or mini chocolate chips for added texture and flavor.
Storage & Freezing
In case you happen to have some leftover waffles, make sure they are cool completely before storing them in an airtight container or ziplock bag. One can keep them at room temperature for 1-2 days. You can reheat them in a toaster or toaster oven which will help restore their crispiness. The toaster especially works great if you opt to make smaller waffles.
Freezing waffles is a great way to have a convenient and quick breakfast option on hand. Allow the waffles to cool completely before freezing. If you freeze warm waffles, they may develop ice crystals and become soggy during the freezing process. Once cooled, place the gluten-free waffles in a single layer on a baking sheet or plate. Make sure the waffles are not touching each other. Place the baking sheet or plate in the freezer and freeze the waffles until they are solid, usually for about 1-2 hours. Then transfer them to a zip-top freezer bag or an airtight container. Store the waffles in the freezer for up to 2 months.
To reheat frozen waffles, you can use a toaster, toaster oven, or microwave. Toasting or baking in the oven will help maintain their crispiness. Be cautious with the microwave, as it can make the waffles soft instead of crispy.
FAQ - Gluten Free Waffles
Egg whites may not whip properly for several reasons, including the presence of fat, moisture, or residue in the bowl and utensils, the eggs being too cold, adding sugar too quickly, over-whipping, or using old eggs. To achieve proper egg white whipping, ensure that the bowl and utensils are clean and dry, the eggs are at room temperature, there is no fat present, and sugar is added gradually while continuously whipping.
Pancakes are generally softer and fluffier with a more even, consistent texture throughout. They have a slightly cake-like quality, often attributed to a thicker batter that spreads on the griddle. On the other hand, waffles tend to be crispier on the outside due to the nature of the waffle iron's grid pattern. The batter used for waffles is typically a bit thicker than pancake batter, and the iron's design creates a crunchy exterior while keeping the inside soft and fluffy.
Yes you can add chocolate chips to the sour cream waffles batter but please be aware that it might cause a bit of a mess when it comes to cleaning.
Join my Gluten Free Community!
Note about Salt in my Recipes
I use Diamond Kosher Crystal Salt in all of my recipes unless otherwise stated. If use use a different brand or kind of salt in your kitchen please adjust accordingly since some salts can be saltier. If you use Morton’s Kosher Salt please be aware that their salt granules are smaller in size, denser, and crunchier and twice as salty.
Baking in grams
I share my recipes in grams and by weight since baking by weight is the most accurate way to bake. Digital Scales are very affordable and easy to use. You can purchase them on Amazon for less than a set of measuring cups. For small amounts under 10 grams, I like to use this Precision Pocket Scale. Measuring cups are very inaccurate which can cause significant errors when it comes to gluten-free baking or baking in general. Especially since I bake with gluten-free flours which weigh differently than “regular” flours. I do provide some ingredients like spices and leavening agents in measuring spoons. To learn more about Baking with a digital scale, make sure to check out my post about Baking by weight.
Note about Ovens and Oven Temperatures
All my recipes are tested and developed with a conventional oven. I always bake my baked goods on the rack placed in the MIDDLE of my oven. This way the heat coming from the bottom will not burn my baked goods.
If you are baking with convection (fan-forced), please adjust the recipes accordingly. Convection oven can cause baked goods to dry out quickly and still be raw inside. Since takes at least 15-20 minutes for a standard American Oven to be fully preheated. I highly recommend investing in an Oven Thermometer.
Substitutions and Modifications
Any dietary or ingredient modifications/substitutions to this recipe may alter the end result in appearance and taste. I test my recipes several times as published in this post and The Gluten Free Austrian Blog is not responsible for the outcome of any recipe you find on our website.
More Gluten Free Breakfast Recipes to try
📖 Recipe
Gluten Free Waffles
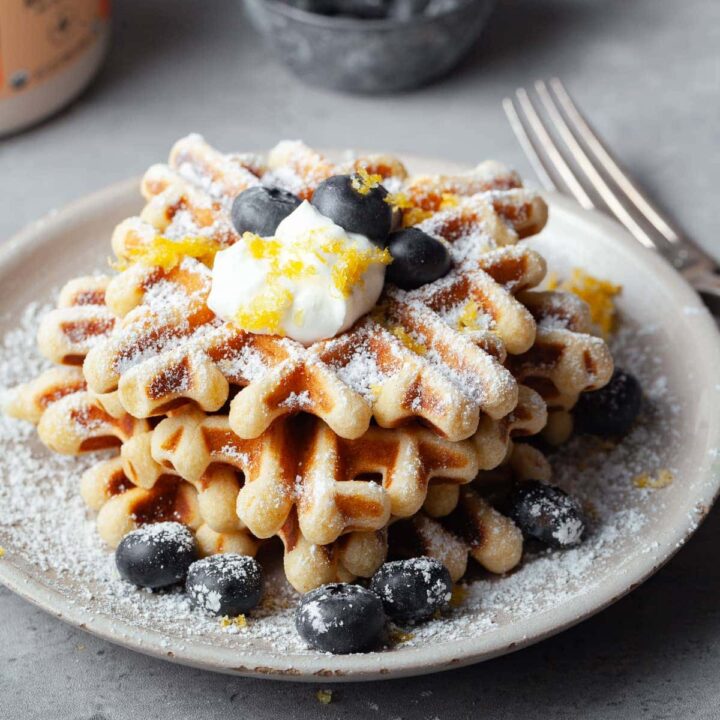
Whether enjoyed for breakfast, brunch, or even dessert, my gluten free waffles are a must-make recipe that everyone will love. The secret ingredient is sour cream, resulting in waffles that are both fluffy and flavorful.
Ingredients
Gluten Free Waffles
- 140 grams gluten free flour
- 1 ¾ teaspoons baking powder
- ½ teaspoon kosher salt
- 55 grams unsalted butter, can be cold
- 2 large eggs, at room temperature
- 120 grams milk, at room temperature
- 60 grams sour cream, at room temperature
- 30 grams granulated sugar
- 1 teaspoon vanilla extract
Instructions
How to make gluten free waffles
- In a microwave-safe bowl, melt the unsalted butter. This should take around 30-45 seconds. Allow the butter to cool while you prepare the rest of the waffle batter.
- In a separate bowl whisk together the gluten-free flour, kosher salt, and baking powder. Set aside.
- Separate the eggs and place the 2 egg whites in the bowl of your stand mixer or large mixing bowl. Set aside. Add the egg yolks to a separate mixing bowl.
- Add the room-temperature milk, granulated sugar, sour cream, and vanilla extract to the bowl with the egg yolks. Whisk until combined.
- Retrieve the melted and cooled butter and add to the egg mixture.
- Add the dry ingredients to the ingredients and whisk until they are well blended.
- Whisk the egg whites together with a pinch of kosher salt for a couple of minutes until they form medium-stiff peaks. They will be glossy, almost creamy. Overmixed egg whites appear dull and dry, so be careful not to overdo it.
- Retrieve the bowl with the egg yolks - flour mixture. The batter may have thickened up so if needed give it a few quick whisks. Add about ⅓ of the whipped egg whites and gently fold them in. This will help to loosen up the waffle batter. Then, add the remaining egg whites and fold them in carefully until the batter becomes light and airy. Make sure to be gentle and not overmix the batter.
- Once the gluten free waffle batter is prepared, it's time to cook up some fluffy and delicious waffles. Preheat your waffle maker according to the manual. If needed have some nonstick cooking spray handy.
- With a cookie scoop, place your desired amount of waffle batter onto the center of the preheated waffle iron.
- Close the waffle iron and cook according to the manufacturer's instructions. Cooking times may vary, but it typically takes about 1-3 minutes, or until the waffles are golden brown and crisp.
- Carefully remove the waffles from the iron and place them on the cooling rack. Cooling them on a wire rack keeps them from getting soggy. Clearly if you plan on eating them right away, place the waffle on a plate, top with your favorite toppings, and enjoy.
- Repeat the process with the remaining batter.
Notes
Recipe Yield: The recipe yields 4 regular-sized waffles. But the yield always depends on the waffle maker and how big one makes the waffles.
Waffle Maker: There are hundreds of models on the market these days ranging from very affordable to hundreds of dollars. I own this very basic Cuisinart Classic Waffle Maker and it works very well. Keep in mind, that the result of waffles can vary from waffle maker to waffle maker.
Butter: Butter adds a rich flavor to waffles, enhancing their overall taste. I have also tested this gluten-free waffle recipe with vegetable oil and it works wonderfully. So in a pinch feel free to substitute the butter with oil (or use half butter and half oil).
Recommended Products
As an Amazon Associate and member of other affiliate programs, I earn from qualifying purchases.
Nutrition Information:
Yield:
4Serving Size:
1Amount Per Serving: Calories: 340
Calories are a guestimate and randomly generated.


Bríd says
Amazing. Fluffy yummy delicious waffles our new breakfast favourite.
Daniela says
Thank you so much for your kind words! I am so glad you enjoy them.
Jill says
I easily have doubled this recipe many times already!! I live with 3 nonGF family members and they ask for me to make this almost every week. My family is getting used to me setting out the milk, eggs and sour cream to reach room temp. I don't visit my celiac daughter in college unless I have a bag of fresh GF waffles. They freeze beautifully. Thank you so much for this recipe! It has been a blessing for my family.
Daniela says
Jill, you don't know how happy this comment makes me. Thank you so much <3
Carol says
Hi!
Everything looks delicious and I can't wait to try these recipes. I do have egg, seed and nut allergies too, so I am looking at what options you recommend. Some things, like Dutch Babies may not work with an egg substitute, but in scones, muffins, cakes would recommend applesauce or aquafaba? I am allergic to flax seed and soy. What are your thoughts? Also, I live in Minnesota (US-middle) and it is nice to see you use actual fresh/frozen cranberries. They are grow nearby and I usually have a few pounds in my freezer. Thanks!
Daniela says
Hello, I am not sure what answer you are looking for but most egg based recipes can not be made with egg replacers or aquafaba. You can always play with the recipes but anything light and airy does require eggs. I have a few egg free recipes on the website which can be found here: Egg Free Desserts