

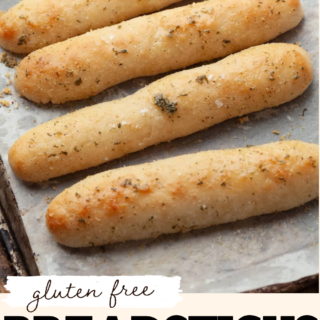
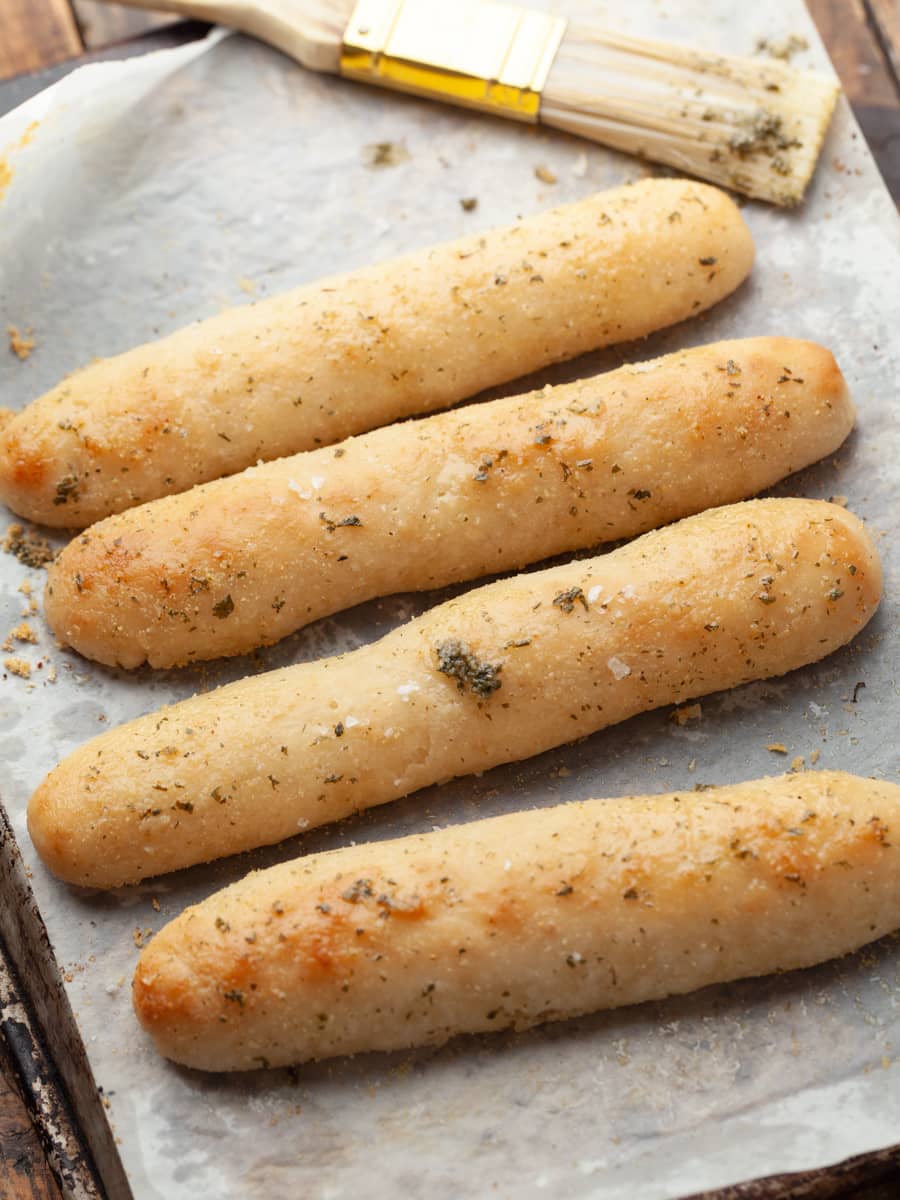
These Gluten Free Breadsticks are soft, fluffy, and brushed with garlic butter for the perfect finishing touch. Made with a simple yeast dough, they bake up golden on the outside and tender on the inside. The best part? This easy breadstick recipe requires just one rise, so you can have fresh, homemade breadsticks without spending hours in the kitchen. Serve them with pasta, dip them in marinara sauce, or add them to your favorite meal.
Recipe Ingredient Notes
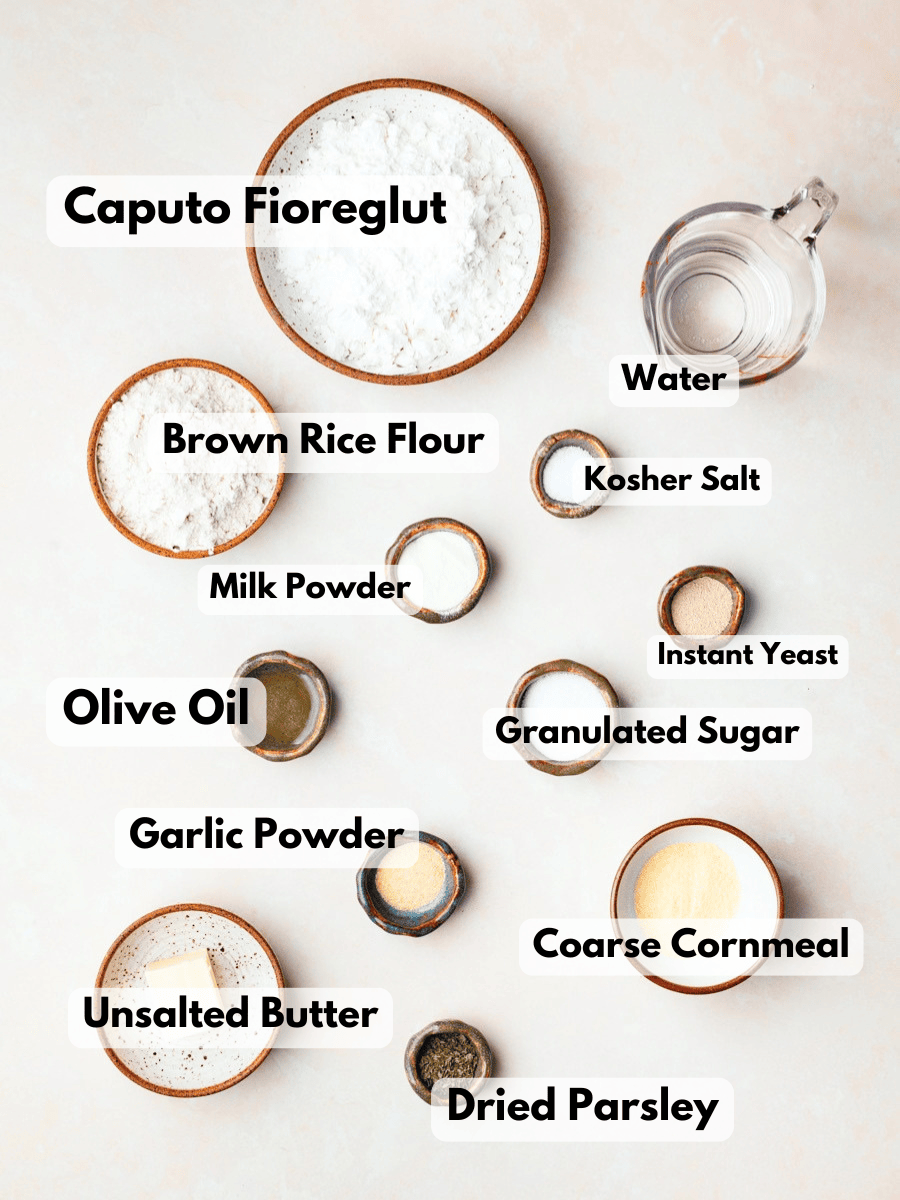
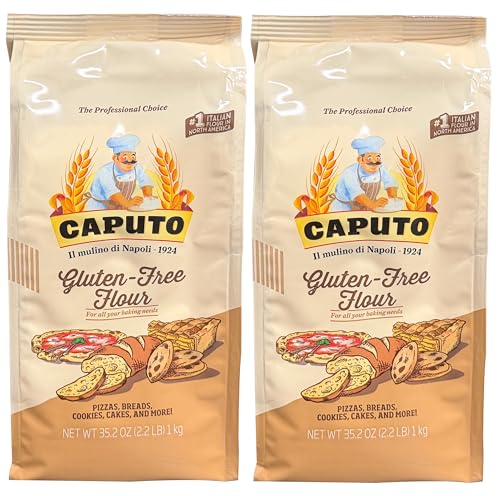
Caputo Fioreglut: The only flour I recommend for making the best gluten free breadsticks is Caputo Fioreglut Gluten Free Flour. Caputo Fioreglut contains gluten-free wheat starch. This makes it suitable for those with Celiac Disease but NOT for individuals with a wheat allergy. You can read more about gluten free wheat starch here: What is gluten free wheat starch?
Caputo Fioreglut Gluten Free Flour is available at several online stores like Amazon and BrickOvenBaker. I am a big fan of BrickOvenBaker, which normally has a better price than Amazon. PLUS if you use the discount code DANIELA, you get 10% off your order.
Super Fine Brown Rice Flour: While Caputo Fioreglut is an amazing gluten free flour blend, it's a bit bland on its own. This is why I love adding some super fine brown rice flour to the dough for gluten free breadsticks. Make sure you are using a super fine milled brown rice flour. A stone ground flour can make the finished product taste gritty. This can be substituted if needed with sorghum flour.
Olive Oil: I use extra virgin olive oil in this gluten free pizza recipe, but grapeseed oil is another excellent option.
Milk Powder: Milk powder helps with browning because it contains both lactose (milk sugar) and proteins, which are key players in the Maillard reaction - the chemical reaction responsible for that golden-brown color and complex flavor in baked goods. If you are on a dairy free diet, please skip this ingredient. A dairy free milk powder will NOT achieve the same result. This is an optional ingredient.
Instant Yeast: I use instant yeast here for simplicity. If you’d like to use active dry yeast instead, just dissolve it in warm water (warmed to about 110°F) with a pinch of sugar before adding it to the dry ingredients. Keep in mind that the dough made with active dry yeast will need a bit longer proofing time.
Fine Cornmeal: I like to use a little cornmeal to sprinkle the baking sheet before placing the bread sticks on it. It can create a very thin buffer between the dough and a hot baking surface and can reduce the risk of burning the bottoms of the bread. This is an optional ingredient.
Garlic Butter: I top the gluten free breadsticks with delicious homemade garlic butter. I use a mix of dried parsley, garlic powder, and unsalted butter for this. If you are not a fan of garlic, feel free to to just brush them with melted butter and omit the herbs.
Recommended Tools
To successfully make this gluten free breadsticks you will need a few kitchen tools. Most likely you already have them in your kitchen.
- Digital Kitchen Scale: A digital kitchen scale is a must-have to make this recipe (or any of my recipes). For small amounts under 10 grams, I like to use this Precision Pocket Scale.
- Mixing Bowl: While you can mix the dough for breadsticks with a stand mixer and a dough hook, I prefer mixing it by hand in a large mixing bowl.
- Danish Dough Whisk or Wooden Spoon: Use something sturdy for mixing the pizza dough by hand. I recently purchased a Danish Dough Whisk and it's my new favorite kitchen tool. It has a long handle with a unique, looped wire design at the end, resembling a spiral. The open shape of the whisk allows it to easily cut through thick doughs. This makes it ideal for bread, pizza, and other types of dough without overworking or compacting the ingredients.
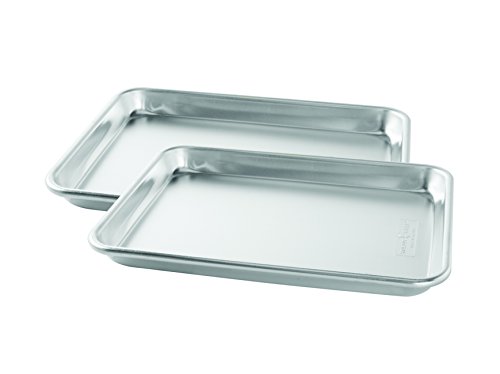
- You will also need a sheet tray and parchment paper, a small skillet for the garlic butter and a pastry brush.
Gluten Free Breadsticks Dough
Keep in mind gluten free breadstick dough is on the stickier side. You may be tempted to add more flour but I hope you trust me when I say just "follow the process and roll with it".
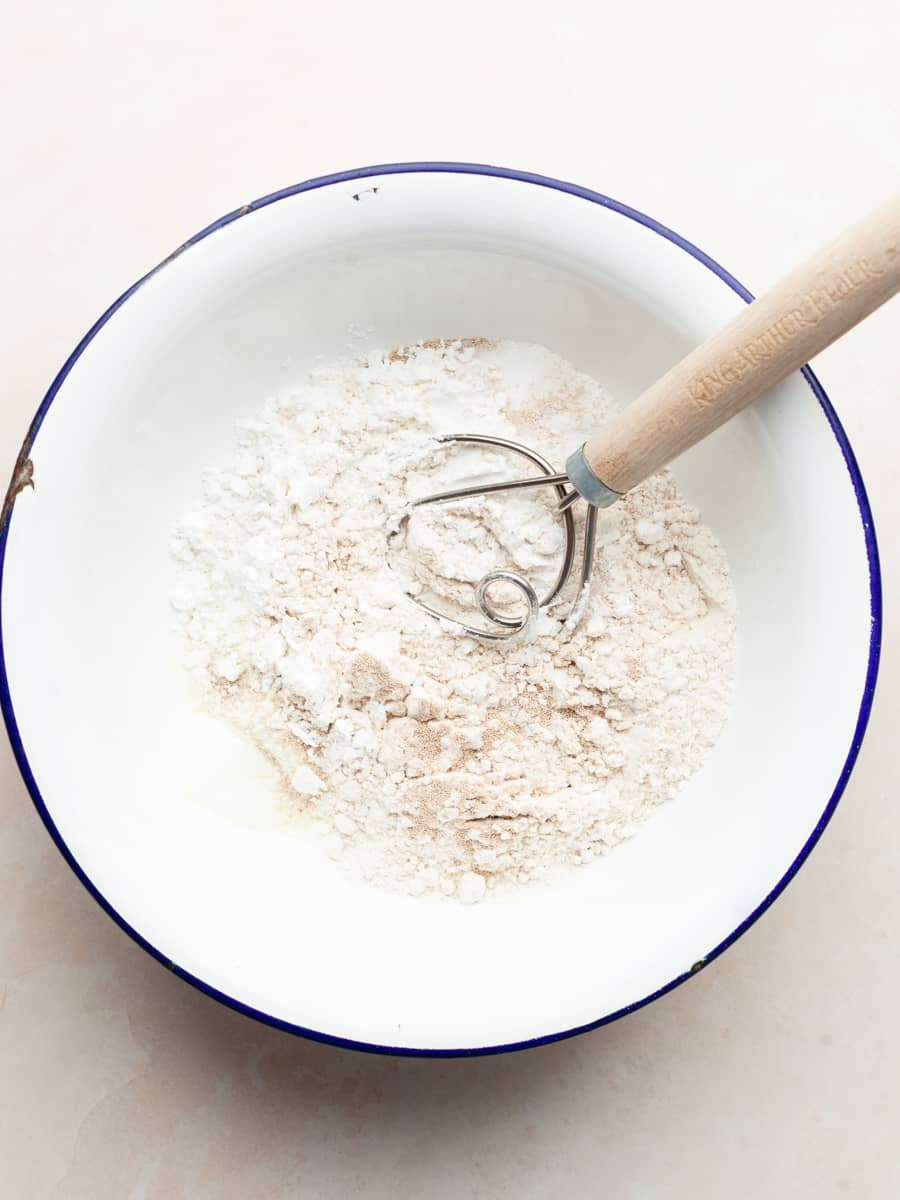
- Step 1: Warm the water in a microwave safe bowl for about 45 - 60 seconds. Allow it to cool to 120 - 129°F.
- Step 2: In the meantime combine Caputo Fioreglut Gluten Free Flour, super fine brown rice flour, instant yeast, milk powder, granulated sugar and kosher salt in a mixing bowl. Whisk to combine.
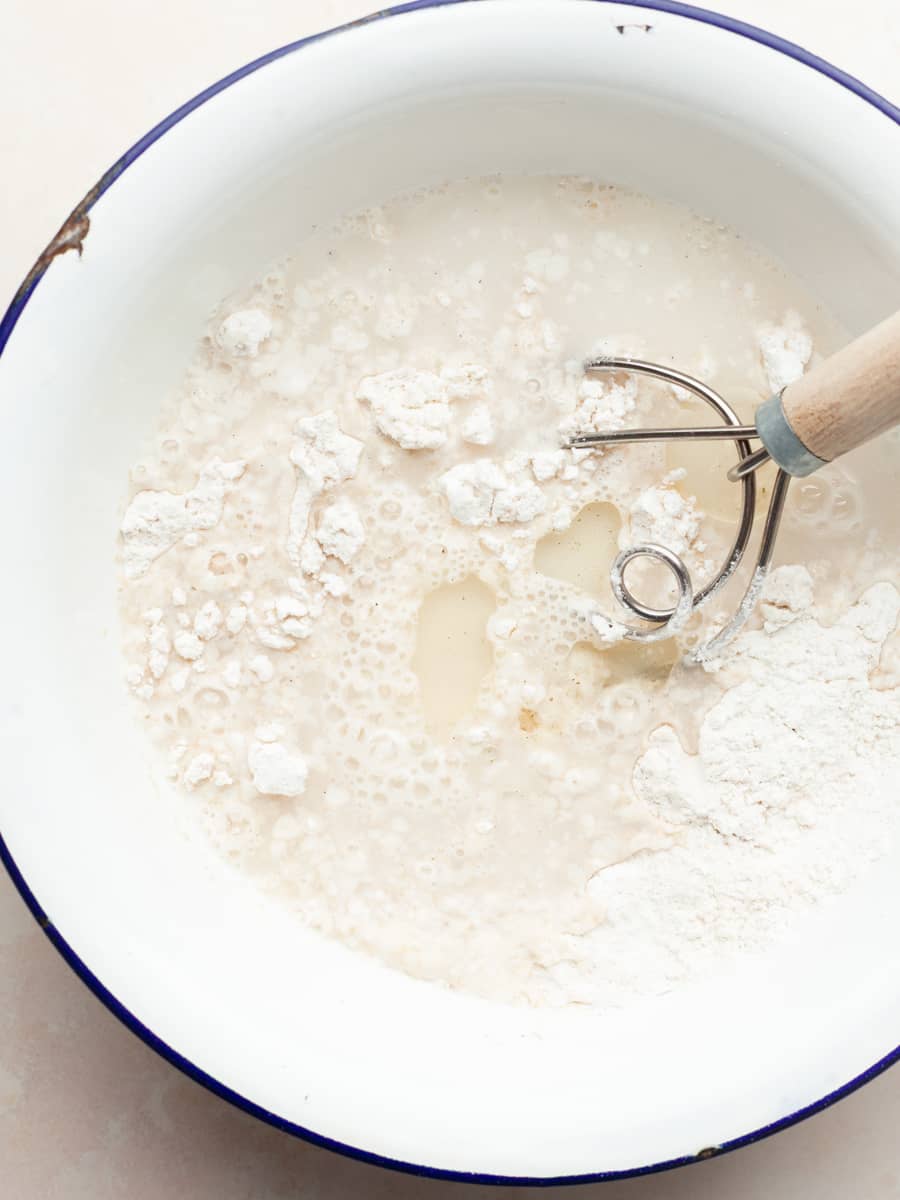
- Step 3: Add the warm water and olive oil to the dry ingredients.
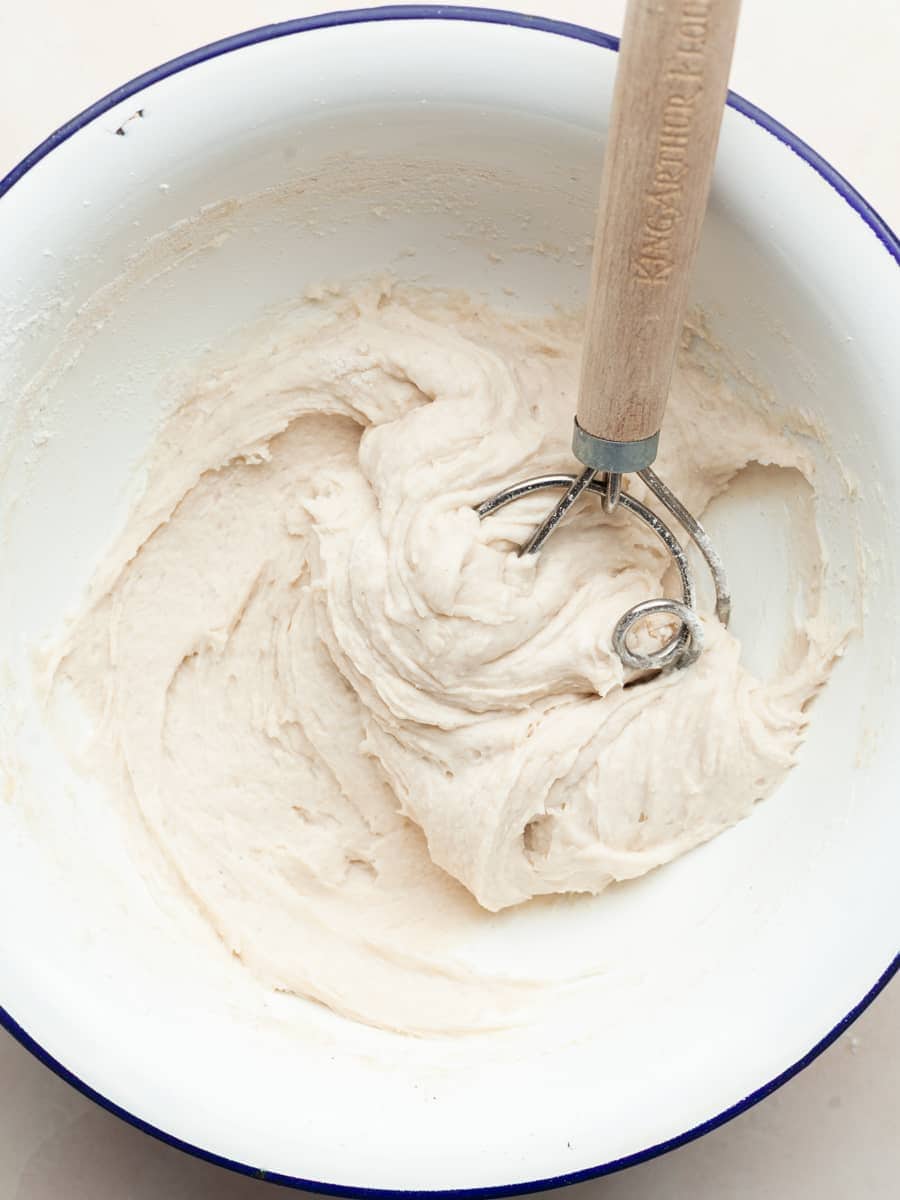
- Step 4: With a Danish Dough Whisk or wooden spoon stir everything into a wet, slightly lumpy-looking mess of dough. It may seem wet in the beginning but the flour will absorb the liquid. Whisk it until it becomes smooth (this is a great arm workout no one asked for).
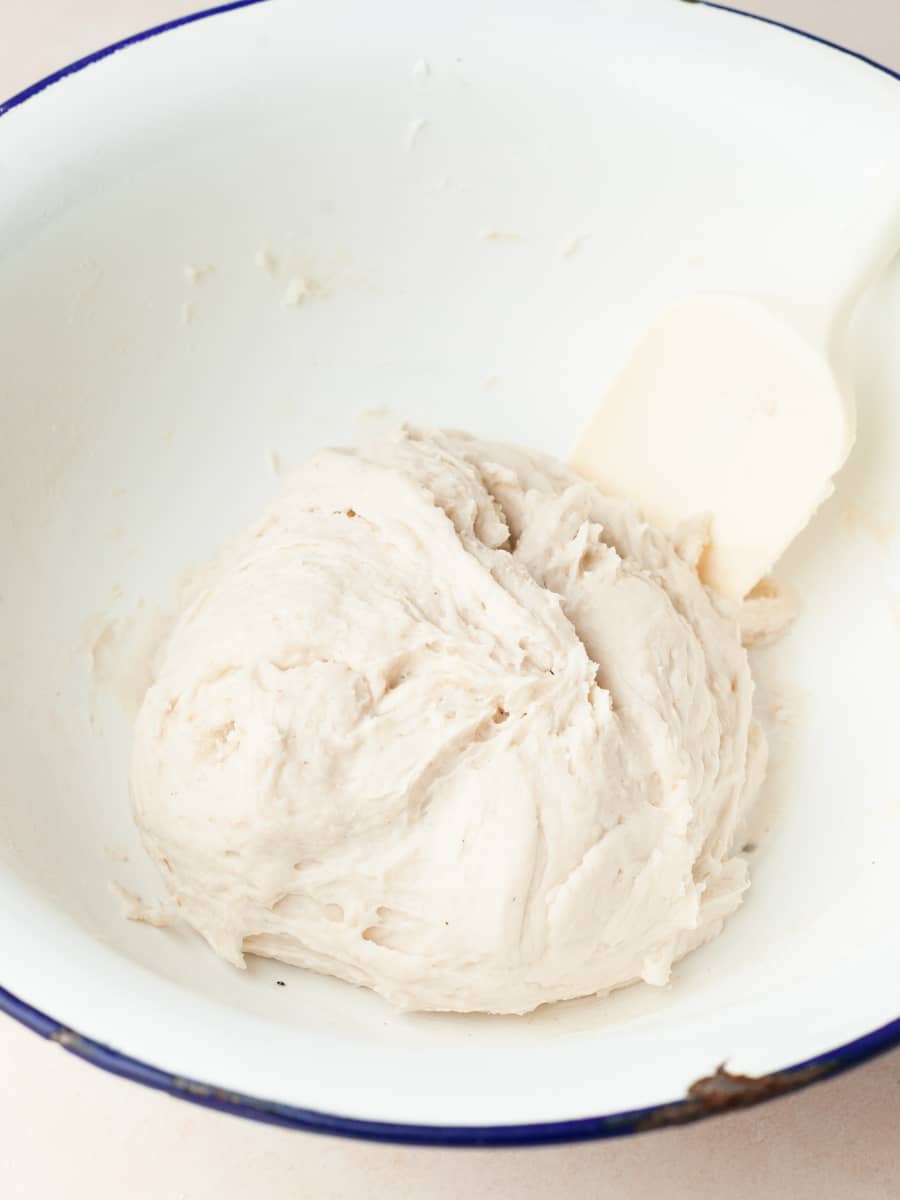
- Step 5: With a flexible spatula scrape down the side of the mixing bowl and shape the dough into a ball. This doesn't have to be perfect. It just makes transferring it easier.
- Step 6: Cover the bowl with a clean towel and allow the Gluten Free Breadstick dough to rest for 10-15 minutes.
Shaping and Proofing
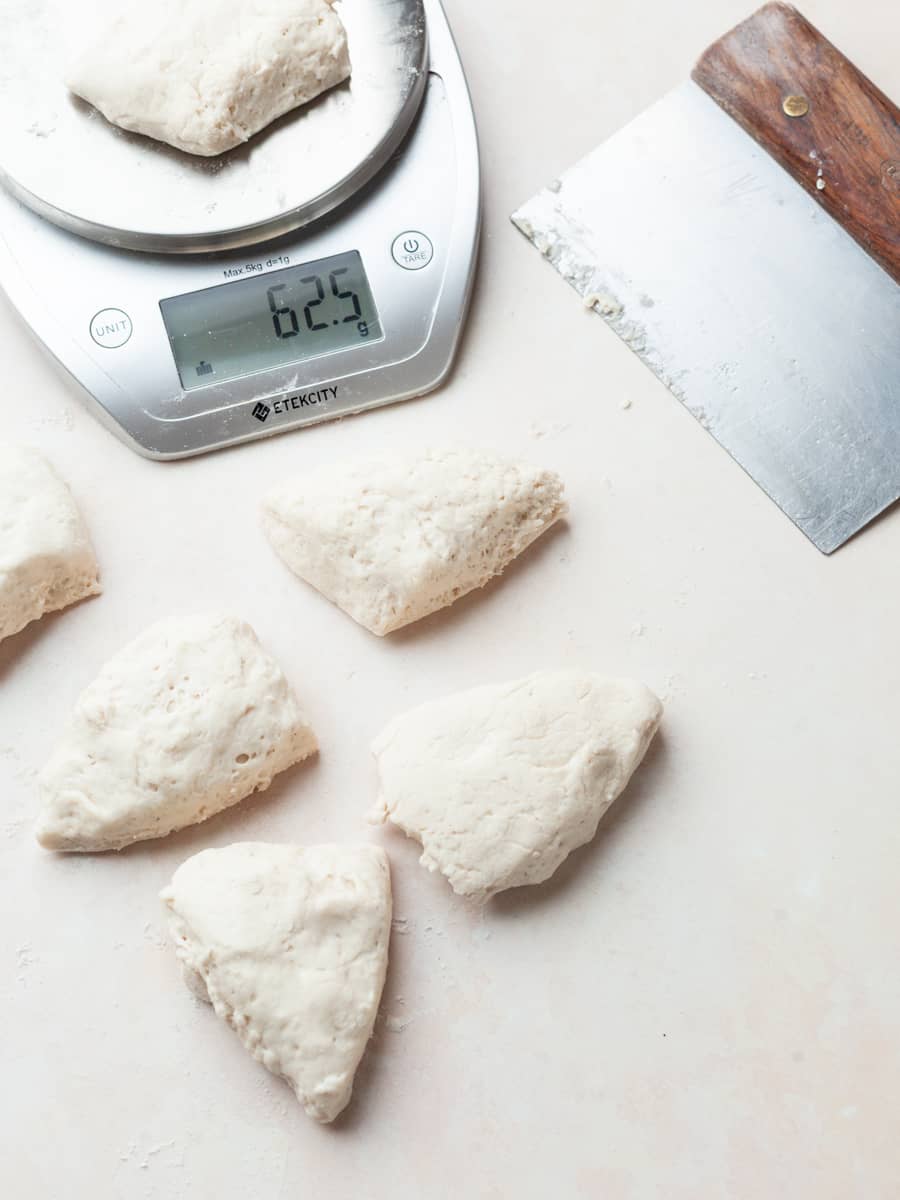
Shaping the breadsticks is very straight forward. I like to divide the dough into 6 equal pieces, around 65 grams each. Clearly you can also make the breadsticks bigger and make 5 larger pieces instead. Keep in mind the dough is supposed to be a bit tacky. I lightly flour my work surface to roll them out. You can also lightly oil your hands with non stick cooking spray instead.
- Step 1: Line a sheet tray with parchment paper and lightly sprinkle with some fine/medium coarse cornmeal. This is optional!
- Step 2: Lightly sprinkle your work surface with some additional gluten free flour or give a spritz with non stick kitchen spray. This will make the shaping easier.
- Step 3: Using a bench scraper or sharp knife, cut the dough into six even portions, around 65 grams each. You can also eyeball this, but I like to keep my bread sticks the same size so they all bake evenly.
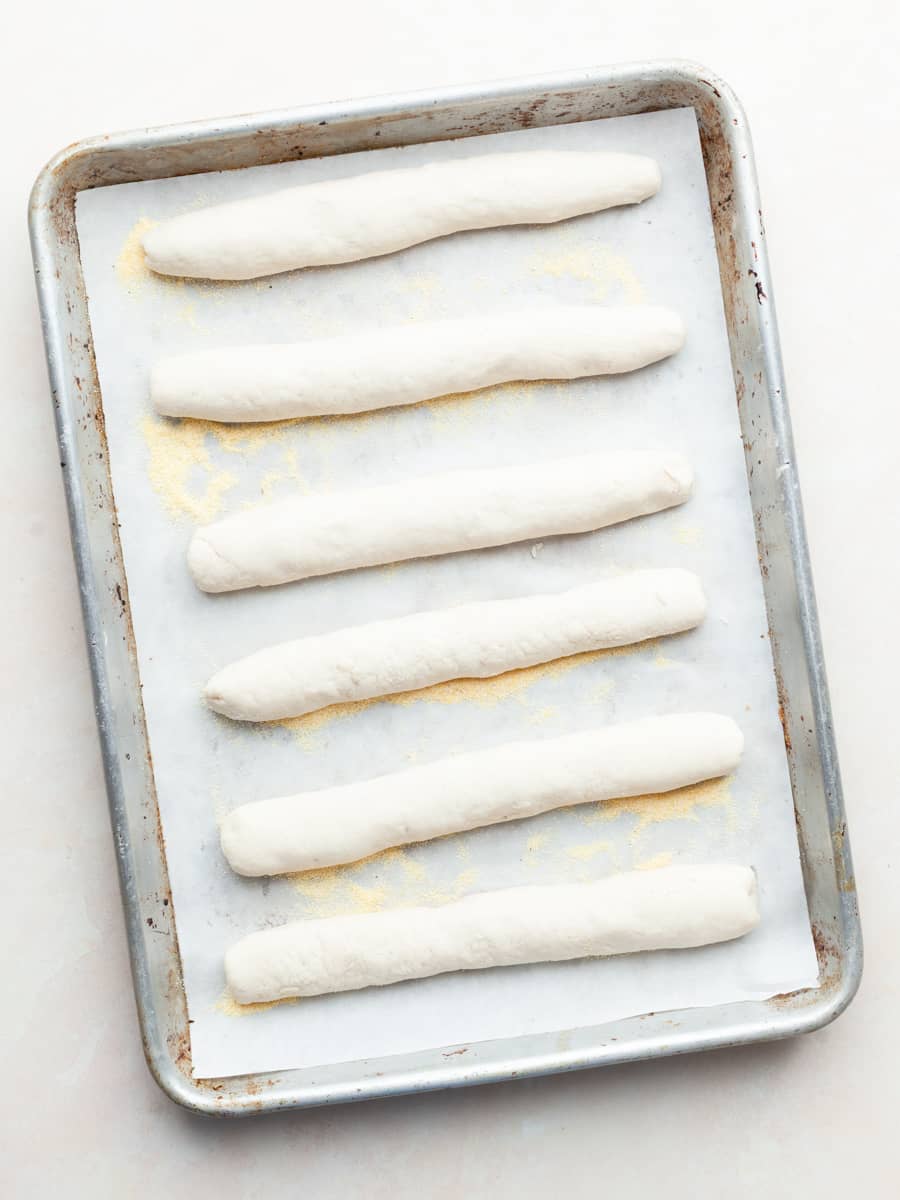
- Step 4: Gently roll each of the dough pieces into breadsticks. I aim for around 7" in length.
- Step 5: Place the breadsticks on the prepared baking sheet making sure to leave a space between each stick.
- Step 6: Once all the gluten free breadsticks are shaped, cover them with a clean tea towel. Let the dough rise in a warm place until they are about 20% larger. Depending on how warm your kitchen or proofing environment is, this can take 20-30 minutes. In warm, humid conditions, the bread sticks will proof more quickly.
Baking Instructions
Once the gluten free breadsticks look puffy and are about 20% larger than their original size, preheat the oven to 400°F. Depending on your oven, preheating may take 20 minutes or longer. By the time the oven is ready, the breadsticks should be about 40–50% larger and noticeably puffier.
Keep in mind these breadsticks start out at a lower temperature for the first 10 minutes. After the first brush of garlic butter, please increase the heat to 450F. This will help with the browning.
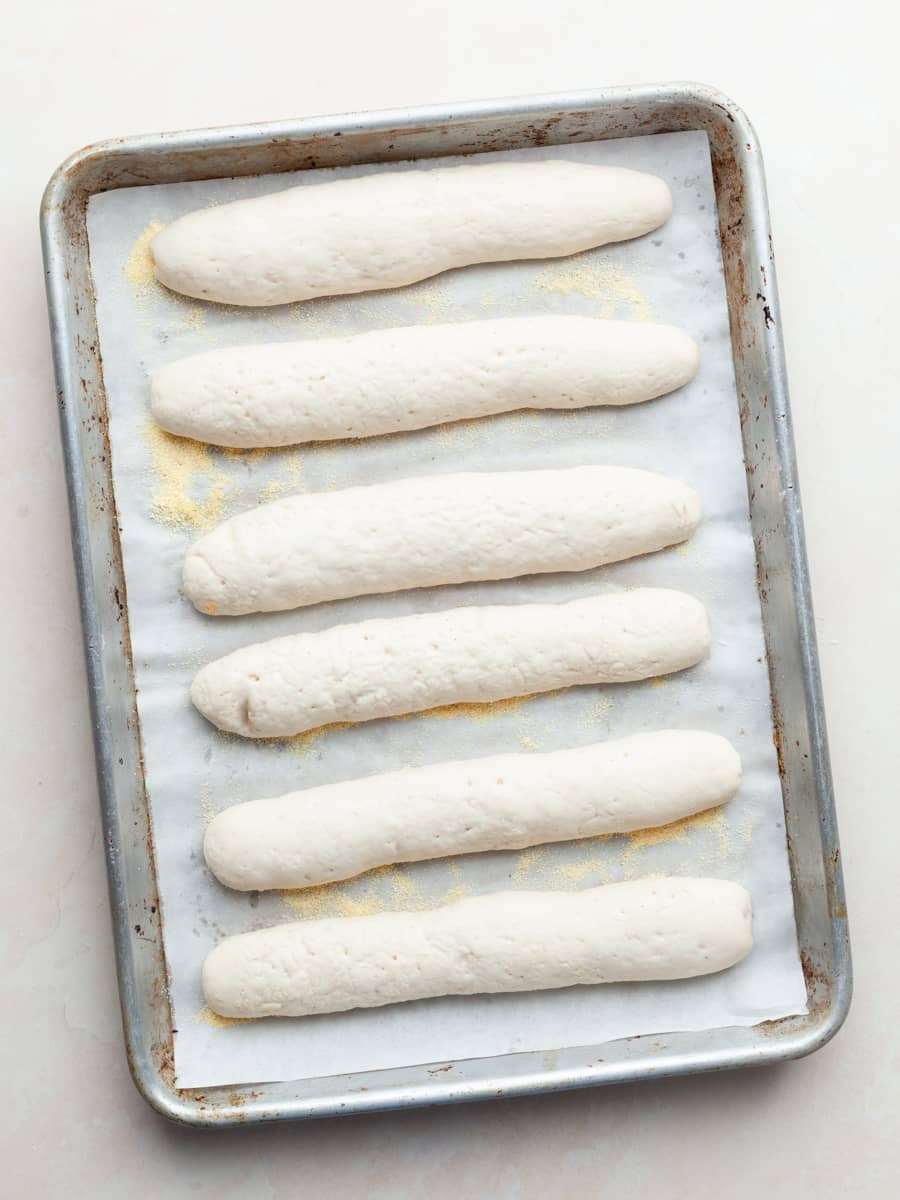
- Step 1: Once the gluten free breadsticks look puffy and are about 20 % larger than their original size, preheat the oven to 400°F. Allow the oven to fully preheat before baking. Make sure to position the oven rack in the middle of the oven to help prevent the bottoms from browning too quickly.
- Step 2: By the time the oven is fully preheated, the breadsticks should be about 40–50% larger than their original size and look noticeably puffier. Place them in the oven and bake for 10 minutes.
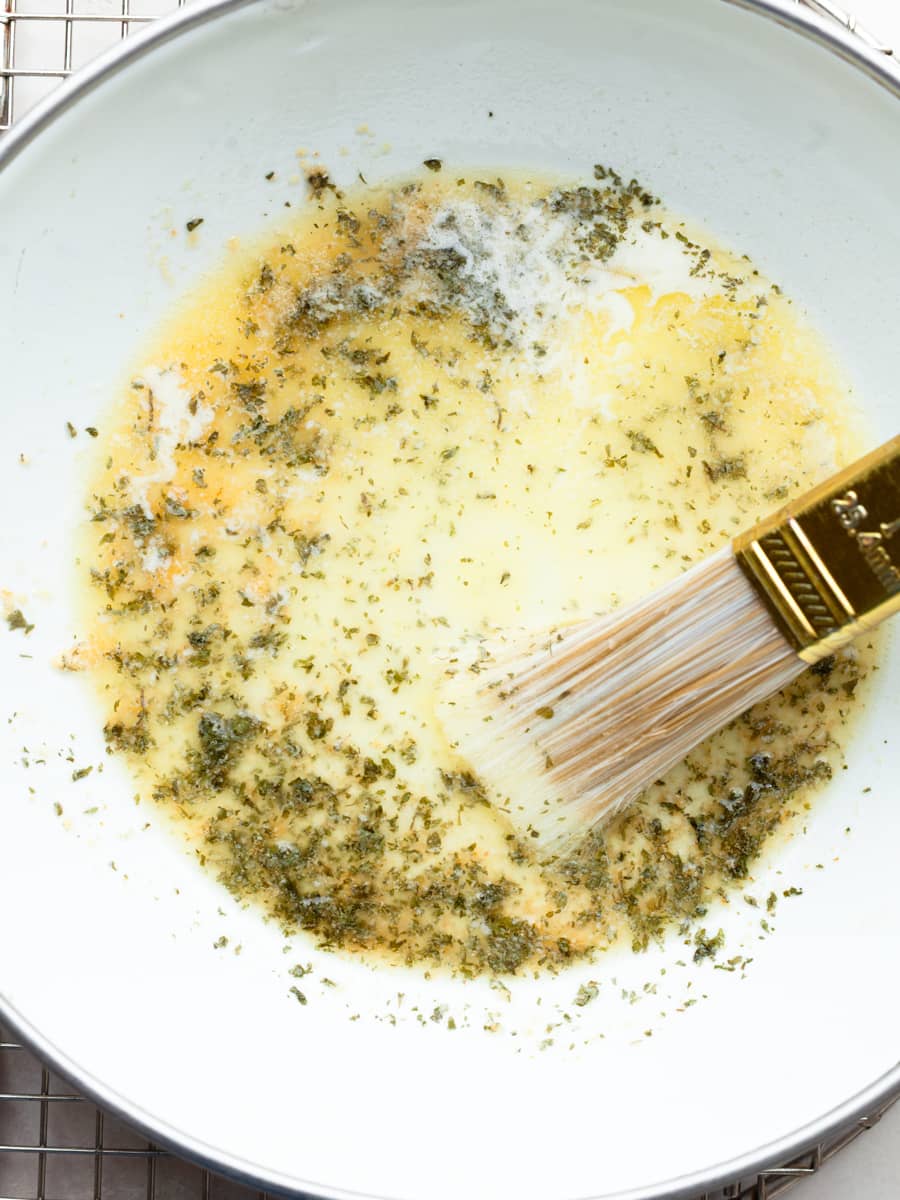
- Step 3: While the breadsticks bake, prepare the garlic butter. Melt the butter in a small sauté pan over medium-low heat. Add the garlic, dried parsley, and a pinch of kosher salt. Sauté for 1 minute, until fragrant, then remove from the heat.
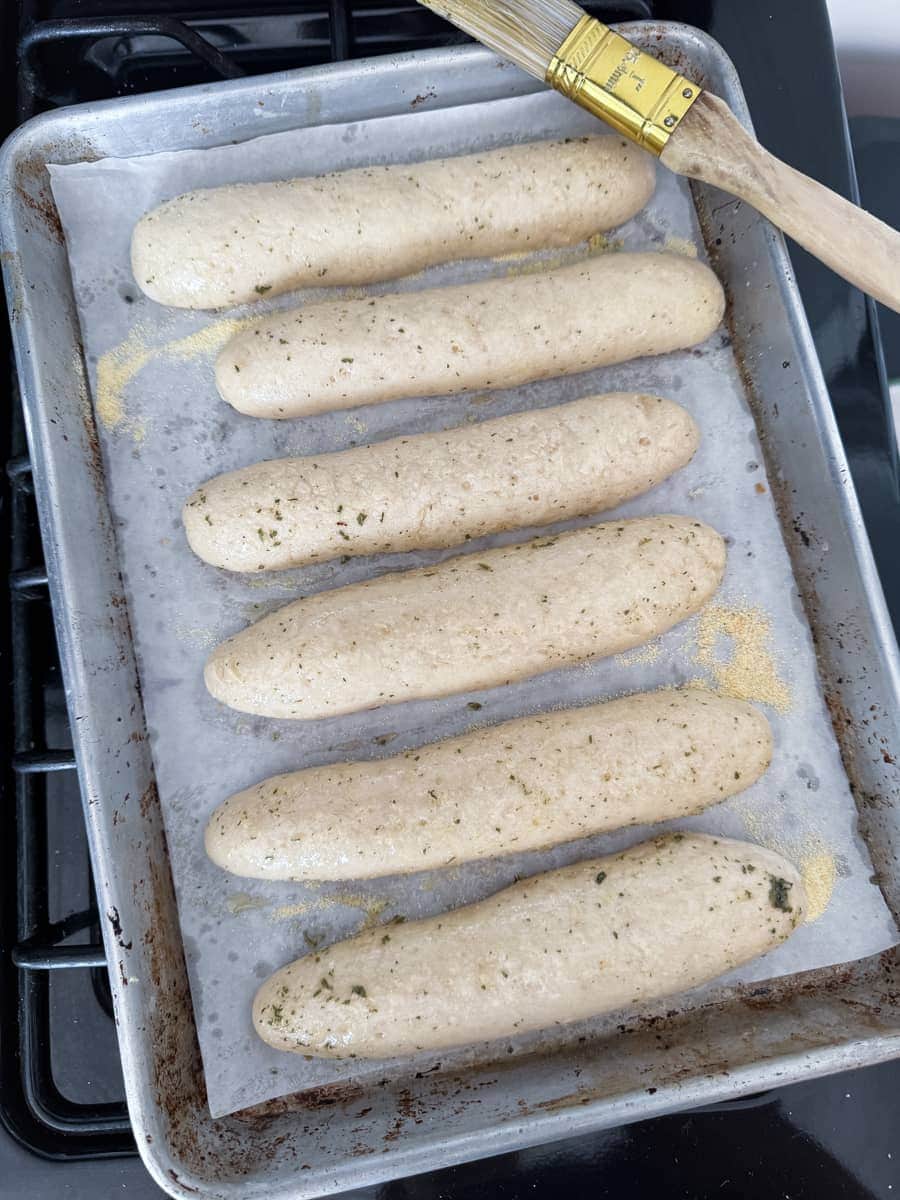
- Step 4: After 10 minutes of baking, remove the bread sticks from the oven and generously brush them with the garlic butter.
- Step 5: Return the breadsticks to the oven and increase the oven temperature to 450°F.
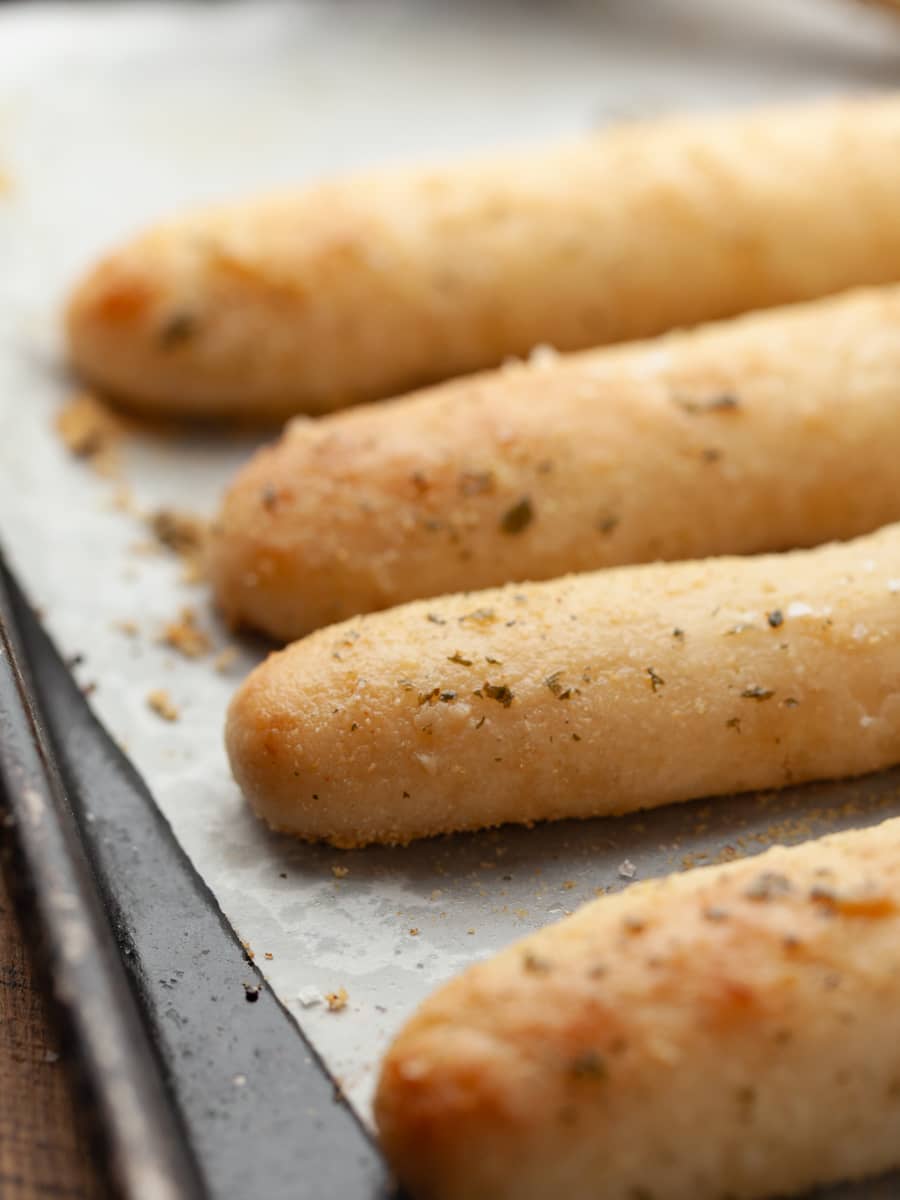
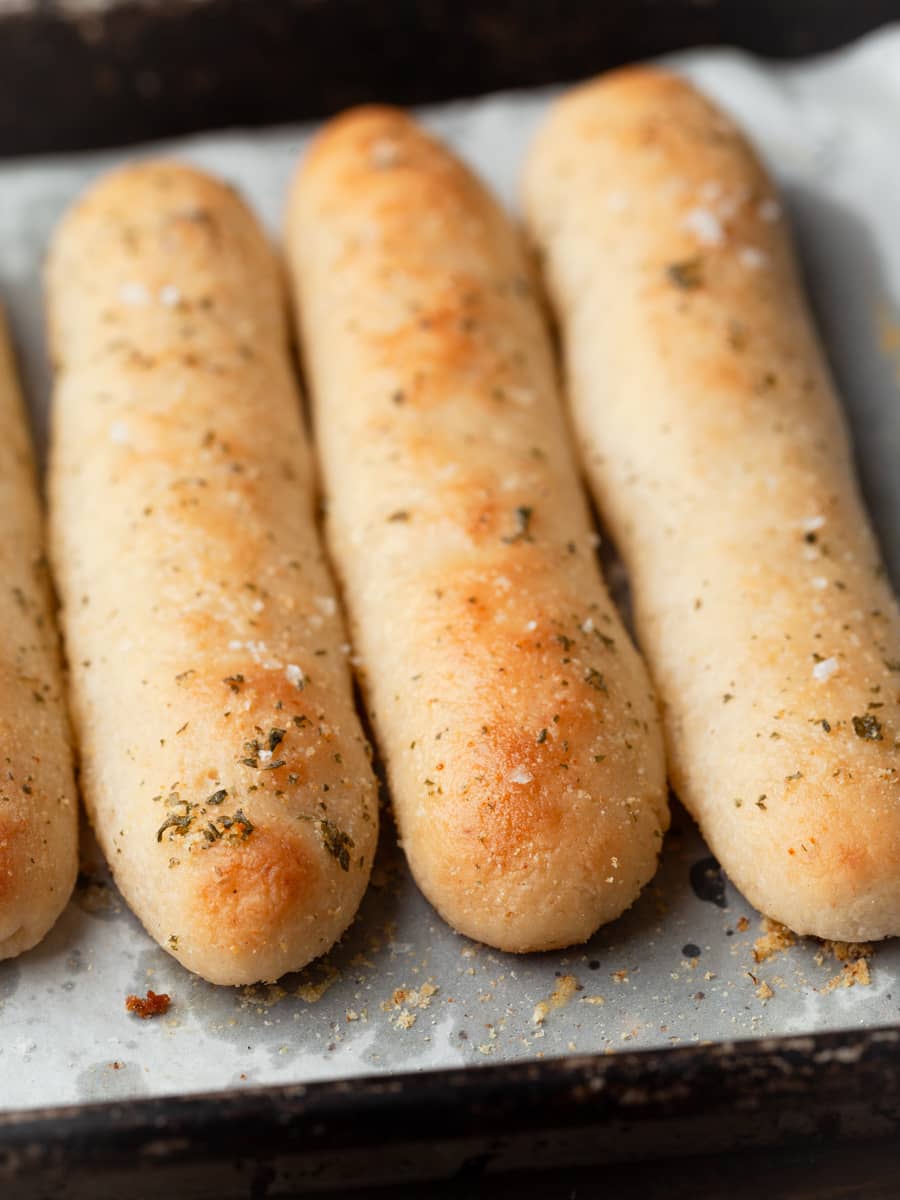
- Step 6: Continue baking for another 5-8 minutes, or until the breadsticks are golden brown. Baking times may vary depending on your oven.
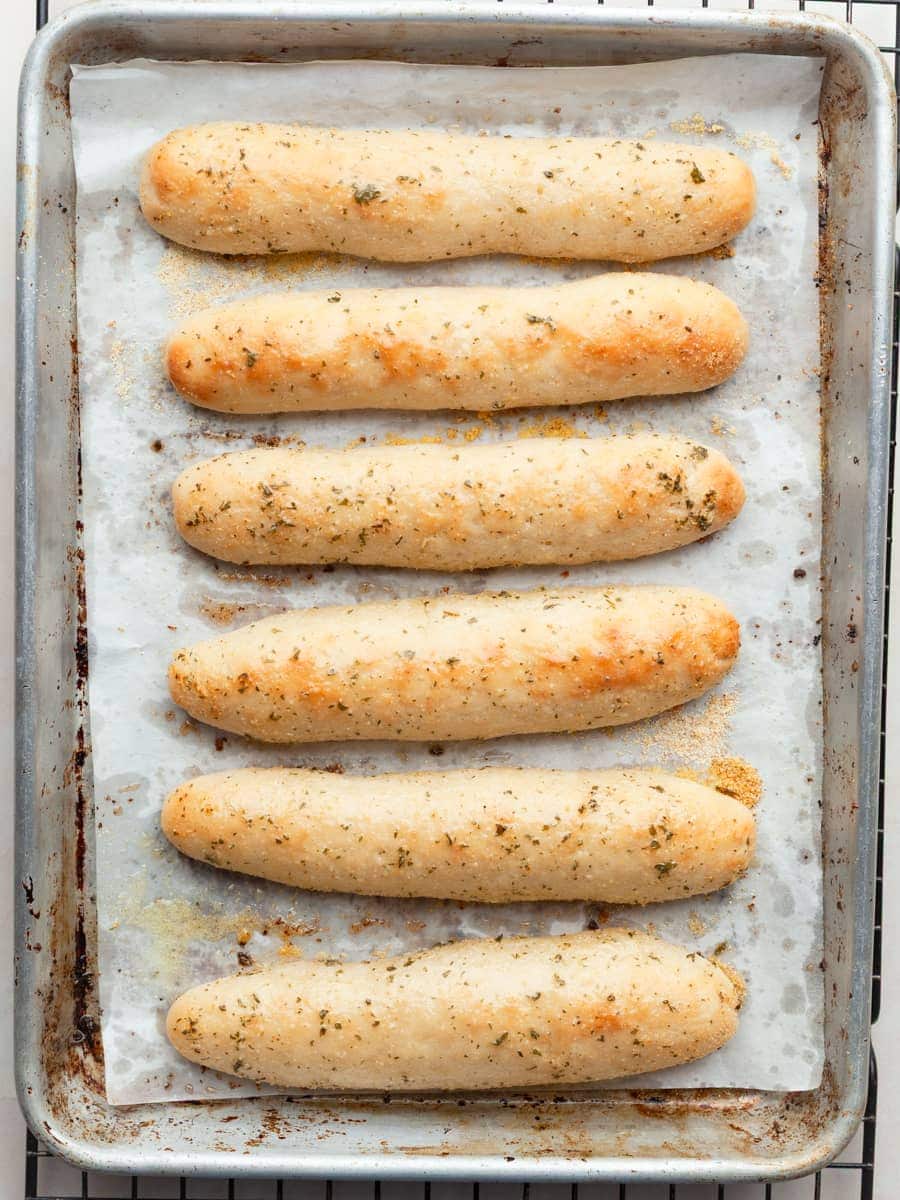
- Step 7: Remove the gluten free bread from the oven and place the sheet tray on a cooling rack.
- Step 8: Immediately brush the breadsticks again with the garlic butter. This will give them a soft crust and a beautiful shine.
- Step 9: Allow the gluten free breadsticks to cool for a few minutes before serving.
How to Serve Gluten Free Breadsticks
These homemade gluten free breadsticks are best served warm, straight from the oven. Serve them with a bowl of marinara sauce for dipping, alongside pasta and your favorite Italian dishes, or with a big bowl of soup or a fresh salad. Honestly, breadsticks go with just about anything, so the options are endless!
Storage & Freezing
Storage: If you happen tp have any leftover gluten free breadsticks, store them in an airtight container at room temperature for up to one day. For the best texture, reheat them in a 350°F oven for a few minutes until warmed through. Brush with a little extra garlic butter before serving to freshen them up.
Freezing: Let the breadsticks cool completely, then place them in a freezer-safe bag or airtight container and freeze for up to 2 months. Thaw at room temperature, then warm them in a 350°F oven until heated through. Brush with additional garlic butter before serving, if desired.
Note about Salt in my Recipes
I use Diamond Kosher Crystal Salt in all of my recipes unless otherwise stated. If use use a different brand or kind of salt in your kitchen please adjust accordingly since some salts can be saltier. If you use Morton’s Kosher Salt please be aware that their salt granules are smaller in size, denser, and crunchier and twice as salty.
Baking in grams
I share my recipes in grams and by weight since baking by weight is the most accurate way to bake. Digital Scales are very affordable and easy to use. You can purchase them on Amazon for less than a set of measuring cups. For small amounts under 10 grams, I like to use this Precision Pocket Scale. Measuring cups are very inaccurate which can cause significant errors when it comes to gluten-free baking or baking in general. Especially since I bake with gluten-free flours which weigh differently than “regular” flours. I do provide some ingredients like spices and leavening agents in measuring spoons. To learn more about Baking with a digital scale, make sure to check out my post about Baking by weight.
Note about Ovens and Oven Temperatures
All my recipes are tested and developed with a conventional oven. I always bake my baked goods on the rack placed in the MIDDLE of my oven. This way the heat coming from the bottom will not burn my baked goods.
If you are baking with convection (fan-forced), please adjust the recipes accordingly. Convection oven can cause baked goods to dry out quickly and still be raw inside. Since takes at least 15-20 minutes for a standard American Oven to be fully preheated. I highly recommend investing in an Oven Thermometer.
Substitutions and Modifications
Any dietary or ingredient modifications/substitutions to this recipe may alter the end result in appearance and taste. I test my recipes several times as published in this post and The Gluten Free Austrian Blog is not responsible for the outcome of any recipe you find on our website.
More Gluten Free Bread Recipes to try


📖 Recipe
Gluten Free Breadsticks

These homemade Gluten Free Breadsticks are soft, fluffy, and finished with garlic butter. Made with a simple yeast dough that comes together without a mixer, they're easy to make and perfect for serving alongside pasta, dipping into marinara sauce, or adding to your dinner table any night of the week.
Ingredients
Gluten Free Breadsticks
- 150 grams water
- 120 grams Caputo Fioreglut (See Note)
- 70 grams super fine brown rice flour
- 10 grams granulated sugar
- 5 grams milk powder (Optional!)
- 3 grams kosher salt
- 3 grams Instant Yeast
- 10 grams olive oil
- a little fine/medium coarse cornmeal for the baking sheet (Optional, See Note)
Garlic Butter
- 50 grams unsalted butter
- 1 teaspoon garlic powder (Fresh minced garlic works as well)
- 1 teaspoon dried parsley
- generous pinch of kosher salt
Instructions
Gluten Free Breadsticks Dough
- Warm the water in a microwave safe bowl for about 45 - 60 seconds. Allow it to cool to 120 - 129°F.
- In the meantime combine Caputo Fioreglut Gluten Free Flour, super fine brown rice flour, instant yeast, milk powder, granulated sugar and kosher salt in a mixing bowl. Whisk to combine.
- Add the warm water and olive oil to the dry ingredients.
- With a Danish Dough Whisk or wooden spoon stir everything into a wet, slightly lumpy-looking mess of dough. It may seem wet in the beginning but the flour will absorb the liquid. Whisk it until it becomes smooth (this is a great arm workout no one asked for).
- With a flexible spatula scrape down the side of the mixing bowl and shape the dough into a ball. This doesn't have to be perfect. It just makes transferring it easier.
- Cover the bowl with a clean towel and allow the Gluten Free Breadstick dough to rest for 10-15 minutes.
Shaping & Proofing
- Line a sheet tray with parchment paper and lightly sprinkle with some fine/medium coarse cornmeal. This is optional!
- Lightly sprinkle your work surface with some additional gluten free flour or give a spritz with non stick kitchen spray. This will make the shaping easier.
- Using a bench scraper or sharp knife, cut the dough into six even portions, around 65 grams each. You can also eyeball this, but I like to keep my bread sticks the same size so they all bake evenly.
- Gently roll each of the dough pieces into breadsticks. I aim for around 7" in length.
- Place the breadsticks on the prepared baking sheet making sure to leave a space between each stick.
- Once all the gluten free breadsticks are shaped, cover them with a clean tea towel. Let the dough rise in a warm place until they are about 20% larger. Depending on how warm your kitchen or proofing environment is, this can take 20-30 minutes. In warm, humid conditions, the bread sticks will proof more quickly.
Baking Instructions
- Once the gluten free breadsticks look puffy and are about 20 % larger than their original size, preheat the oven to 400°F. Allow the oven to fully preheat before baking. Make sure to position the oven rack in the middle of the oven to help prevent the bottoms from browning too quickly.
- By the time the oven is fully preheated, the breadsticks should be about 40–50% larger than their original size and look noticeably puffier. Place them in the oven and bake for 10 minutes.
- While the breadsticks bake, prepare the garlic butter. Melt the butter in a small sauté pan over medium-low heat. Add the garlic, dried parsley, and a pinch of kosher salt. Sauté for about 1 minute, until fragrant, then remove from the heat.
- After 10 minutes of baking, remove the bread sticks from the oven and generously brush them with the garlic butter.
- Return the breadsticks to the oven and increase the oven temperature to 450°F.
- Continue baking for another 5-8 minutes, or until the breadsticks are golden brown. Baking times may vary depending on your oven.
- Remove the gluten free bread from the oven and place the sheet tray on a cooling rack
- Immediately brush the breadsticks again with the garlic butter. This will give them a soft crust and a beautiful shine.
- Allow the gluten free breadsticks to cool for a few minutes before serving.
Notes
If an ingredient is labeled as optional, it means you can leave it out without affecting the overall success of the recipe.
Caputo Fioreglut: Caputo Fioreglut: The only flour I recommend for making the best gluten free breadsticks is Caputo Fioreglut Gluten Free Flour. Caputo Fioreglut contains gluten-free wheat starch. This makes it suitable for those with Celiac Disease but NOT for individuals with a wheat allergy. I have also tried the recipe with Zero Pizza & Bread from Brickoven which worked just fine but didn't rise as nicely as Caputo Fioreglut and was lacking flavor.
Where to buy Caputo Fioreglut: Caputo Fioreglut Gluten Free Flour is available at several online stores like Amazon and BrickOvenBaker. I am a big fan of BrickOvenBaker, which normally has a better price than Amazon. PLUS if you use the discount code DANIELA, you get 10% off your order.
Fine Cornmeal: I like to use a little cornmeal to sprinkle the baking sheet before placing the bread sticks on it. It can create a very thin buffer between the dough and a hot baking surface and can reduce the risk of burning the bottoms of the bread. This is an optional ingredient.
Baking Instructions: I planned the timing of these baking instructions so you don't have to leave your oven on for the entire time the breadsticks are rising. Let the breadsticks rise for about 20 minutes before turning on your oven. This gives them a head start on rising while your oven preheats.
Recommended Products
As an Amazon Associate and member of other affiliate programs, I earn from qualifying purchases.
Nutrition Information:
Yield:
6Serving Size:
1Amount Per Serving: Calories: 200
Calories are a guestimate and randomly generated.


Comments
No Comments