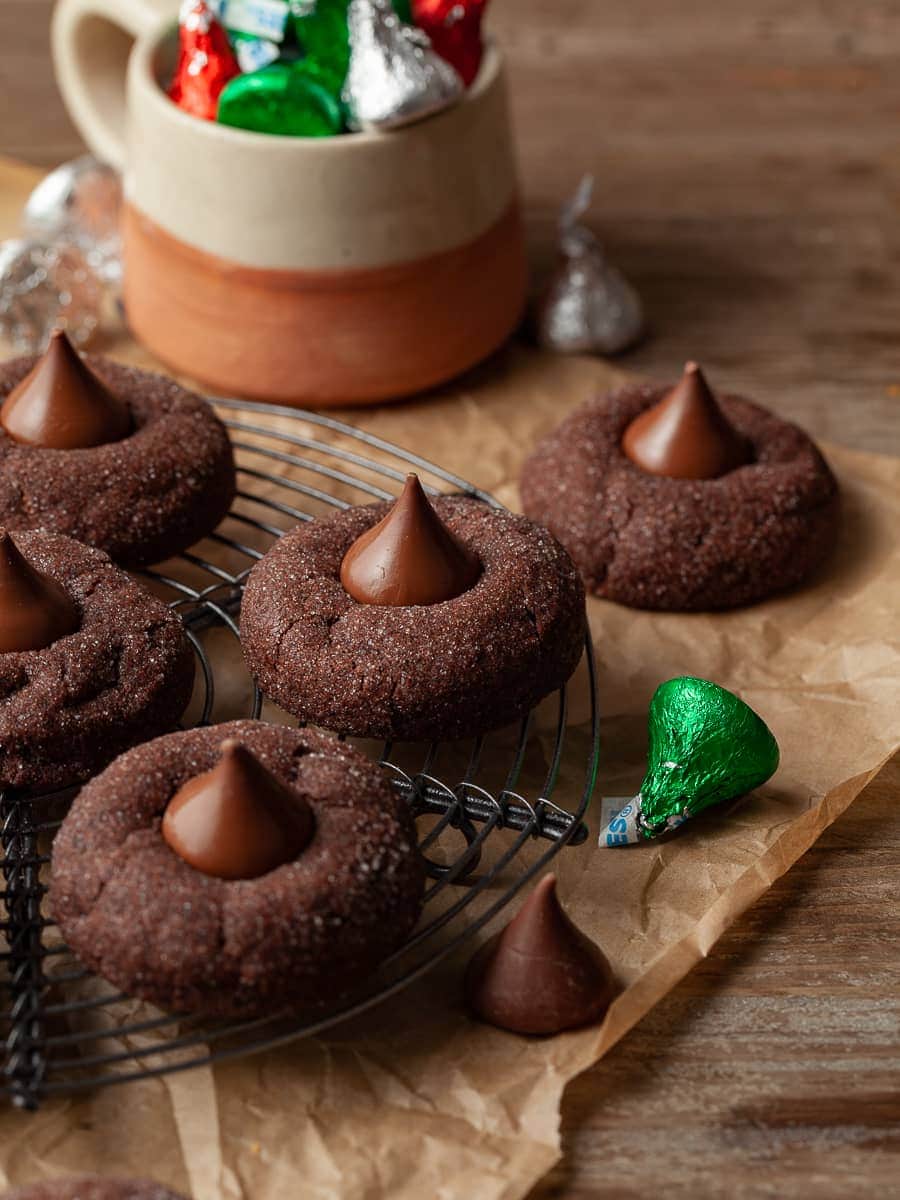
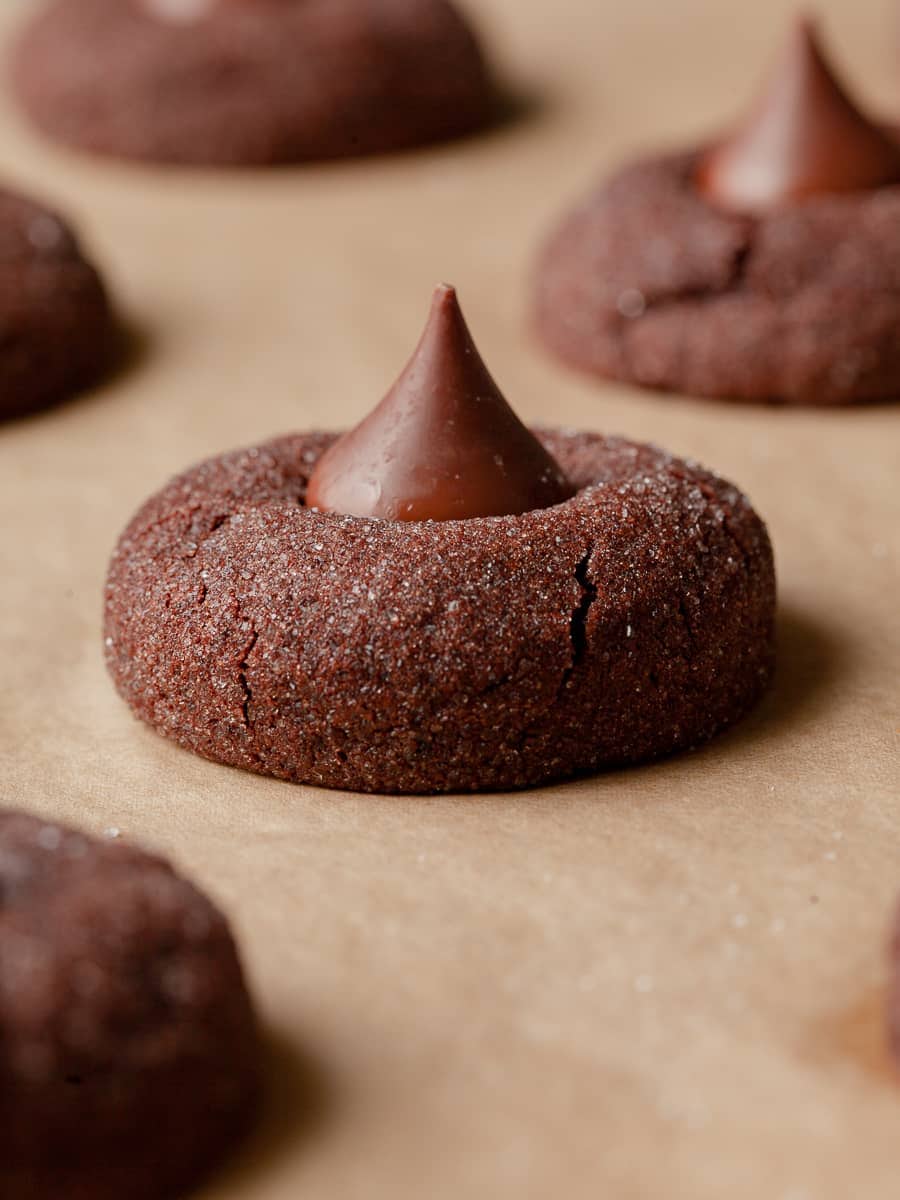
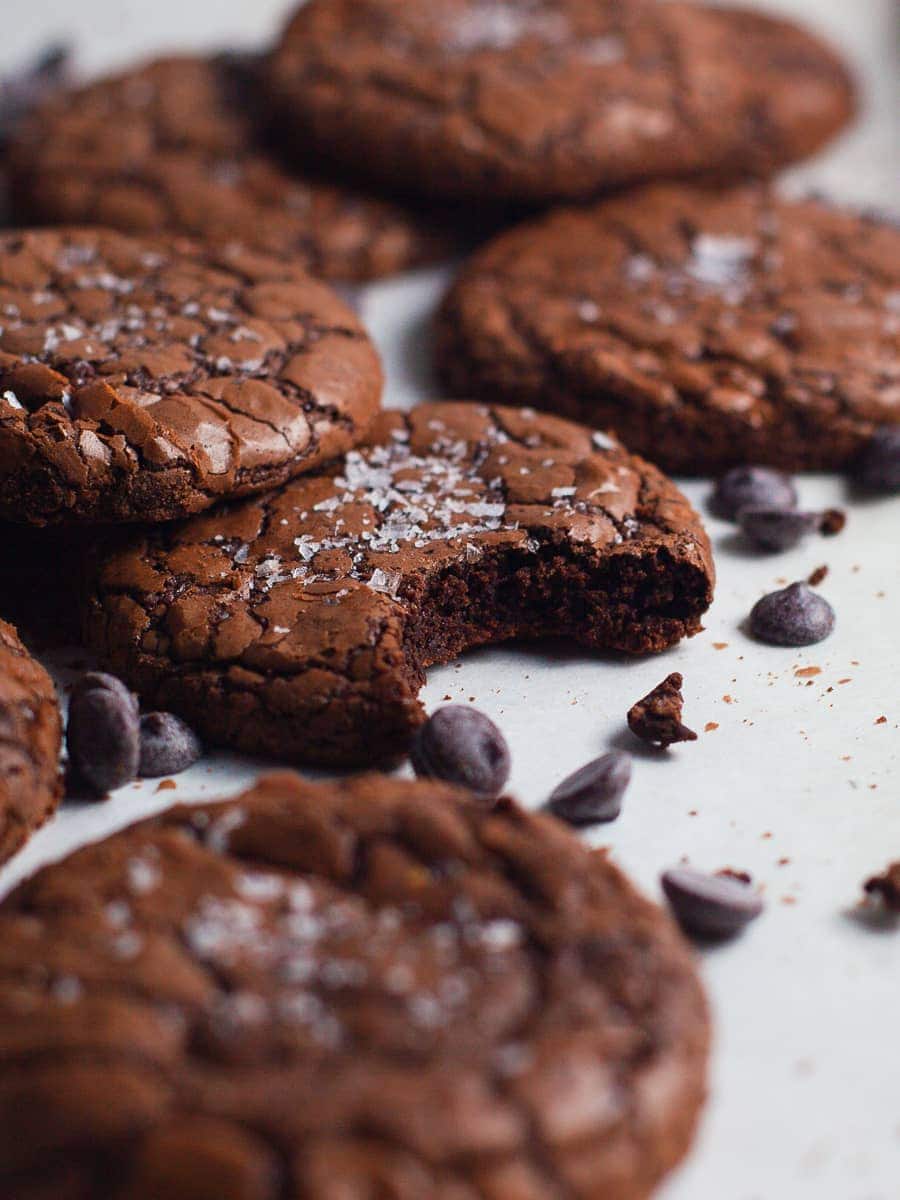
While everyone is making traditional peanut butter blossom cookies, I am just over here making Chocolate Blossom Cookies. Don't get me wrong, peanut butter blossoms are delicious but Gluten Free Chocolate Blossoms are definitely a Christmas Must Make. Chocolatey, fudgy gluten free cookies topped with everyone's favorite chocolate candy - Hershey's Kisses.
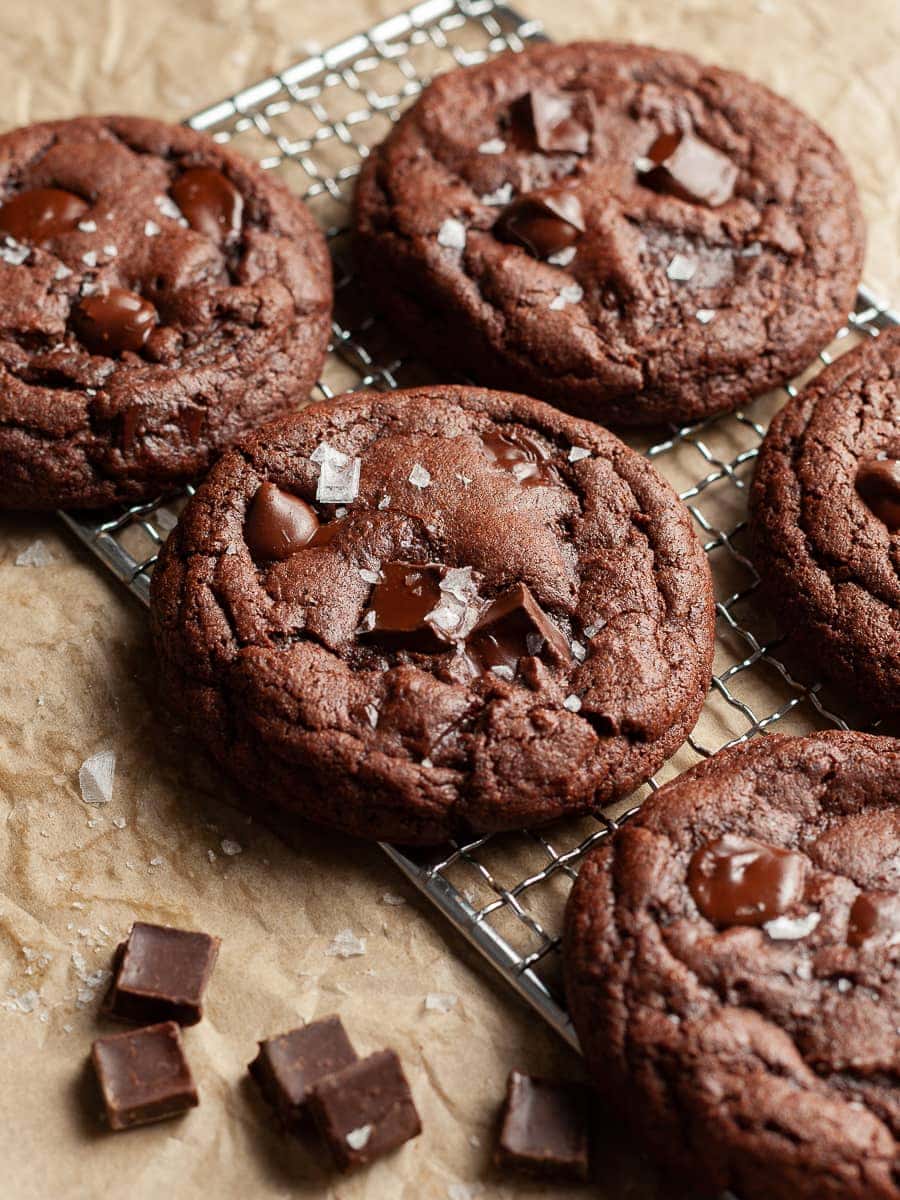
If you love a good chocolate cookie, make sure to check out my cookie recipes for Gluten Free Chocolate Crinkle Cookies and Gluten Free Fudge Brownie Cookies.
Jump to:
- Recipe Ingredient Notes
- How to make Chocolate Blossom Cookie Dough
- How to bake Gluten Free Chocolate Blossoms
- Storage & Freezing
- Difference between dutch-processed and natural cocoa powder
- FAQ about Chocolate Blossom Cookies
- Join my Gluten Free Community!
- Note about Salt in my Recipes
- Baking in grams
- Note about Ovens and Oven Temperatures
- Substitutions and Modifications
- More delicious cookie recipes to try
- 📖 Recipe
- 💬 Comments
Recipe Ingredient Notes
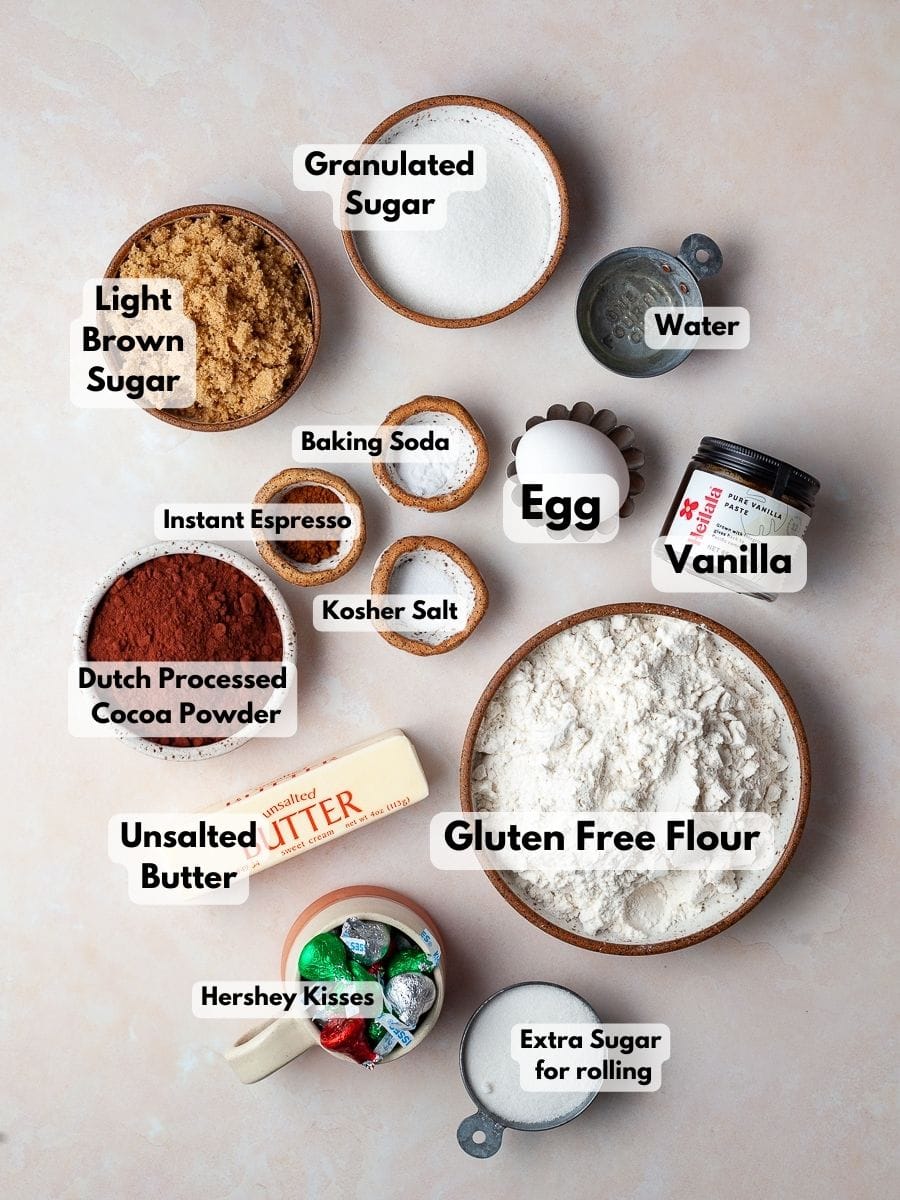
Gluten Free Flour: I tested this recipe for Gluten Free Chocolate Blossoms with King Arthur Measure for Measure, my own gluten free multi purpose flour blend and Bob's Red Mill 1-to-1. While all three gluten free flour blends worked great in this recipe, the cookies made with King Arthur Measure for Measure stayed soft the longest. All those blends do contain xanthan gum.
Cocoa Powder: I use dutch processed cocoa powder in my baking such as Valrhona Cocoa Powder or deZaan Crimson Red Cocoa Powder. The dutch-process cocoa powder creates what some people consider a richer, fudgier flavor in baked goods.
Butter: I only use unsalted butter in my recipes. The key is to make sure it is at room temperature before using it. The ideal temperature for butter is actually 65F which is a lot colder than many of us consider room temperature. To test if your butter is at room temperature nudge it with your finger. You should see an indent but the butter should not feel like you can poke right through it.
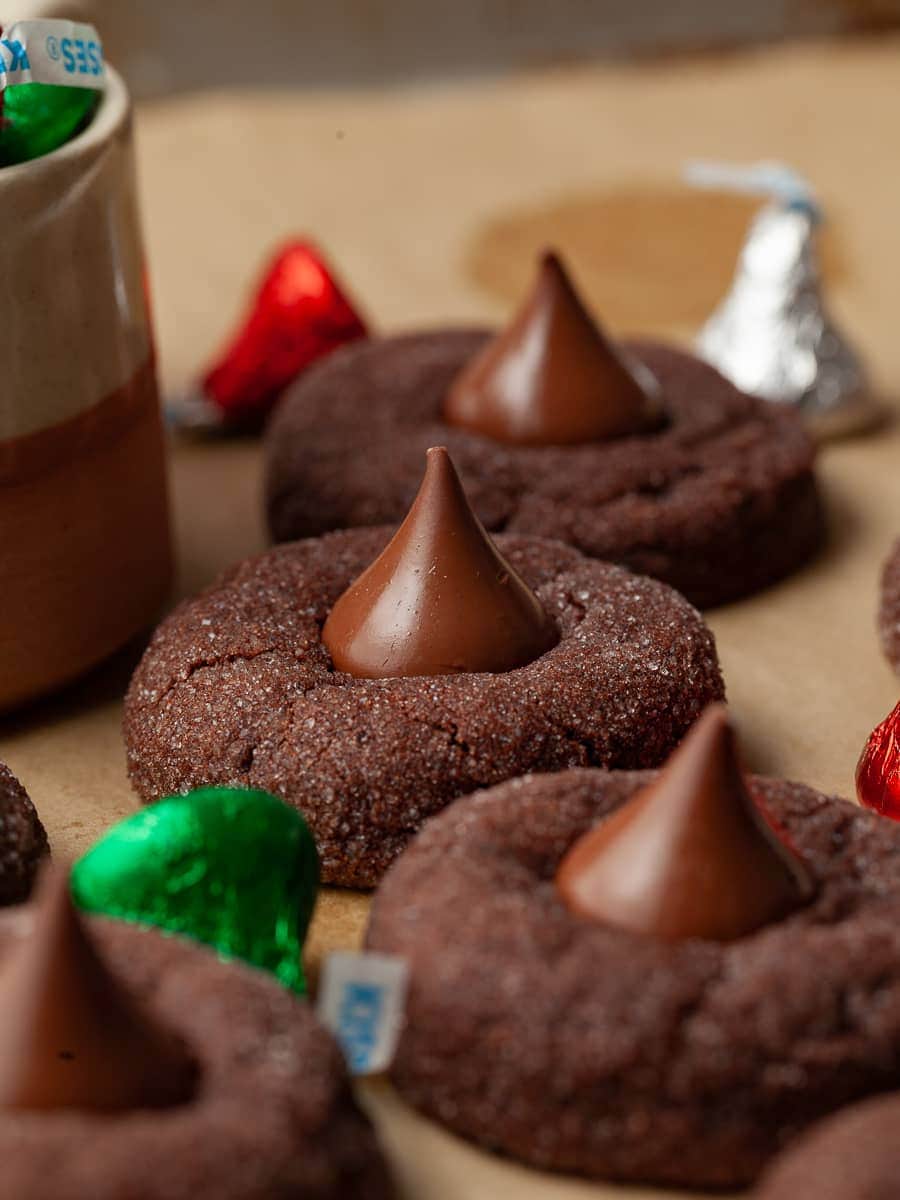
Hershey Kisses: Introduced in 1907, Hershey Kisses are simply bite-sized chocolate candies that look like big chocolate drops. The Kisses were hand wrapped by factory workers until 1921. In 1924, the tissue paper poking from the top of the Kiss was trademarked and has been iconic ever since. Hershey's Kisses are available in a variety of flavors and fillings. I use Hershey Milk Chocolate Kisses to make my Gluten Free Chocolate Blossom Cookies but other flavors such as Dark Chocolate would be delicious here. Hershey does state on their packaging if a flavor is gluten-free. Therefore if you are purchasing a more "fancier" flavor make sure to check the ingredients (Hershey Kisses such as Cookies 'n Creme are NOT gluten free)
How to make Chocolate Blossom Cookie Dough
You can make Gluten Free Chocolate Blossom Dough with a stand mixer or an electric hand mixer. Make sure the unsalted butter and the egg are at room temperature.
Step 1: In a medium bowl sift together the gluten-free flour, unsweetened cocoa powder, baking soda, espresso powder, and kosher salt and set aside.
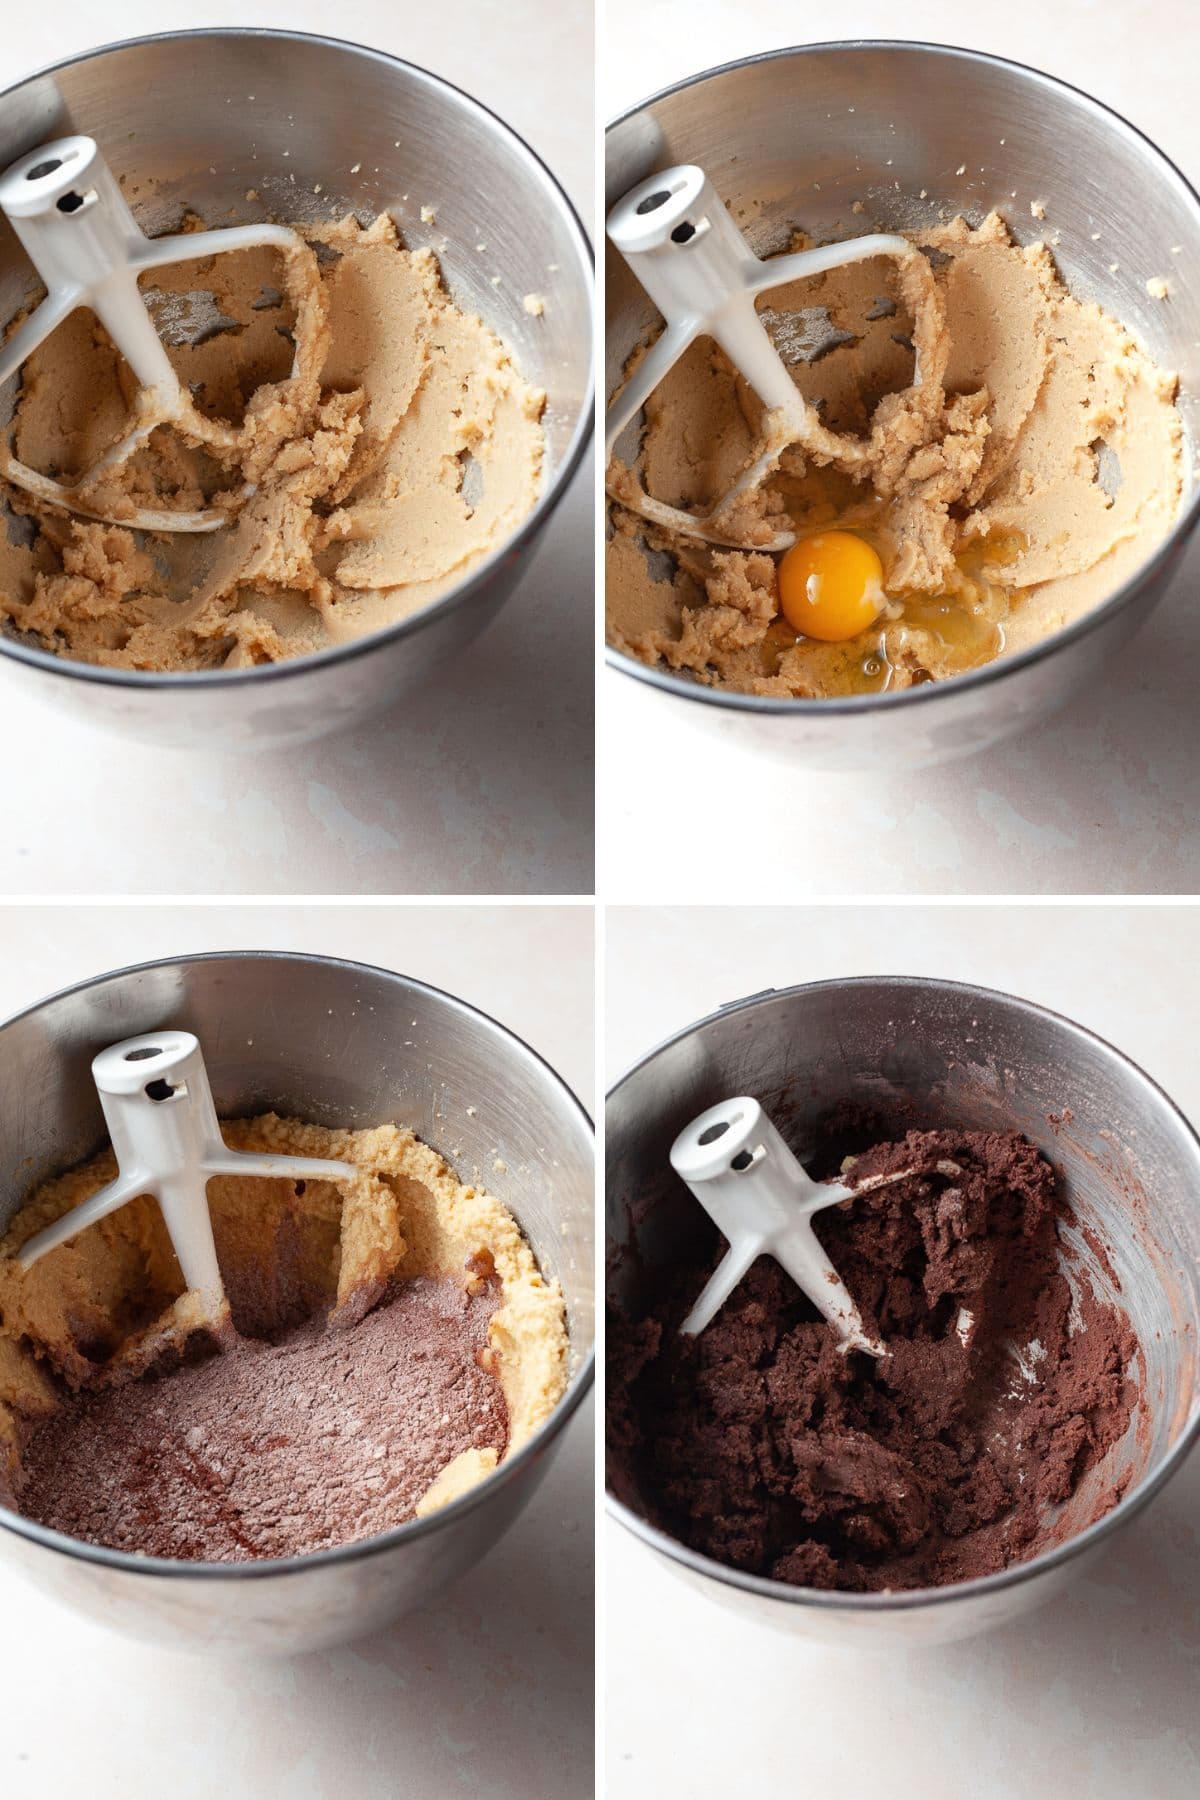
Step 2: In the bowl of the stand mixer fitted with the paddle attachment, combine the room-temperature butter, granulated white sugar, and light brown sugar. On medium-high speed cream until smooth and creamy, about 3-4 minutes. Scrape down the sides of your bowl.
Step 3: Add the room temperature egg, vanilla extract, and water and beat on high speed until combined about 1 minute. Scrape down the sides and up the bottom of the bowl and mix to combine. It is possible the mixture will look curdled. No reason to worry.
Step 4: Add the dry ingredients to the wet ingredients and mix on low speed until combined. The chocolate blossom cookie dough will be thick.
Step 5: Cover the mixing bowl and refrigerate for at least 30 minutes.
How to bake Gluten Free Chocolate Blossoms
The dough for Gluten Free Chocolate Blossoms just needs to chill for 30 minutes before one can bake them.
Step 1: Preheat the oven to 350F and line two baking sheets with parchment paper.
Step 2: Using a small cookie scoop (#40 small scoop - 1.5-2 teaspoons) divide the gluten-free chocolate cookie dough into 20 equal pieces.
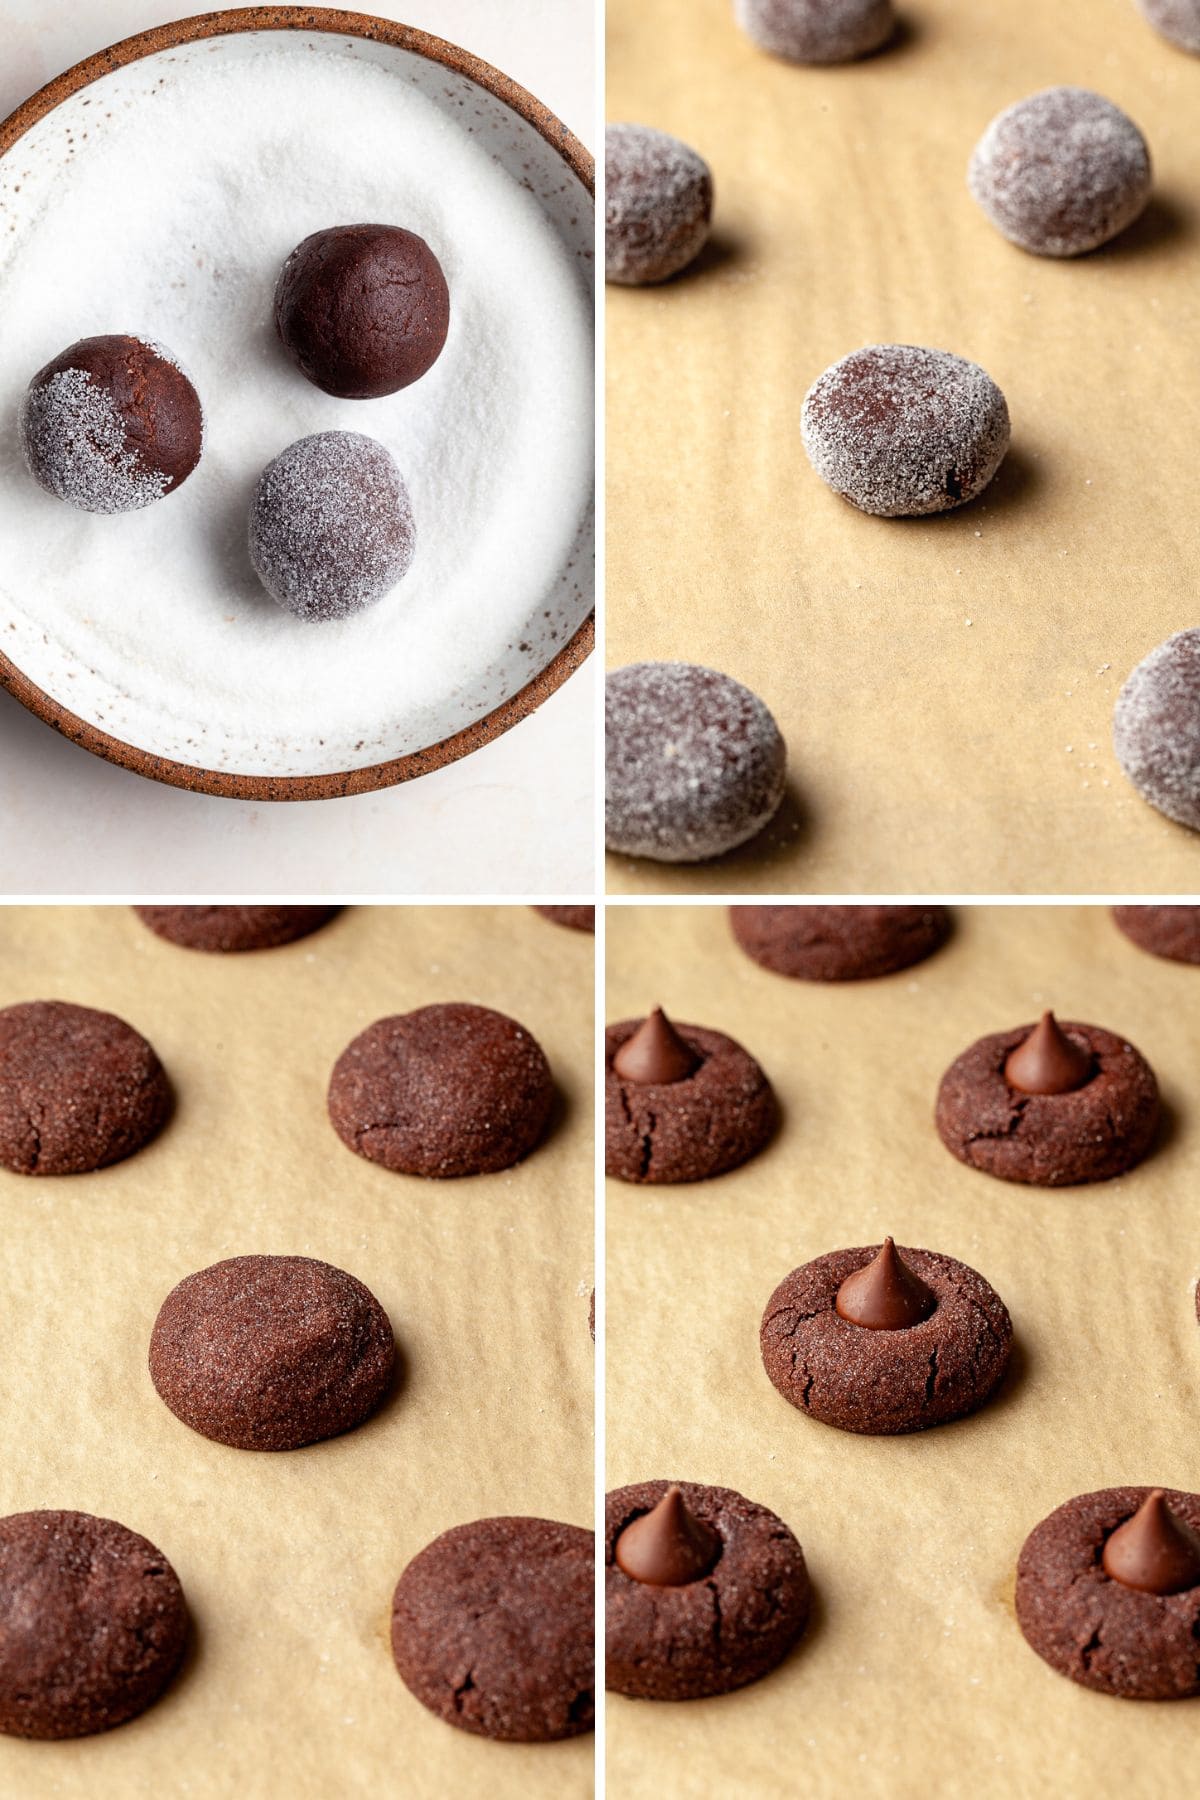
Step 3: Roll the cookie dough balls between the palms of your hands into smooth balls with no cracks. Roll the dough in granulated sugar and arrange 10 cookies on each sheet tray. Gently press down the cookie dough.
Step 4: Bake the chocolate blossom cookies one tray at a time for 8-9 minutes. While the cookies are baking, unwrap 20 Hershey Kisses.
Step 5: The gluten free chocolate blossoms are ready when they look puffy and they do no longer appear glossy on top. Remove the cookies from the oven and immediately place an unwrapped Hershey's Kiss in the center of each cookie.
Step 6: Allow the Chocolate Kiss Cookies to cool on the cookie sheet tray for 5-10 minutes before transferring them to a cooling rack. Repeat with the 2nd tray of cookie dough,
Storage & Freezing
To store gluten free chocolate blossom cookies, place them in an airtight container and keep them at room temperature up for 5 days.
One can freeze the cookie dough for chocolate blossoms. Portion out the dough and form it into balls and gently press them into disks. Do not roll it in sugar before freezing! Lay out the dough balls in a single layer on a parchment paper-lined small sheet tray and freeze them for later use. Once the dough is solid, transfer it to a freezer bag and store it in your freezer for up to 3 months.
To bake Chocolate blossom cookies from frozen, remove the dough from the freezer, and divide it between parchment-lined sheet trays. Allow for it to sit at room temperature for 10-15 minutes while preheating your oven. When ready to bake, roll them in granulated sugar first and bake as directed.
Difference between dutch-processed and natural cocoa powder
When it comes to baking, I opt for dutch processed cocoa powder. It imparts a lusciously rich and fudgy flavor to baked treats, while also creating a deep, enticing color.
Natural cocoa powder is ground cocoa powder in its pure form. It doesn’t undergo further processing which leaves the cocoa a light, chalky brown color with a bitter taste to it. Natural cocoa powder is generally paired with baking soda (which is alkali) in recipes. Because cocoa beans are naturally quite acidic, baking soda will trigger the chemical reaction that causes lift and lightness in your final bake.
Dutch-process cocoa powder, discovered by a Dutch chocolate maker, on the other hand, is made by soaking cocoa beans in an alkali solution which neutralizes the acidity and cuts a bit of the bitterness. This results in a product that is darker in color and less bitter flavored.
Black cocoa powder is a style of Dutch-process cocoa powder that – because of heavy, repeated processing- is extremely dark in color (think Oreo cookies). If you are looking for this deep dark color, I recommend giving the black cocoa powder a try. I love replacing 5-10 grams of dutch processed cocoa powder with black cocoa powder in my baked goods.
FAQ about Chocolate Blossom Cookies
Since cookies continue to bake on the hot sheet tray once removed from the oven, I always recommend to slighlty underbake the cookies. This way they will stay soft and delicious longer. Over time the moisture in cookies, no matter what flour you use, evaporates, leaving them stiff and crumbly.
No, the wrapper or the little piece of paper of Hershey Chocolate Kissses is not edible or meant to be eaten. Make sure to unwrap the chocolate kisses before using them to decorate the Gluten Free Chocolate Blossoms with.
Join my Gluten Free Community!
Note about Salt in my Recipes
I use Diamond Kosher Crystal Salt in all of my recipes unless otherwise stated. If use use a different brand or kind of salt in your kitchen please adjust accordingly since some salts can be saltier. If you use Morton’s Kosher Salt please be aware that their salt granules are smaller in size, denser, and crunchier and twice as salty.
Baking in grams
I share my recipes in grams and by weight since baking by weight is the most accurate way to bake. Digital Scales are very affordable and easy to use. You can purchase them on Amazon for less than a set of measuring cups. For small amounts under 10 grams, I like to use this Precision Pocket Scale. Measuring cups are very inaccurate which can cause significant errors when it comes to gluten-free baking or baking in general. Especially since I bake with gluten-free flours which weigh differently than “regular” flours. I do provide some ingredients like spices and leavening agents in measuring spoons. To learn more about Baking with a digital scale, make sure to check out my post about Baking by weight.
Note about Ovens and Oven Temperatures
All my recipes are tested and developed with a conventional oven. I always bake my baked goods on the rack placed in the MIDDLE of my oven. This way the heat coming from the bottom will not burn my baked goods.
If you are baking with convection (fan-forced), please adjust the recipes accordingly. Convection oven can cause baked goods to dry out quickly and still be raw inside. Since takes at least 15-20 minutes for a standard American Oven to be fully preheated. I highly recommend investing in an Oven Thermometer.
Substitutions and Modifications
Any dietary or ingredient modifications/substitutions to this recipe may alter the end result in appearance and taste. I test my recipes several times as published in this post and The Gluten Free Austrian Blog is not responsible for the outcome of any recipe you find on our website.
More delicious cookie recipes to try
📖 Recipe
Gluten Free Chocolate Blossom Cookies
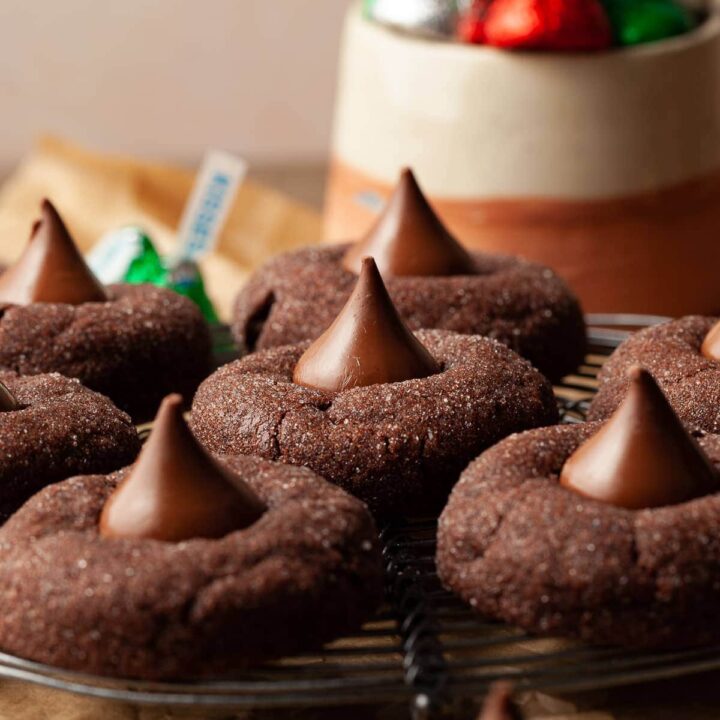
Chocolate Blossoms are definitely a Holiday Must Make. Chocolatey, fudgy gluten free cookies topped with everyone's favorite chocolate candy - Hershey's Kisses.
Ingredients
For Gluten Free Chocolate Blossoms Cookies
- 215 grams Gluten Free Multipurpose Flour
- 50 grams unsweetened cocoa powder
- ½ teaspoon baking soda
- ½ teaspoon kosher salt
- 1 teaspoon espresso powder
- 113 grams unsalted butter, at room temperature
- 115 grams light brown sugar
- 65 grams granulated white sugar
- 1 large egg, at room temperature
- 1 teaspoon vanilla extract
- 3 teaspoons water
- Additional granulated white sugar for rolling
- Hershey Chocolate Kisses
Instructions
How to make Gluten Free Chocolate Blossom Dough
- In a medium bowl sift together the gluten-free flour, unsweetened cocoa powder, baking soda, espresso powder, and kosher salt and set aside.
- In the bowl of the stand mixer fitted with the paddle attachment, combine the room-temperature butter, granulated white sugar, and light brown sugar. On medium-high speed cream until smooth and creamy, about 3-4 minutes. Scrape down the sides of your bowl.
- Add the room temperature egg, vanilla extract, and water and beat on high speed until combined, about 1 minute. Scrape down the sides and up the bottom of the bowl and mix to combine. It is possible the mixture will look curdled. No reason to worry.
- Add the dry ingredients to the wet ingredients and mix on low speed until combined. The chocolate blossom cookie dough will be thick.
- Cover the mixing bowl and refrigerate for at least 30 minutes. At this point the dough can be refrigerated up to 3 days.
How to bake Gluten Free Chocolate Blossoms
The dough for Gluten Free Chocolate Blossoms just needs to chill for 30 minutes before one can bake them.
- Preheat the oven to 350F and line two baking sheets with parchment paper.
- Using a small cookie scoop (#40 small scoop - 1.5-2 teaspoons) divide the gluten-free chocolate cookie dough into 20 equal pieces.
- Roll the cookie dough balls between the palms of your hands into smooth balls with no cracks. Roll the dough in granulated sugar and arrange 10 cookies on each sheet tray. Gently press down the cookie dough.
- Bake the chocolate blossom cookies one tray at a time for 8-9 minutes. While the cookies are baking, unwrap 20 Hershey Kisses.
- The gluten free chocolate blossoms are ready when they look puffy and they do no longer appear glossy on top. Remove the cookies from the oven and immediately place an unwrapped Hershey's Kiss in the center of each cookie.
- Allow the Chocolate Kiss Cookies to cool on the cookie sheet tray for 5-10 minutes before transferring them to a cooling rack. Repeat with the 2nd tray of cookie dough.
Notes
Storage: To store gluten free chocolate blossom cookies, place them in an airtight container and keep them at room temperature up for 5 days.
Recommended Products
As an Amazon Associate and member of other affiliate programs, I earn from qualifying purchases.
Nutrition Information:
Yield:
20Serving Size:
1Amount Per Serving: Calories: 243



Tavo says
I tried this recipe over the weekend and loved it! Especially the marshmallow frost, so yummy! Thank you!
Daniela Weiner says
The frosting is the best part
Sam says
These are beautiful AND so delicious!! I love baking with cocoa powder, they taste amazing!
Kayla DiMaggio says
Loving how easy these thumbprint cookies are! They came out delicious and will now make an appearance on our holiday table!
Daniela Weiner says
Thank you so much Kayla. So happy to hear you enjoyed my Gluten Free Chocolate Thumbprint Cookies
Natalie says
Delicious cookies. I'm adding them to my Christmas baking list. Thanks!
Daniela Weiner says
Thank you so much, Natalie.
Sandhya Ramakrishnan says
These look so adorable and will be wonderful for my holiday baking list. One of neighbors are GF and I always struggle to find the right cookies for the kids. This will be just perfect.
Marinela says
Those are the best chocolate thumbprint cookies, love that they happen to be gluten-free also. Perfectly sweet, rich and so delicious! Thank you for the recipe.
Chris says
These gluten-free cookies are just the best!! They are perfect in texture and flavor! Thank you so much for this delicious recipe!
Shilpa says
Love these thumb print cookies. Thanks for sharing the detailed instructions
nancy says
totally adding this to the christmas cookie box this year!
janet anderson says
I know that Valrhona Chocolate is considered good. However, lest someone mistakenly think that, because it is listed in your recipe, Valrhona Chocolate is 'safe' to eat, please be advised that Valrhona is NOT all gluten-free. On a trip to France recently at Cité du Chocolat in Tournon, I was so excited to be around all that beautiful chocolate .... then I started to notice that a majority of the chocolates - whether they be in boxes or packages or behind the glass counters - contained barley malt (all their chocolate was well-labled). I was stunned and so disappointed. I left without buying anything. 🙁 I do trust that the cocoa powder is without gluten since it's in your recipe, but everyone, be careful and read labels. btw, I will be making this recipe this weekend! 🙂 Thanks for the cocoa powder idea that definitely will improve this already delicious recipe.
Daniela says
Hello Janet, I only give recommendations on which products to use. At the end of the day, everyone needs to make their own decisions and I can not be held liable for what one decides to buy. I have never had any issues with Valrhona Chocolate but I only use their food service products and have never purchased any of their bonbons.
Sharon says
I am going to try these with peppermint kisses!!!