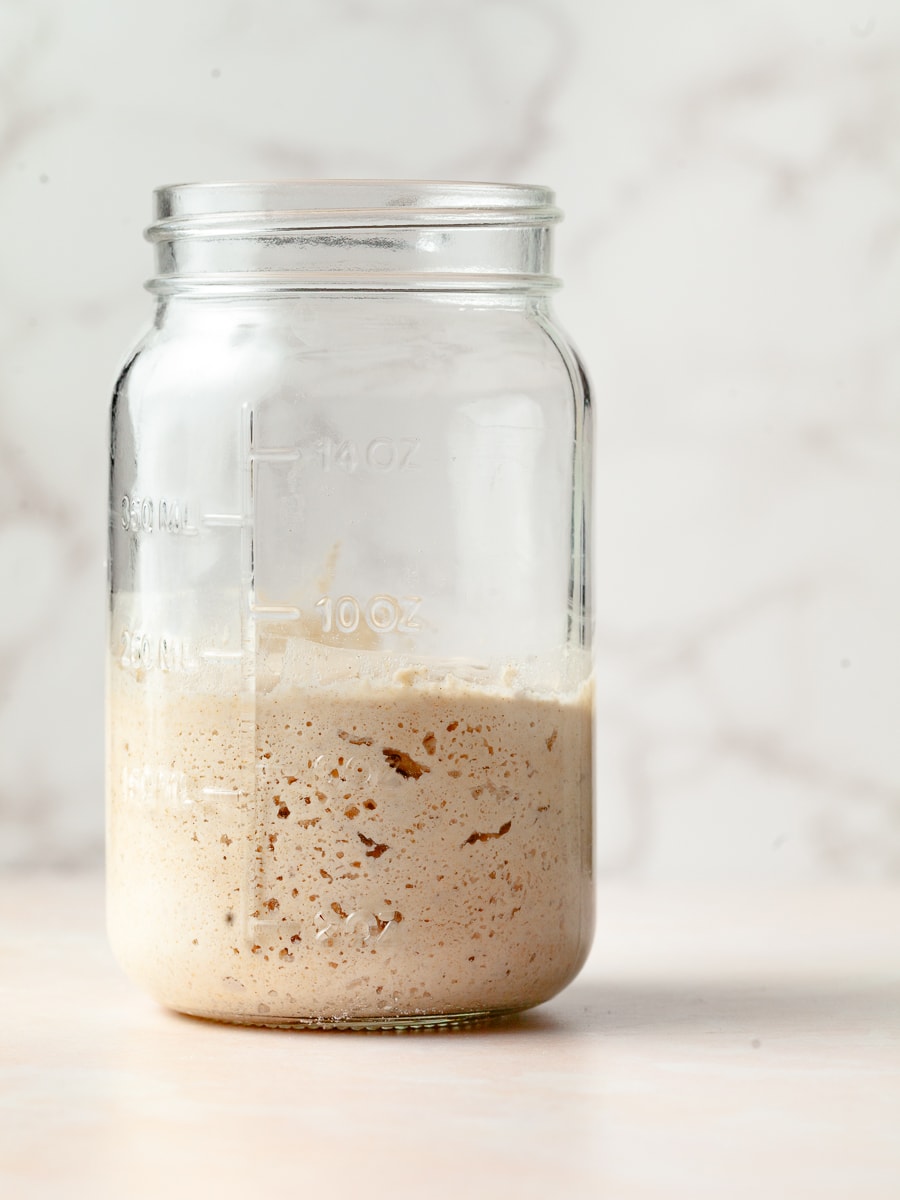
This simple gluten-free sourdough starter is made from two ingredients: gluten-free flour, such as sorghum flour, and filtered water. Of course, you do need some patience. It will take between 6 and 10 days for your starter to become active and usable. This blog post will teach you how to start your own gluten free sourdough starter, how to maintain it and how to use it in recipes.
Jump to:
- Recipe Ingredient Notes
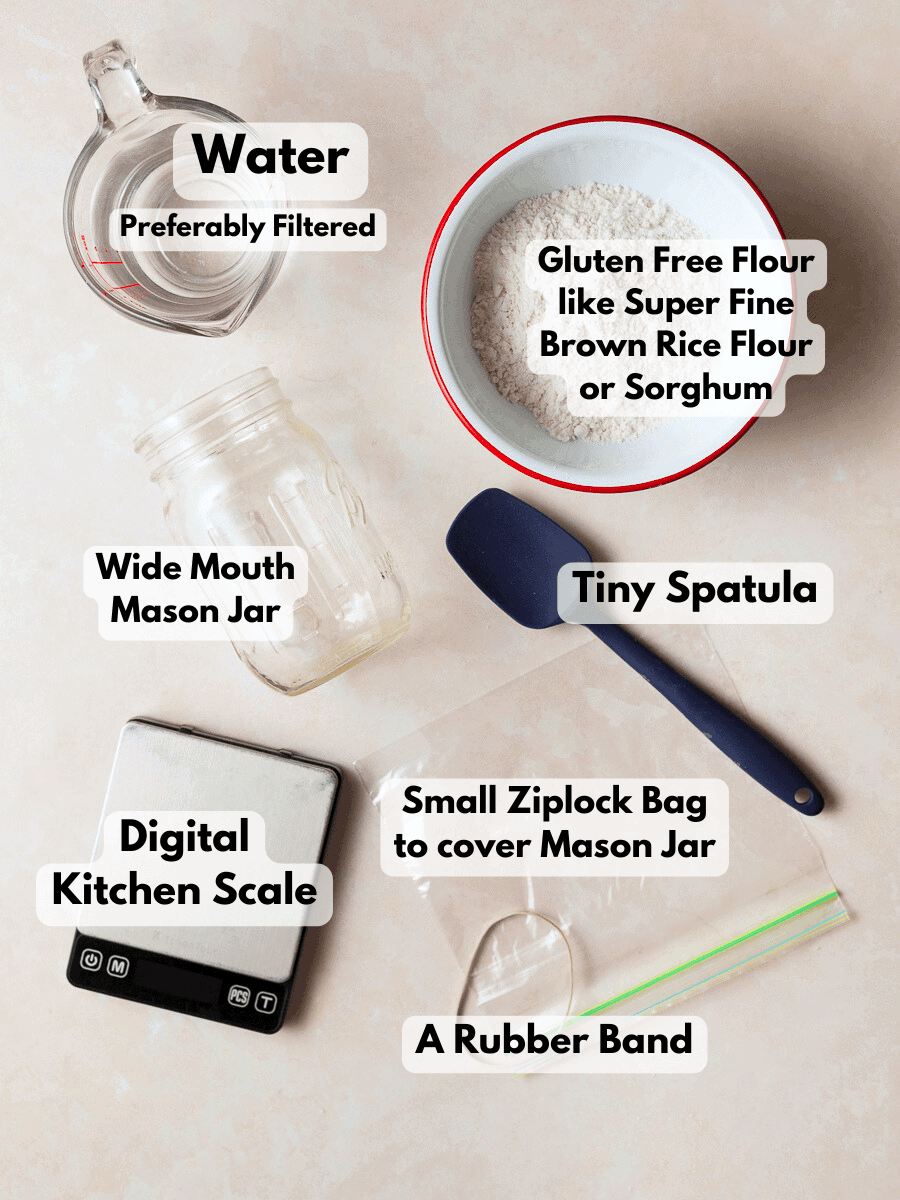
- Tools needed to make a Sourdough Starter
- What is a sourdough starter?
- Pro Tips for making a Gluten-Free Sourdough Starter
- How to make a Gluten Free Sourdough Starter
- Signs your Gluten Free Sourdough Starter is ready to use
- Maintaining a Sourdough Starter
- Sourdough Starter Trouble Shooting
- How to dehydrate and hydrate a Sourdough Starter
- Gluten Free Sourdough Discard
- FAQ about Gluten-Free Sourdough Starters
- Join my Gluten Free Community!
- Note about Salt in my Recipes
- Baking in grams
- Note about Ovens and Oven Temperatures
- Substitutions and Modifications
- Recipes to try with Gluten Free Sourdough Discard
- 📖 Recipe
- 💬 Comments
Recipe Ingredient Notes
Gluten Free Flour: I highly recommend using fresh gluten free flour to make a gluten-free sourdough starter. The fresher the flour, the more active your starter will be. It is okay to mix flour if needed. I like to use a mix of superfine brown rice flour and sorghum. There are a few gluten free flours that work very well in Sourdough Starters.
- Brown Rice Flour: Brown rice flour is a common choice for gluten-free sourdough starters. It has a neutral flavor and provides nutrients that support yeast growth. I use superfine brown rice flour (the same I use in my recipes).
- Sorghum Flour: Sorghum flour has a slightly sweet flavor and works well in gluten-free baking. It can help create a flavorful sourdough starter.
- Buckwheat Flour: Despite its name, buckwheat is naturally gluten-free and not related to wheat. Buckwheat flour adds a nutty flavor to the starter and can contribute to its fermentation process. It tends to ferment faster than other gluten free flours and may develop a more pronounced sour aroma.
Different gluten free flours absorb water differently. So, depending on the flour you choose, you may need to add a few extra grams of water to your mixture for it to be the consistency of a thick paste.
Water: In many cities in the US, tap water contains chlorine and other chemicals. This can inhibit the growth of the natural yeast and bacteria present in the starter. This is why I recommend using filtered or bottled spring water.
Tools needed to make a Sourdough Starter
Digital Kitchen Scale: This is a given, but a sourdough starter is made by weight, and a digital kitchen scale is necessary.
Mason Jar: When making a sourdough starter, it's important to choose a container that is non-reactive, clean, and has enough space to accommodate the starter as it grows. A wide-mouth mason jar (16oz) is an excellent choice because it's non-reactive and allows you to monitor the starter's progress. Please make sure the jar is clean and sterilized before using it. Sterilizing ensures no bacteria in the jar that may cause the starter to become moldy.
To sterilize a jar using the boiling method, clean it thoroughly, then submerge it in a pot of boiling water for at least 10 minutes. Remove it with tongs and let it air dry upside down on a clean kitchen towel.
Small Rubber Spatula: Gluten Free Sourdough starter doesn't play well with metal, so I recommend using a small rubber spatula or plastic spoon to stir the flour-water mixture.
Small Ziplock Bag: Everyone likes to use different products to cover their sourdough starter. I like to use a small ziplock bag with a few holes poked into it so the sourdough starter can breathe. Ziplock bags are cheap and can be reused over and over. You can also use a clean cheesecloth secured with a rubber band. No matter what you use, always make sure your sourdough starter has room to breathe and release gases.
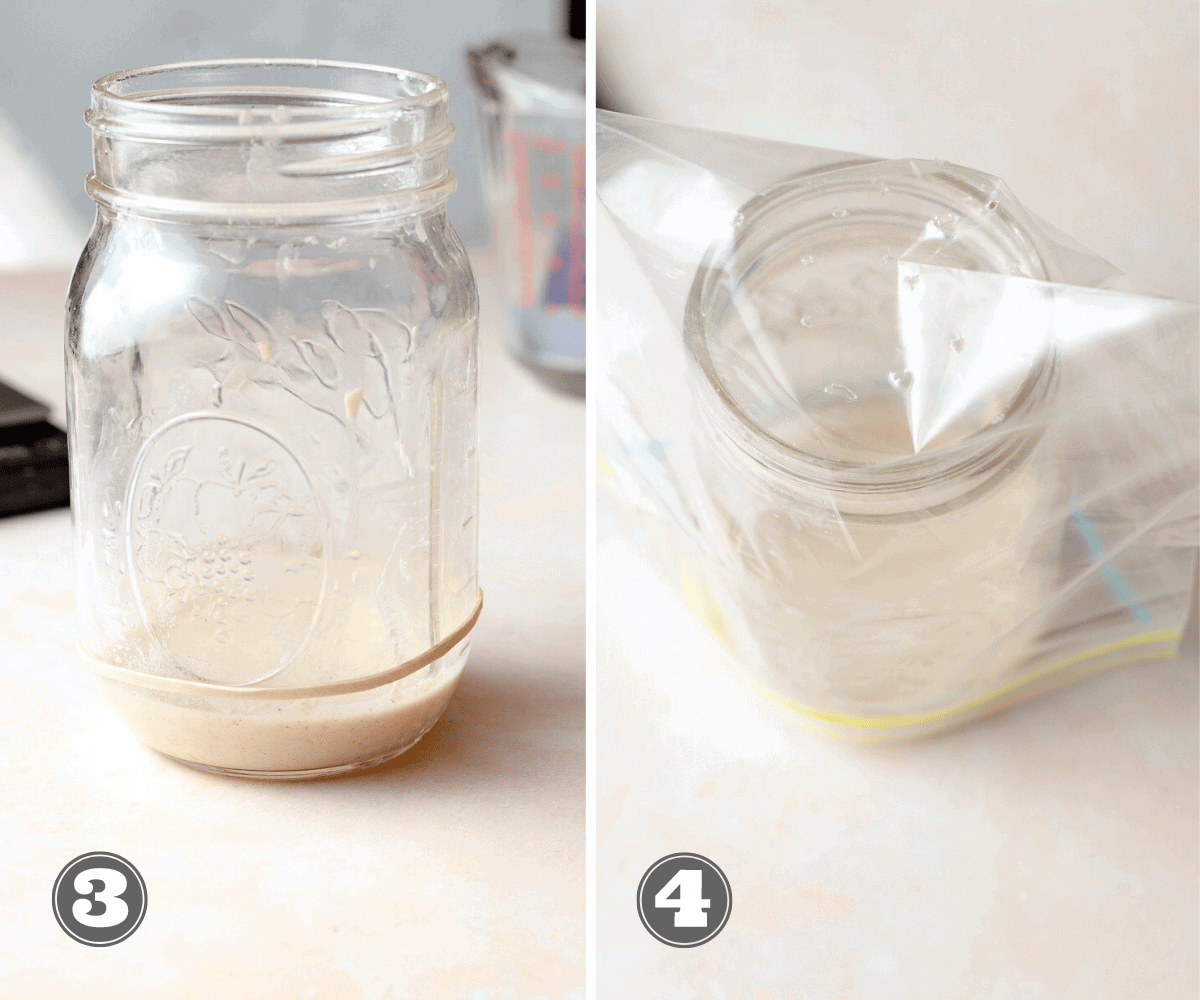
Rubber Band: Placing a rubber band around the mason jar is a great way to keep track of the growth of your gluten free sourdough starter. This helps you gauge the activity and progress of the starter.
What is a sourdough starter?
A sourdough starter, also known as a sourdough culture or mother, is a live mixture of flour and water that captures wild yeast and bacteria from the environment. It serves as the leavening agent in sourdough bread baking.
When gluten-free flour and water are combined and left to ferment at room temperature over several days, naturally occurring yeast and bacteria, begin to multiply and create a bubbly, tangy mixture. This fermenting process gives sourdough its characteristic flavor and helps to leaven the bread dough, making it rise.
Sourdough starters can be maintained indefinitely through regular feeding and care. They are a crucial ingredient in traditional sourdough bread recipes but are also a delicious addition to recipes like Gluten Free Popovers or Gluten Free Sourdough Discard Chocolate Cake.
Pro Tips for making a Gluten-Free Sourdough Starter
- Making a gluten-free sourdough starter from scratch is not rocket science. But it does require some patience and maybe 5-10 minutes of your time every day until a healthy and thriving sourdough starter has been established.
- Ensure you have enough flour to cover at least 10 feedings of 50 grams each. Once you have a healthy, growing starter, you can transform it into a different flavor profile with different flour.
- Always make sure the rim of your mason jar is clean—you can wipe it off after feeding your starter with a clean towel or a piece of paper towel. Transferring the sourdough starter from one jar to another is okay if the new jar is clean and sterilized.
- Always add flour first and then add the water. This makes it easier to mix!
- Feedings happen in 8-12hr intervals. Trust me when I say it's okay if you are not on time with your feedings as long as you feed your starter. (Remember Tamagotchis? Consider this sourdough starter your Tamagotchi now)
How to make a Gluten Free Sourdough Starter
After two days of continuous feeding the same amount of flour and water, I switched to a 100% hydration feeding, meaning a 1:1:1 ratio of starter:flour: water. This is also when I started discarding the sourdough starter.
Start: to a clean, sanitized mason jar, add 25 grams of gluten free flour and 25 grams of warm water (around 77F/25C - 84F/29C). Using a plastic spoon or spatula mix them. Make sure to scrape down the sides of the jar. It should have the consistency of a thick paste. Cover the jar with cheesecloth and a rubber band or with a small ziplock bag. Make sure to poke holes in the ziplock bag so the gluten-free starter can breathe. Place the jar in a warm place, avoiding window sills since they can be drafty. My sourdough starter lives on my kitchen counter. Avoid placing your sourdough starter in direct sunlight if possible.
Feeding #1: Around 8-12hrs after starting the sourdough starter, add 25 grams of gluten-free flour and 25 grams of warm water. Mix it together, loosely cover it, and allow for it to see at room temperature. If your mixture seems very stiff, add 5-10 extra grams of water to loosen up the mixture. It's okay for the starter to be a tiny bit on the runny side versus being too dry.
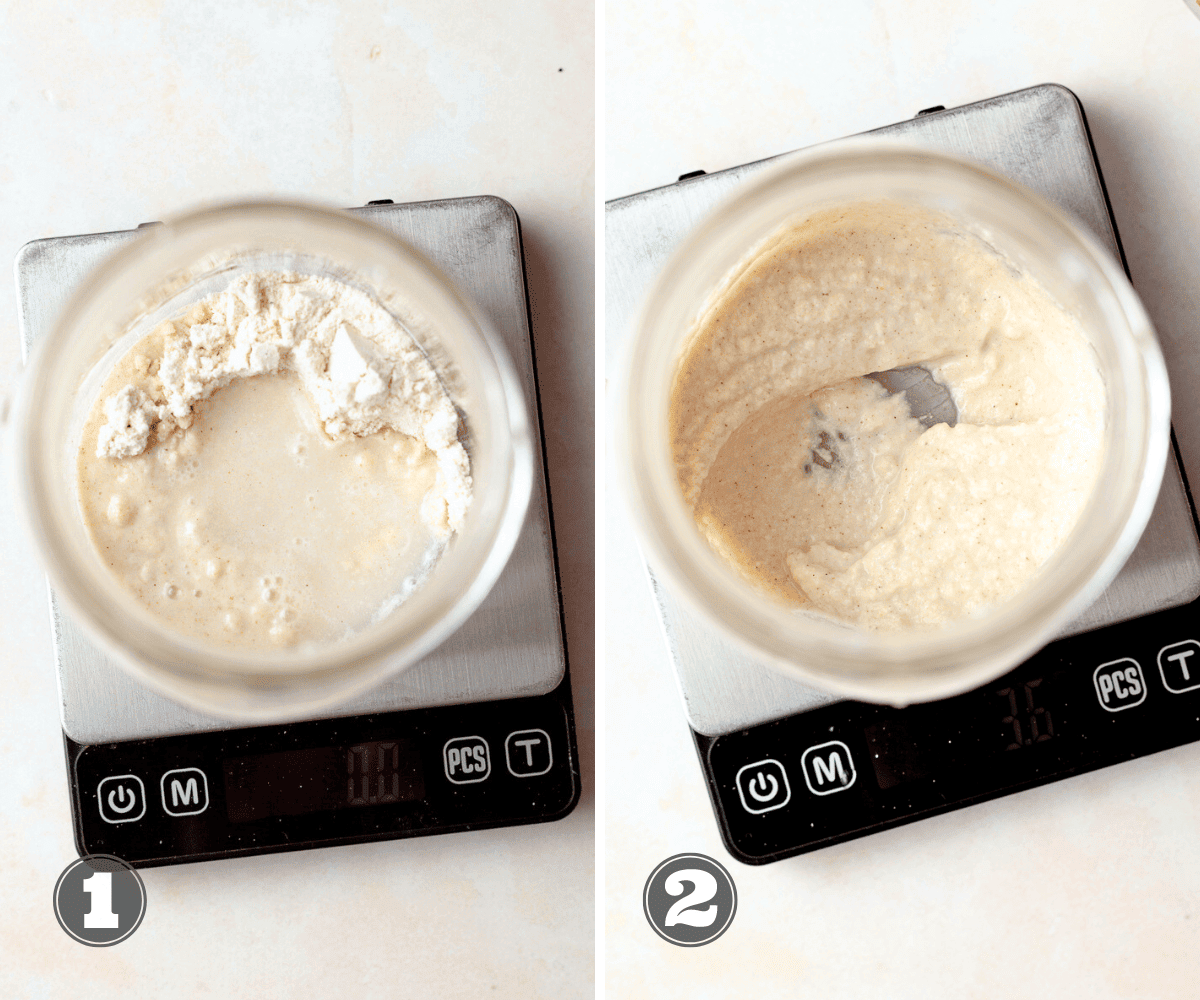
Feeding #2 (Day 2): It's time for the second meal eight to twelve hours after the first feeding. Depending on which flour you use, you may already see some bubbles and growth in your starter. Add 25 grams of flour and 25 grams of warm water, mix, cover, and place in a warm place.
Feeding #3 (Day 2): You should see some small or large bubbles and growth in your gluten free sourdough starter. Repeat the feeding, mix, cover, and store at ambient temperature. I like to start using a rubber band to keep track of the growth of my sourdough starter.
Feeding #4 (Day 3): On day three it's time to switch to a 1:1:1 feeding process and start discarding some of the starter. At this point, it is too early to save the discard for recipes since it is not yet from an established starter. Remove all but 50 grams of the sourdough starter from the jar. Compost the discard or throw it away. Add 50 grams of fresh flour and 50 grams of warm water (around 77F/25C - 84F/29C) to the jar and mix. Cover and store at ambient temperature.
Feeding #5 up to 7 days: The sourdough starter should become more active now. You may also see bubbles. Keep up with the feedings every 8-12hrs. Remove all but 50 grams of the sourdough starter from the jar. Compost the discard or throw it away. Add 50 grams of fresh flour and 50 grams of warm water (around 77F/25C - 84F/29C) to the jar and mix. Cover and store at ambient temperature.
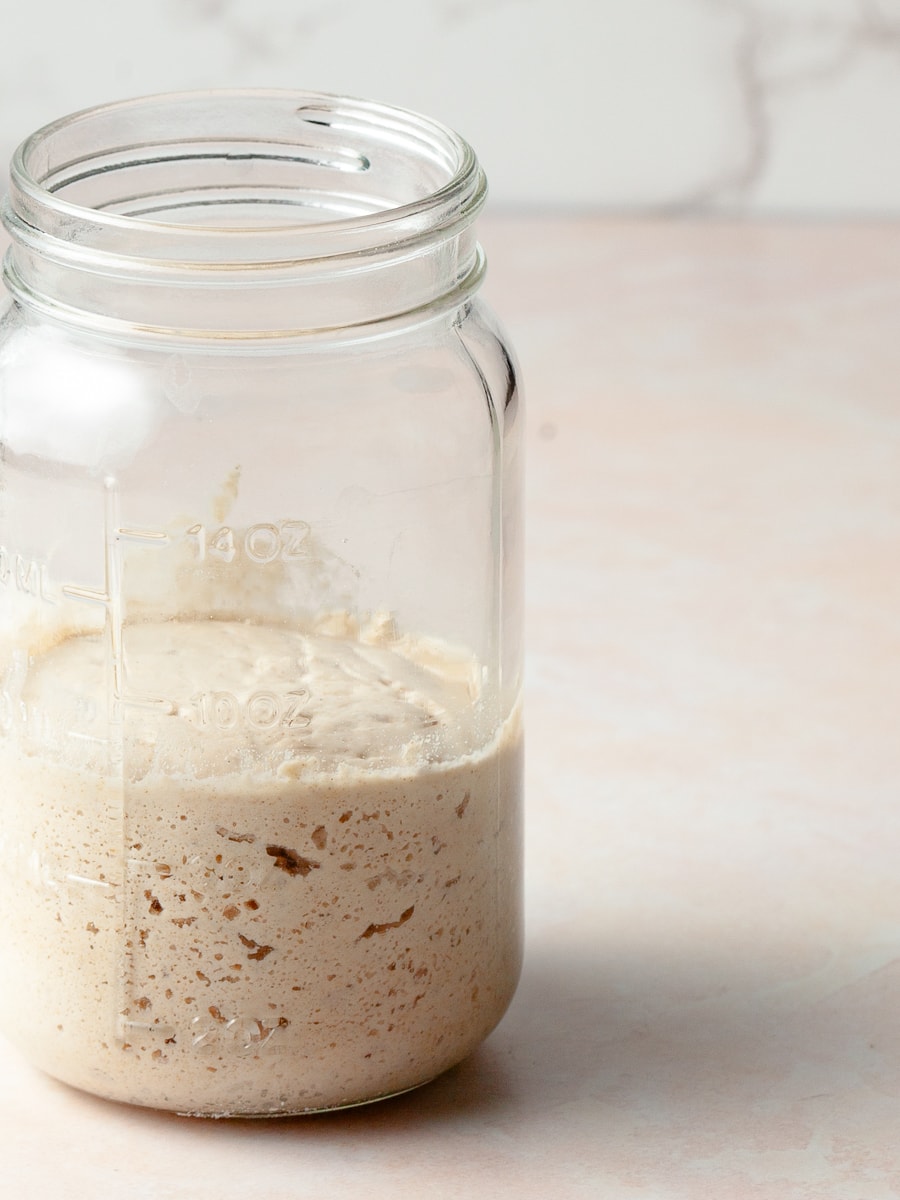
After Seven days: After seven days and at least three days of consistent growth and doubling the size after every feeding within 4-12 hours, the gluten-free sourdough starter is ready to be used in recipes. I recommend feeding the sourdough starter ONCE a day for an additional week. This will strengthen the starter and build a strong starter to have on hand. I call those feedings maintenance feedings, which can be done with less flour and less often.
The starter may deflate during the fermentation process, but that's normal. If, after seven days, the starter has not grown or shown any activity, I recommend starting over.
Signs your Gluten Free Sourdough Starter is ready to use
Smell: Pay attention to the aroma of the starter throughout the feeding process. At first, it will smell mostly sweet. But as it gets closer to its peak, right before the next feeding, the smell will change to be more sour, with a hint of sweetness underneath.
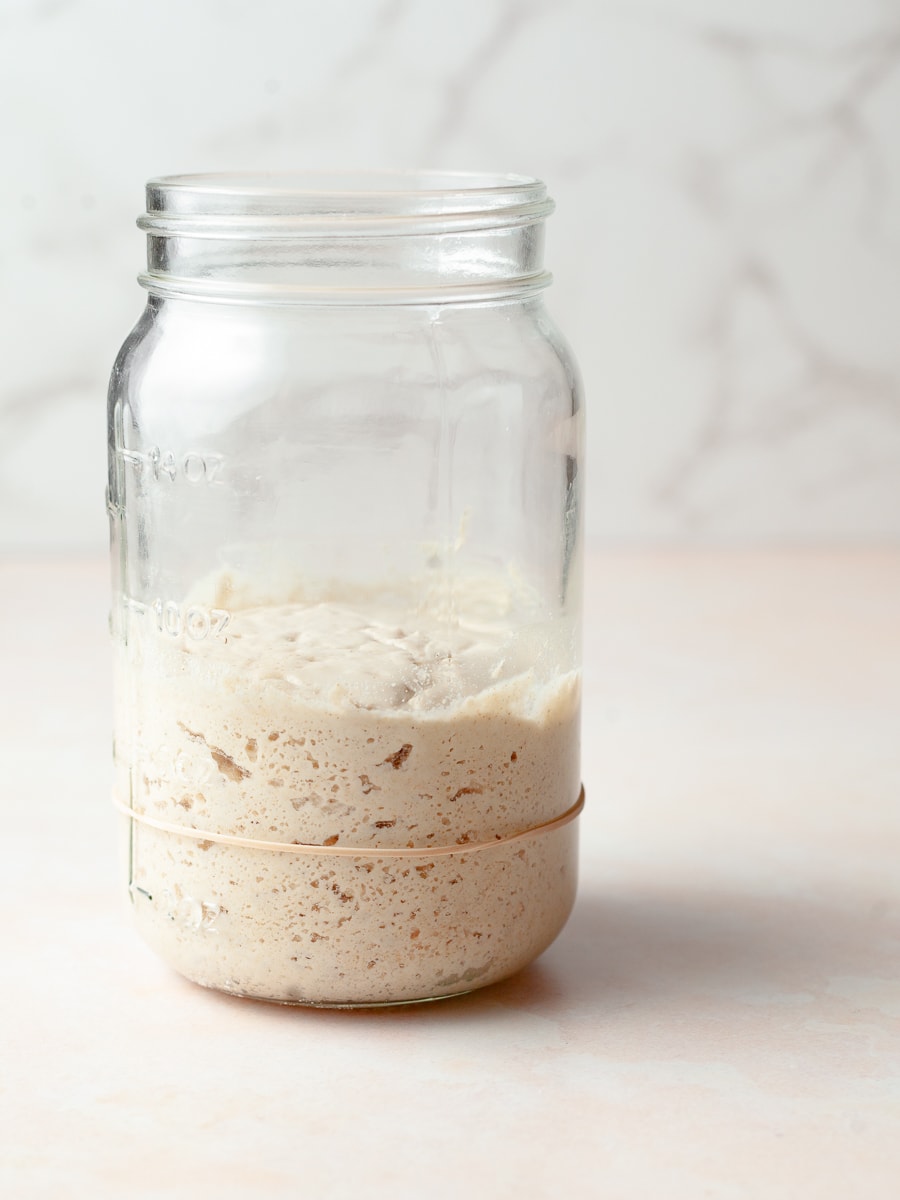
Appearance: A gluten-free sourdough starter typically doubles in size in the first 2-3 hours after feeding. There will be visible air pockets, forming a domed shape on their surface. This dome formation indicates active fermentation, where yeast and bacteria produce carbon dioxide. This causes the starter to rise and develop those air pockets. The dome may flatten as fermentation progresses, but the starter remains active and suitable for baking sourdough bread or other recipes.
Maintaining a Sourdough Starter
Once a sourdough starter is established, it can either be kept at room temperature or in the fridge and fed once a week. Keep in mind that sourdough starters can grow quickly, especially during the warm summer months. This is when I only keep a very small amount of it at room temperature or store my starter in the fridge.
Maintaining at Room Temperature: If you use your gluten-free sourdough starter a lot (3-4 times a week), I recommend keeping it at room temperature and feeding it once daily. I like to stay with the 1:1: 1 ratio but drop my overall numbers to 25 grams. You can go as little as 5 grams if you like. This means 25 grams of established sourdough starter, 25 grams of fresh flour, and 25 grams of water. If I need to pump up the amount of started needed for a recipe, I hold on to more sourdough starter, like 50 grams, and feed it 50 grams flour and 50 grams, giving me 150 grams of sourdough starter once it's ready.
Maintaining in the Fridge: This is perfect if you only use your sourdough starter once a week or need a break (we all do at some point). To maintain the sourdough starter, you need to feed it once a week. To do some, remove it from the fridge, feed the cold starter using the 1:1:1 ratio, and place it back in the fridge. If you plan on using the refrigerated sourdough starter, feed it as always and then allow it to sit at room temperature until ready. I only hold on to 25 grams of sourdough starter when I maintain it in the refrigerator.
Sourdough Starter Trouble Shooting
Slugish Gluten Free Sourdough Starter
If you're dealing with a sluggish sourdough starter that doesn't show much activity or rise after feeding, here are some steps to help revive it:
- Ensure that you're feeding your starter with the correct ratio of flour to water. A 1:1:1 ratio by weight (equal parts sourdough starter, gluten free flour and warm water). Adjusting the feeding ratio may help kickstart fermentation.
- Maintain a consistent and warm environment for your starter. Yeast and bacteria thrive between 70-80°F (21-27°C). Placing your starter in a warmer spot or using a proofing mat can help. Also, using warm water during feedings will help.
- Increase the frequency of feedings to encourage yeast and bacteria growth. Instead of feeding once a day, try feeding twice a day or even add additional feeding to see if it makes a difference. This provides more food for the microorganisms to thrive.
- If your starter still doesn't show improvement after a few days, consider starting fresh with a new batch of starter. Sometimes, a fresh start is needed to overcome persistent sluggishness.
Sourdough Starter with Off Odors
A foul or unpleasant smell, such as vinegar or acetone-like odors, may indicate that the starter is not fermenting correctly. This could be caused by overfermentation, using contaminated utensils, or bacterial imbalance. Some of the reasons that causes off odors are:
- Using utensils or containers that aren't properly cleaned can introduce unwanted bacteria or mold into your starter, causing it to develop an off smell. Ensure that your equipment is thoroughly sanitized before using it with your starter.
- Using tap water that contains chlorine or other chemicals can inhibit the growth of beneficial yeast and bacteria in your starter, leading to off-odors. Use filtered or bottled water to avoid this issue.
- Not feeding your starter regularly or using inconsistent feeding ratios can disrupt the balance of yeast and bacteria, resulting in off-smelling starter.
Separation (Hooch Formation)
If you notice a layer of liquid, commonly called "hooch," on top of your sourdough starter, it's a sign that your starter needs to be fed. Hooch forms when the fermentation activity in the starter consumes the available nutrients, primarily the carbohydrates in the flour, and produces alcohol and organic acids as byproducts. Here are a few common reasons why hooch forms on your sourdough starter:
- If you're not feeding your starter regularly, the yeast and bacteria will deplete the available nutrients more quickly, leading to the formation of hooch.
- Your starter is kept in a warm environment. In that case, the fermentation process may speed up, causing the yeast and bacteria to consume the available nutrients more rapidly and produce more hooch.
- If your starter has a high hydration level (i.e., more water than flour), it may produce more hooch due to increased fermentation activity.
If hooch formation is constant issue, consider adjusting your feeding schedule to ensure your starter is fed more regularly. A consistent feeding schedule helps maintain the starter's healthy balance of yeast and bacteria. If your starter is kept in a warm environment, try storing it in a slightly cooler place to slow down fermentation and reduce hooch formation.
How to dehydrate and hydrate a Sourdough Starter
Dehydrating your active sourdough starter allows you to store it for an extended period without regular feeding. This can be especially helpful if you plan to take a break from baking or if you want to keep a backup of your starter. The dehydrated sourdough starter is lightweight and doesn't require refrigeration. This makes it easy to transport or ship to friends or family who might want to start their sourdough baking journey.
Grab a sheet tray, parchment paper, and a small offset spatula to dehydrate your active sourdough starter. Ensure you have an oven you won't need for at least a day. Feed your sourdough starter 4-6 hours before dehydrating it to ensure it's active.
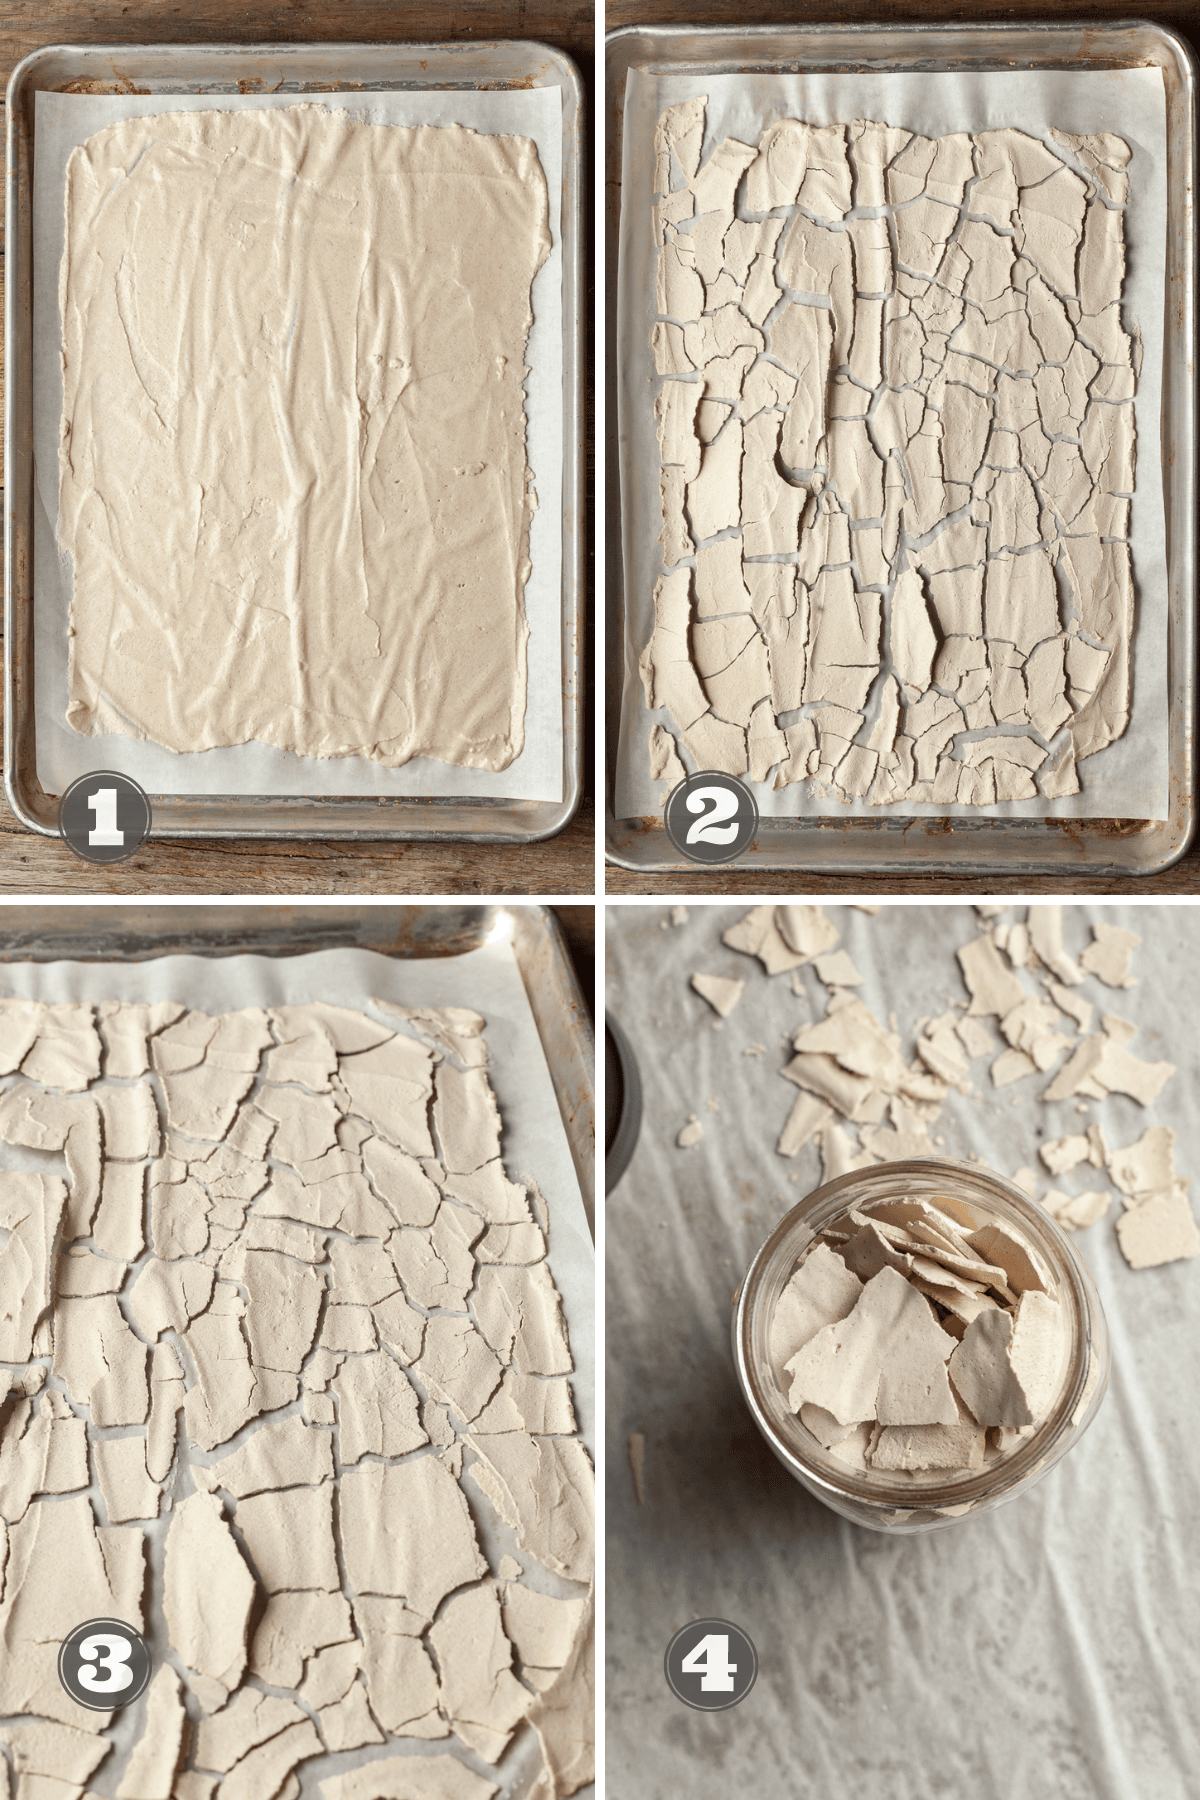
Line the sheet tray with the parchment paper (or a Silpat) and evenly spread out the sourdough starter. Make sure it's a thin layer. This way it will dry quicker and more evenly. Place the sheet tray in the turned-off oven (COLD) and allow it to sit there for 24-48 hours. The oven works the best for me. You can also set the sheet tray on top of a cabinet or a spare bedroom. Make sure you are doing this on a low-humidity day.
Once the sourdough starter is completely dry, break it into small pieces and place it in a clean, airtight container. The sourdough starter should peel away from the parchment paper on its own before transferring it to a container. Store in a dark, cool place. Proper dried sourdough starter can be stored for years.
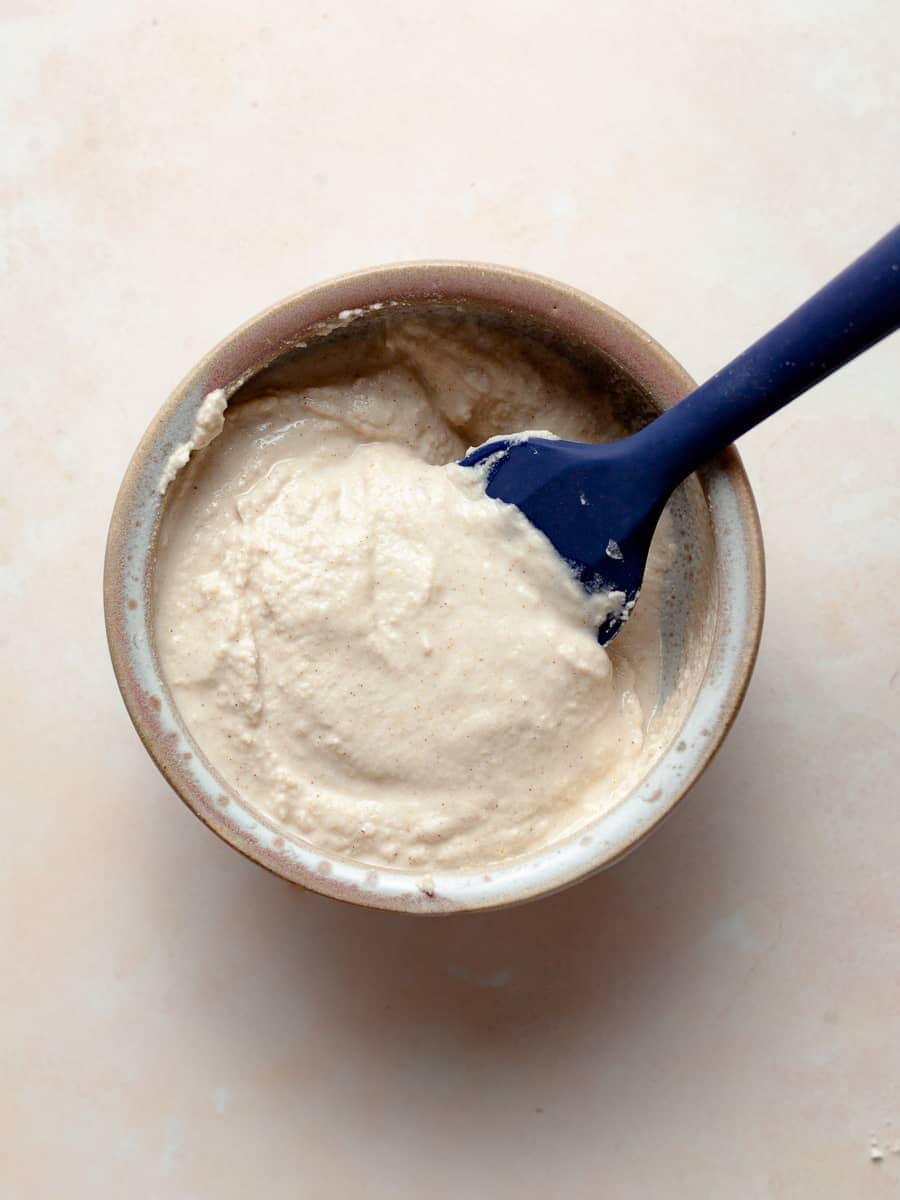
When ready to rehydrate your dehydrated sourdough starter, you will need just 15 grams of the dehydrated sourdough starter, 30 grams of gluten-free flour, and 30 grams of water. Combine in a clean mason jar, cover, and allow to sit for 12 hours. Then add 30 grams of flour, 30 grams of water and stir together. Allow to sit for 12 hrs. At this point, you should see some active bubbles again in your starter. Repeat the feeding one more time. Depending on how active your starter was before dehydrating, at this point, it should be just as active as it was before dehydrating and can be maintained in the usual 1:1:1 way.
Gluten Free Sourdough Discard
Sourdough discard refers to a portion of the sourdough starter that is removed and discarded during the established starter's regular feeding or maintenance.
The discard may still contain active wild yeast and lactic acid bacteria, contributing to sourdough's characteristic flavor and leavening properties. The natural acids in sourdough discard can help improve the overall texture of gluten-free baked goods, making them softer and more palatable.
Gluten-free sourdough Discard can be stored in a glass jar in the fridge for up to 7 days. I like to bring it to room temperature before adding it to recipes. There is no need to feed it before using it.
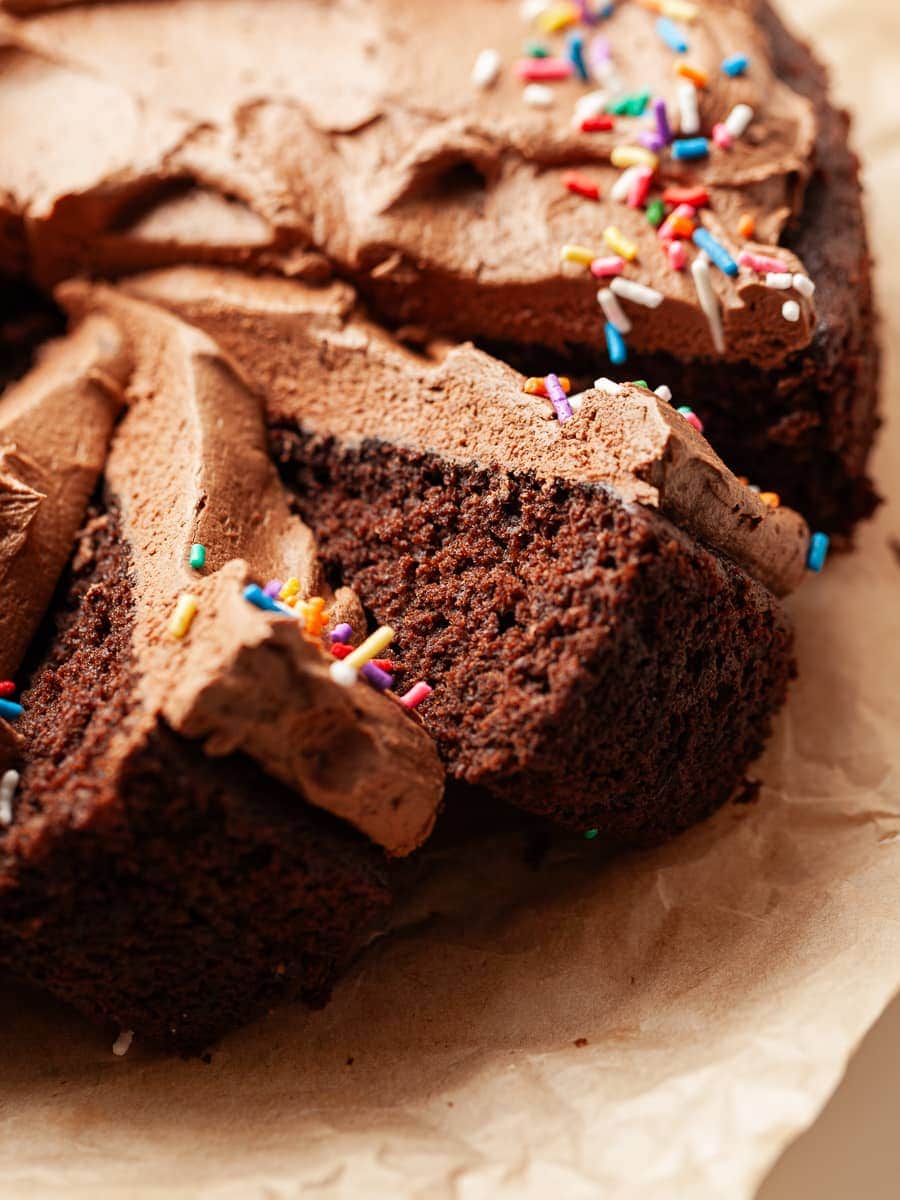
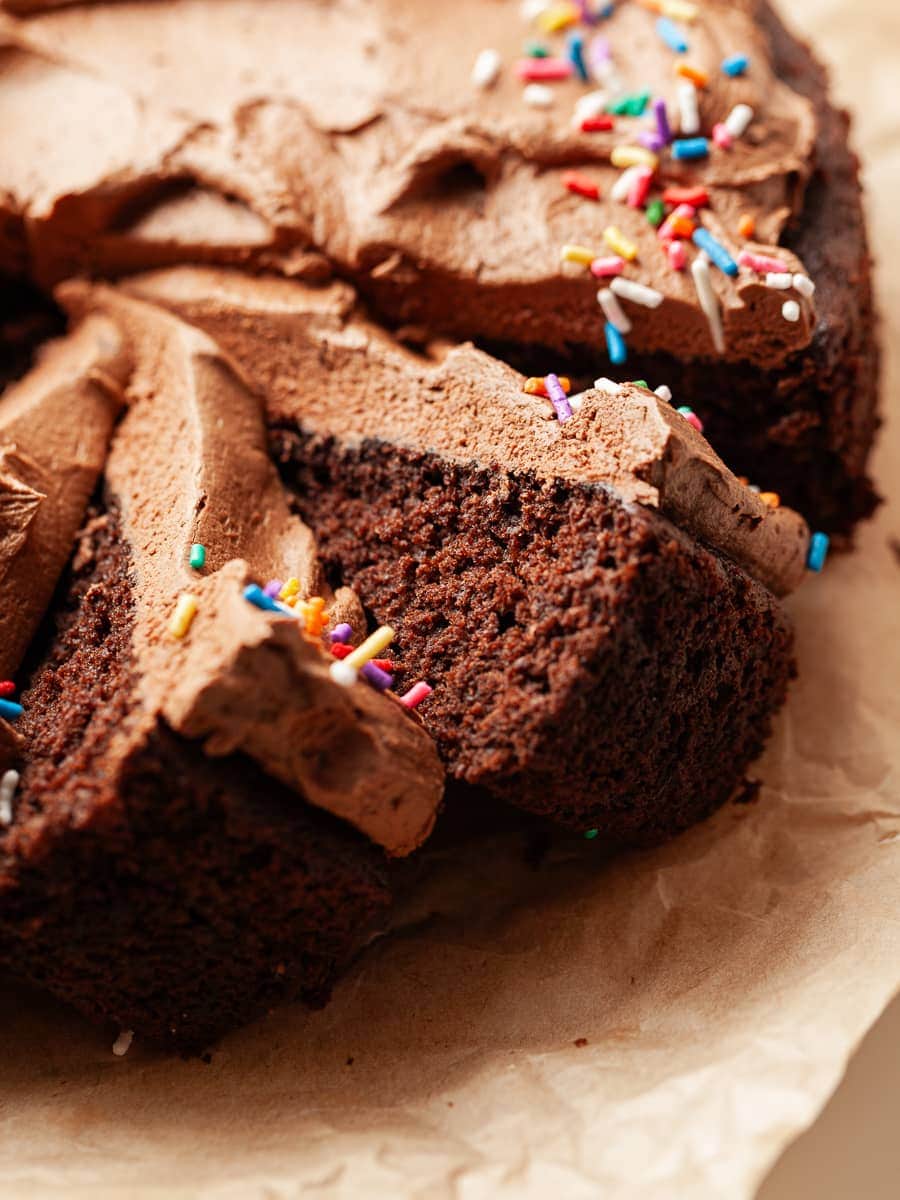
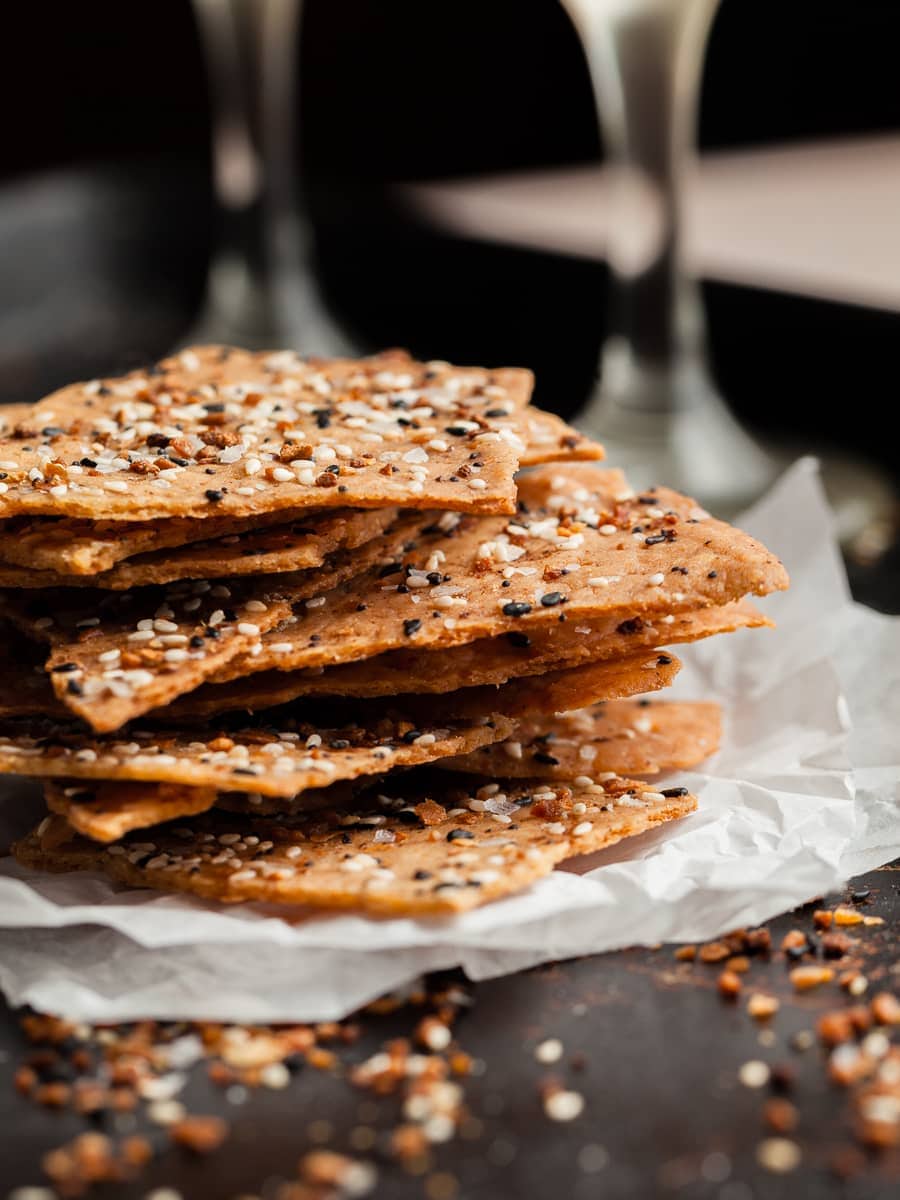
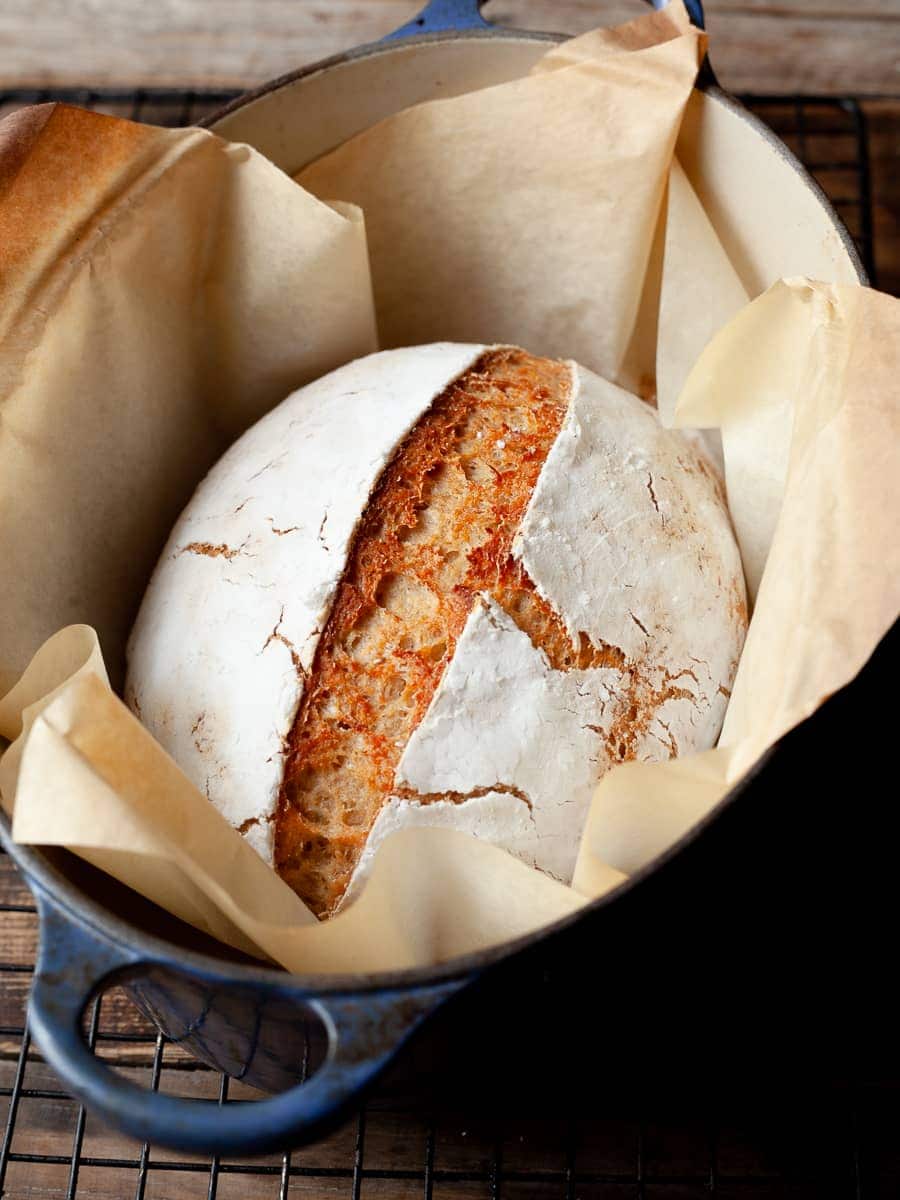
Some of my favorite Gluten Free Sourdough Discard Recipes are Gluten Free Sourdough Discard Crackers (uses a lot of discard), Gluten Free Dutch Oven Bread and my Gluten Free Sourdough Chocolate Cake. Believe me, Chocolate and Sourdough can go together very well.
FAQ about Gluten-Free Sourdough Starters
If a starter has not been fed for a while, it will start to collect a liquid on top of your starter. It is called "Hooch". You can stir it back into your starter while you feed it or discard it. It can cause the sourdough starter to taste sourer.
Yes! I like the combination of sorghum flour and superfine brown rice flour.
Judging by the smell of the sourdough starter, you will quickly be able to tell if it has gone bad (it will smell like nail polish remover). If this happens, discard your sourdough starter and start a new starter.
Your sourdough starter will be okay. If you miss a feeding or two, make sure you can feed it at your earliest convenience. Once you store it in the fridge, a feeding every 7-10 days is plenty.
Join my Gluten Free Community!
Note about Salt in my Recipes
I use Diamond Kosher Crystal Salt in all of my recipes unless otherwise stated. If use use a different brand or kind of salt in your kitchen please adjust accordingly since some salts can be saltier. If you use Morton’s Kosher Salt please be aware that their salt granules are smaller in size, denser, and crunchier and twice as salty.
Baking in grams
I share my recipes in grams and by weight since baking by weight is the most accurate way to bake. Digital Scales are very affordable and easy to use. You can purchase them on Amazon for less than a set of measuring cups. For small amounts under 10 grams, I like to use this Precision Pocket Scale. Measuring cups are very inaccurate which can cause significant errors when it comes to gluten-free baking or baking in general. Especially since I bake with gluten-free flours which weigh differently than “regular” flours. I do provide some ingredients like spices and leavening agents in measuring spoons. To learn more about Baking with a digital scale, make sure to check out my post about Baking by weight.
Note about Ovens and Oven Temperatures
All my recipes are tested and developed with a conventional oven. I always bake my baked goods on the rack placed in the MIDDLE of my oven. This way the heat coming from the bottom will not burn my baked goods.
If you are baking with convection (fan-forced), please adjust the recipes accordingly. Convection oven can cause baked goods to dry out quickly and still be raw inside. Since takes at least 15-20 minutes for a standard American Oven to be fully preheated. I highly recommend investing in an Oven Thermometer.
Substitutions and Modifications
Any dietary or ingredient modifications/substitutions to this recipe may alter the end result in appearance and taste. I test my recipes several times as published in this post and The Gluten Free Austrian Blog is not responsible for the outcome of any recipe you find on our website.
Recipes to try with Gluten Free Sourdough Discard
📖 Recipe
Gluten Free Sourdough Starter
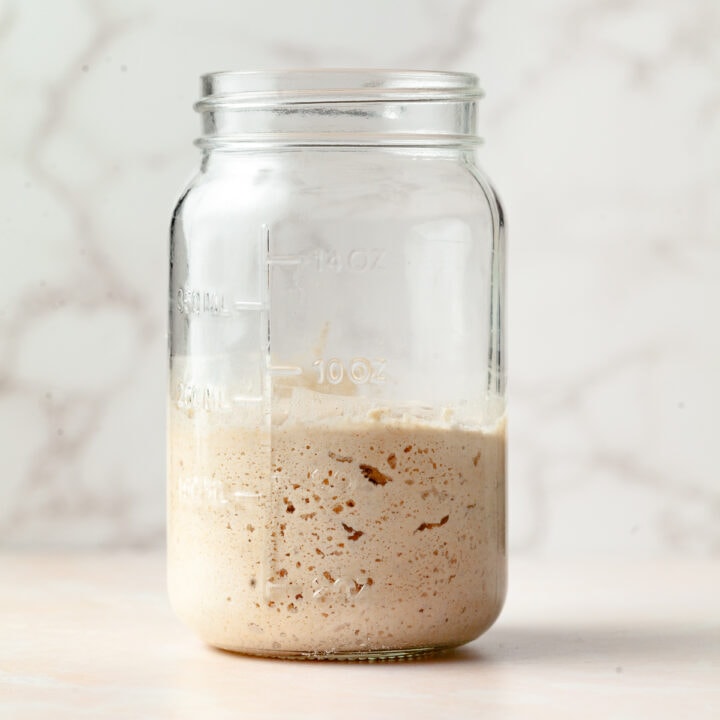
This simple gluten free sourdough starter is made from two ingredients: a gluten free flour, such as sorghum flour, and filtered water. Small batch gluten free sour dough starter recipe
Ingredients
Gluten Free Sourdough Starter
- 350 grams gluten-free flour of choice
- Water, as needed, filtered or bottled spring water
Instructions
How to make a Gluten Free Sourdough Starter
Start: to a clean, sanitized mason jar add 25 grams of gluten free flour and 25 grams warm water (around 77F/25C – 84F/29C). Using a plastic spoon or spatula mix it together. Cover it with cheesecloth and a rubber pan or loosly cover it with the mason jar lid. Allow for it to sit at room temperature at the counter.
Feeding #1: Around 8-12hrs after starting the sourdough starter, add 25 grams of gluten free flour and 25 grams of warm water. Mix it together, loosely cover it and allow for it to see at room temperature . If your mixture seems very stiff, add 5-10 extra grams of water to loosen up the mixture. It’s okay for the starter to be too runny vs being too dry.
Feeding #2: 8-12 hours after the first feeding, it’s time for the second meal. Depending on which flour you used, your may already see some bubbles and growth in your starter. Add 25 grams of flour and 25 grams of warm water, mix, cover and place in a warm place.
Feeding #3: You should definitely see some small bubbles and growth in your gluten free sourdough starter now. Repeat the feeding, mix, cover and store at ambient temperature.
Feeding #4: On day three it's time to switch to a 1:1:1 feeding process and start discarding some of the starter. Remove all but 50 grams of the sourdough starter from the jar. Compost the discard or throw it away. Add 50 grams of fresh flour and 50 grams of warm water (around 77F/25C - 84F/29C) to the jar and mix. Cover and store at ambient temperature. (At this point, it is too early to save the discard for recipes since it is not yet from an established starter. )
Feeding #5 up to 7 days: The sourdough starter should become more active now. You may also see bubbles. Keep up with the feedings every 8-12hrs. Remove all but 50 grams of the sourdough starter from the jar. Compost the discard or throw it away. Add 50 grams of fresh flour and 50 grams of warm water (around 77F/25C - 84F/29C) to the jar and mix. Cover and store at ambient temperature.
After Seven days: After seven days and at least three days of consistent growth and doubling the size after every feeding within 4-12 hours, the gluten-free sourdough starter is ready to be used in recipes. I recommend feeding the sourdough starter ONCE a day for an additional week. This will strengthen the starter and build a strong starter to have on hand. I call those feedings maintenance feedings, which can be done with less flour and less often.
Notes
Please see the blog post for detailed instructions, troubleshooting and how to use gluten free sourdough discard.
Recommended Products
As an Amazon Associate and member of other affiliate programs, I earn from qualifying purchases.
Nutrition Information:
Yield:
1Serving Size:
1Amount Per Serving: Calories: 1
Calories are a guestimate.


Bethica-Ann Contreras says
You said you used sorghum and buckwheat as you flour; how much of each flour did you use? I would prefer your exact recipe to start with and then move on to experimenting once I'm more confident. I used to do the Amish friendship sourdough starters all the time years ago and I am really looking forward to trying this out.
Daniela says
The recipe calls for 25 grams at each feeding so if I use a mix, it would be 12.5 grams sorghum and 12.5 grams buckwheat.
Melissa says
Yay! I’m so happy to see a sourdough starter recipe on your blog. I hope that will lead to sourdough recipes in the future. I love your recipes and how detailed and specific you are in your instructions and recipe development. Thanks for all of your efforts and contributions for the gluten free community! 🙂
holly hon says
Hi Daniela, this am trying the sourdough starter. I am on #6 feeding using sorghum flour and spring water. I only saw a tiny bit bubbles after the 3rd feeding. So far don’t have not bubbles or grow in volume. Often have some liquid on the top after a few hours of feedback. No bad smells so far. Am I on the right track or do I need to restart?
Also, what should I expect to be the differences between using GF sourdough starter in your recipes vs without?
Thanks, holly
Dee says
We made the starter what is the bread recipe.
Daniela says
Hello, there are a lot of recipes on my website you can add some sourdough starter to. Like my Gluten Free Pretzel Buns
Taylor says
Hi - do you not have “discards” like regular sourdough starters?
Daniela says
since my recipe is so small, I don’t really discard starter. but you can always discard some
Mélanie says
It was my first time making any type of sourdough starter and it worked! The recipe was so detailed and easy to follow! However I’m wondering if there isn’t something wrong with my starter. Since I put it in the fridge a bit of water sits on top. I used sorghum flour I don’t know if that’s normal or not…
Kaitlyn says
What do you mean by fresh gluten free flour? Just not a blend? And where do you buy your sorghum flour. I haven’t had luck!
Daniela says
Definitely not a blend. I use either super fine brown rice flour or sorghum flour (sorghum I used to buy from Thrive Market and I am now looking for a new source)
Stephanie says
On day 4, it says to discard 50g and proceed with the 1:1:1 feeding. Do the feedings now going forward all become the 1:1:1 feeding every 8-12 hours where we are discarding?
Daniela says
Yes. That is correct
Stephanie says
Hi. My sourdough was growing beautifully on day 3 to 4, but once I switched to the 1:1:1 feeding it stopped doubling and only grows slightly. I’m on day 5 now.
Daniela says
Has anything changed like the weather? Maybe your apartment isn't as warm as it used to be (temps dropped tremendously in Chicago and it made an impact on my starter)
Stephanie says
I’m in Chicago suburbs. Weather has been pretty consistently cold. My house temp has been consistent. I’ve been keeping it in my upper oven so the temp is consistent.
Daniela says
Well I am in Chicago too and the temp sure did drop. I wouldn't worry too much about it growing a bit slower. It's wild yeast, it can have it's up and downs. If you are very worried, feel free to feed in one extra time to see if it makes any differences.
Jill says
Hello, I’m wondering if it’s possible to feed a higher ratio to bulk it up for more baking? Like a 1:2:2 or 1:3:3? Does this work like regular sourdough does? Thank you.
Daniela says
You can totally feed the starter more. Like 100 grams starter : 100 grams flour : 100 grams water.
Daniela says
Also Jill, if your sourdough starter is strong and thriving you can feed it 1:2:2 or 1:3:3 but if it's just starting out I would stick with 1:1:1
Alisa says
Hi can you use Almond flour to make the starter or not a good flour to use for gluten sourdough?
Daniela says
No, Almond Flour should never used to make a sourdough starter. Please use the recommended flours stated in the blog post