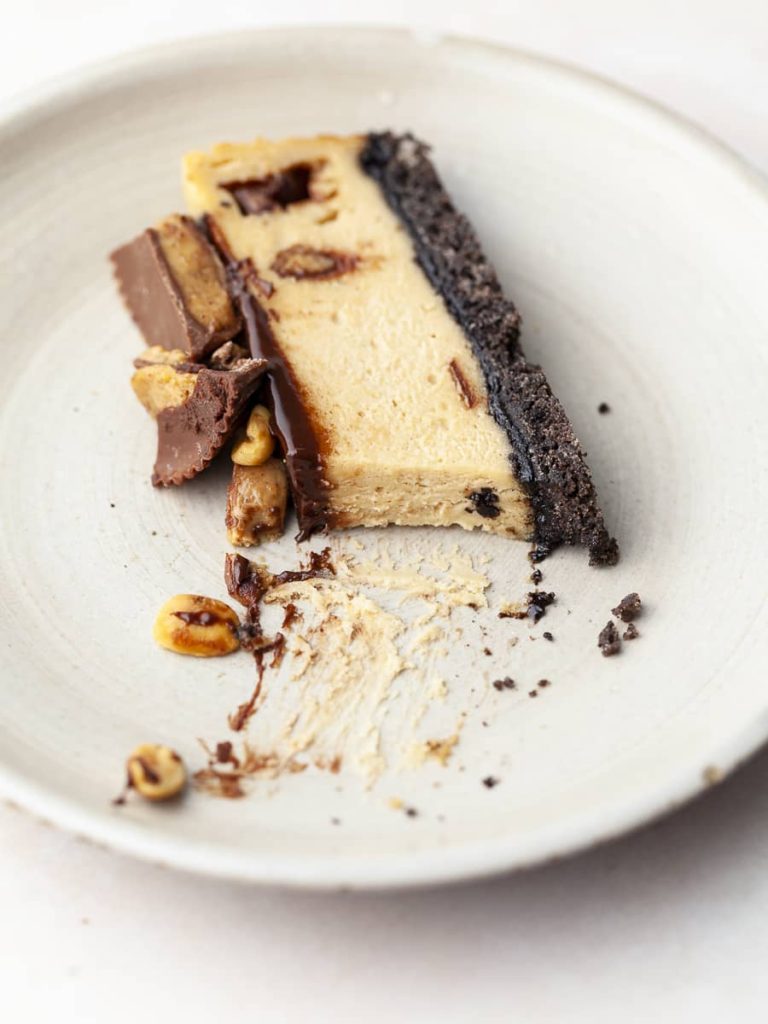
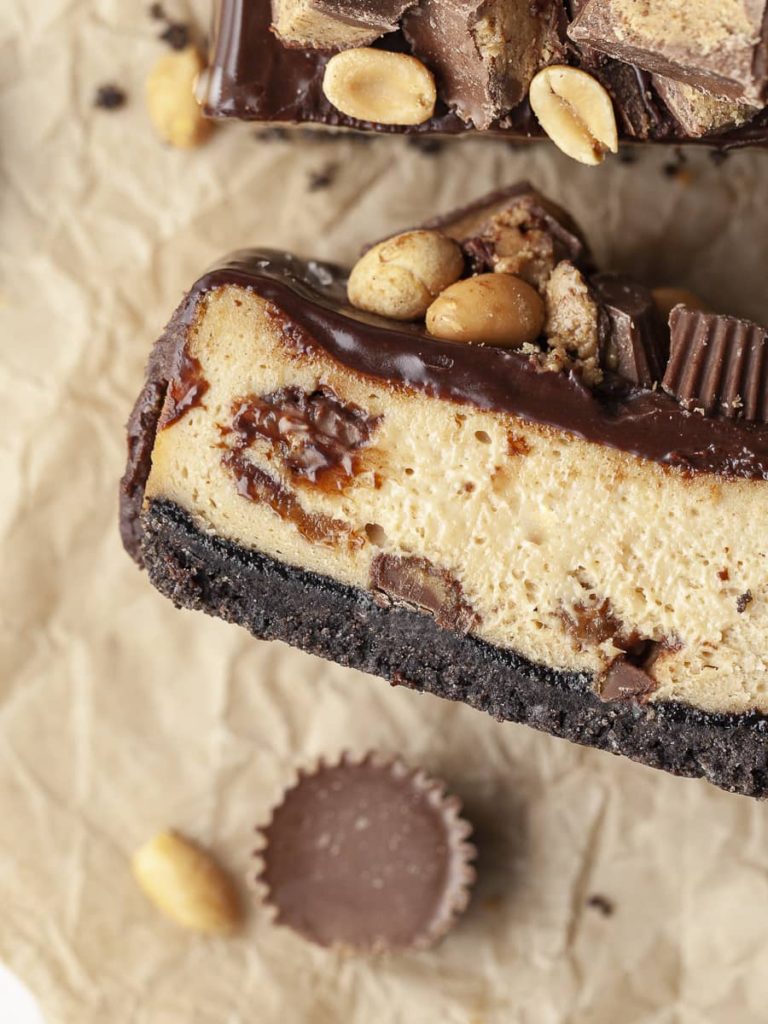
If you love Chocolate and Peanut Butter, you must try this Gluten Free Chocolate Peanut Butter Cheesecake. A gluten-free Oreo Cookie crust, creamy peanut butter cheesecake filling with Reese's Peanut Butter Cups, luscious chocolate ganache and generous pile of Reeses and roasted peanuts on top. Every Peanut Butter lovers dream come true.
This decadent gluten free peanut butter cheesecake is baked in a standard loaf pan (8.5 x 4) and will give you 4-6 gluten-free cheesecake bars (depending on how you cut them). Those mini cheesecake bars are the perfect dessert for a small gatherings or special occasions. But clearly you can also make them when that cheesecake craving hits.
If you love peanut butter, make sure to check out my Gluten Free Peanut Butter Stuffed Chocolate Cookies or my Small Batch Recipe for Chocolate Chip Peanut Butter Cookies
Jump to:
- Recipe Ingredient Notes
- Tools Equipment needed to make a Peanut Butter Cheesecake
- How to avoid cracks in a Cheesecake
- Steps by Step Instructions to make a Gluten Free Peanut Butter Cheesecake
- Dark Chocolate Ganache Topping
- Picture Perfect Cheesecake Slices
- Are Reese's Gluten-Free?
- FAQ about Gluten Free Peanut Butter Cheesecake
- Join my Gluten Free Community!
- Note about Salt in my Recipes
- Baking in grams
- Note about Ovens and Oven Temperatures
- Substitutions and Modifications
- 📖 Recipe
- 💬 Comments
Recipe Ingredient Notes
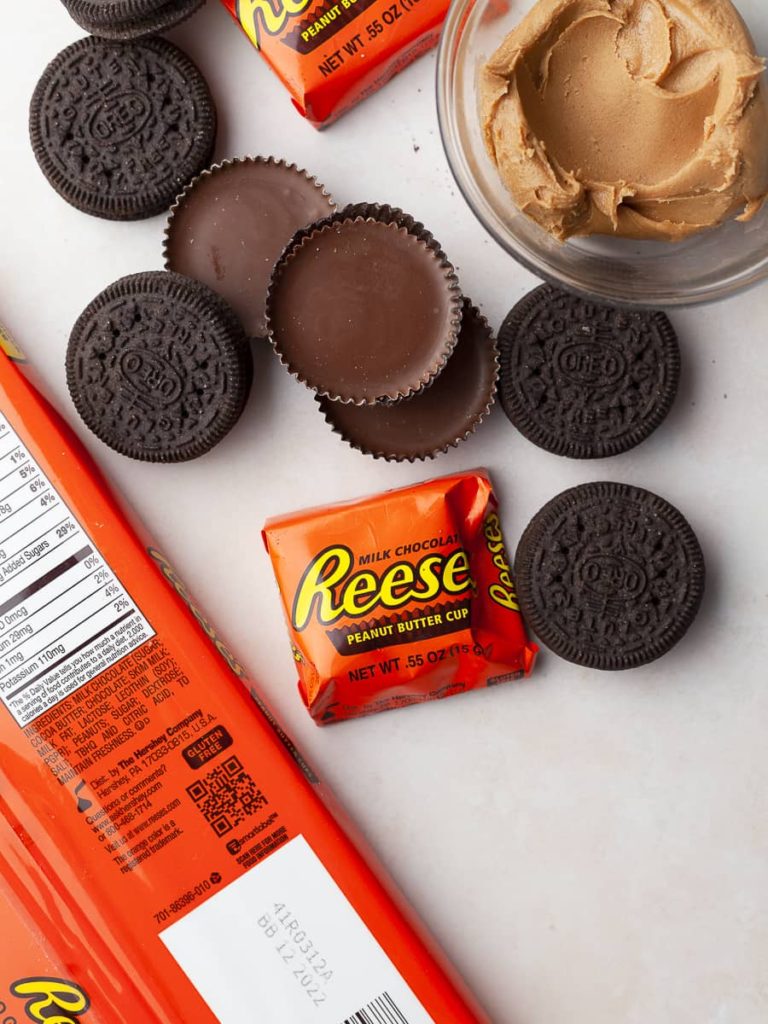
Gluten-Free Oreos: The crust for this Peanut Butter Chocolate Cheesecake is made with Gluten free Oreos (regular stuffed). These gluten-free chocolate sandwich cookies are widely available. Clearly, other brands like Kinnikinnick KinniTOOS or Glutino Chocolate Vanilla Creme Cookies work just as fine. You can also use my gluten-free shortbread crust (Found here).
Cream Cheese: In this cheesecake recipe I use full-fat cream cheese (bricks/blocks). My brand of choice if Philadelphia which is gluten-free according to the Kraft-Heinz website. I always recommend checking the packaging or the manufacturer’s website to ensure the products used are celiac safe.
Peanut Butter: I use Jif Creamy Peanut Butter in this recipe for gluten-free peanut butter cheesecake recipe. Conventional peanut butter (like Jif) has added oil which acts as an emulsifier. Using conventional peanut butter results in a super smooth and creamy gluten-free peanut butter cheesecake. I have not tested this recipe with natural peanut butter, alternative nut or seed butter. I recommend checking out my Chocolate Cheesecake or White Chocolate Raspberry Cheesecake if you have a peanut allergy.
Reese's Peanut Butter Cups: Reeses's Peanut Butter Cups are a very popular American candy bar made with milk chocolate and peanut butter. Reese's Peanut Butter Cups are produced by The Hershey Company and are gluten-free. Be careful though - some of their seasonal shapes are not gluten-free. I use the regular-sized peanut butter cups in the cheesecake batter and a few of the mini peanut butter cups for decoration.
Sour Cream: A little sour cream in the cream cheese helps to balance the sweetness. I use full fat but this will also work with low fat. You may also use yogurt or creme fraiche.
Heavy Cream: Heavy Cream is needed for the chocolate ganache topping. It is also used in the peanut butter cheesecake batter to give it a soft texture and as well adds smoothness and creaminess.
Dark Chocolate: For the Chocolate ganache topping I recommend using bittersweet chocolate between 60% and 70%.
Tools Equipment needed to make a Peanut Butter Cheesecake
Loaf Pan: This small gluten-free peanut butter cheesecake is baked in a standard loaf pan (8-½ x 4-½ x 2-½ inches). If you use a larger loaf pan, the cheesecake will be thinner and will also bake quicker. I do not recommend using a smaller loaf pan since the crust will be too thick and the filling too tall. (I do not test my recipes in glass or silicone bakeware) If you like, you can double this recipe and bake it in an 8″ rectangular pan.
Mixer: Since this is a small batch of cheesecake, your KitchenAid Mixer may have issues mixing the ingredients. This should not be an issue if you have a smaller model but a 5-quart mixing bowl may be too big. I use an electric hand mixer for this recipe. Alternatively, you can also make the cheesecake filling in a food processor.
Blender or Food Processor: I use my food processor to ground up the Oreo Cookies (cookies and cream filling) into fine crumbs. You can also crush them in a ziplock bag with the help of a rolling pin.
You will also need: a microwave heatproof bowl for the ganache, a small bowl for the cheesecake crust, a small bowl for the whipped chocolate topping, a flexible rubber spatula, a whisk, a small offset knife
How to avoid cracks in a Cheesecake
Cold ingredients can cause your cheesecake to crack. For the best result make sure your ingredients (cream cheese, eggs, and heavy cream) are at room temperature. To bring the cream cheese to room temperature quickly, unwrap it and place it on a microwave-safe plate. At 50-70% power nuke it for 15-20 seconds. Turn it over and repeat. To get the eggs to room temperature place them in a bowl with warm water and allow for them to sit for 10 minutes. The heavy cream can be carefully warmed in the microwave for 10-15 seconds.
Steps by Step Instructions to make a Gluten Free Peanut Butter Cheesecake
This cheesecake is baked in a small loaf pan and bakes fairly quickly, there is no need to mess with a water bath.
Step 1: Preheat your oven to 325F and arrange the wire rack in the oven in the middle. Line a standard loaf pan (8.5 x 4.5 inches) with parchment paper. Make sure to leave some overhang on the sides of the pan to remove this chocolate cheesecake without any issues.
Step 2: Crush up the oreo sandwich cookies (cookies and filling) into crumbs and mix them in a small bowl with the melted butter. Press mixture into the bottom of the prepared loaf pan. I recommend using the back of a spoon or an offset knife for this.
Step 3: Bake the gluten free crust at 325F for 12 minutes. Remove from the oven and allow for it to cool for a couple of minutes. DO NOT turn the oven off!
Step 4: While the chocolate crust is baking, combine the room temperature cream cheese and brown sugar in the bowl of your mixer fitted with the paddle attachment. Mix until light and fluffy (around 2 minutes). Turn off the mixer, scrape down the sides with a flexible spatula. Make sure there are no large lumps of cream cheese batter.
Step 5: Add the peanut butter and mix to combine followed by the sour cream, heavy cream and vanilla extract (or vanilla bean paste). Beat in the egg and the egg yolk one at a time at a low speed, just until combined; do not overmix once you’ve added the eggs. Too much air will cause the cheesecake to deflate and crack.
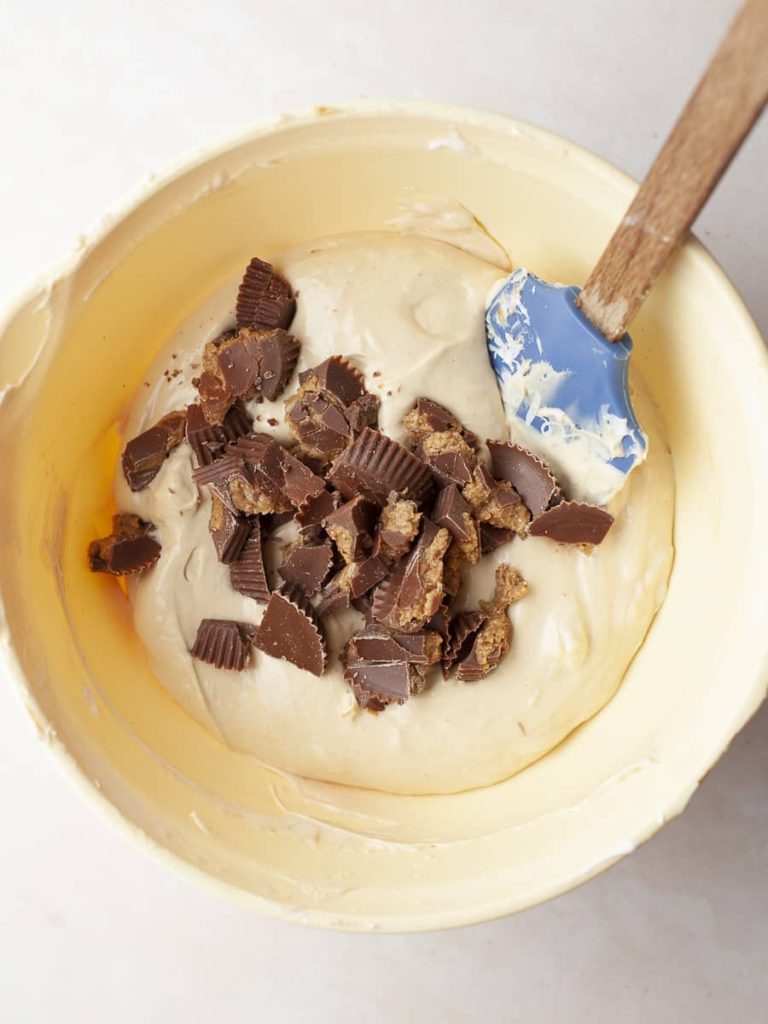
Step 6: Chop up 75 -100 grams of peanut butter cup and with a flexible spatula fold them into the peanut butter cheesecake filling.
Step 7: Pour the creamy peanut butter cheesecake filling on top of the pre-baked gluten-free cheesecake crust and with a spoon or small offset knife smooth it out evenly.
Step 8: Bake cheesecake at 325F for 22-24 minutes or until the dessert is set around the edges but still jiggles in the middle.
Step 9: Turn off the oven and allow the Gluten Free Chocolate Peanut Butter Cheesecake to cool in the oven for 30-45 minutes. Remove from the oven and cool completely at room temperature before transferring it to the fridge.
Dark Chocolate Ganache Topping
Name a better combination of peanut butter and chocolate? While this gluten-free peanut butter cheesecake is delicious on its own, the chocolate ganache topping does take it to the next level.
To make the chocolate ganache topping, bring the heavy whipping cream to a simmer in a small saucepan. Alternatively, you can also heat the heavy whipping cream in a microwave-safe bowl in the microwave.
Pour the cream on top of the dark chocolate and a pinch of salt. Allow for it to sit for a minute. The heat from the heavy cream will melt the chocolate. With a spoon begin to stir the melted chocolate into the cream. Continue to stir until smooth and glossy.
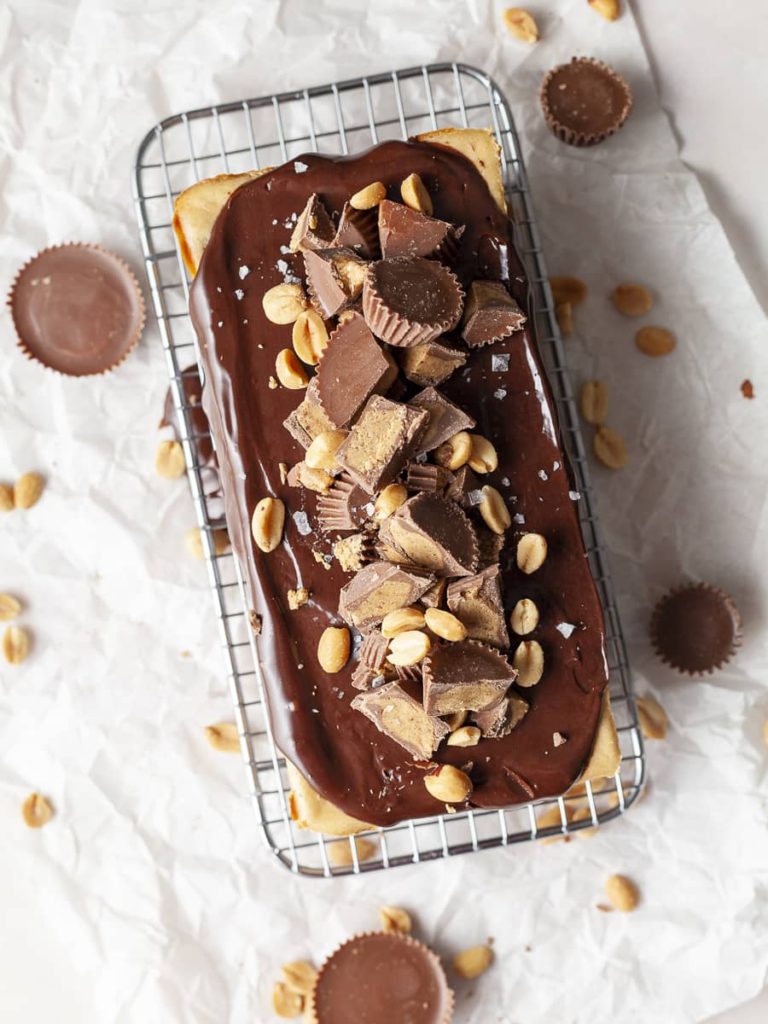
Allow for the dark chocolate ganache to sit for a few minutes. In the meantime remove the completely cooled gluten-free peanut butter cheesecake from the loaf tin and place it on a wire rack or a serving platter. Pour the chocolate ganache topping on top of the cheesecake and with the back of a spoon or a small offset smooth it out, letting it drip down the sides.
While the ganache is still soft, decorate the chocolate peanut butter cheesecake with small pieces of peanut butter cups, some salted peanuts, and a generous sprinkle of flaky sea salt.
Enjoy the ultimate chocolate peanut butter cheesecake within 5 days. Store any leftovers you may have of this decadent dessert in an airtight container in your fridge. You may freeze this cheesecake for up to 3 months. Make sure to use a freezer-safe container and allow for it to thaw in the fridge.
Picture Perfect Cheesecake Slices
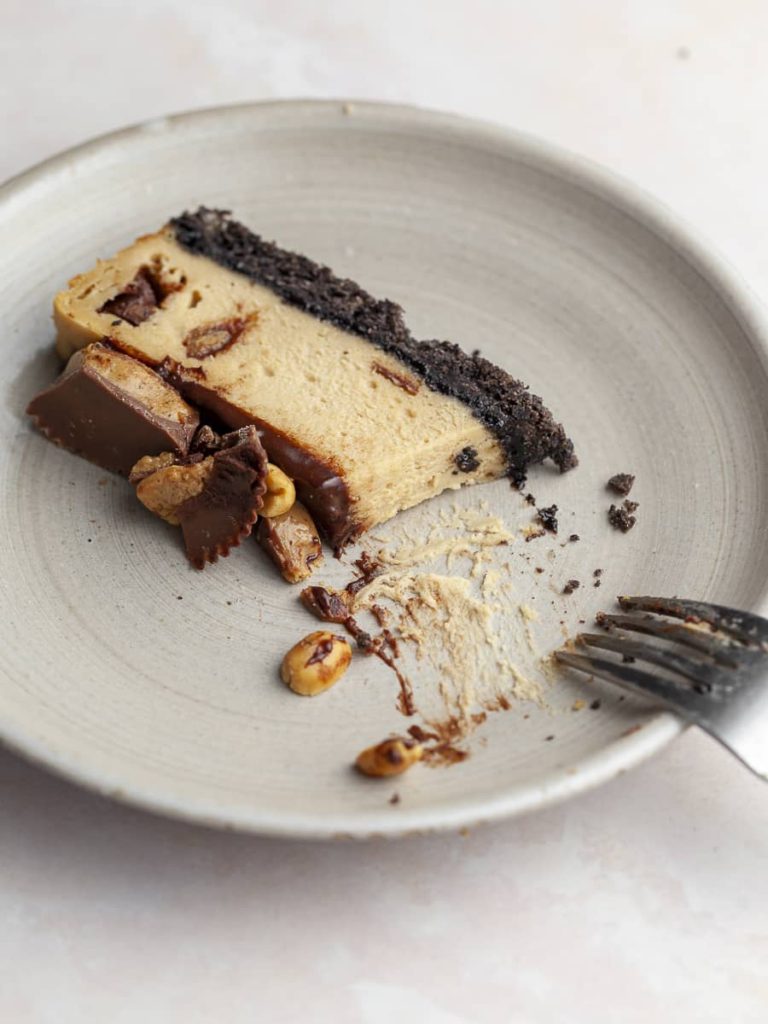
This recipe for gluten-free peanut butter cheesecake will give you 4-6 pieces, depending on how thick you cut the pieces. To cut them, a cold, very well-set cheesecake is the key here. Always use a long, very sharp, knife, preferably thin. I also like to use a pitcher with hot water instead of running hot water constantly while cutting.
What you will need to slice picture-perfect chocolate cheesecake
- cold, well set dark chocolate cheesecake
- a pitcher with HOT water
- clean, dry towel
- sharp Chef’s Knife
Dip your Chef’s Knife in the hot water and dry very well with the towel. The hot water will warm up the blade and will slide through the cheesecake a lot easier.
For the best results, clean your knife in between cuts in the hot water, wipe clean, and continue cutting. The cleaning is the very important part here. If you skip this step your gonna smudge all the leftovers from your previous cut onto the next cut.
Enjoy this perfect dessert within 5 days and store any leftovers you may in an airtight container in your fridge.
Are Reese's Gluten-Free?
Reese's Peanut Butter Cups are gluten-free except for seasonal items like their Reese's Milk Chocolate Peanut Butter Eggs. Reese's are produced by The Hershey Company and state "Gluten-Free" on the back of the packaging. Justin's Organic Peanut Butter Cups are certified gluten-free which also would work fabulously in this recipe.
FAQ about Gluten Free Peanut Butter Cheesecake
Can I double this recipe?
Yes, you can bake this recipe for Gluten Free Chocolate Peanut Butter Cheesecake in an 8×8 pan. To double the recipe, please use TWO whole eggs and ONE egg yolk. And increase the baking time to 30-32 minutes.
How long can cream cheese and cheesecake sit out?
Food safety experts recommend that 2 hours is the maximum amount of time that cream cheese and a baked cheesecake should sit at room temperature. Other experts recommend no longer than 4 hours. I highly recommend storing this small cheesecake in the fridge and only allowing for it to sit at room temperature for up to 4hrs.
How should I store a cheesecake?
To store this cheesecake place it in an airtight container and store it in your fridge for up to 5 days. You may also freeze the undecorated cheesecake for up to 3 months. Thaw it in your fridge overnight or let it sit at room temperature (up to 4hrs).
Can I use different nut butters in this recipe?
I have not tested this recipe with alternative nut butters or seed butters. If you have a peanut allergy, I recommend checking out my Chocolate Cheesecake or White Chocolate Raspberry Cheesecake (Peanut Butter after all makes a peanut butter cheesecake)
Can I make this cheesecake vegan?
I have not tested this gluten free chocolate cheesecake recipe or any of my cheesecake recipes with vegan substitutions.
Join my Gluten Free Community!
Note about Salt in my Recipes
I use Diamond Kosher Crystal Salt in all of my recipes unless otherwise stated. If use use a different brand or kind of salt in your kitchen please adjust accordingly since some salts can be saltier. If you use Morton’s Kosher Salt please be aware that their salt granules are smaller in size, denser, and crunchier and twice as salty.
Baking in grams
I share my recipes in grams and by weight since baking by weight is the most accurate way to bake. Digital Scales are very affordable and easy to use. You can purchase them on Amazon for less than a set of measuring cups. For small amounts under 10 grams, I like to use this Precision Pocket Scale. Measuring cups are very inaccurate which can cause significant errors when it comes to gluten-free baking or baking in general. Especially since I bake with gluten-free flours which weigh differently than “regular” flours. I do provide some ingredients like spices and leavening agents in measuring spoons. To learn more about Baking with a digital scale, make sure to check out my post about Baking by weight.
Note about Ovens and Oven Temperatures
All my recipes are tested and developed with a conventional oven. I always bake my baked goods on the rack placed in the MIDDLE of my oven. This way the heat coming from the bottom will not burn my baked goods.
If you are baking with convection (fan-forced), please adjust the recipes accordingly. Convection oven can cause baked goods to dry out quickly and still be raw inside. Since takes at least 15-20 minutes for a standard American Oven to be fully preheated. I highly recommend investing in an Oven Thermometer.
Substitutions and Modifications
Any dietary or ingredient modifications/substitutions to this recipe may alter the end result in appearance and taste. I test my recipes several times as published in this post and The Gluten Free Austrian Blog is not responsible for the outcome of any recipe you find on our website.
📖 Recipe
Gluten Free Chocolate Peanut Butter Cheesecake
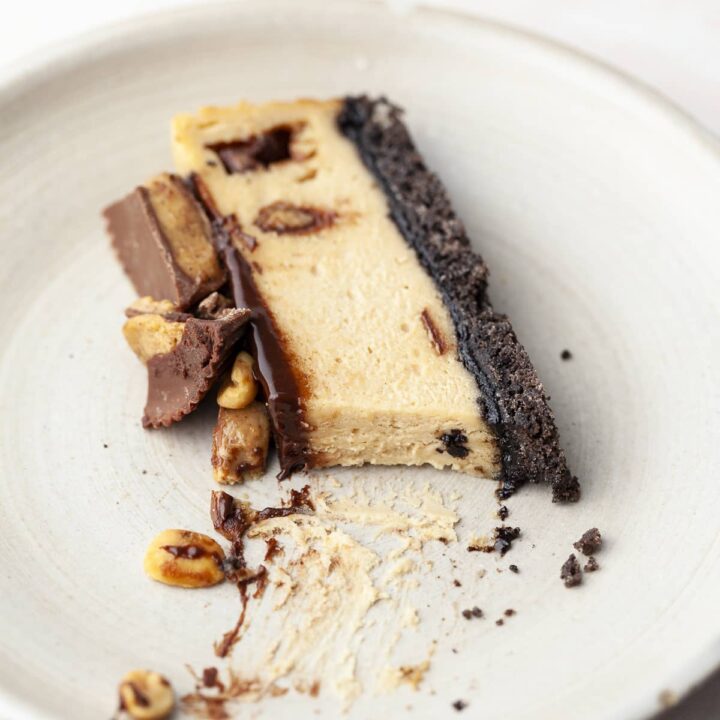
If you love Chocolate and Peanut Butter, you must try this Gluten Free Chocolate Peanut Butter Cheesecake. A gluten-free Oreo Cookie crust, creamy peanut butter cheesecake filling with Reese's Peanut Butter Cups, a dark chocolate ganache and generous pile of Reeses and roasted peanuts on top.
Ingredients
For the Oreo Cheesecake Crust
- 11 Gluten Free Oreos, regular stuffed (or 9 double stuffed)
- 30 grams unsalted butter, melted
For the Peanut Butter Cheesecake
- 225 grams full fat cream cheese, at room temperature
- 50 grams light brown sugar
- ½ teaspoon (2 grams) kosher salt
- 90 grams creamy peanut butter
- 40 grams sour cream, at room temperature
- 20 grams heavy cream, at room temperature
- 1 teaspoon vanilla extract
- 1 large egg, at room temperature
- 1 egg yolk, at room temperature
- 75 grams peanut butter cups, chopped up
For the Chocolate Ganache
- 85 grams heavy cream
- 85 grams dark chocolate
- pinch of salt
For Garnish
- Additional Peanut Butter Cup
- roasted peanuts
- flaky sea salt
Instructions
Gluten-Free Oreo Crust
- Preheat your oven to 325F, line a standard loaf pan (8.5 x 4.5 inches). pan with parchment paper and set aside.
- Place your Oreo Cookies in your food processor or blender and grind up until very fine.
- Add the melted butter and pulse until combined.
- Transfer the gluten-free Oreo crust to your prepared pan and spread out evenly with a small offset or the bottom of a metal measuring cup.
- Bake in your 325F for 12 minutes.
- Remove from the oven and allow to cool for a few minutes.
- DO NOT turn your oven off
Peanut Butter Cheesecake Filling
- Combine the room temperature cream cheese and brown sugar in the bowl of your mixer and mix until light and fluffy (around 2 minutes).
- Turn off the mixer, scrape down the sides with a flexible spatula. Make sure there are no large lumps of cream cheese batter.
- Add the creamy peanut butter and mix to combine.
- Add the sour cream, heavy cream and vanilla extract and mix to combine. Beat in the eggs and the egg yolk one at a time, just until combined; do not overmix once you’ve added the eggs.
- Turn off your mixer and with a flexible spatula fold in the chopped up peanut butter cups.
Assemble the cheesecake and bake
- Pour the creamy peanut butter cheesecake filling on top of the pre-baked gluten-free cheesecake crust and with a spoon or small offset knife smooth it out evenly.
- Bake cheesecake at 325F for 22-24 minutes or until the dessert is set around the edges but still jiggles in the middle.
- Turn off the oven and allow the cheesecake to cool in the oven for 30-45 minutes. Remove from the oven and cool completely at room temperature before transferring it to the fridge.
Dark Chocolate Ganache
- Bring the heavy cream to a simmer in a small saucepan.
- Pour the cream on top of the dark chocolate and a pinch of salt. Allow for it to sit for a minute. With a spoon begin to stir the melted chocolate into the cream. Continue to stir until smooth and glossy.
- Allow for the dark chocolate ganache to sit for a few minutes.
- In the meantime remove the completely cooled gluten-free chocolate peanut butter cheesecake from the loaf tin and place it on a serving platter. Pour the chocolate ganache topping over the cheesecake and with the back of a spoon or a small offset smooth it out, letting it drip down the sides.
- While the ganache is still soft, decorate the chocolate peanut butter cheesecake with small pieces of peanut butter cups, some salted peanuts, and a generous sprinkle of flaky sea salt.
Enjoy the ultimate chocolate peanut butter cheesecake within 5 days. Store any leftovers you may have of this decadent dessert in an airtight container in your fridge. You may freeze this cheesecake for up to 3 months. Make sure to use a freezer-safe container and allow for it to thaw in the fridge.
Nutrition Information:
Yield:
6Serving Size:
1Amount Per Serving: Calories: 400
Calories are a guestimate.

Hailey says
I love those small batch cheesecake recipes you have been sharing lately. I can't wait to make this Gluten Free Peanut Butter Cheesecake
Katie says
Such a beautiful recipe! Love that it’s gluten-free!
nancy says
YUMMY cheesecake - i love the PB addition!
Jamie G says
I love that it's small batch, easy to bring together and you can double it if you want. I've made 2 in less than 7 days. Tastes utterly delicious! Love ❤️
Aly says
Can you use a pie dish instead of a loaf pan to make this? How tall would the cheesecake be if so? Would like to make this for my office and want to make sure there is enough.
Daniela says
Hi! To make this in a pie dish I would recommend doubling this recipe. I am not sure how the shortbread crust would work in a pie dish though. You would have to press it in the bottom and of course up the sides and then most likely blind bake it like a pie crust. Do you have a 8x8 or a 9x9 rectangular pan? That would be so much easier to use
Kaitlin says
I made half of the batter with PB, the other half I folded in melted chocolate, sprinkled Snickers on top of the crust, and swirled the two batters for a Snickers cheesecake!
DELICIOUS and loved by all coworkers!
Cara says
Sheeweeee, this is yummmm. Not too sweet, super decadent, and it involves some of my favorite packaged treats! I made my first batch of this using with-gluten Oreos but I bet the GF Oreo crust would taste just as good. I have used them in other recipes from Daniela and personally cannot tell much of a difference. Thanks for another great recipe, Daniela!