
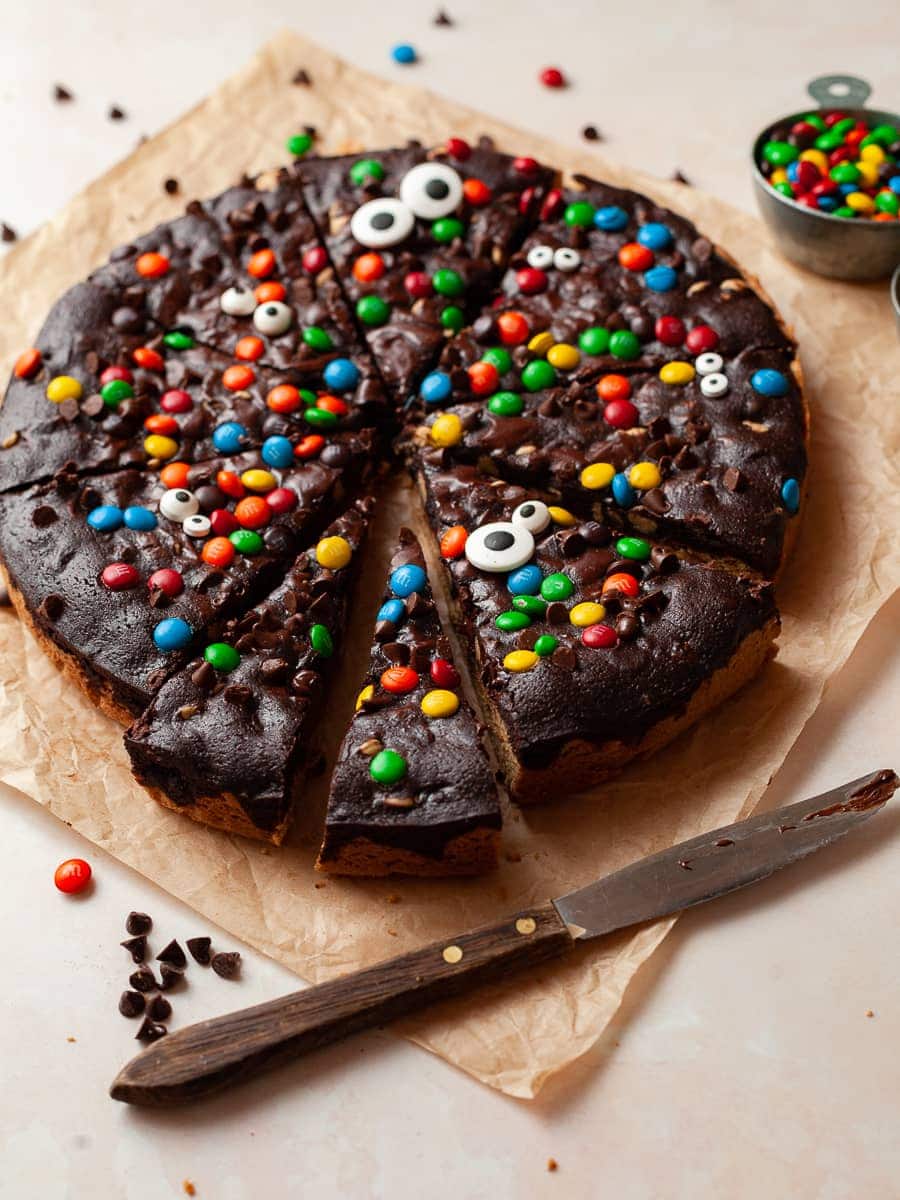
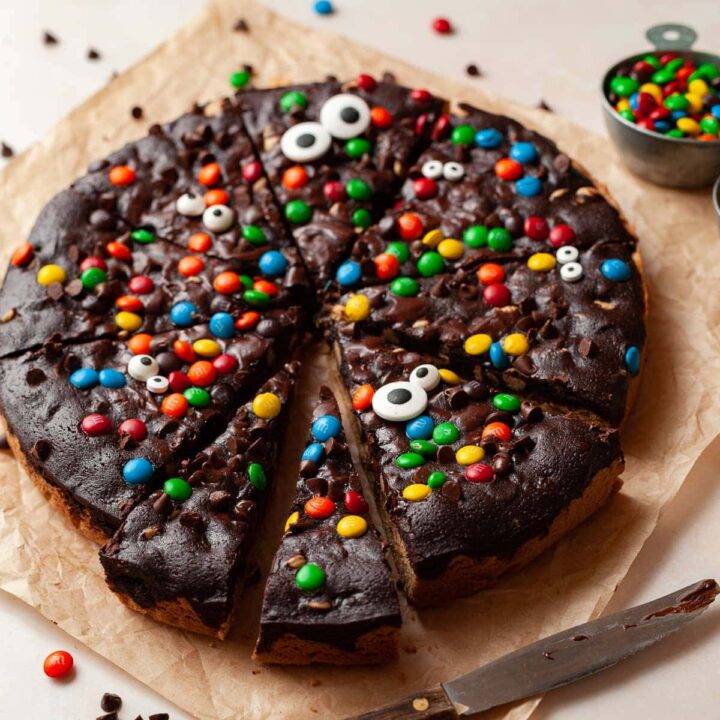
Gluten Free Peanut Butter Brookies are a delicious combination of soft and chewy gluten-free peanut butter cookies and fudgy brownies. Top them with your favorite gluten-free candy or just chocolate chips and additional peanuts for a treat everyone will love.
If you love peanut butter make sure to check out my gluten free peanut butter cookies and gluten free peanut butter cheesecake recipe. For another spooky treat, make sure to check out my Monster Cookies.
Jump to:
- Recipe Ingredient Notes
- How to line a round cake pan
- How to make Gluten Free Peanut Butter Brookies
- How to make the Peanut Butter Layer
- How to make the Gluten Free Brownie Layer
- Storage & Freezing
- Are M&M's Gluten Free?
- How can you tell Peanut Butter Brookies are done?
- Does it matter which cake pan I use?
- FAQ about Gluten Free Peanut Butter Brookies
- Note about Salt in my Recipes
- Baking in grams
- Note about Ovens and Oven Temperatures
- Substitutions and Modifications
- More Recipes to try
- 📖 Recipe
- 💬 Comments
Recipe Ingredient Notes
Gluten Free Flour: This recipe for gluten free peanut butter brookies is very forgiving. I have made it with my own gluten-free flour blend, Bob's Red Mill 1-1, and King Arthur Measure for Measure. All three blends contain xanthan gum and work wonderfully in this recipe. This does not mean other blends such as Cup4Cup don't work in this recipe. I just haven't had a chance to try it. I don't recommend using almond flour or coconut flour.
Peanut Butter: I use Jif Creamy Peanut Butter in this recipe. I prefer using the conventional style over the organic style for baking. Organic nut butter varieties with only one ingredient tend to create very dry and crumbly peanut butter cookies. I have not tried this recipe with different kinds of nut butter or seed butter.
Dutch Processed Cocoa Powder: I highly recommend using dutch processed cocoa to make the brownie layer. Dutch-processed cocoa produces richer, fudgier flavors. My go-to brands are Cacao Barry Extra Brute and Valrhona Pure Cocoa Powder. If you are looking for a better price point cocoa powder I recommend Hershey’s Dutched Cocoa, Special Dark, 100% Cacao. Be aware if you use Natural Cocoa Powder in this recipe, the brownies may be dry and lighter in color.
Peanuts: I use salted cocktail peanuts in this recipe. Please make sure whichever peanuts you use are gluten-free and do not contain savory seasonings. This is often the case with Dry Roasted Peanuts. Nothing like a peanut butter cookie layer with a hint of onion powder.
Add-Ins: I use a mix of dark chocolate chips and peanut butter chips as add-ins in the gluten-free brownie layer.
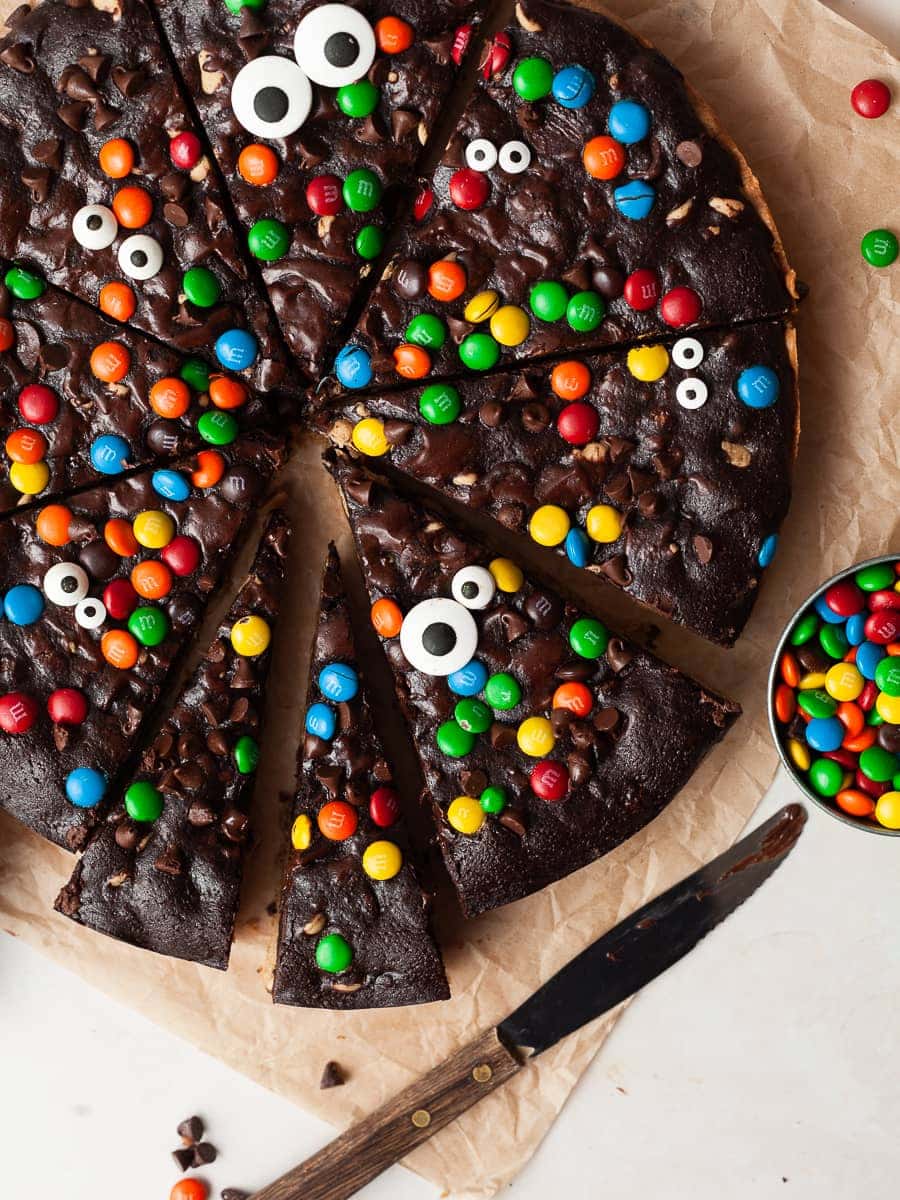
Toppings: The sky is the limit when it comes to toppings for these gluten-free peanut butter brookies. As a topping, I use mini chocolate chips and Mini M&Ms. (Plus some googly eyes because why not)

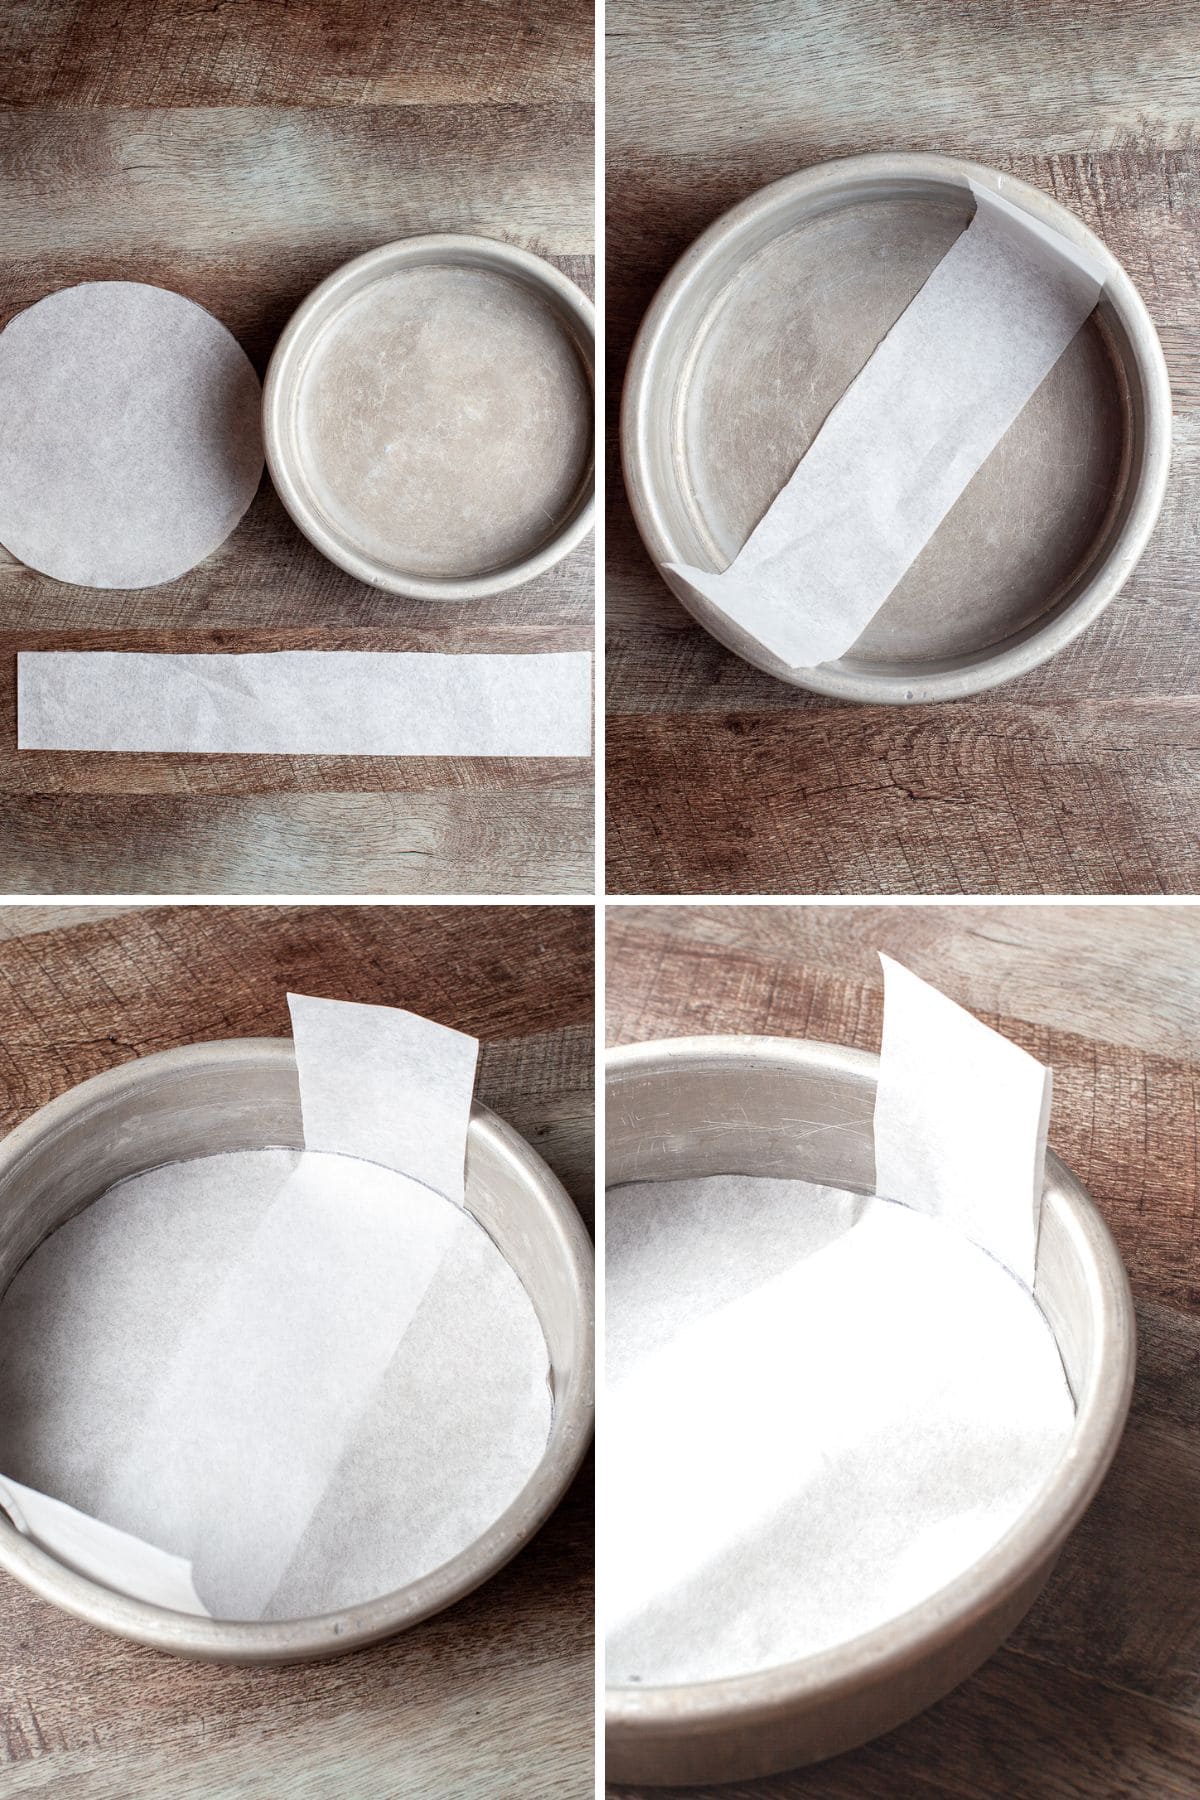
How to line a round cake pan
I like to use a 9" round cake pan to make these gluten-free peanut butter brookies. You can also use a 9" springform pan or an 8" or 9" square pan. While you can purchase specific cake pan liners via amazon, it's very easy to make them at home. All you need is a piece of parchment paper, a sharpie, and a ruler.
Step 1: Trace a 9" circle on the piece of parchment paper using the cake pan as a guide. Cut out the circle. You should have some spare parchment paper left which should be wide and long enough to cut a stripe of parchment.
Step 2: Spray the cake pan with nonstick spray and lay the strip of parchment paper across the pan, leaving equal amounts of parchment paper on both sides. Those sides will help remove the cookie cake without having to turn it upside down.
Step 3: Spray the cake pan again with nonstick spray and place the parchment paper circle on the bottom of the cake pan.
How to make Gluten Free Peanut Butter Brookies
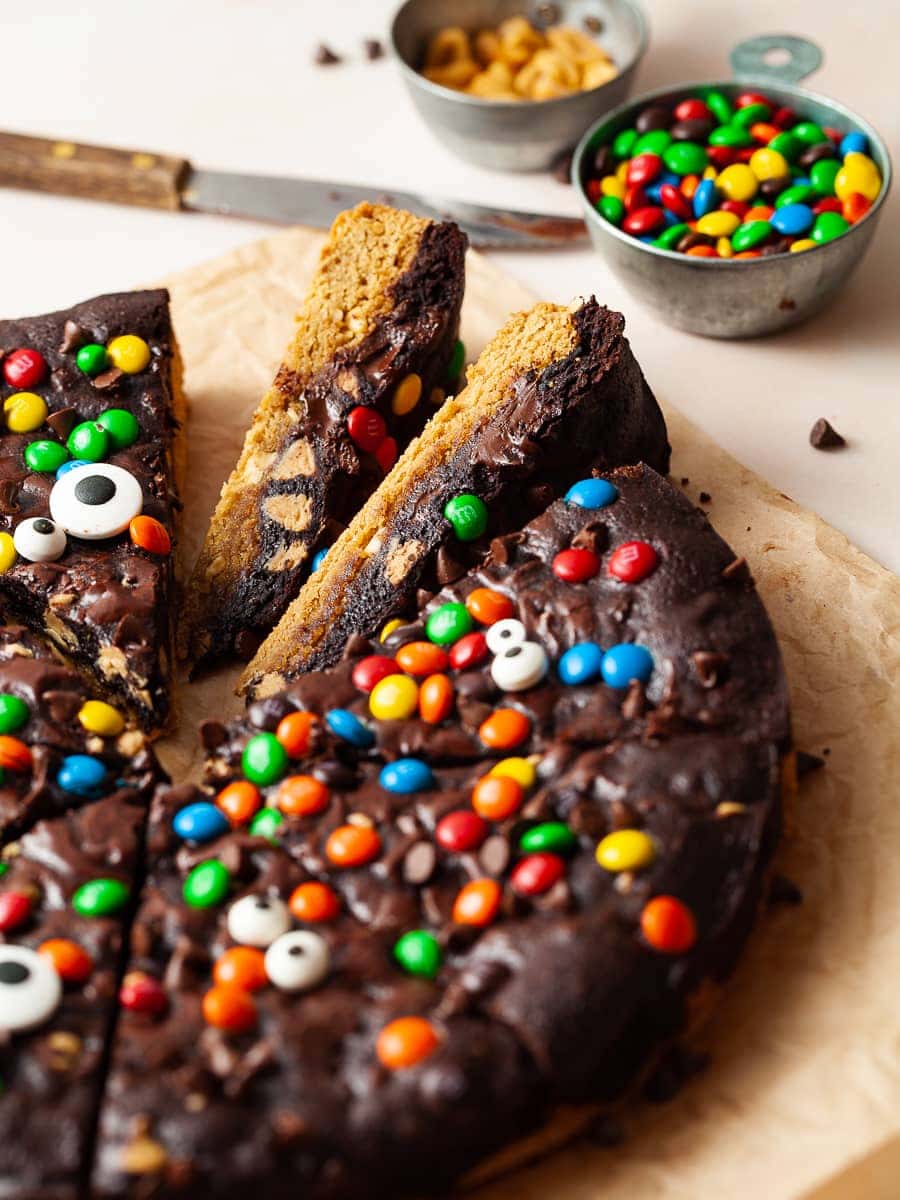
Gluten Free Peanut Butter Brookies are the perfect marriage of gluten-free peanut butter cookies and fudgy brownies. Technically this recipe is made up of two different recipes which get layered and baked together. Both recipes can be made with an electric hand mixer or a stand mixer.
I highly recommend measuring out the ingredients for both layers before hands. This makes making gluten free peanut butter brookies so much easier.
How to make the Peanut Butter Layer
Step 1: Line a 9" cake pan with parchment paper and set it aside. Preheat the oven to 350F.
Step 2: To make the peanut butter layer, sift together gluten-free flour, baking soda, and salt; set aside.
Step 3: In a medium mixing bowl or the bowl of the stand mixer fitted with the paddle attachment combine the peanut butter, light brown sugar, and vanilla extract. Cream together for 3-4 minutes until fully combined and lighter in color.
Step 4: One at a time, add the whole egg and the egg yolk, beating well after each addition. Make sure to scrape down the sides of the bowl.
Step 5: Add the dry ingredients and mix until a gluten-free peanut butter cookie dough forms. Mix in the chopped peanut butter. The dough may be stiff at this point.
Step 6: Transfer the gluten free peanut butter cookie dough to the prepared cake pan and press into an even layer. The easiest way to do this is using clean hands. Allow the peanut butter cookie dough to sit at room temperature while preparing the brownie layer.

How to make the Gluten Free Brownie Layer
Step 1: To make the brownie layer, add the unsalted butter to a small saucepan and melt over low heat. Once fully melted, remove from saucepan from the heat, add the cocoa powder and stir together until smooth. Allow cooling.
Step 2: While the cocoa butter mixture is cooling, combine the egg, granulated white sugar, light brown sugar, vanilla extra, and salt in a mixing bowl and mix until thickened and light in color. This should take around 3-4 minutes. Make sure to scrape down the sides of the bowl with a flexible spatula.
Step 3: Once the egg-sugar mixture has thickened and lightened in color, add the cocoa butter mixture and mix until combined. With a flexible spatula fold in the gluten-free flour and the chocolate chips.
Step 4: Retrieve the cake pan with the peanut butter layer and top with the gluten-free brownie batter. Smooth out evenly and sprinkle the peanut butter brookies with Mini M&M's and Mini Chocolate Chips (or whichever toppings you are using)
Step 5: Bake in your preheated oven for 24-26 minutes or until a wooden toothpick inserted in the center comes out slightly sticky (the magic number was 25 minutes for MY oven). You do not want to overbake the brownies therefore when in doubt slightly under-baked is better than over-baked.
Step 6: Remove the pan from the oven, place it on a cooling rack, and allow the gluten-free peanut butter brookies to cool in the pan.
When ready to eat, carefully remove the peanut butter brookies from the pan and enjoy!

Storage & Freezing
These gluten free peanut butter brookies will keep for 3-4 days at room temperature when stored in an airtight container. There is no need to refrigerate this delicious treat.
Individual pieces should be wrapped in plastic and placed in an airtight freezer container if you want to freeze them. Allow them to thaw at room temperature. Even though they re also delicious frozen.
To freeze the entire peanut butter brookie remove it from the cake pan and wrap it with plastic wrap, and place it in a ziplock bag. Freeze for up to 2 months. Thaw at room temperature before serving. Please be aware that some candy, like M&M, will lose its coloring when frozen.
Are M&M's Gluten Free?
While M&M's are not marketed as a gluten-free candy nor have a gluten-free label on their packaging they are considered a safe choice of candy for someone who has celiac disease. Since they are considered gluten-free by several resources online, I feel very confident recommending them. Please be aware some M&M flavors do contain gluten. Like Pretzel M&M's, which lists wheat flour as an ingredient, and Crispy M&M's which is made with barley malt.
How can you tell Peanut Butter Brookies are done?
The key to delicious and especially moist gluten-free peanut butter cookies is not to overbake them. Make sure to use an oven thermometer to ensure your oven runs at the right temperature. Most ovens are very inaccurate. Use a toothpick to check the doneness of the peanut butter brookies. A wooden toothpick inserted in the center comes out slightly sticky. When in doubt I recommend underbaking this delicious treat rather than overbaking it.
Does it matter which cake pan I use?
Not only the size but also the color and the material of a baking dish do affect the end result of a recipe.
If the recipe calls for an 8" square cake pan and one uses a 6" square instead, the cake batter will be higher in the pan and therefore takes longer to bake. On the other hand, if you use a larger cake pan, the cake clearly will bake faster since the cake will be thinner. I always recommend using a pan as close as possible to the size shared in the recipe.
Another important fact to consider is the color of the baking dish. A dark-colored pan will absorb the heat more quickly which means your cake will bake faster and there is a higher chance for the crust to burn.
Last but not least - the material of the pan matters. Personally, I only use baking dishes made from Metal (like Nordic Ware and USA Pan) and don't own any glass or silicone baking dishes. The biggest difference between metal and glass pans is that glass heats up slower and retains that heat for far longer. Glass pans can stay hot for hours once removed from the oven while metal pans cool down very quickly. This can cause baked goods to keep baking for longer and cause them to be overbaked and dry.
FAQ about Gluten Free Peanut Butter Brookies
Since the only dairy used in this recipe is butter, it is fairly simple to make this recipe dairy free. Replace the butter with your favorite non dairy butter. I do not recommend using coconut oil.
I have not tested this recipe with alternative kinds of nut butter or seed butter.
Make sure to use dutch processed cocoa powder in the brownie layer of this peanut butter brookie recipe. It gives baked goods a richer and fudgier flavor as well as a darker color. Read more about the differences of cocoa powders here.

Note about Salt in my Recipes
I use Diamond Kosher Crystal Salt in all of my recipes unless otherwise stated. If use use a different brand or kind of salt in your kitchen please adjust accordingly since some salts can be saltier. If you use Morton’s Kosher Salt please be aware that their salt granules are smaller in size, denser, and crunchier and twice as salty.
Baking in grams
I share my recipes in grams and by weight since baking by weight is the most accurate way to bake. Digital Scales are very affordable and easy to use. You can purchase them on Amazon for less than a set of measuring cups. For small amounts under 10 grams, I like to use this Precision Pocket Scale. Measuring cups are very inaccurate which can cause significant errors when it comes to gluten-free baking or baking in general. Especially since I bake with gluten-free flours which weigh differently than “regular” flours. I do provide some ingredients like spices and leavening agents in measuring spoons. To learn more about Baking with a digital scale, make sure to check out my post about Baking by weight.
Note about Ovens and Oven Temperatures
All my recipes are tested and developed with a conventional oven. I always bake my baked goods on the rack placed in the MIDDLE of my oven. This way the heat coming from the bottom will not burn my baked goods.
If you are baking with convection (fan-forced), please adjust the recipes accordingly. Convection oven can cause baked goods to dry out quickly and still be raw inside. Since takes at least 15-20 minutes for a standard American Oven to be fully preheated. I highly recommend investing in an Oven Thermometer.
Substitutions and Modifications
Any dietary or ingredient modifications/substitutions to this recipe may alter the end result in appearance and taste. I test my recipes several times as published in this post and The Gluten Free Austrian Blog is not responsible for the outcome of any recipe you find on our website.
More Recipes to try


📖 Recipe
Gluten Free Peanut Brookies
Gluten Free Peanut Butter Brookies are a delicious combination of soft and chewy gluten-free peanut butter cookies and fudgy brownies.
Ingredients
For the Peanut Cookie Layer
- 115 grams creamy peanut butter
- 100 grams light brown sugar
- ½ teaspoon vanilla extract
- 1 large egg, room temperature
- 1 egg yolk, room temperature
- 120 grams gluten-free multipurpose flour
- ½ teaspoon baking soda
- ¼ teaspoon salt
- 50 grams roasted, salted peanuts (chopped)
For the Brownie Layer
- 75 grams unsalted butter
- 50 grams Dutch-process cocoa powder
- 50 grams granulated white sugar
- 45 grams light brown sugar
- ⅛ teaspoon salt
- 1 large egg, at room temperature
- 1 teaspoon vanilla extract
- 45 grams glutenfree multipurpose flour
- 50 grams chocolate chips and peanut butter chips (as needed)
For Decoration
- Mini Chocolate Chips as needed
- Mini M&M's as needed
Instructions
How to make the Peanut Cookie Layer
- Line a 9" round cake pan with parchment paper and set it aside. Preheat the oven to 350F.
- To make the peanut butter layer, sift together gluten-free flour, baking soda, and salt; set aside.
- In a mixing bowl of your stand mixer, fitted with the paddle attachment cream peanut butter, vanilla, and brown sugar until light and fluffy for about 4 minutes. Make sure to stop your mixer halfway through to scrape down the sides.
- Add the whole egg and the egg yolk, one at a time, beating well after each addition.
- Add the gluten-free flour mixture and peanuts and carefully mix to combine until a cookie dough forms.
- Spread the peanut butter cookie dough in the prepared baking pan in an even layer. This dough will be hard to spread with an offset or a spatula so I recommend using your CLEAN hands. Wet your hands with water or spray them lightly with a non-stick spray will help keep the dough from sticking as you smooth it out evenly.
- Allow the peanut butter cookie dough to sit at room temperature while preparing the brownie layer.
How to make the Brownie Layer
- To make the brownie layer, in a small saucepan over low heat, melt butter. Remove from heat; stir in cocoa and whisk until completely smooth. Set aside. Allow cooling while you whisk your eggs and sugar.
- In the bowl of your stand mixer, combine both sugars, vanilla, salt, and egg and mix until smooth and slightly pale. This should take around 2-3 minutes. Make sure to scrape down the sides of your bowl halfway through it.
- Stir in the cocoa and melted butter mixture just until combined.
- With a flexible spatula fold in the gluten-free flour and the chocolate chips.
- Retrieve your prepared pan with the peanut butter layer and top with the brownie batter. Smooth out evenly and sprinkle with mini chocolate chips and m&ms.
- Bake in your preheated oven for 24-26 minutes or until a wooden pick inserted in the center comes out slightly sticky. Baking times can vary from oven to oven. Do not overbake the peanut butter brookies - when in doubt slightly under-baked is better than over-baked.
- Remove from the oven and allow to cool completely (or until you can't wait anymore) before cutting.
- Store the brookies at room temperature for up to 3 days or freeze them for future peanut chocolate cravings.
Notes
This recipe was inspired by a recipe found in One Tin Bakes by Edd Kimber.
Recommended Products
As an Amazon Associate and member of other affiliate programs, I earn from qualifying purchases.

Nutrition Information:
Yield:
12Serving Size:
1Amount Per Serving: Calories: 300
Calories are a guestimate and randomly generated.


Katie Bonzee says
These look amazing. 🙏🏻❤️
Tracy says
A peanut butter cookie brownie love child! This was so fun to make and the kids absolutely loved them. Thank you!
Amy Liu Dong says
This one looks delicious and looks like a perfect treat to make the kids this weekend.
Mikayla says
Such a fun dessert, I think it would be a great birthday treat option and your kiddo can help you make it too!
Loreto and Nicoletta says
Wow, the grandkids would love this, I am feeling that richness in my mouth as I read the post. Brilliant bookies. Great tip on getting the cookie/brownie out of a pan if you don't have a springfold!
Thanks 😊 for sharing!
Amanda says
I made these for a Halloween party, and everyone loved them! They're so perfectly chocolatey, and those little eyes added such a fun touch.
Marie says
This is such a fun dessert! The textures are irresistible and the colorful topping makes it very popular with kids 😉 I'm happy to have a new favorite gluten-free dessert recipe on hand, but I have to say this treat is universally loved!
Moop Brown says
I've been wanting to try more dessert recipes lately and I love that this one combines peanut butter and chocolate- two of my favorite things.
Evi says
This looks so delicious! Perfect for Halloween. I love the chocolate too!
Evi says
This looks so delicious! Perfect for Halloween. I love the chocolate too!!
Rosalie Shyu says
These brookies were SO underrated and delicious. They are not overly chocolatey nor peanut buttery (are those words?). Can't wait to make and eat them soon!!!