

If you love homemade ice cream cones, these Gluten Free Chocolate Waffle Cones are a must-make. They have all the crisp, buttery texture of a classic waffle cone, but with a rich chocolate flavor that takes them to the next level.

Recipe Ingredient Notes
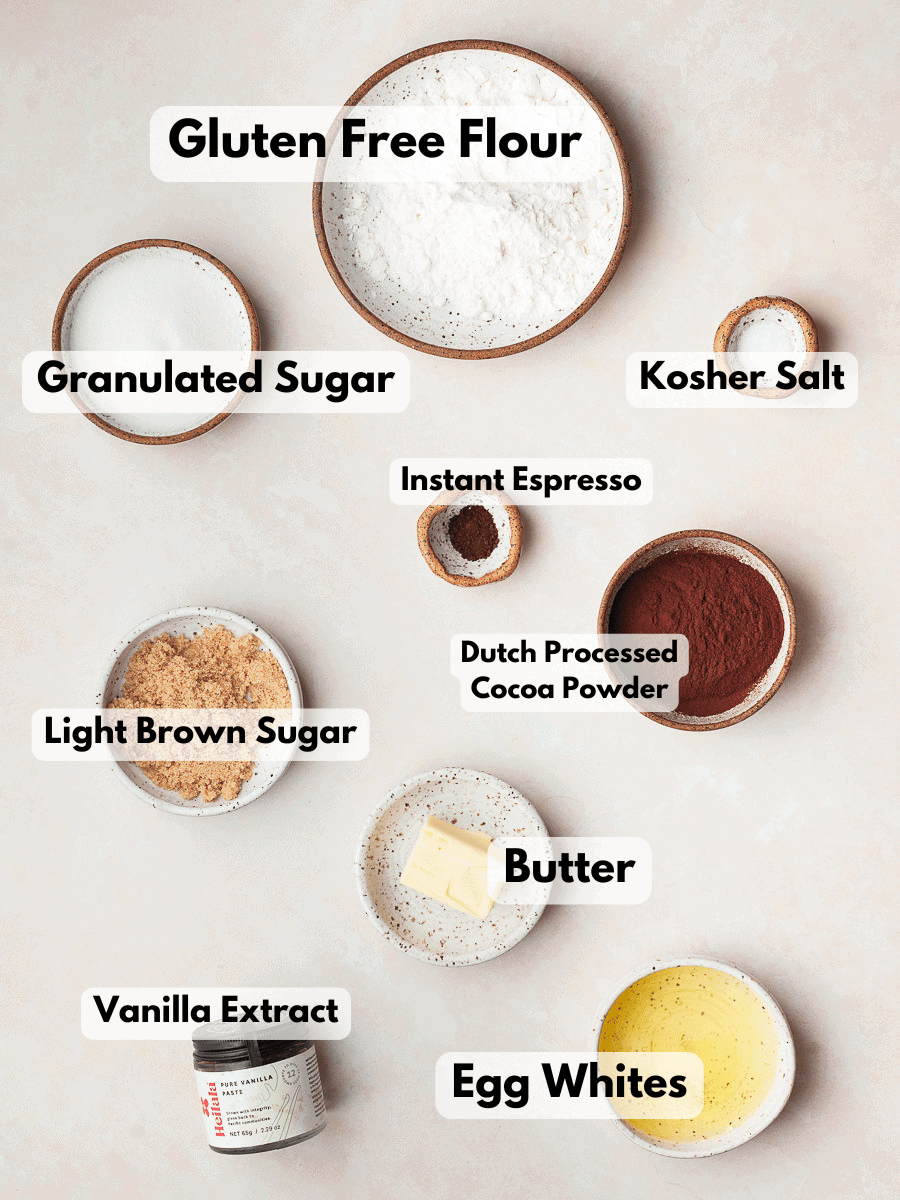
Gluten Free Flour: Since I have done extensive testing with my original Gluten Free Waffle Cone Recipe, I knew my flour of choice for Gluten Free Waffle Chocolate Waffle Cones will be my Cup4Cup Copycat Recipe. Its higher starch content allows the cones to bake up thin, crisp, and golden brown. Plus the cones have that signature snap once cooled.
Dutch Processed Cocoa Powder: I recommend using dutch-processed cocoa, which produces a rich flavor in the chocolate waffle cones.
Instant Espresso Powder: I love adding just a little bit of instant espresso powder to the waffle cone batter. It helps boost the chocolate flavor. This product can be found at any grocery store in the same aisle as coffee. I use Instant Espresso Powder from DeLallo. You can also use Instant coffee.
Egg Whites: Make sure to only use egg whites in this recipe. They are the key to achieving a light, thin, and crispy texture. Egg whites are rich in protein and contain no fat. This allows the batter to set quickly and bake into crisp waffle cones with that signature snap. Unlike whole eggs, egg yolks add fat and richness, making waffle cones softer, thicker, and slightly chewy rather than crisp.
Tools needed to make Gluten Free Chocolate Waffle Cones
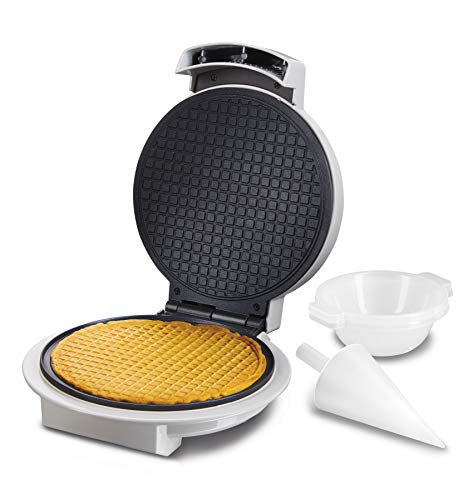
You will need a Waffle Cone Maker to make waffle cones. Unlike traditional waffle irons, a waffle cone iron has much thinner, shallower plates. This spreads the batter into a very thin layer, which is exactly what you need for cones that can be rolled while warm and still turn out crisp and sturdy once cooled.
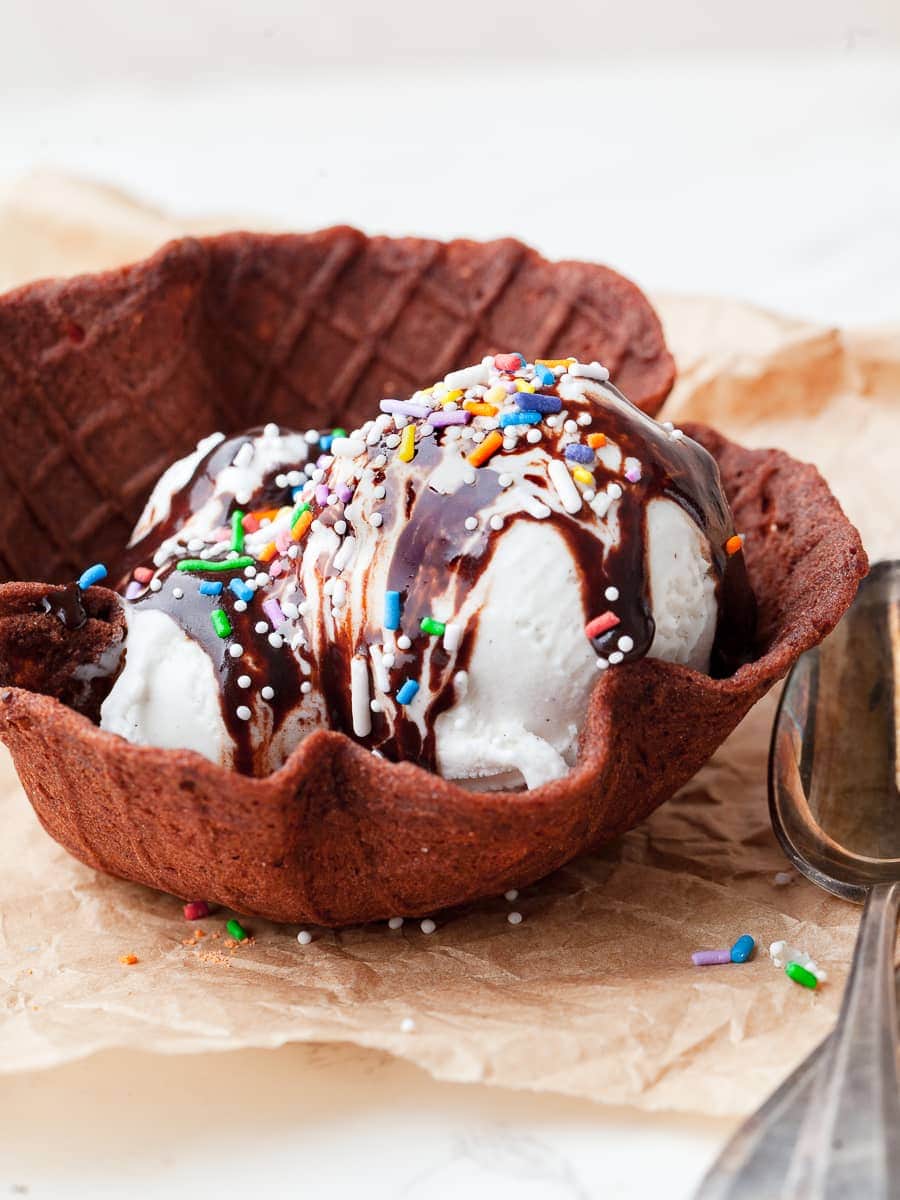
Make sure you purchase one that includes a cone shaper and a bowl shaper. The cone shaper helps you roll them into a classic ice cream cone, while the bowl shaper gives you an easy way to create waffle bowls for sundaes or desserts. Without them, it’s much harder to get consistent shapes before the waffle sets and crisps up.
Recipe Testing Notes
Since this recipe is an adaptation of my Gluten Free Waffle Cone Recipe, I assumed turning it into a chocolate version would be a simple one-and-done test. Dutch processed cocoa powder, however, absorbs more moisture than flour, so for my first test I added a little extra milk to compensate. Unfortunately, that extra liquid prevented the waffle cones from crisping up as they cooled.
So instead of adding extra liquid, I chose to slightly increase the melted butter. Which did the trick. The waffle batter is a bit thicker than the original one but bakes up beautifully and the waffles hold their shape and are crisp.
Gluten Free Chocolate Waffle Cone Batter
The batter for gluten free chocolate waffle cones can be made with just a mixing bowl and a whisk, with a stand mixer, or an electric hand mixer.
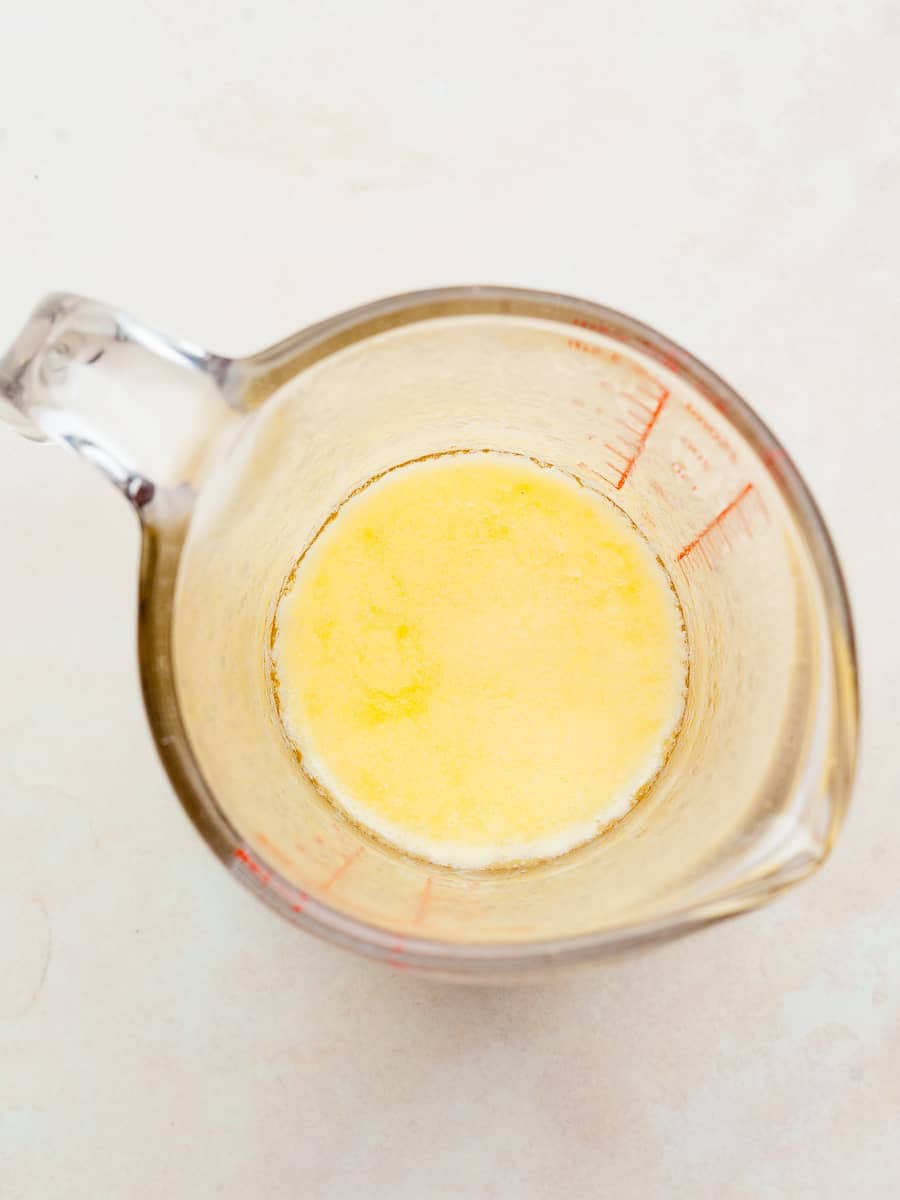
- Step 1: In a microwave-safe bowl, melt the unsalted butter and set it aside to cool. The butter should be fully melted but not hot when added to the batter.
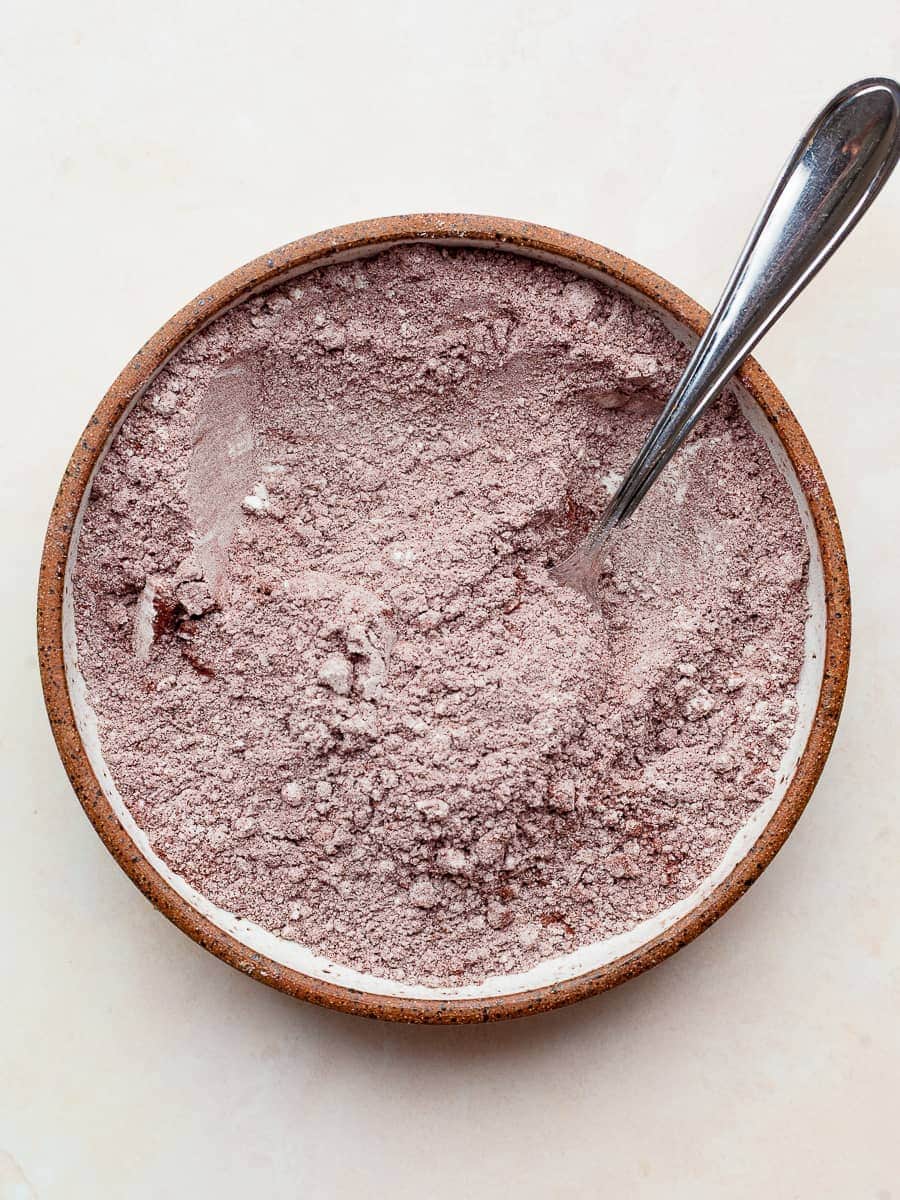
- Step 2: In a small bowl, combine the gluten free flour, dutch processed cocoa powder, instant espresso powder (if using) and kosher salt. IF your cocoa powder is lumpy, make sure to sift it. Set the dry ingredients aside.
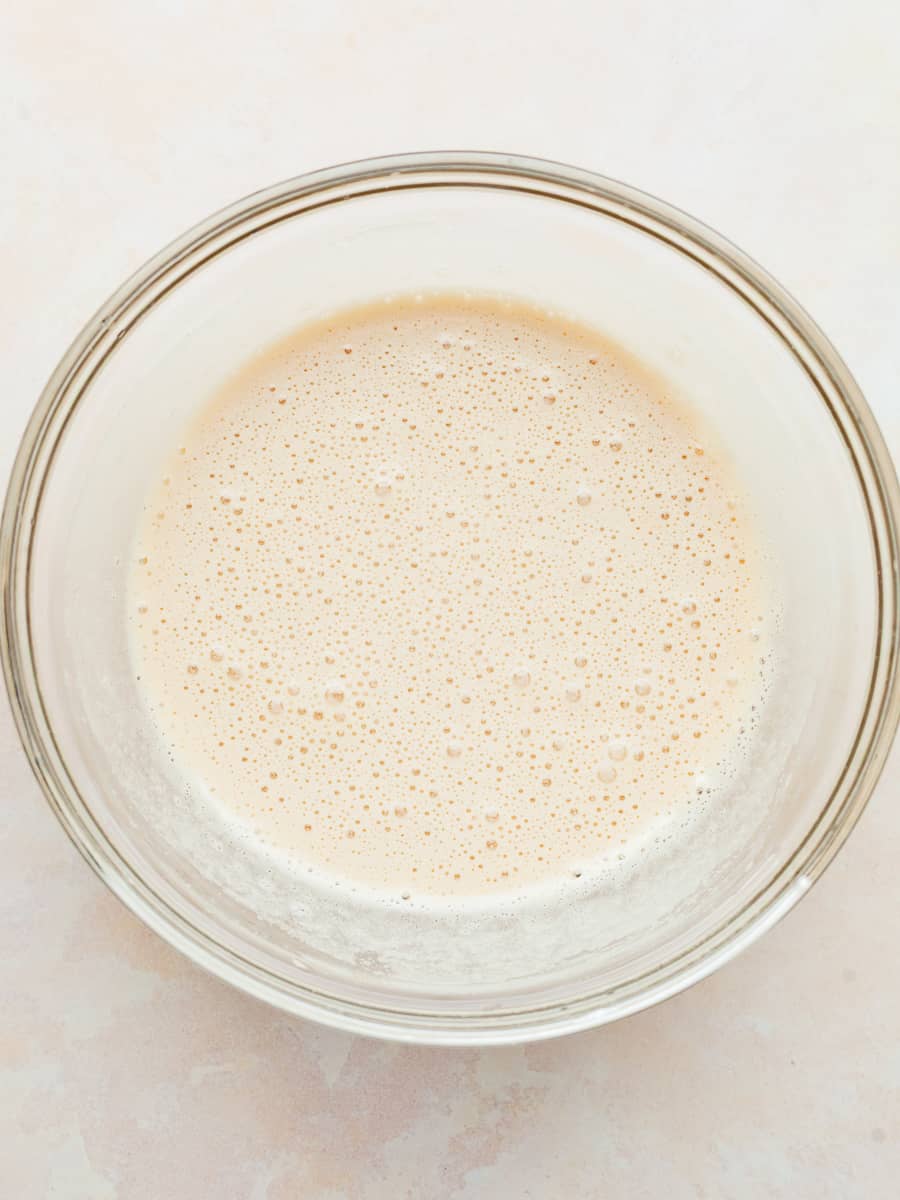
- Step 3: In a medium mixing bowl, whisk together the egg whites, granulated sugar, light brown sugar and vanilla extract until the mixture is light and frothy.
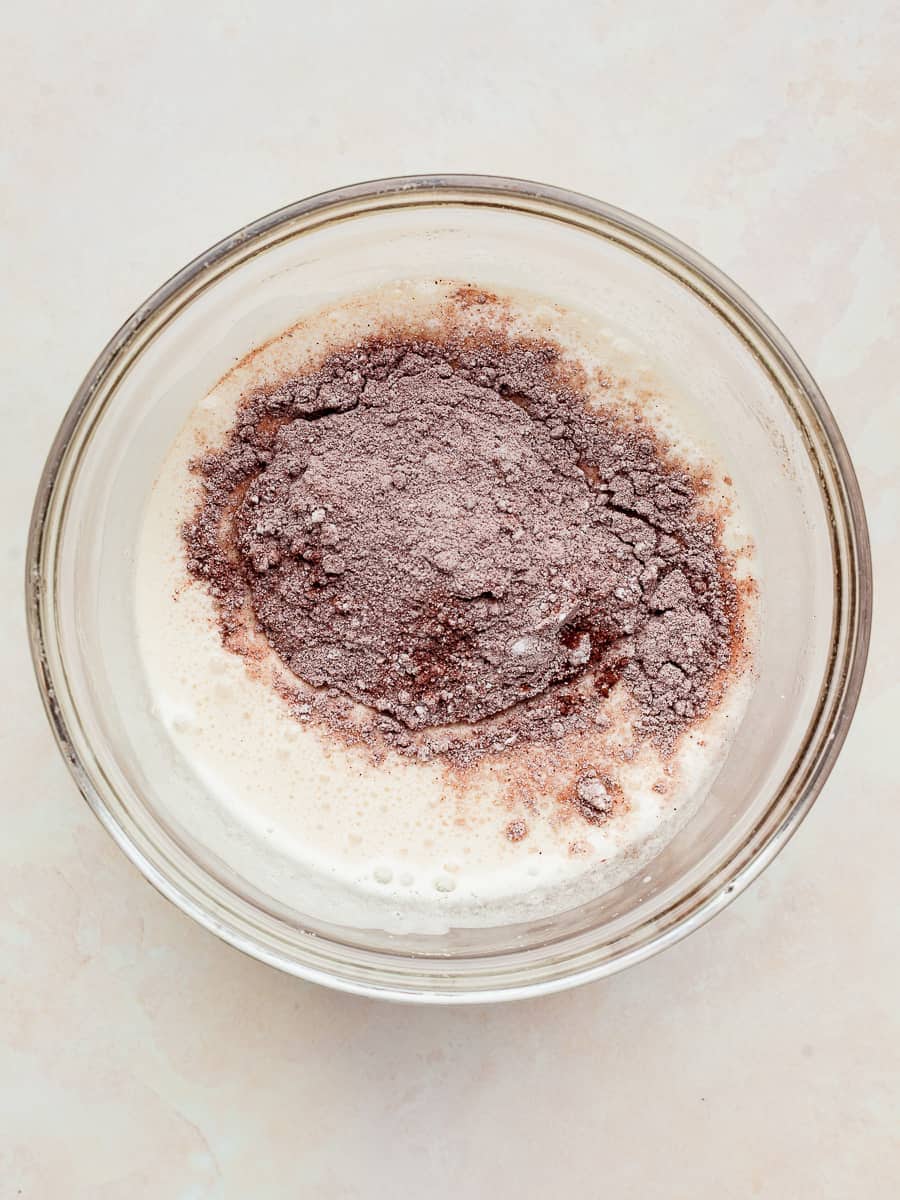
- Step 4: Add HALF of the dry ingredients to the wet ingredients and mix until combined.
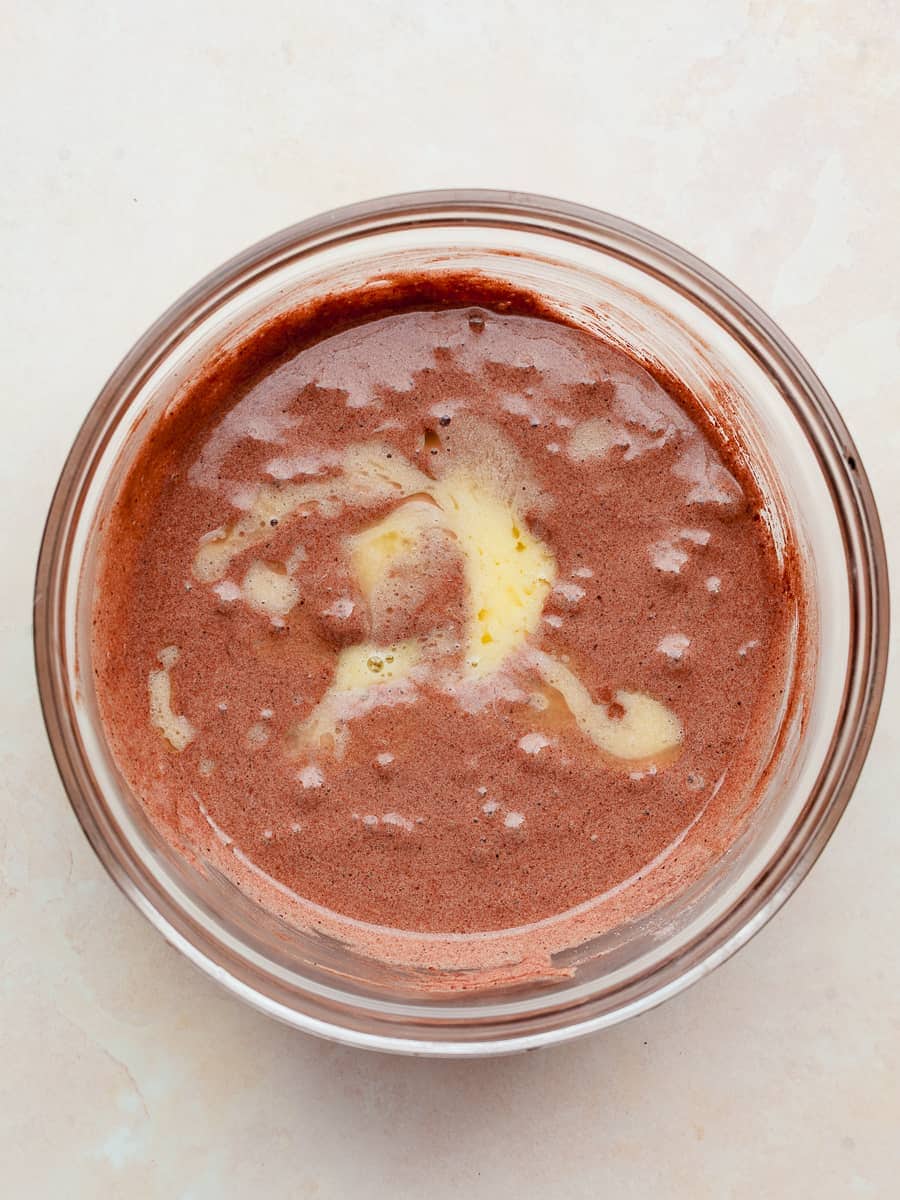
- Step 5: Pour the cooled, melted butter into the batter and stir into the mixture.
- Step 6: Add the remaining dry ingredients and mix until the batter is smooth and no dry streaks remain.
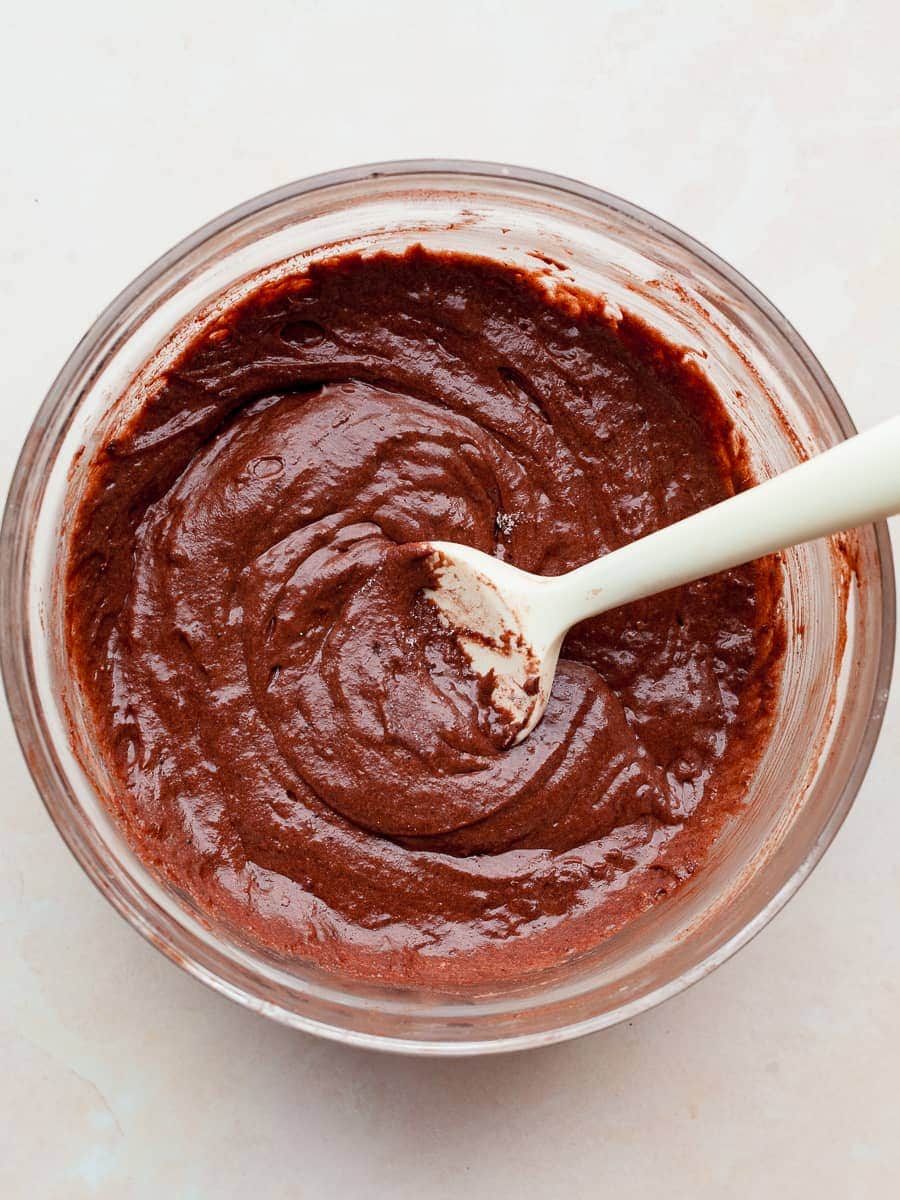
- Step 7: The chocolate waffle cone batter will be thick and glossy, similar to a chocolate cupcake batter. Let the batter rest at room temperature for 10 minutes while you preheat the waffle cone maker.
How to make Gluten Free Waffle Cones
Make sure to properly preheat your waffle cone maker. I like to set the dial of my Waffle Coner Maker halfway between Min and Max. Making waffles from scratch is a learning process. So the first 1-2 waffles may break and this happens to the best of us.
As soon as the chocolate waffle comes off the iron, you only have about 15–20 seconds before it starts to stiffen. Once it cools too much, it will crack instead of bend. Have your workstation fully set up and ready to go so you can shape it immediately.
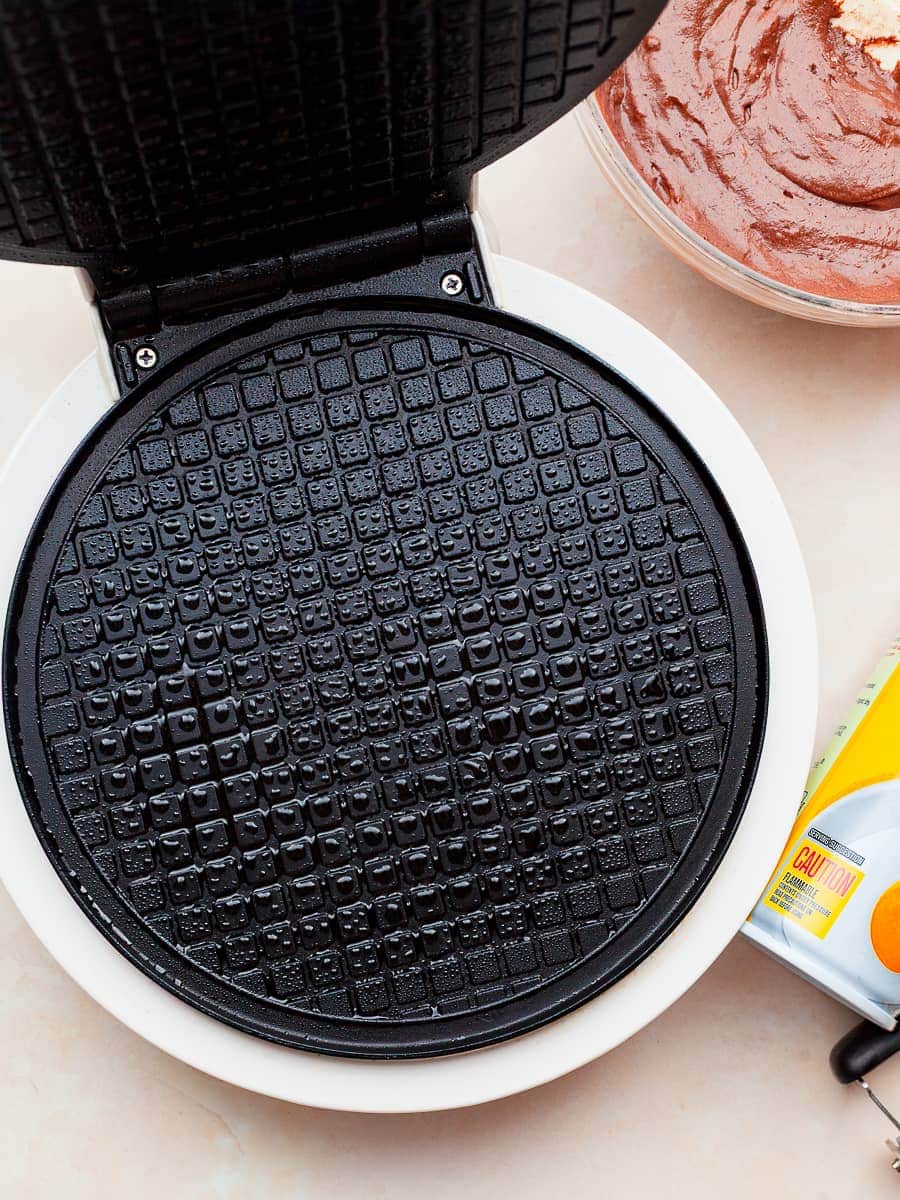
- Step 1: Step 1: Make sure your waffle cone maker is fully preheated. Lightly grease the surface with non-stick spray or brush it with a little oil.
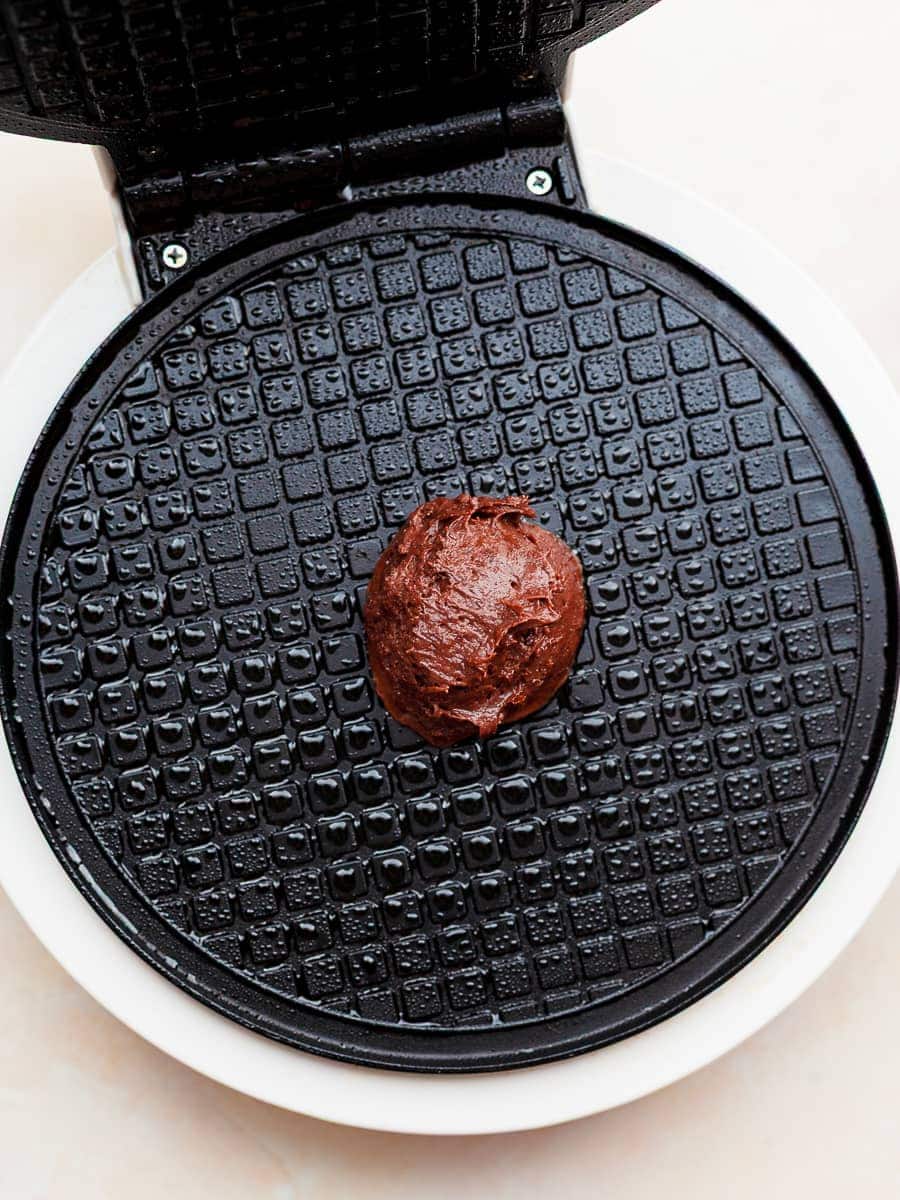
- Step 2: Use a large cookie scoop to portion the batter and drop it into the center of the hot iron. The batter will be thick and a bit sticky, so lightly greasing the scoop can help it release more easily.
- Step 3: Close the lid of the waffle cone maker gently and press down just slightly so the chocolate waffle cone batter spreads into an even circle.
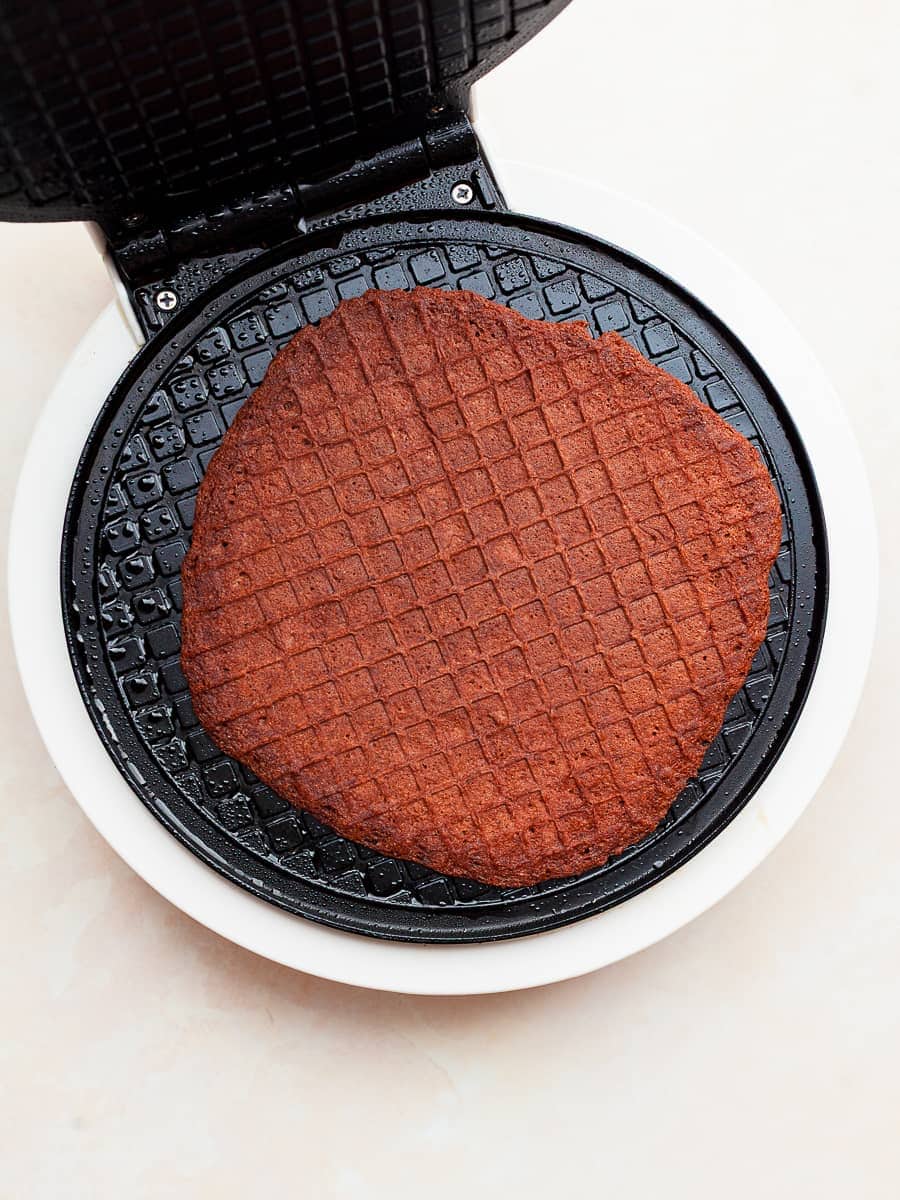
- Step 4: Cook for about 90 seconds to 2 minutes, checking at the 90-second mark. Chocolate waffle cones won’t look “golden brown,” so go by texture instead: the waffle should look set with a slightly dry surface (not shiny or wet), release easily from the iron, and smell like toasted cocoa and caramelized sugar. If it still looks glossy or sticks when you lift it, give it another 15–30 seconds. The goal is a fully set waffle that’s flexible enough to roll, but dry enough to crisp as it cools.

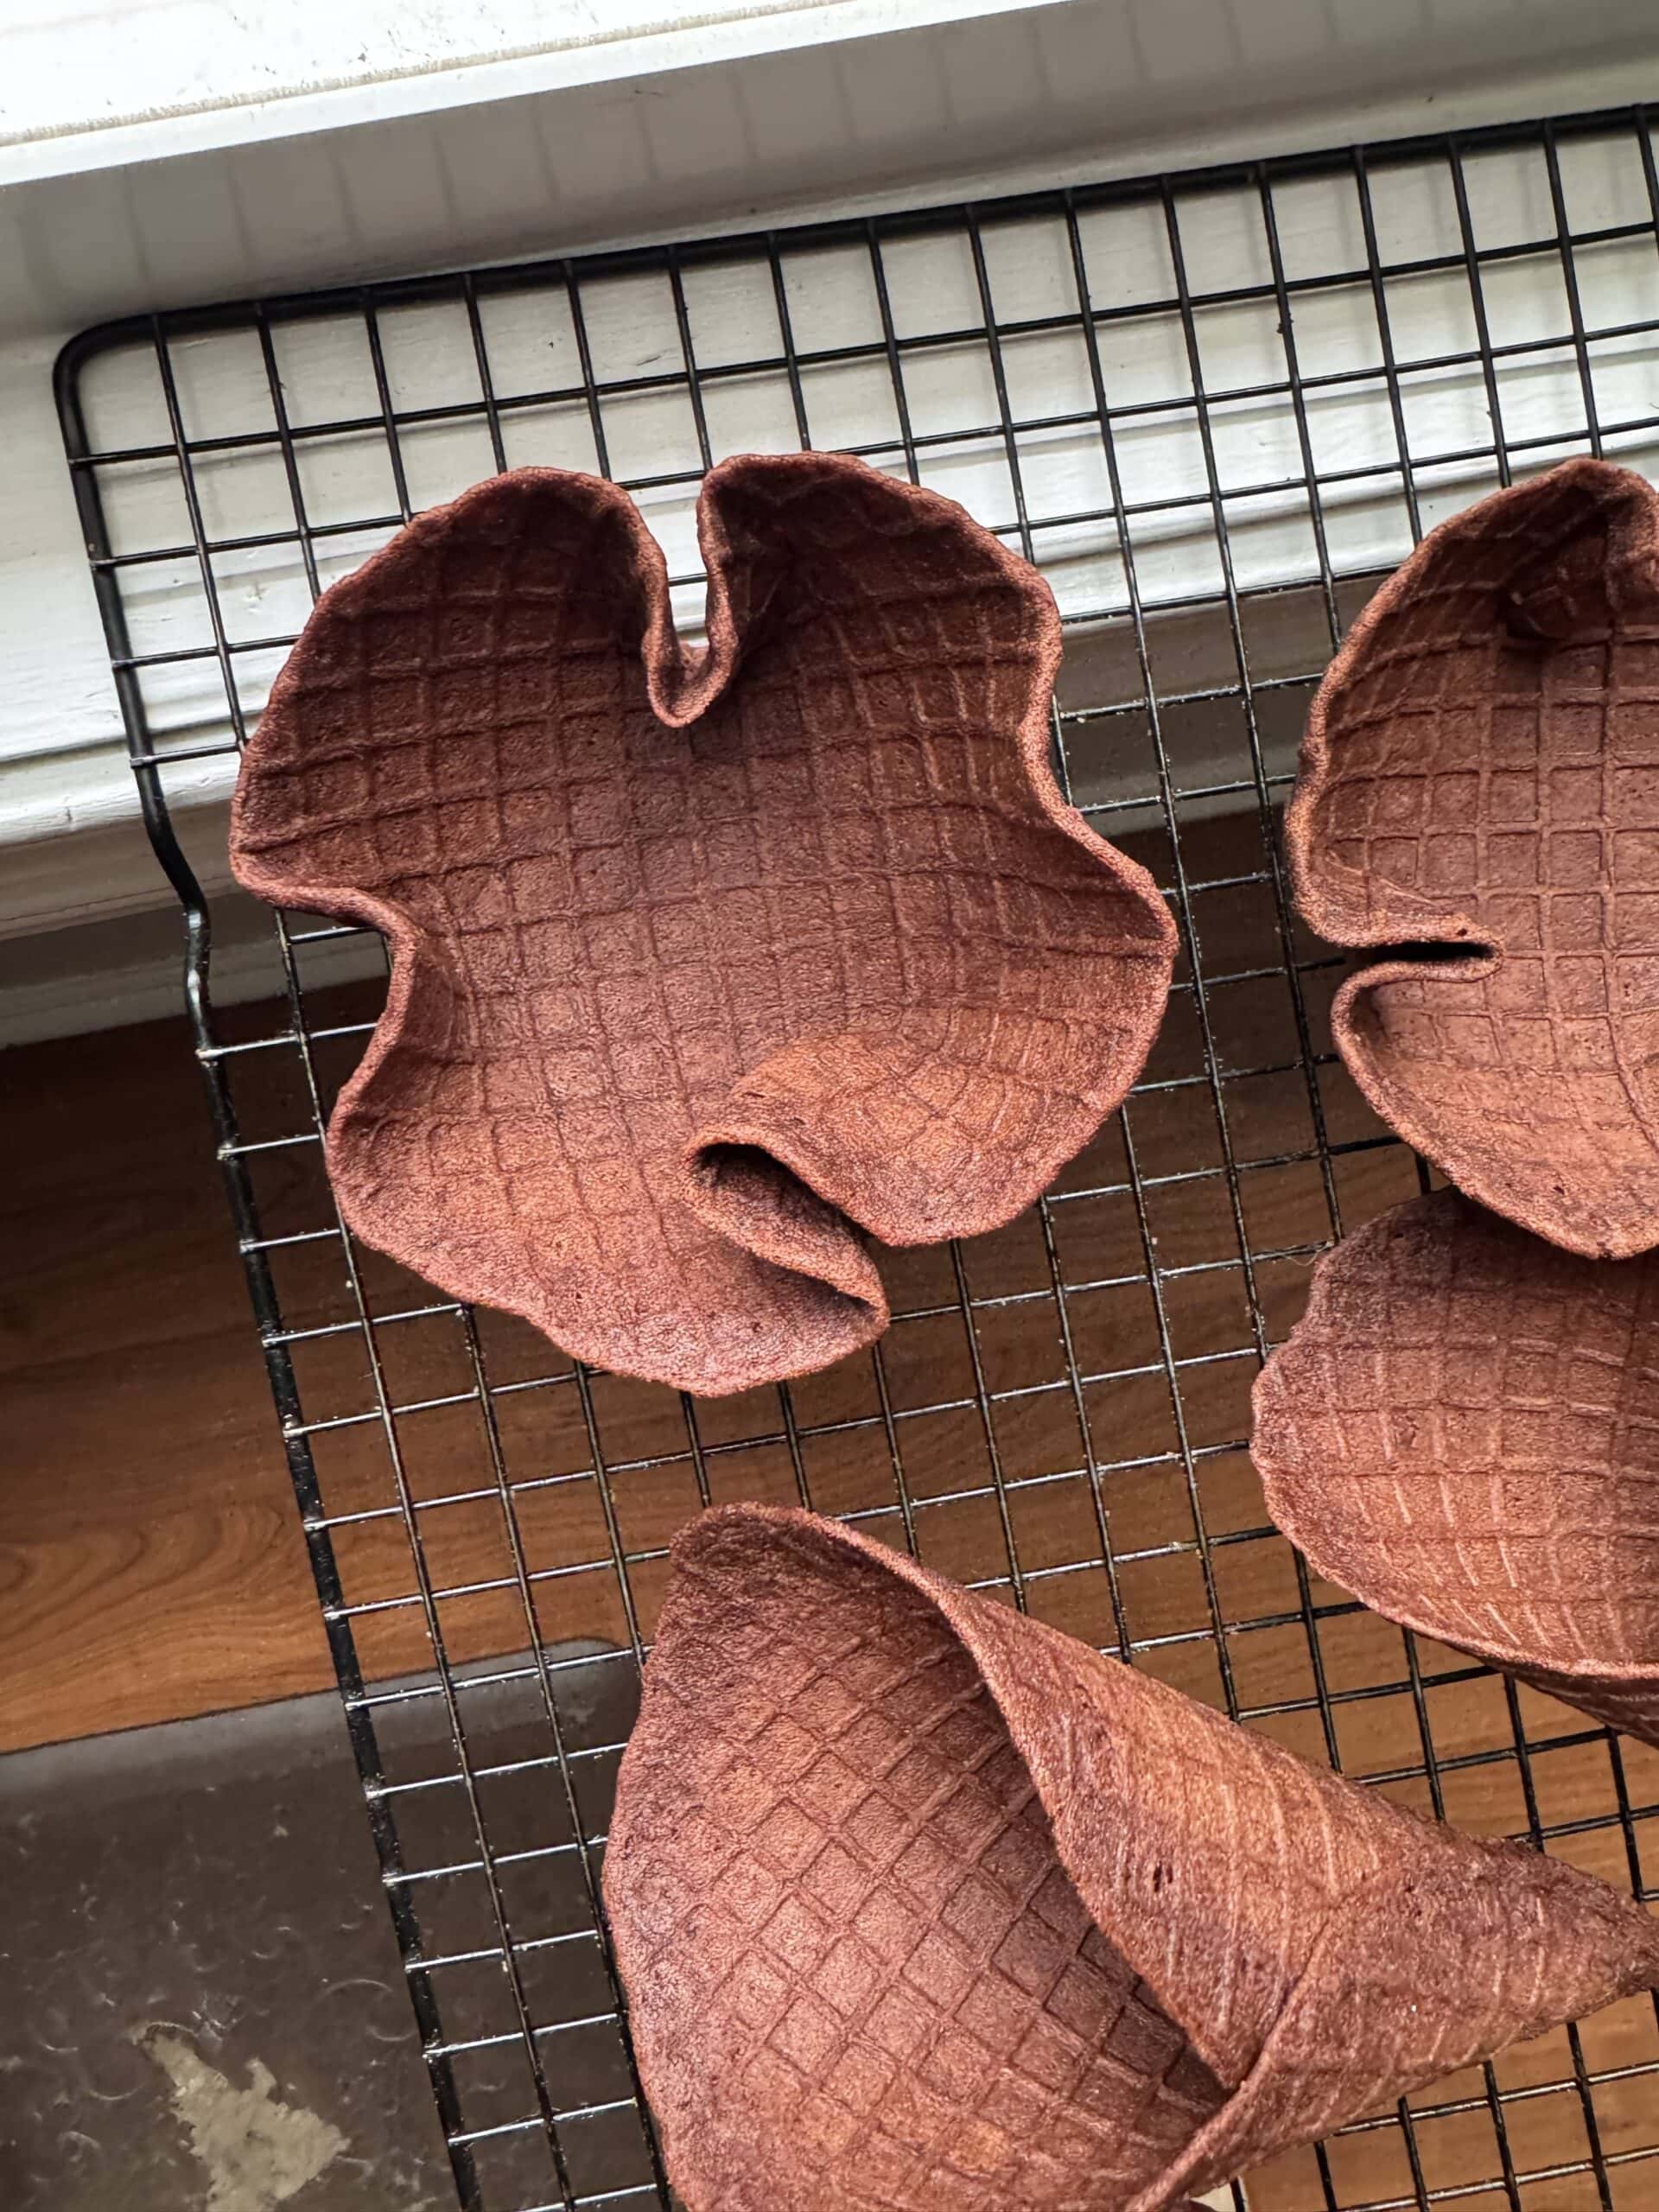
- Step 5: Once the waffle is ready, carefully transfer it to a clean kitchen counter, then use the cone-shaping tool to shape it into a waffle cone.
- Step 6: Lay the cone shaper along one edge of the waffle, slightly angled so the tip will form a tight point.
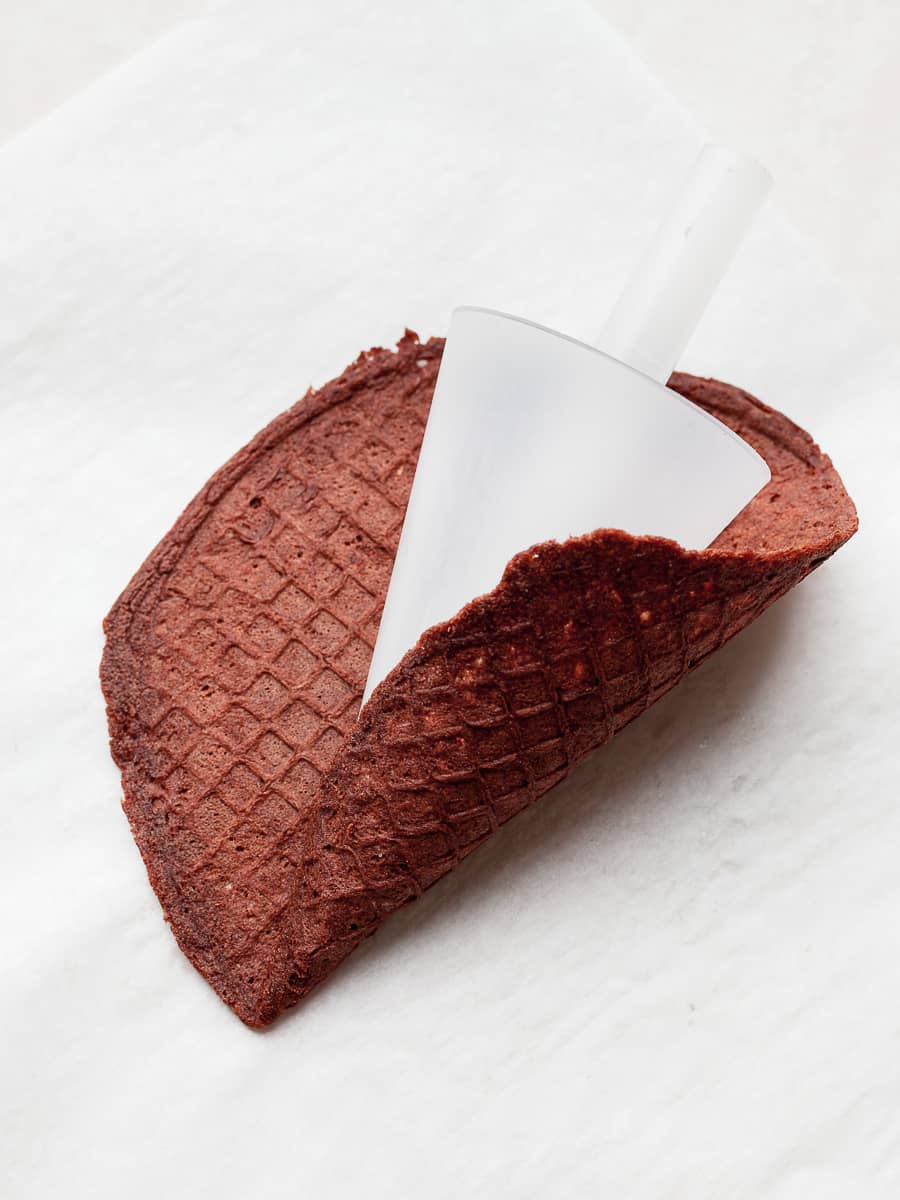
- Step 7: Quickly roll the waffle around the cone, keeping it snug. Overlap the edges slightly so the cone holds together.
- Step 8: Use your fingers to pinch the bottom tip closed gently. This keeps ice cream from dripping out later.
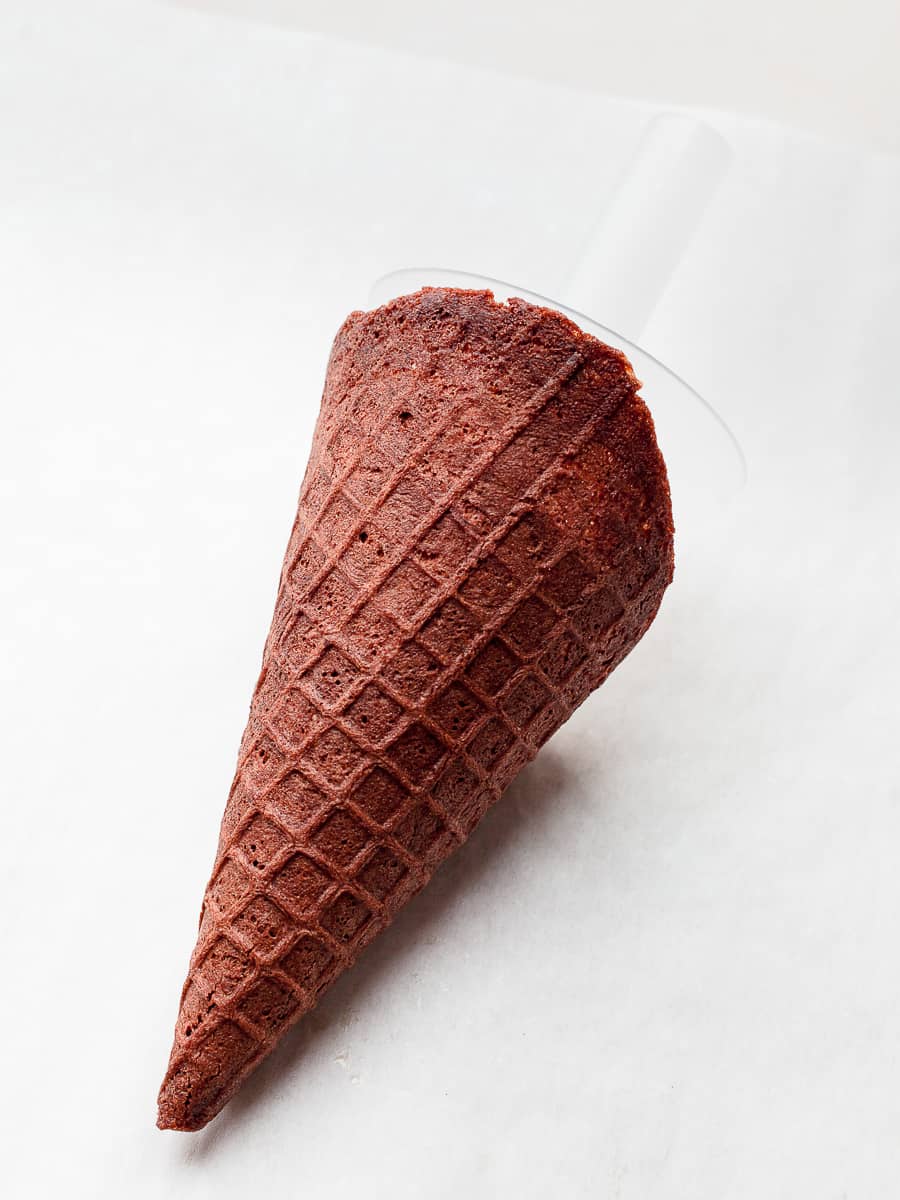
- Step 9: Hold the cone in place for 30 - 45 seconds or until it sets, then carefully slide out the mold. Place the finished cone on a cooling rack to cool completely.
- Step 10: Repeat the process until all the waffle cone batter is used up. Make sure to allow the waffle cone maker to reheat and always close the machine to make sure it stays hot.
Video - How to shape a Waffle Cone
How to serve Gluten Free Chocolate Waffle Cones
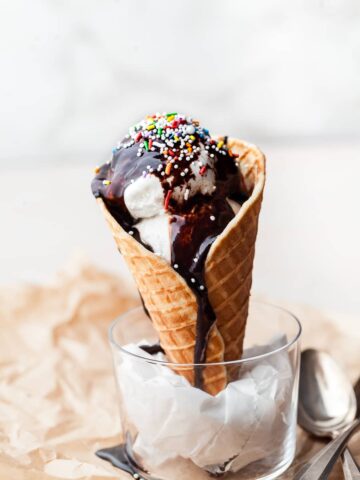
Chocolate waffle cones are best served fully cooled and crisp, filled just before eating so they stay crunchy. Once shaped, let them cool completely on a rack so they firm up properly, that’s what gives you that classic snap when you bite into them.
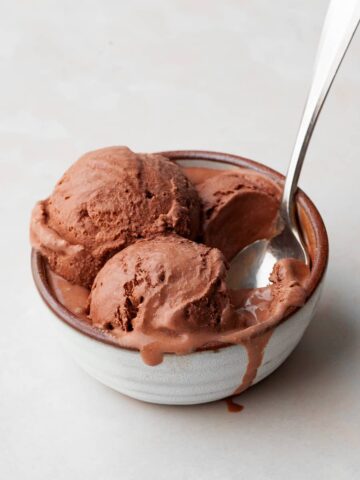
From there, keep it simple. Serve them with your favorite ice cream flavor and maybe top with some with some homemade hot fudge sauce and some gluten free sprinkles.
Another fun option is to fill them with sweetened whipped cream and fresh berries for a lighter, fruit-forward twist.
How to store Chocolate Waffle Cones
Waffle cones are easy to store, as long as you keep one thing in mind: they hate moisture. Properly stored waffle cones should stay crispy for a week or so. I had a lot of luck adding some food grade silica packets to the storage container and my waffles stayed crisp for 9 days (that's when I caved and ate them)
- Let them cool completely first: Even a little warmth creates steam, which turns them soft.
- Store in an airtight container: A cookie tin or a container with a tight lid works best.
- Keep them at room temperature: No fridge. They’ll absorb moisture and lose their crispness.
- Add a moisture absorber (optional, but helpful): Toss in a silica packet or even a small piece of dry paper towel to keep things crisp.
- Store upright if possible: This helps the chocolate waffle cones keep their shape and prevents cracking.
- Keep them dry, always: Avoid humid spots (next to the stove, dishwasher, etc.).
Note about Salt in my Recipes
I use Diamond Kosher Crystal Salt in all of my recipes unless otherwise stated. If use use a different brand or kind of salt in your kitchen please adjust accordingly since some salts can be saltier. If you use Morton’s Kosher Salt please be aware that their salt granules are smaller in size, denser, and crunchier and twice as salty.
Baking in grams
I share my recipes in grams and by weight since baking by weight is the most accurate way to bake. Digital Scales are very affordable and easy to use. You can purchase them on Amazon for less than a set of measuring cups. For small amounts under 10 grams, I like to use this Precision Pocket Scale. Measuring cups are very inaccurate which can cause significant errors when it comes to gluten-free baking or baking in general. Especially since I bake with gluten-free flours which weigh differently than “regular” flours. I do provide some ingredients like spices and leavening agents in measuring spoons. To learn more about Baking with a digital scale, make sure to check out my post about Baking by weight.
Note about Ovens and Oven Temperatures
All my recipes are tested and developed with a conventional oven. I always bake my baked goods on the rack placed in the MIDDLE of my oven. This way the heat coming from the bottom will not burn my baked goods.
If you are baking with convection (fan-forced), please adjust the recipes accordingly. Convection oven can cause baked goods to dry out quickly and still be raw inside. Since takes at least 15-20 minutes for a standard American Oven to be fully preheated. I highly recommend investing in an Oven Thermometer.
Substitutions and Modifications
Any dietary or ingredient modifications/substitutions to this recipe may alter the end result in appearance and taste. I test my recipes several times as published in this post and The Gluten Free Austrian Blog is not responsible for the outcome of any recipe you find on our website.
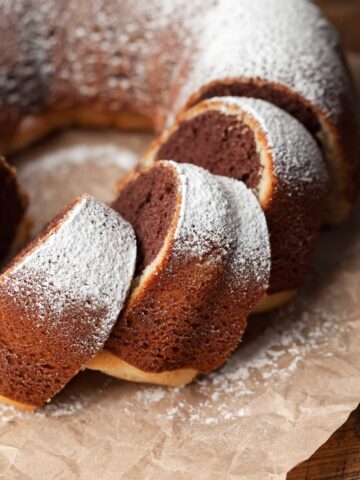
More Gluten Free Recipes to Try

📖 Recipe
Gluten Free Chocolate Waffle Cones

These Gluten Free Chocolate Waffle Cones are crisp, buttery, and packed with rich chocolate flavor. They're perfect for serving with your favorite ice cream or frozen desserts all summer long.
Ingredients
Gluten Free Chocolate Waffle Cones
- 45 grams unsalted butter, can be cold
- 2 large egg whites, around 70 grams
- 60 grams granulated sugar
- 20 grams light brown sugar
- 1 teaspoon good vanilla extract
- 70 grams gluten free flour (preferably my Cup4Cup Copycat Flour)
- 15 grams dutch processed cocoa powder
- ½ teaspoon kosher salt
- ¼-1/2 teaspoon instant espresso
- Non-Stick Cooking Spray for the waffle maker
Instructions
Gluten Free Chocolate Waffle Cone Batter
- In a small bowl, whisk together the gluten free flour, Dutch-process cocoa powder, instant espresso powder (if using), and kosher salt. If your cocoa powder is lumpy, sift the dry ingredients before whisking them together.
- In a medium mixing bowl, whisk together the egg whites, granulated sugar, light brown sugar, and vanilla extract until the mixture is light and frothy.
- Add half of the dry ingredients to the wet ingredients and whisk until just combined.
- Stir in the cooled, melted butter until fully incorporated.
- Add the remaining dry ingredients and whisk until the batter is smooth and no dry streaks remain.
- The batter will be thick and glossy, similar to chocolate cupcake batter. Let it rest at room temperature for 10 minutes while you preheat the waffle cone maker.
How to make Gluten Free Chocolate Waffle Cones
Make sure your waffle cone maker is fully preheated before you begin. I like to set the dial on my waffle cone maker halfway between Min and Max. Making homemade waffle cones takes a little practice, so don't worry if the first one or two don't turn out perfectly.
- Before you start baking, have your workstation set up with your cone shaper ready to go. Once a chocolate waffle comes off the iron, you only have about 15–20 seconds before it starts to firm up. If it cools too much, it will crack instead of bend.
- Lightly grease the cooking surfaces with non-stick spray or a thin layer of oil.
- Using a large cookie scoop, place one scoop of batter in the center of the hot waffle iron. The batter will be thick and sticky, so lightly greasing the scoop can help it release more easily.
- Close the lid and gently press down to spread the batter into an even circle.
- Cook for 90 seconds to 2 minutes, checking after about 90 seconds. Since chocolate waffle cones are darker than traditional waffle cones, don't rely on color alone. The waffle is ready when the surface looks set and slightly dry (not shiny), releases easily from the iron, and smells like toasted cocoa. If it still looks glossy or sticks to the iron, cook it for another 15–30 seconds.
- Carefully transfer the hot waffle to a clean work surface.
- Position the cone shaper along one edge at a slight angle so the tip forms a tight point.
- Roll the waffle snugly around the cone shaper, overlapping the edges slightly so the cone seals and holds its shape.
- Gently pinch the tip closed to prevent melted ice cream from leaking out.
- Hold the cone in place for 30–45 seconds, or until it sets, then carefully remove the cone shaper.
- Transfer the finished cone to a cooling rack and let it cool completely.
- Repeat with the remaining batter, allowing the waffle cone maker to fully reheat between each cone. Keep the lid closed while it reheats to maintain an even cooking temperature.
Notes
Gluten Free Flour: I have tested this recipe for Gluten Free Waffle Cones with King Arthur Measure for Measure, Bob's Red Mill 1-1 and my Cup4Cup Copycat Recipe. For the best texture, I highly recommend using Cup4Cup. Its higher starch content allows the cones to bake up thin, crisp, and golden brown. Plus the cones have that signature snap once cooled.
This recipe has been adapted from my Gluten Free Waffle Cone Recipe.
Recommended Products
As an Amazon Associate and member of other affiliate programs, I earn from qualifying purchases.
Nutrition Information:
Yield:
6Serving Size:
1Amount Per Serving: Calories: 168Carbohydrates: 24g
Calories are a guestimate and randomly generated.


Comments
No Comments