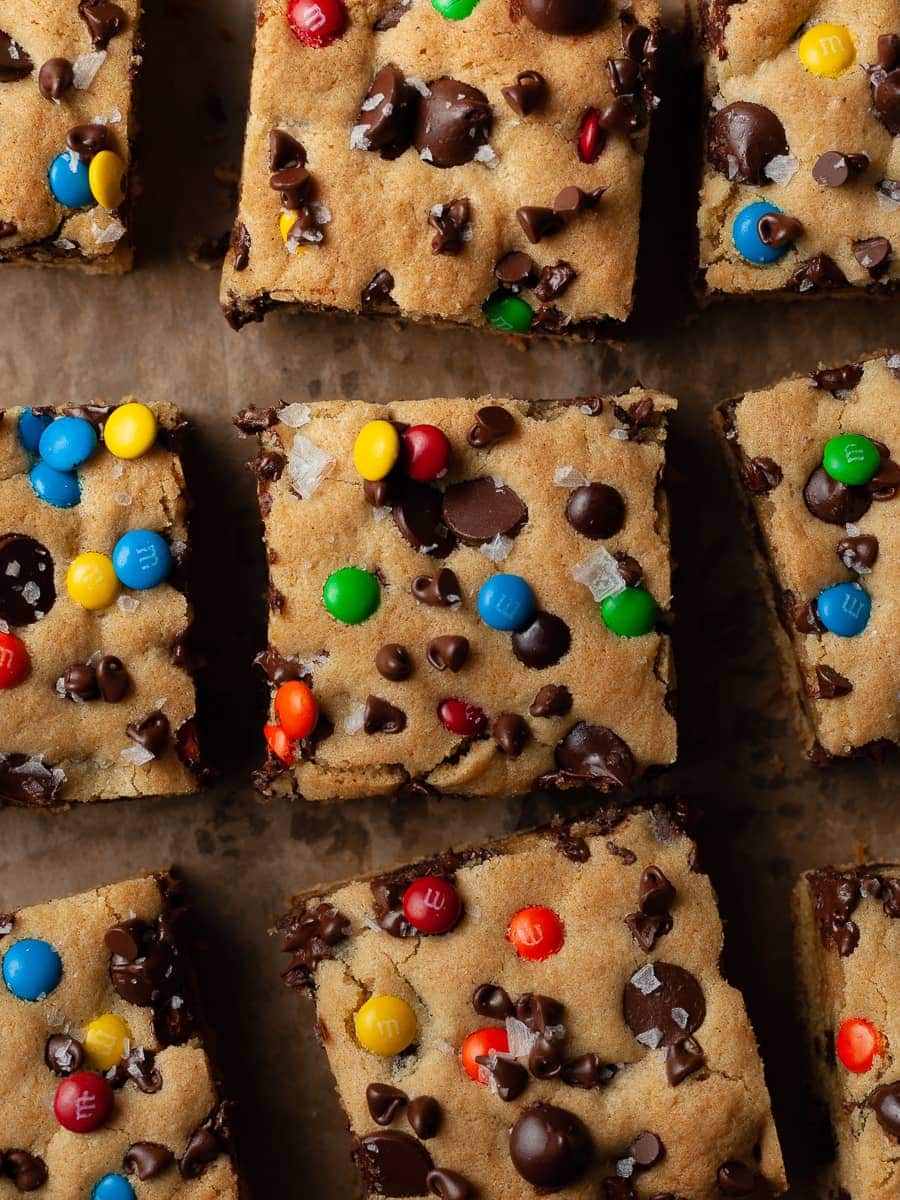
Get ready to indulge in the ultimate delight of soft and chewy gluten-free cookie bars! These bars are loaded with a ton of chocolatey goodness, making them the perfect treat for any occasion. And guess what? No more waiting around for the dough to chill like with traditional gluten-free chocolate chip cookies. Just whip up a batch of chocolate chip cookie bars whenever you're craving a seriously decadent dessert. Trust me, you won't be able to resist!
Jump to:
- Recipe Ingredients Notes
- How to make Gluten Free Cookie Bars
- Storage & Freezing
- Why are cookie bars better than cookies?
- Tips for cutting gluten free cookie bars neatly
- FAQ - Gluten Free Cookie Bars
- Note about Salt in my Recipes
- Baking in grams
- Note about Ovens and Oven Temperatures
- Substitutions and Modifications
- More Gluten Free Cookie Bars to try
- 📖 Recipe
- 💬 Comments
Recipe Ingredients Notes
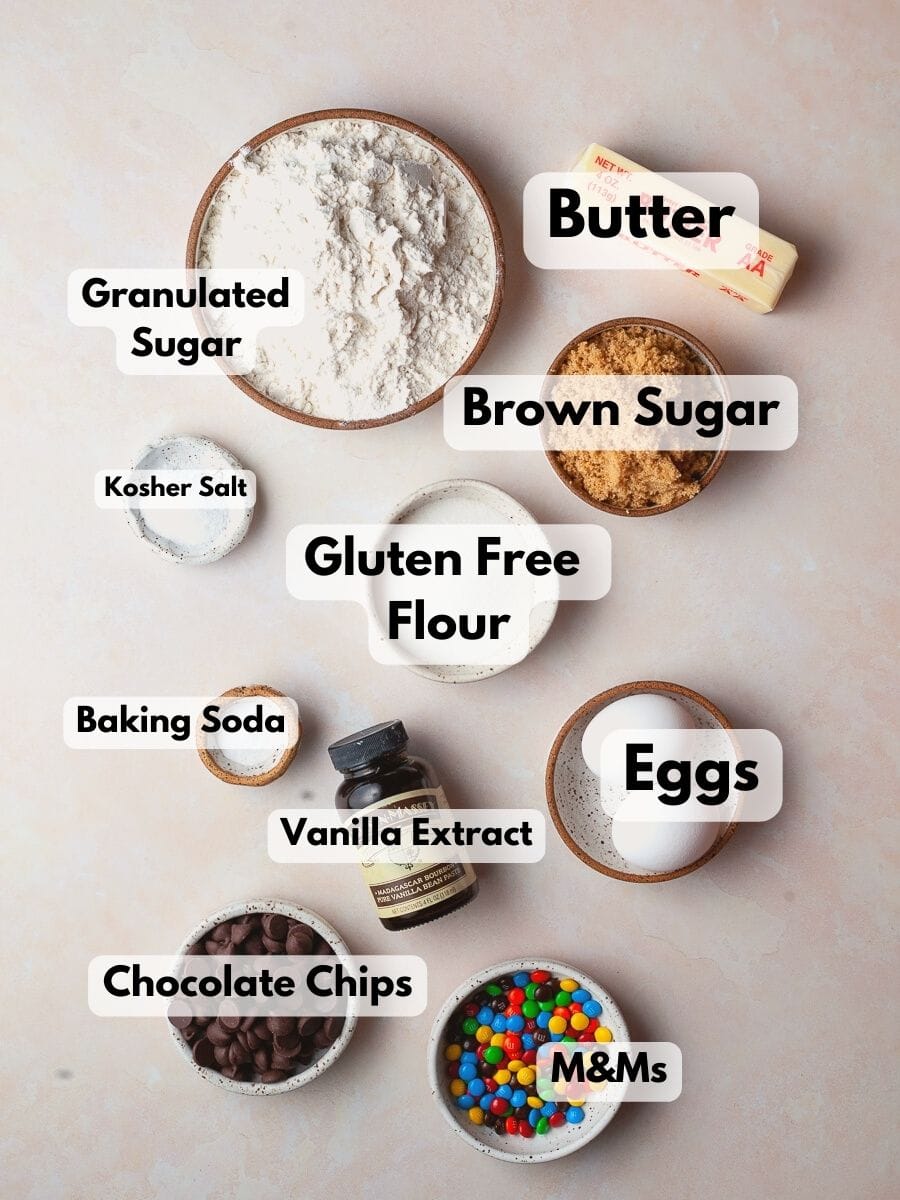
Gluten Free Flour: This gluten-free bar cookie recipe is very forgiving. I have made it with my own gluten free flour blend, Bob's Red Mill 1-1, and King Arthur Measure for Measure. All three blends contain xanthan gum and yield excellent results in this recipe. However, it doesn't mean that other blends like Cup4Cup wouldn't work; I just haven't tried them yet.
Unsalted Butter: I prefer using unsalted butter in my recipes since I can control the amount of salt added this way. The butter should be at room temperature, around 65F. If you nudge the softened butter with your finger you should see an indent. But the butter should not feel like you can poke right through it.
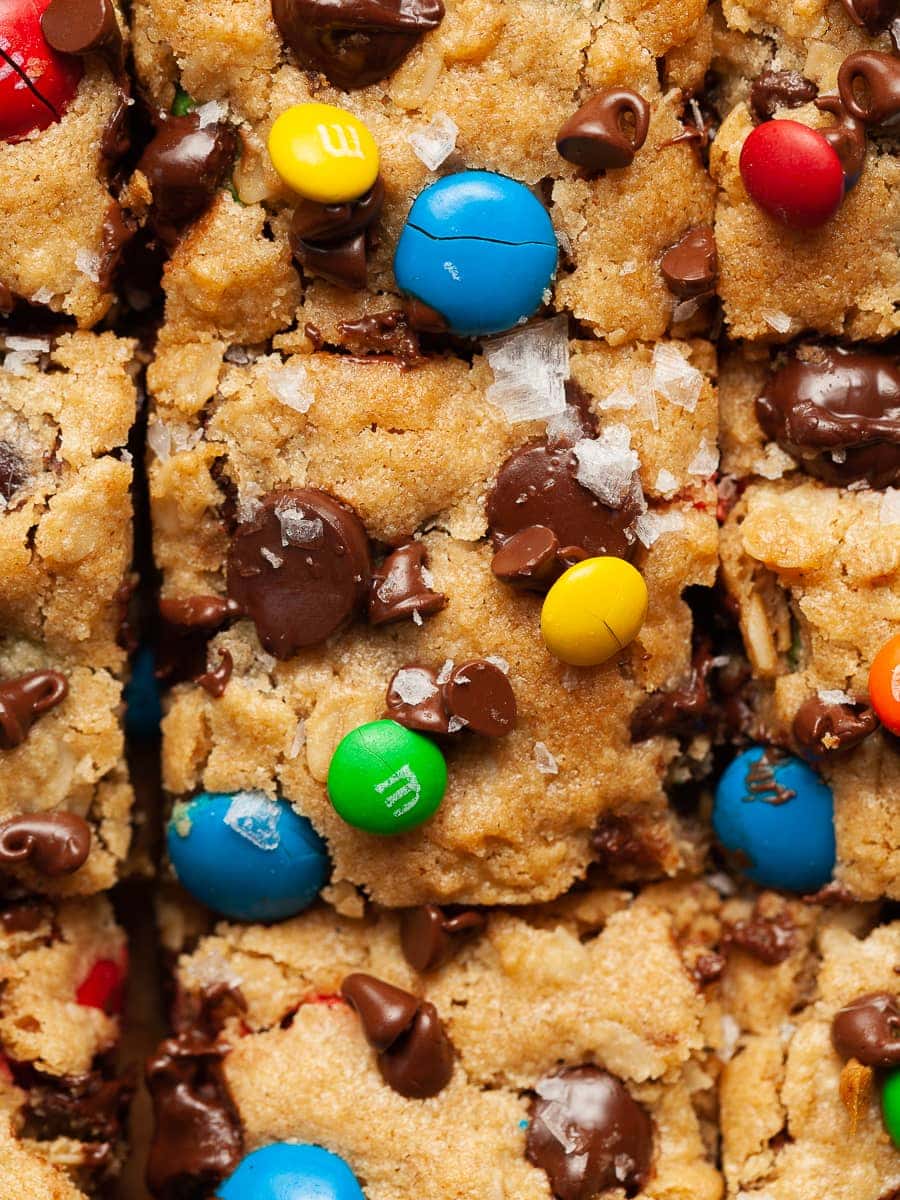
M&M's: To be honest, the M&M's are just for a little color pop on top of the cookie bars. If you like, you may also add some to the cookie bar batter (just like my Gluten Free Monster Coookie Bars). Seasonal M&M's are a fun way to dress them up for special holidays like 4th of July, Christmas and Valentine's Day.
Chocolate Chips: I use dark chocolate chips (60% or darker) in this recipe. A combination of dark and milk chocolate chunks would be delicious in this recipe as well.
How to make Gluten Free Cookie Bars
Making the dough for the cookie cake is pretty straightforward. The most complicated step may be waiting for them to be cool enough to cut. Eggs and Butter need to be at room temperature. You can use a stand mixer for this recipe or a large bowl and a hand mixer.
Step 1: First, set your oven to 350F and put the wire rack in the middle. Choose either an 8x8 or 9x9 baking pan and give it a light spray of cooking spray. Then, line the pan with parchment paper, making sure to leave some extra paper hanging over the edges. This will make it a breeze to take out the cookie bars once they're baked and fully cooled.
Step 2: In a separate mixing bowl sift together the gluten-free flour, baking soda, and kosher salt and set aside.
Step 3: In your stand mixer's bowl or a large mixing bowl, mix together the room-temperature butter, brown sugar, granulated white sugar, a generous teaspoon vanilla extract, and kosher salt. Beat them at a medium speed for about 4-5 minutes until the mixture becomes fluffy and pale. Don't forget to pause halfway through to scrape the bowl and beater with a flexible rubber spatula.
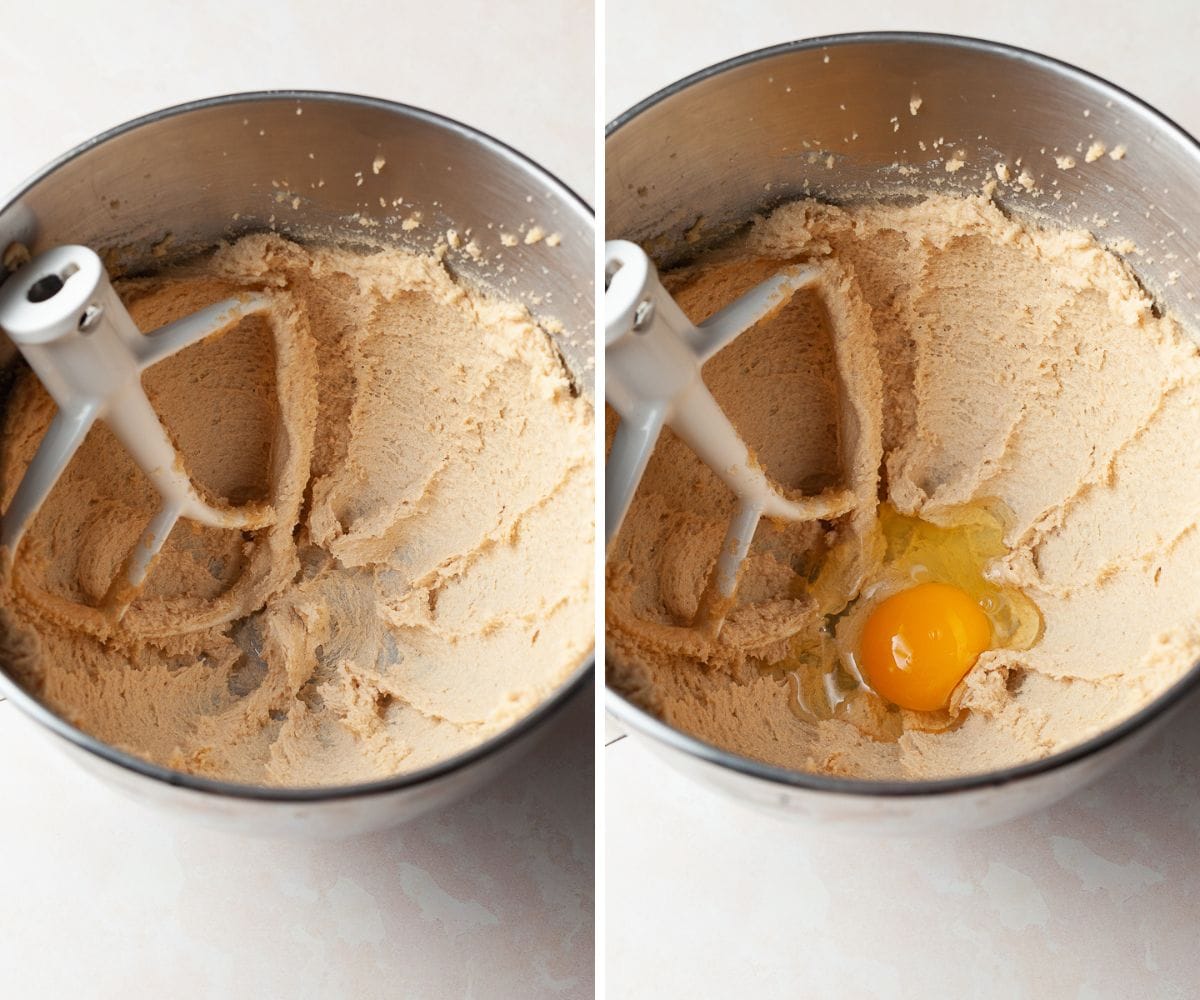
Step 4: While the mixer is running on low speed, add two eggs, and mix until they are well incorporated. After that, turn off the mixer and scrape down the sides of the bowl to make sure everything is mixed evenly.
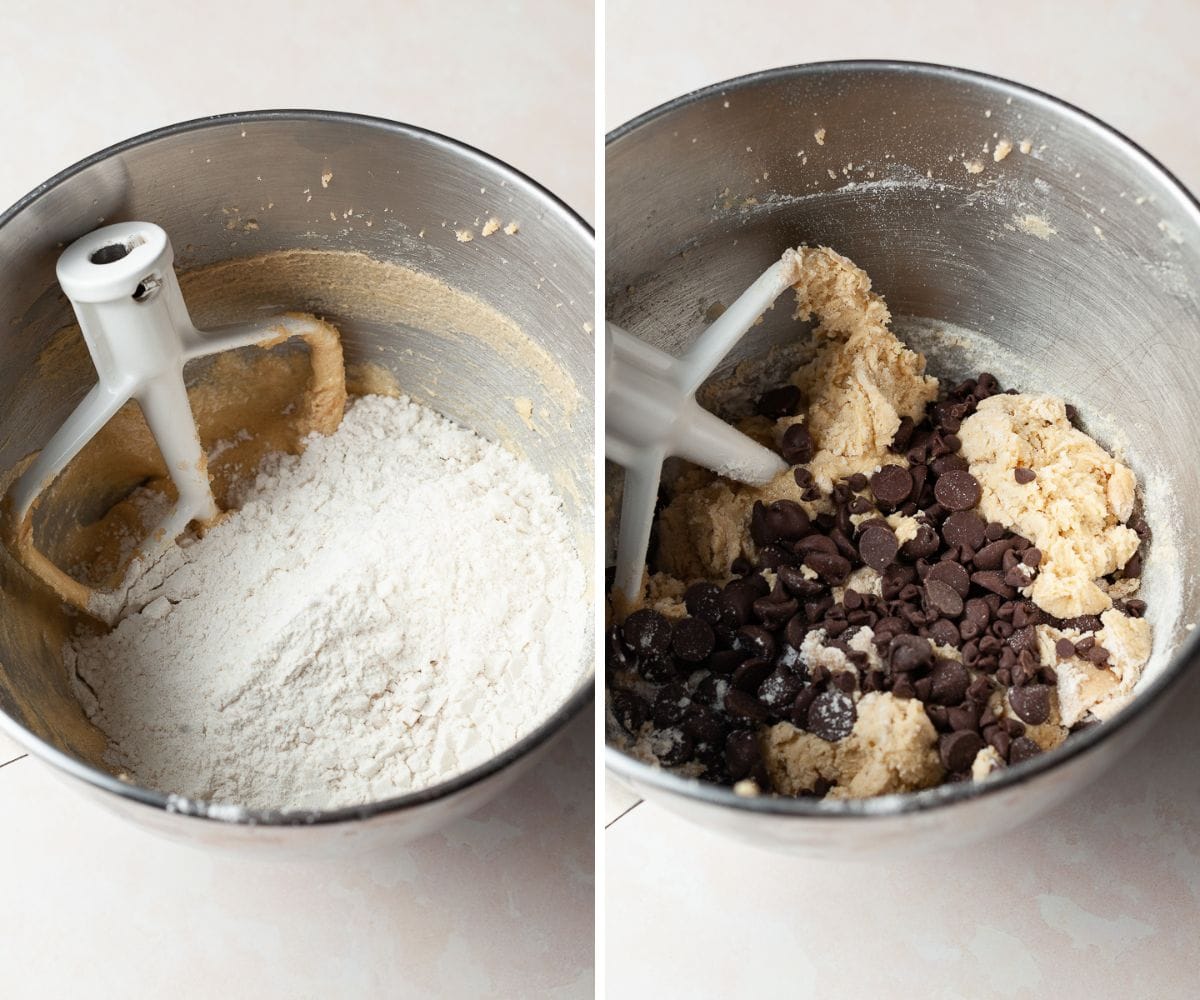
Step 5: Add the dry ingredients to the butter-egg mixture. Mix until just blended in. Add the chocolate chips (or any other add-ins you would like to add to the cookie dough) at a low speed just to combine.
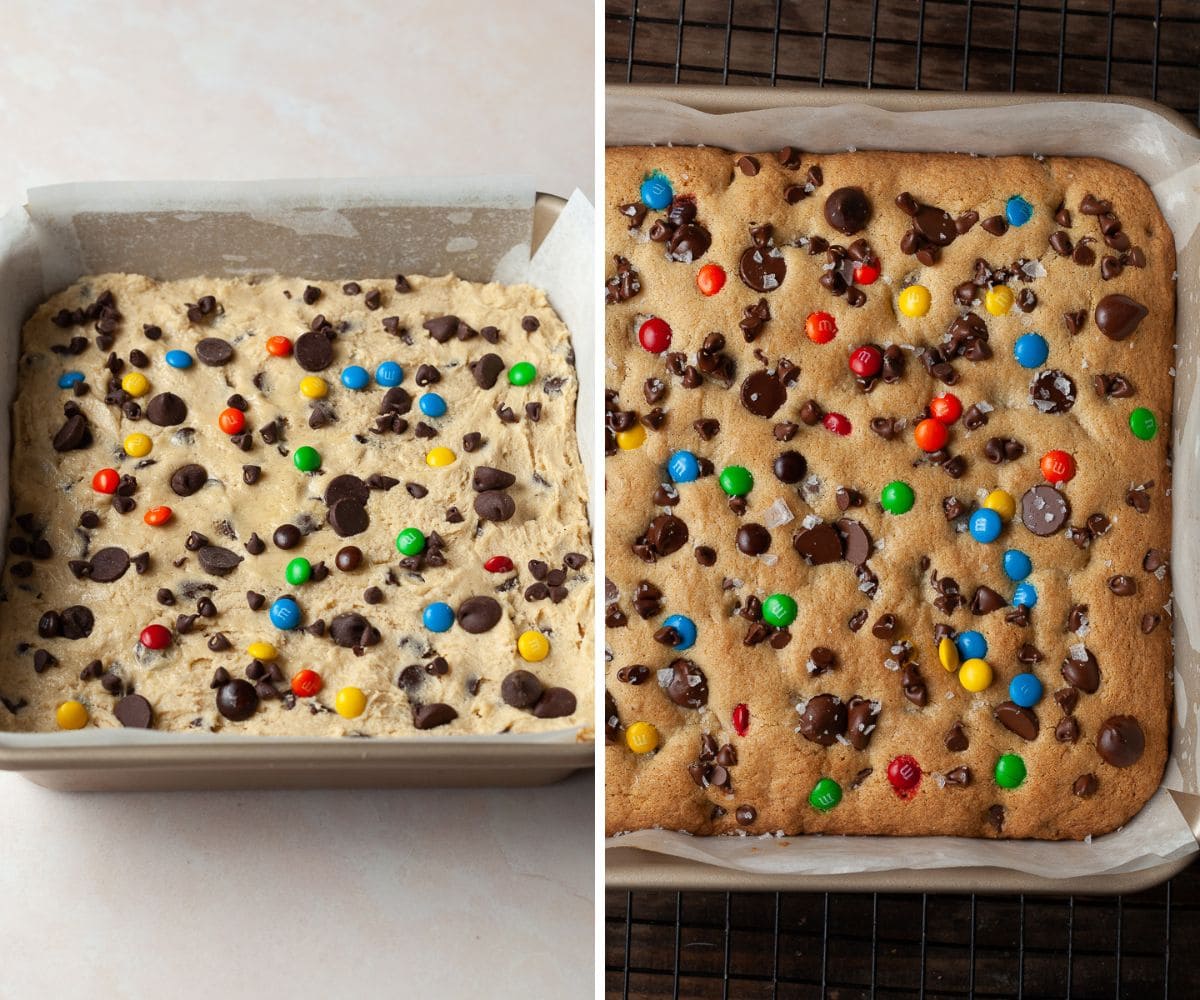
Step 6: Transfer the gluten-free cookie dough to the cake pan that you prepared earlier, and press it down to form an even layer. You can easily do this by using clean hands.
Step 7: Top with additional chocolate chips and some M&M's, pressing them just slightly into the dough.
Step 8: Bake the Gluten-free Chocolate Chip Cookie Bars at 350F for 24-26 minutes until golden brown and the top feels firm. For a chewy cookie bar make sure to slightly underbake them. Just like chocolate chip cookies, they will continue to bake in the pan for a few minutes once you remove them from the oven.
Step 9: Remove the pan from the oven and place it on a cooling rack. Allow the chocolate chip cookie bars cool in the pan for at least 30-45 minutes before removing and cutting them. Sprinkle them with flaky sea salt if you like.
Storage & Freezing
The best way to store gluten free cookie bars is to allow them to cool completely first. Once cooled, cut them into individual bars. Then, place them in an airtight container or a resealable plastic bag. You can layer the bars with parchment paper or wax paper to prevent them from sticking together.
Store them at room temperature for up to 3-4 days.
If you want to freeze the gluten-free cookie bars, wrap them tightly in plastic wrap and place them in a freezer-safe container or bag. They can be stored in the freezer for up to 2-3 months. When ready to enjoy, thaw them in the refrigerator or at room temperature.
Why are cookie bars better than cookies?
It's important to note that this is a matter of personal preference. Many people still enjoy the classic, individual cookie experience and appreciate the texture and taste of a freshly baked cookie. Ultimately, the choice between cookie bars and cookies depends on individual preferences and the occasion.
Simplicity: Cookie bars are typically easier and quicker to make compared to individual cookies. The dough is pressed into a pan, eliminating the need for multiple batches and individual shaping of cookies. Baking them in a pan does cut down on prep time for sure.
Texture: Cookie bars often have a different texture than regular cookies. They are typically denser, chewier, and have a softer center. This texture can be appealing to those who enjoy a more substantial and indulgent treat.
Customization: Bar Cookies offer more opportunities for creative variations and mix-ins. You can easily add layers of different ingredients, such as chocolate chips, nuts, or even other types of cookies, to create unique flavor combinations.
Convenience: Cookie bars are a convenient option for serving and sharing. They can be easily cut into squares or rectangles, making them portable and ideal for gatherings, parties, or school lunches.
Tips for cutting gluten free cookie bars neatly
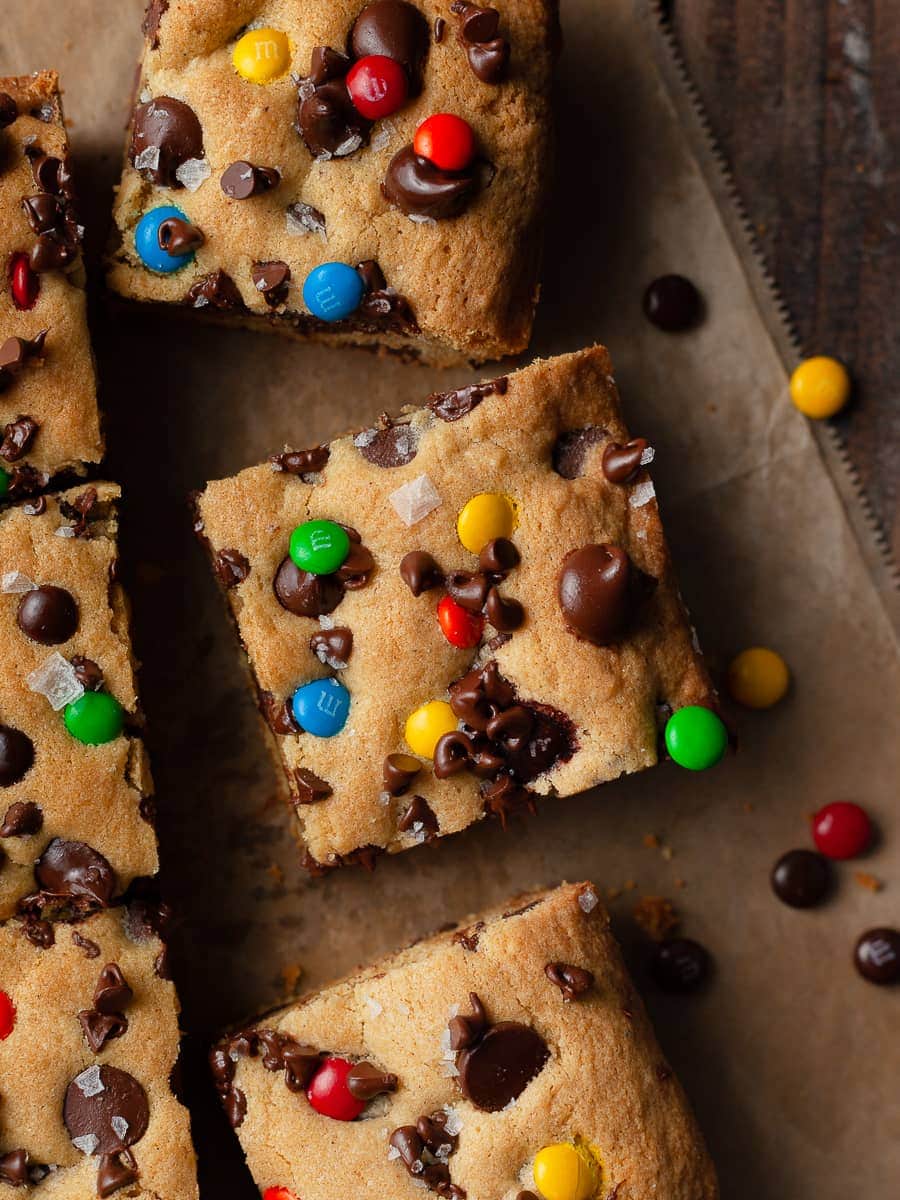
Cool Completely: Ensure that your gluten free chocolate chip cookie bars are completely cool before attempting to cut them. This allows them to set properly, resulting in cleaner cuts.
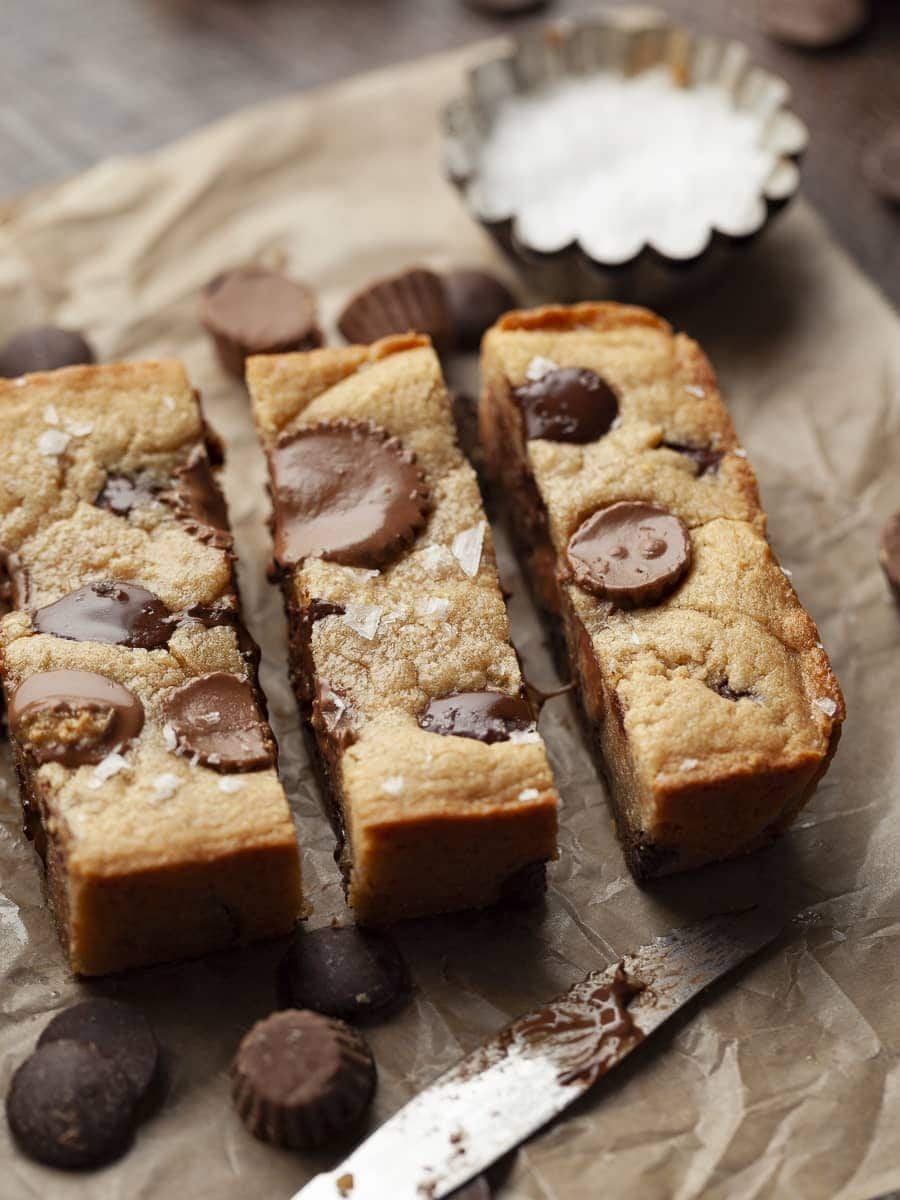
Use a Sharp Knife: A sharp, thin-bladed knife is essential for achieving clean and precise cuts. Avoid using a serrated knife, as it may cause the bars to crumble or tear.
Clean the Knife: Wipe the knife clean with a damp cloth or paper towel between cuts. This helps prevent any sticky residue from transferring and ensures each slice is pristine.
Lift with Overhanging Parchment: If you lined your baking pan with parchment paper, use the excess paper as handles to lift the entire block of cookie bars out of the pan. Place it on a cutting board before slicing. This makes it easier to get clean edges and prevents the bars from sticking to the pan.
Apply Gentle Pressure: When cutting, apply gentle and even pressure on the knife while using a smooth, downward motion. Avoid pressing too hard, as it can crush the bars or cause them to break apart.
Wipe Between Cuts: Periodically wipe the blade clean with a damp cloth or paper towel to remove any buildup or sticky residue. This ensures each cut is neat and reduces the likelihood of dragging crumbs onto the next slice.
FAQ - Gluten Free Cookie Bars
Replace the butter used with your favorite non-dairy butter and use 3 tablespoons of aquafaba or a flax-egg to replace the egg used in this recipe for chocolate chip cookie bars. To make a flax egg combine 1 Tbsp flaxseed meal (ground raw flaxseed) and 2 .5 Tbsp water and allow to sit for 5 minutes before using in this recipe. As always, making dietary adjustments will change the final product.
These gluten free cookie bars are the best when eaten within a day or two after baking them. Gluten Free Ba
Note about Salt in my Recipes
I use Diamond Kosher Crystal Salt in all of my recipes unless otherwise stated. If use use a different brand or kind of salt in your kitchen please adjust accordingly since some salts can be saltier. If you use Morton’s Kosher Salt please be aware that their salt granules are smaller in size, denser, and crunchier and twice as salty.
Baking in grams
I share my recipes in grams and by weight since baking by weight is the most accurate way to bake. Digital Scales are very affordable and easy to use. You can purchase them on Amazon for less than a set of measuring cups. For small amounts under 10 grams, I like to use this Precision Pocket Scale. Measuring cups are very inaccurate which can cause significant errors when it comes to gluten-free baking or baking in general. Especially since I bake with gluten-free flours which weigh differently than “regular” flours. I do provide some ingredients like spices and leavening agents in measuring spoons. To learn more about Baking with a digital scale, make sure to check out my post about Baking by weight.
Note about Ovens and Oven Temperatures
All my recipes are tested and developed with a conventional oven. I always bake my baked goods on the rack placed in the MIDDLE of my oven. This way the heat coming from the bottom will not burn my baked goods.
If you are baking with convection (fan-forced), please adjust the recipes accordingly. Be also prepared that the convection oven can cause your baked goods to dry out quickly and still be raw inside. Be aware that it takes at least 15-20 minutes for a standard American Oven to be fully preheated. I highly recommend investing in an Oven Thermometer.
Substitutions and Modifications
Any dietary or ingredient modifications/substitutions to this recipe may alter the end result in appearance and taste. I test my recipes several times as published in this post and The Gluten Free Austrian Blog is not responsible for the outcome of any recipe you find on our website.
More Gluten Free Cookie Bars to try
📖 Recipe
Gluten Free Cookie Bars
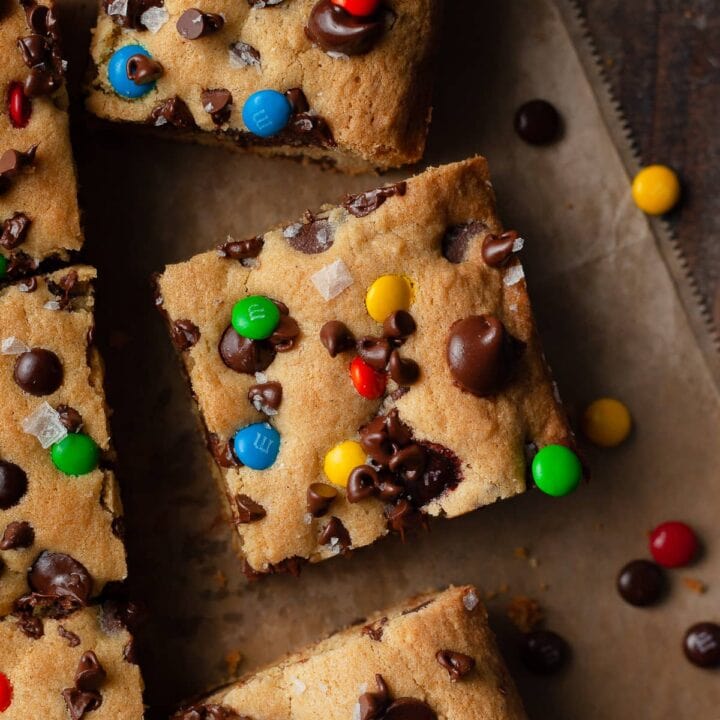
Indulge in the ultimate delight of soft and chewy gluten-free chocolate chip cookie bars. No more waiting for the dough to chill—just whip up a batch for a seriously decadent treat. Perfect for any occasion.
Ingredients
Gluten Free Chocolate Chip Cookie Bars
- 113 grams unsalted butter, room temperature
- 150 grams brown sugar
- 25 grams white sugar
- 290 grams gluten free multi purpose flour
- 1 teaspoon kosher salt
- ¾ teaspoon baking soda
- 2 large eggs, room temperature
- 1 teaspoon vanilla extract
- 150 grams chocolate chips (or as needed)
- Mini M&Ms as needed
- Flaky Sea Salt
Instructions
How to make Gluten Free Cookie Bars
- Line a 9″ x 9" pan with parchment paper and set aside. Preheat the oven to 350F.
- In a separate bowl sift together the gluten-free flour, baking soda and kosher salt.
- In the bowl of the stand mixer combine room temperature butter, both sugars, vanilla, and salt, and beat at medium speed for 4-5 minutes until fluffy and pale. Halfway through, pause to scrape the bowl and beater with a flexible rubber spatula.
- With the mixer running on low, add two eggs and mix until incorporated. Turn off the mixer and scrape down the sides.
- Add the dry ingredients. Mix until just blended in. Add the chocolate chips (and other add-ins you may wanna add) and mix at a low speed just to combine.
- Transfer the gluten-free cookie dough to the prepared cake pan and press it into an even layer. Top with additional chocolate chips and M&Ms.
- Bake the cookie at 350F for 24-26 minutes until the top is golden brown and feels firm. For a chewy cookie bar make sure to slightly underbake them. Just like chocolate chip cookies, they will continue to bake in the pan for a few minutes once you remove them from the oven.
- Remove the gluten-free cookie bars from the oven and place them on a wire rack. Sprinkle them with flaky sea salt if you like.
- Allow to cool completely in the pan before cutting.
Notes
Storage: The best way to store gluten free cookie bars is to allow them to cool completely first. Once cooled, cut them into individual bars. Then, place them in an airtight container or a resealable plastic bag. You can layer the bars with parchment paper or wax paper to prevent them from sticking together. Store them at room temperature for up to 3-4 days.
Recommended Products
As an Amazon Associate and member of other affiliate programs, I earn from qualifying purchases.
Nutrition Information:
Yield:
16Serving Size:
1Amount Per Serving: Calories: 229
Calories are a guestimate and randomly generated.



Rachel
Can applesauce be used in place of Eggs for this recipe?
Daniela
Not something I have tried or really recommend. But if you try it, let us know 🙂